TL;DR: The blog explains how to add a Syncfusion JavaScript Spreadsheet to a Blazor Server app. Set up the project, include Syncfusion’s CSS/JS via CDN, and use IJSRuntime to call a RenderSpreadsheet function that initializes the control with sample data. The result is a working spreadsheet rendered inside Blazor through simple JavaScript interop.
Blazor is an open-source web development framework. It is used to build interactive single-page web apps using C# instead of JavaScript. It supports components, lifecycle, routing, bindings, validations, templates, dependency injection, error handling, and more features to quickly create real-time apps. Although Blazor avoids using JavaScript when building an application, it still supports using JavaScript controls when needed. To demonstrate this, we are going to include the Syncfusion JavaScript Spreadsheet control in a Blazor application.
Prerequisites
To create and run a Blazor server-side web app, we need the following prerequisites:
Note:
- .NET Core SDK 3.1.8 requires Visual Studio 2019 16.7 or later.
- .NET 5.0 requires Visual Studio 2019 16.8 or later..
- .NET 6.0 requires Visual Studio 2022 17.0 Preview 4.1 or later.
Create a new Blazor server-side project in Visual Studio 2022
Follow these steps to easily create a Blazor server-side app in Visual Studio 2022:
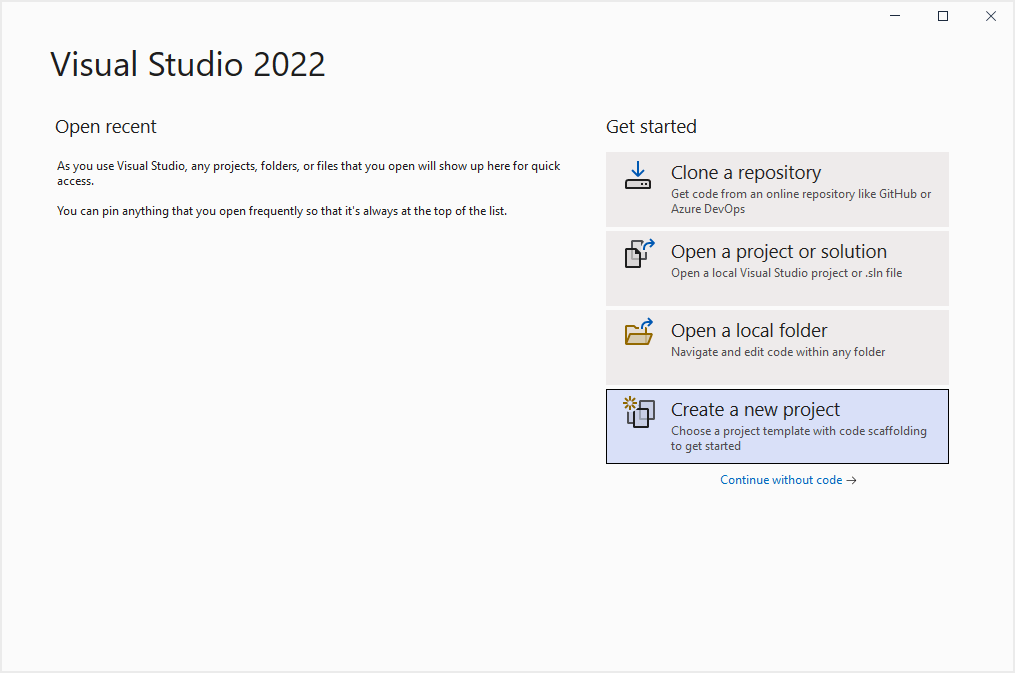
- First, open Visual Studio 2022. Then, choose the Create a new project option.
Refer to the following image.
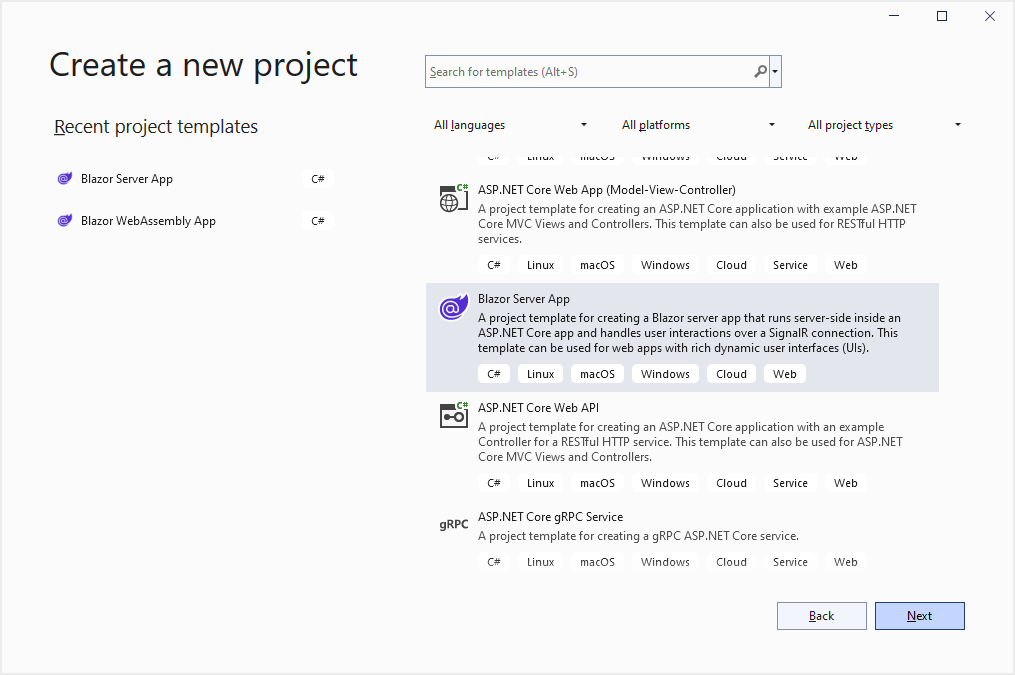
- Now, the Create a new project window will appear. Choose the Blazor Server App as the template, and then click Next.
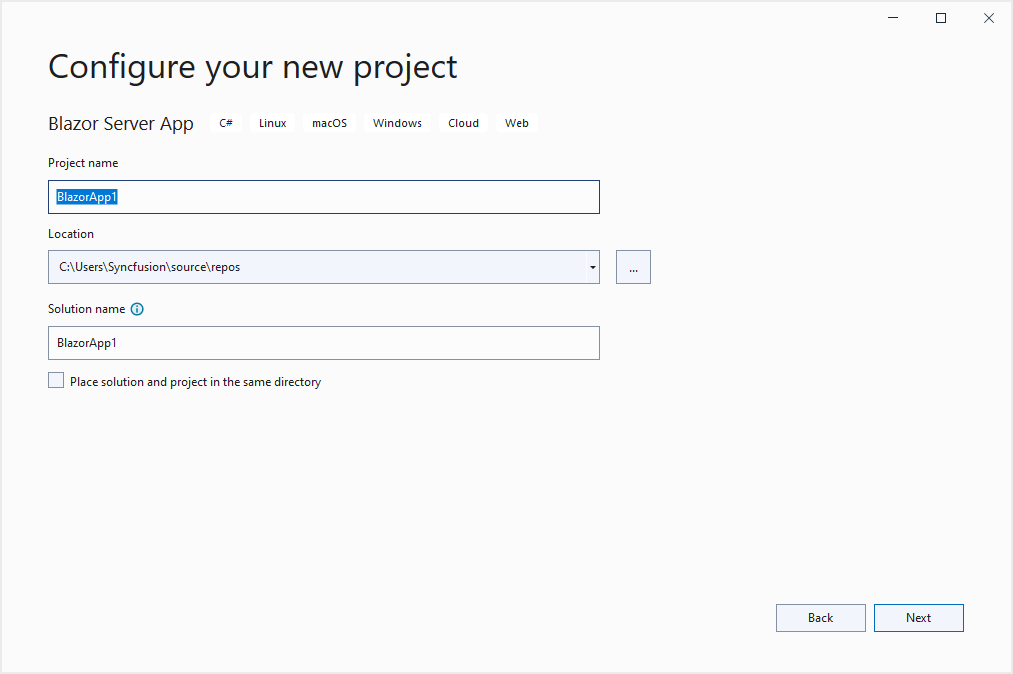
- Now, the project configuration window will pop up. Provide a name to the project and click Next.
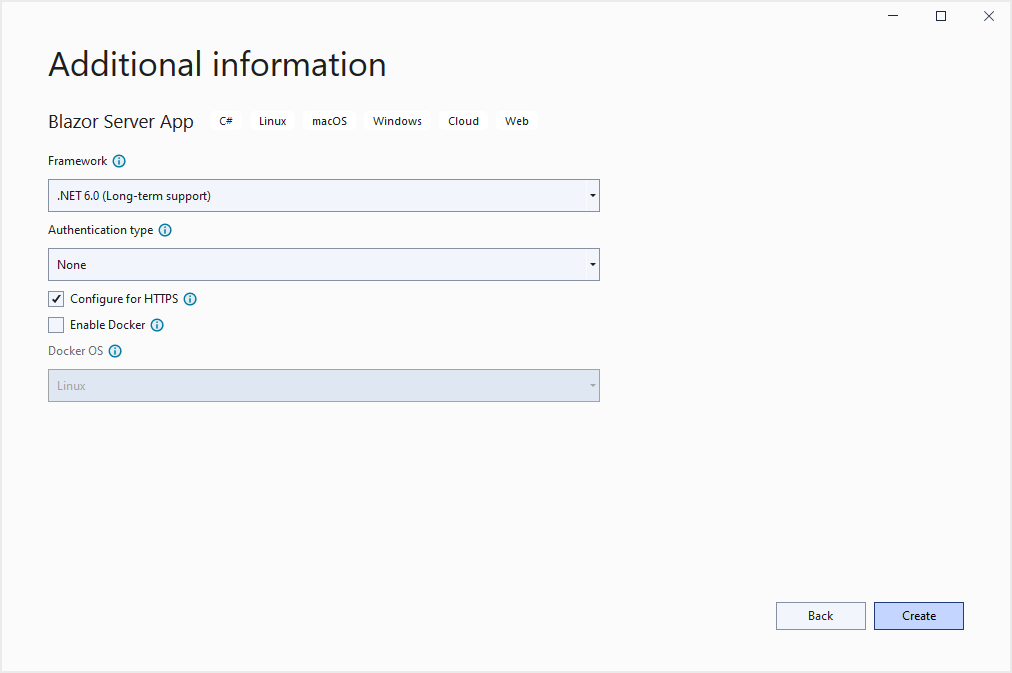
- The Additional information window will appear. Select your required target framework as .NET Core 3.1, .NET 5.0, or .NET 6.0. The Configure for HTTPS checkbox will be enabled by default. Now, click the Create button to create a new Blazor server app. Here, we are going to select .NET 6 as the target framework.
We have created our Blazor server-side app. Let’s see how to add the JavaScript Spreadsheet control in it.
Add style and script for the JavaScript Spreadsheet
To integrate the JavaScript Spreadsheet control within our Blazor app, we need to add the required client-side style and scripts through CDN references in the <head> element of the ~/Pages/_Layout.cshtml page.
Refer to the following code.
[_Layout.cshtml]
<head>
    <link href=" https://cdn.syncfusion.com/ej2/19.4.38/bootstrap5.css" rel="stylesheet" />
    <script src="https://cdn.syncfusion.com/ej2/19.4.38/dist/ej2.min.js" type="text/javascript"></script>
</head>
Initialize the JavaScript Spreadsheet control
We can invoke a JavaScript API from .NET and a .NET method from JavaScript. Here, we will invoke the JavaScript API from Blazor by injecting the IJSRuntime service into our Index.razor page.
Then, we will add the Spreadsheet target element and invoke the RenderSpreadsheet function in the OnAfterRenderAsync method in the Index.razor page.
Refer to the following code example.
[Index.razor]
@inject IJSRuntime JSRuntime

<div id="spreadsheet" @ref="spreadsheetElem"></div>

@code{
    ElementReference spreadsheetElem;

    List<Order> orders = new List<Order>
    {
        new Order { OrderID = 10001, OrderDate = "12/16/2021", ShipAddress = "Kirchgasse 6", ShipCity ="Berlin", ShipCountry = "Denmark" },
        new Order { OrderID = 10002, OrderDate = "12/16/2021", ShipAddress = "Avda. Azteca 123", ShipCity ="Madrid", ShipCountry = "Brazil" },
        new Order { OrderID = 10003, OrderDate = "12/17/2021", ShipAddress = "Carrera 52 con Ave. Bolívar #65-98 Llano Largo", ShipCity ="Cholchester", ShipCountry = "Germany" },
        new Order { OrderID = 10004, OrderDate = "12/18/2021", ShipAddress = "Magazinweg 7", ShipCity ="Marseille", ShipCountry = "Austria" },
        new Order { OrderID = 10005, OrderDate = "12/20/2021", ShipAddress = "1029 - 12th Ave. S.", ShipCity ="Tsawassen", ShipCountry = "Switzerland" }
    };

    protected override async Task OnAfterRenderAsync(bool firstRender)
    {
        await JSRuntime.InvokeVoidAsync("RenderSpreadsheet", spreadsheetElem, orders);
    }

    public class Order
    {
        public int? OrderID { get; set; }
        public string OrderDate { get; set; }
        public string ShipAddress { get; set; }
        public string ShipCity { get; set; }
        public string ShipCountry { get; set; }
    }
}
To initialize the Syncfusion JavaScript Spreadsheet control, specify the following code in the <script> element of the ~/Pages/_Layout.cshtml page.
[_Layout.cshtml]
<script>
        function RenderSpreadsheet(spreadsheetElem, data) {
            new ej.spreadsheet.Spreadsheet({
                sheets: [{
                    ranges: [{
                        dataSource: data,
                        showFieldAsHeader: false
                    }]
                }],
                openUrl: 'https://ej2services.syncfusion.com/production/web-services/api/spreadsheet/open',
                saveUrl: 'https://ej2services.syncfusion.com/production/web-services/api/spreadsheet/save',
            }, spreadsheetElem);
        }
</script>
Output
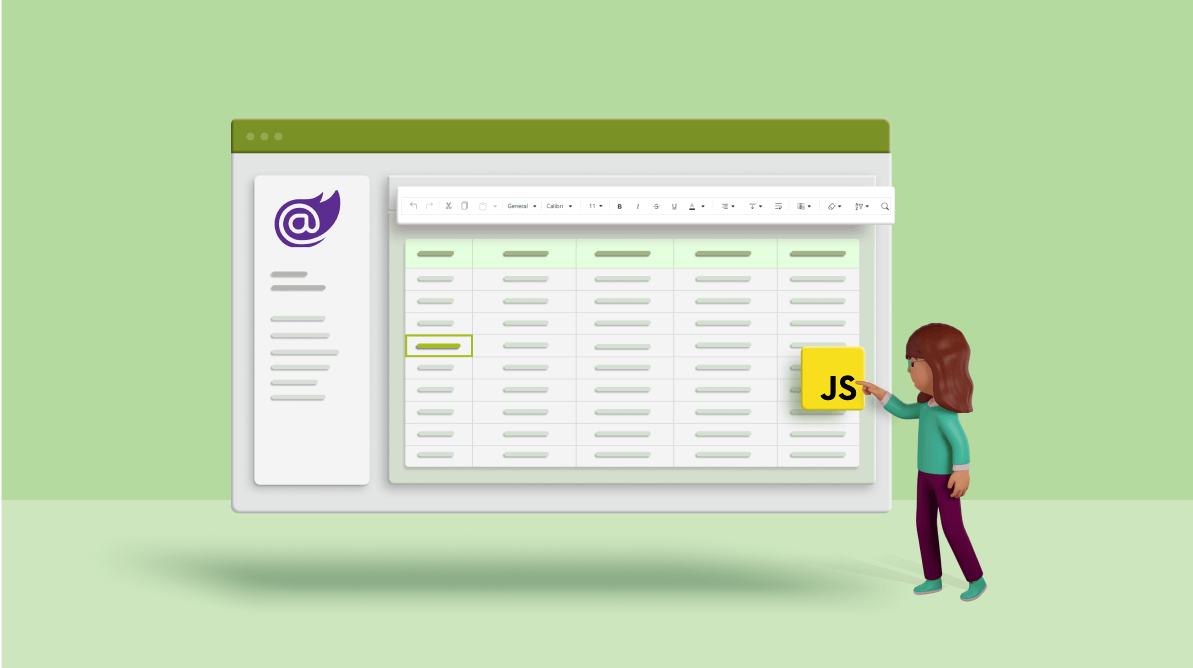
After executing the above code, the JavaScript Spreadsheet control will be rendered in our Blazor server-side app.

Note: For more details, refer to the documentation.
Resource
For a detailed look at the code, refer to our GitHub demo.

Syncfusion Blazor components can be transformed into stunning and efficient web apps.
Conclusion
Thanks for reading! I hope you now have a better understanding of how to add a JavaScript control in your Blazor server app. Try out the steps provided in this blog post and leave your feedback in the comments section below!
The Syncfusion Blazor suite offers over 70 components that work with both Blazor server-side and client-side (Blazor WebAssembly) projects seamlessly. Use them to build astonishing applications!
For existing customers, the newest version of Essential Studio® is available for download from the License and Downloads page. If you are not yet a Syncfusion customer, you can try our 30-day free trial to check out the available features.
Also, you can contact us through our support forum, support portal, or feedback portal. As always, we are happy to assist you!



Comments (1)
Dear Prabu !
Where can we find a sample: How to open an excel file stored on a server with this component in the Blazor Server application?
Thank you in advance for your help!