By default, the System.ComponentModel.Annotations library provides different validation attributes. However, to add a new or custom validation, users can create a custom validation attribute and apply it to their model class. To create an attribute:
-
Create a Blazor Server Application with latest .NET support.
-
Install the System.ComponentModel.Annotations NuGet package to perform custom validation in Created project.
-
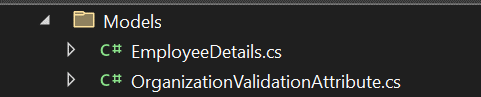
Create a new folder named Models in the main application and add the following *.cs files –EmployeeDetails, OrganizationValidationAttribute to it as shown below.
- Add a model EmployeeDetails class name in the EmployeeDetails.csfile.
- Create a new OrganizationValidationAttribute.cs file and then the OrganizationValidationAttribute class, which is derived from ValidationAttribute. The ValidationAttribute from System.ComponentModel.Annotations acts as the base class for validation. [OrganizationValidationAttribute.cs]
- Add the following custom validation attribute to the Organization property.
- Moving back to the Blazor Server application, add the following code to the Index.razor page to render a form with validation settings. [Index.razor]
 using System.ComponentModel.DataAnnotations;
namespace BlazorServerApp.Models
{
	public class EmployeeDetails
	{
		[Required]		public string? Name { get; set; }
		[Required]		public string? Organization { get; set; }
	}
}
 using System.ComponentModel.DataAnnotations;
namespace BlazorServerApp.Models
{
	public class OrganizationValidationAttribute : ValidationAttribute
	{
		public string? ValidOrganizationName { get; set; }
		protected override ValidationResult? IsValid ( object? value, ValidationContext? validationContext )
		{
			string fieldValue = value!.ToString()!.ToLower();
			if (fieldValue.Equals(ValidOrganizationName?.ToLower()))
				return null;
			return new ValidationResult(ErrorMessage, new[] { validationContext?.MemberName }.Cast());
		}
	}
}
The ValidOrganizationName property can be set from the model EmployeeDetails class. Following that, override the IsValid method, which takes two parameters, value and validationContext. The value parameter contains the value that the user entered in the Organization field. The validationContext parameter is used to explain the context in which validation is performed. If the value is equal to the ValidOrganizationName, no errors will be thrown; otherwise, an error message returns. using System.ComponentModel.DataAnnotations;
namespace BlazorServerApp.Models
{
public class EmployeeDetails
{
[Required]
public string? Name { get; set; }
//Here OrganizationValidation is a Customvalidation Attribute
[Required]
[OrganizationValidation(ErrorMessage = "Invalid customer log-in.", ValidOrganizationName = "Syncfusion")]
public string? Organization { get; set; }
}
} @page "/"
@using BlazorServerApp.Models
<EditForm Model="_product" OnValidSubmit="Submit" style="width:600px;">
<DataAnnotationsValidator />
<ValidationSummary/>
<div class="form-group row">
<label for="name" class="col-md-2 col-form-label">Name:
<label for="name" class="col-md-2 col-form-label">Name:
<div class="col-md-10">
<InputText id="name" class="form-control" @bind-Value="_product.Name" />
<ValidationMessage For="@(() => _product.Name)" />
</div>
</div>
<div class="form-group row">
<label for="organization" class="col-md-2 col-form-label">Organization:
<div class="col-md-10">
<InputText id="supplier" class="form-control" @bind-Value="_product.Organization" />
<ValidationMessage For="@(() => _product.Organization)" />
</div>
</div>
<div class="row">
<div class="col-md-12 text-right">
<button type="submit" class="btn btn-success">Submit</button>
</div>
</div>
</EditForm>
@code{
private EmployeeDetails _product = new EmployeeDetails();
public void Submit () =>
Console.WriteLine($"{_product.Name}, {_product.Organization}");
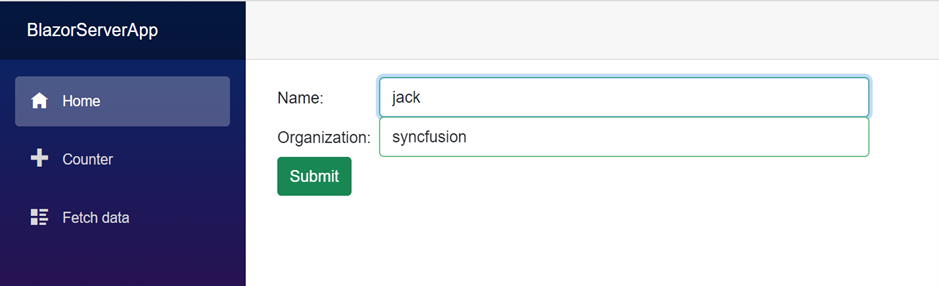
}The following outputs will be seen after submitting the form.


Share with