

This blog explains how to perform batch CRUD operations in the Syncfusion Blazor Scheduler with an ODATA adaptor using .NET 7.
The Syncfusion Blazor Scheduler is a fully featured event calendar component that helps users manage their time efficiently. It facilitates easy resource scheduling and the rescheduling of events or appointments through editor pop-ups, drag and drop, and resizing actions.
According to Wikipedia, “Open Data Protocol (OData) is an open protocol that allows the creation and consumption of queryable and interoperable REST APIs in a simple and standard way.” OData batching allows users to combine multiple requests into one POST request, then receive a full report back from an OData-enabled API with the status. So, you can easily create, edit, and delete recurring events using OData batching.
Let’s get started!
Prerequisites
Make sure the following packages have global installations in your environment:
Creating a Blazor WebAssembly app
Let’s first create a new Blazor WebAssembly app using .NET 7.0:
- Open Visual Studio 2022.
- Navigate to File -> New -> Project.
- Then, choose Create a new project. Select the Blazor WebAssembly app and click Next.
- Provide a name for your project and click Next. In this example, we’ve provided the name BlazorSchedulerCrud.
- Select .NET 7.0 as the Framework type and choose the Configure for HTTPS and ASP.NET Core Hosted radio buttons.
- Finally, click Create. Refer to the following image.
 Refer to the following output image.
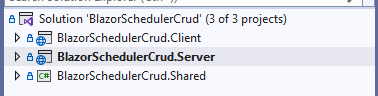
Creating a Blazor WebAssembly app
- Now, add the Blazor Scheduler component to your app using this documentation.
- We will use the Entity Framework Core and OData to manipulate data sets through CRUD operations. So, install the Microsoft.AspNetCore.OData and Microsoft.EntityFrameworkCore.InMemory NuGet packages.
Syncfusion Blazor Scheduler helps you create intuitive booking, event, and calendar experiences with built-in views, recurring appointments, editing, rescheduling, localization, and flexible customization.
See Blazor Scheduler in ActionCreating models
Let’s create an event model class named Appointment in the Appointment.cs file in the Shared project.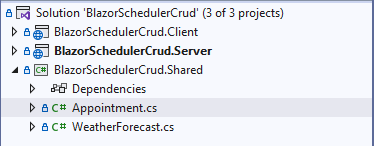
Refer to the following code example.
public class Appointment
{
    public int Id { get; set; }
    public string? Subject { get; set; }
    public string? Location { get; set; }
    public DateTime? StartTime { get; set; }
    public DateTime? EndTime { get; set; }
    public string? StartTimezone { get; set; }
    public string? EndTimezone { get; set; }
    public bool? IsAllDay { get; set; }
    public bool? IsBlock { get; set; }
    public bool? IsReadOnly { get; set; }
    public int? FollowingID { get; set; }
    public string? RecurrenceRule { get; set; }
    public int? RecurrenceID { get; set; }
    public string? RecurrenceException { get; set; }
    public string? Description { get; set; }
}
Creating a database and context
Next, we will create a database based on the models in this app using the Entity Framework Core InMemory Database Provider. After creating the database, we should add the data to it to retrieve the initial appointments. In this app, the local database is named Events.
The next step is to create a context for the database. Create a ScheduleDataContext class under the Models folder in the server project. Refer to the following image.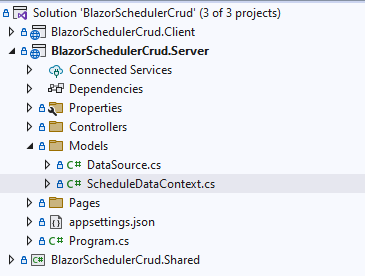
In the ScheduleDataContext class, configure the database model (Appointment). Refer to the following code example.
public partial class ScheduleDataContext : DbContext
{

    public ScheduleDataContext(DbContextOptions<ScheduleDataContext> options)
        : base(options)
    {
    }

    public virtual DbSet<Appointment> EventsData { get; set; }

    protected override void OnModelCreating(ModelBuilder modelBuilder)
    {

    }

}
Thus, we have successfully created the database and its context.
Configuring the database and batch OData
- Register the ScheduleDataContext class and OData in the ConfigureServices section of the Program.cs file. Refer to the following code example.
var builder = WebApplication.CreateBuilder(args);

// Add services to the container.

builder.Services.AddDbContext<ScheduleDataContext>(options => options.UseInMemoryDatabase("Events"));
builder.Services.AddOData();
builder.Services.AddControllersWithViews();
builder.Services.AddRazorPages();
- We can enable batching in ASP.NET Core 7.0 apps by making these two changes. Assume the Blazor app is leveraging the EDM (Entity Data Model) approach for communicating OData queries. First, in the Program.cs file, add the following code.
var app = builder.Build();

// Configure the HTTP request pipeline.
if (app.Environment.IsDevelopment())
{
    app.UseWebAssemblyDebugging();
}
else
{
    app.UseExceptionHandler("/Error");
    // The default HSTS value is 30 days. You may want to change this for production scenarios, see https://aka.ms/aspnetcore-hsts.
    app.UseHsts();
}

app.UseHttpsRedirection();

app.UseBlazorFrameworkFiles();
app.UseStaticFiles();

app.UseRouting();

IEdmModel GetEdmModel()
{
    var odataBuilder = new ODataConventionModelBuilder();
    odataBuilder.EntitySet<Appointment>("Appointment");
    return odataBuilder.GetEdmModel();
}

app.MapRazorPages();
app.MapControllers();
app.Select().Filter().Expand().OrderBy();
app.MapODataRoute(
    routeName: "odata",
    routePrefix: "odata",
    model: GetEdmModel(),
    batchHandler: new DefaultODataBatchHandler());
app.MapFallbackToFile("index.html");
- Add the OData Batching middleware and default OData batch handler like in the following code example.
var app = builder.Build();

// Configure the HTTP request pipeline.
if (app.Environment.IsDevelopment())
{
    app.UseWebAssemblyDebugging();
}
else
{
    app.UseExceptionHandler("/Error");
    // The default HSTS value is 30 days. You may want to change this for production scenarios, see https://aka.ms/aspnetcore-hsts.
    app.UseHsts();
}

app.UseODataBatching();
app.UseHttpsRedirection();

app.UseBlazorFrameworkFiles();
app.UseStaticFiles();

app.UseRouting();

IEdmModel GetEdmModel()
{
    var odataBuilder = new ODataConventionModelBuilder();
    odataBuilder.EntitySet<Appointment>("Appointment");
    return odataBuilder.GetEdmModel();
}

app.MapRazorPages();
app.MapControllers();
app.Select().Filter().Expand().OrderBy();
app.MapODataRoute(
    routeName: "odata",
    routePrefix: "odata",
    model: GetEdmModel(),
    batchHandler: new DefaultODataBatchHandler());
app.MapFallbackToFile("index.html");
Note: Add the OData Batching (app.UseODataBatching();) before using the routing.
Adding controllers
Now, we need to create controllers to perform CRUD actions with the ODataV4 service. Create the AppointmentController under the Controllers folder in the server project to easily retrieve, update, and remove event data in the database.
namespace BlazorSchedulerCrud.Server.Controllers
{
    public class AppointmentController : ODataController
    {
        private ScheduleDataContext _db;
        public AppointmentController(ScheduleDataContext context)
        {
            _db = context;
            if (context.EventsData.Count() == 0)
            {
                foreach (var b in DataSource.GetEvents())
                {
                    context.EventsData.Add(b);
                }
                context.SaveChanges();
            }

        }
        [HttpGet]
        [EnableQuery]
        public IActionResult Get()
        {
            return Ok(_db.EventsData);
        }

        public async Task Post([FromBody] Appointment events)
        {
            _db.EventsData.Add(events);
            await _db.SaveChangesAsync();
        }

        public async Task Put([FromODataUri] int key, [FromBody] Appointment events)
        {
            var entity = await _db.EventsData.FindAsync(key);
            _db.Entry(entity).CurrentValues.SetValues(events);
            await _db.SaveChangesAsync();
        }

        public async Task Patch([FromODataUri] int key, [FromBody] Appointment events)
        {
            var entity = await _db.EventsData.FindAsync(key);
            _db.Entry(entity).CurrentValues.SetValues(events);
            await _db.SaveChangesAsync();
        }

        public async Task Delete([FromODataUri] int key)
        {
            var od = _db.EventsData.Find(key);
            _db.EventsData.Remove(od);
            await _db.SaveChangesAsync();
        }
    }
}
Configure OData service in Blazor Scheduler
Finally, let’s render the Syncfusion Blazor Scheduler component in the Index.razor file in the client project with the OData service. Use the data manager to perform data processing between the Blazor Scheduler and OData service. Refer to the following code example.
@using Syncfusion.Blazor.Schedule
@using Syncfusion.Blazor.Data
@using BlazorSchedulerCrud.Shared

<SfSchedule TValue="Appointment" Height="530px" @bind-SelectedDate="@SelectedDate">
    <ScheduleEventSettings Tvalue="Appointment">
        <SfDataManager Url="https://localhost:7146/odata/Appointment" Adaptor="Adaptors.OdataV4Adaptor"></SfDataManager>
    </ScheduleEventSettings>
</SfSchedule>

@code {
    public Query QueryData = new Query().From("Appointment");
    public DateTime SelectedDate = new DateTime(2023, 01, 09);
}
After synchronizing the OData service with the Blazor Scheduler, we can easily retrieve data from the OData service even at the initial load of the Blazor Scheduler.
Performing batch CRUD operations in Blazor Scheduler with OData
We have completed all the required configurations. Let’s perform batch CRUD operations in Blazor Scheduler with OData!
Create
We can create recurring events using a more detailed editor window. To do so, double-click on a cell to open the editor window. Enter the desired field values and press Save to create recurring events.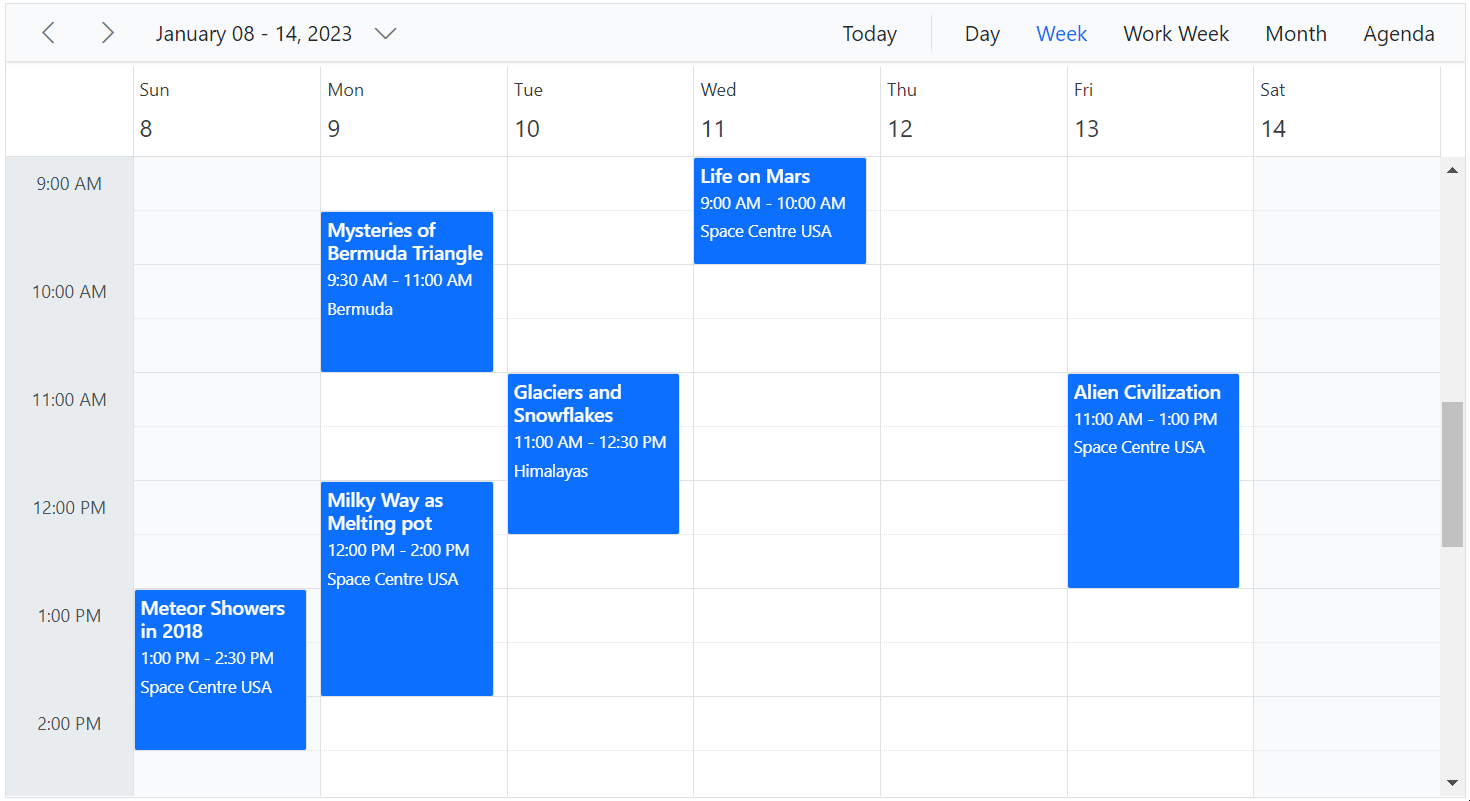
Update
To update an event, double-click on the required event. It will prompt you to confirm whether you need to edit the event or series. Select Edit Series. Now, the default editor window will open. In it, you can update the appointment details: subject, location, start and end time, time zone, description, and other recurrence options. Finally, select Save to update the event.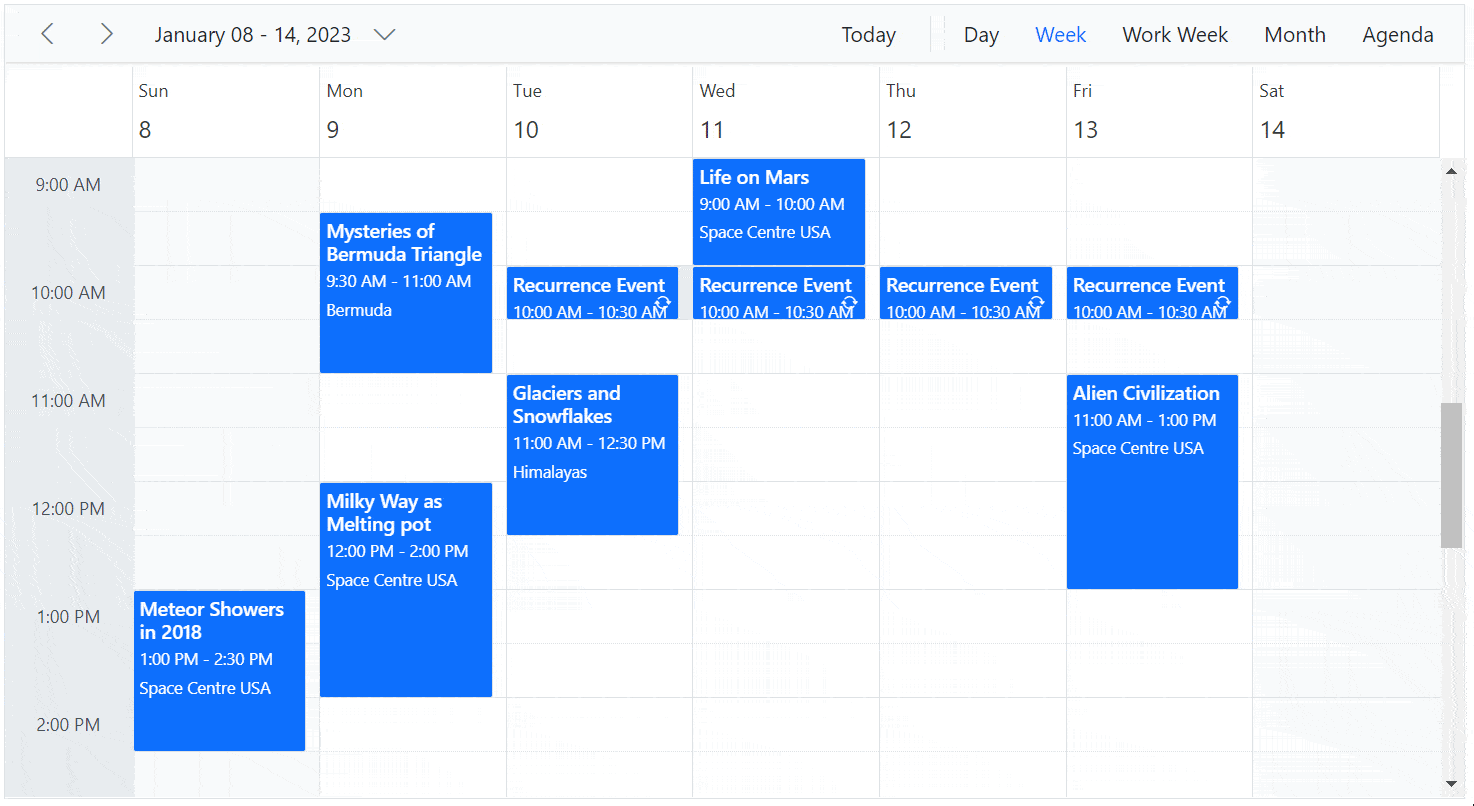
Delete
Double-clicking an event prompts you to confirm whether you need to edit the event or series. Select Edit Series. Now, the default editor window will open with a Delete button at the bottom-left to allow you to delete the recurrence appointments.
Note: When deleting an appointment through this editor window, the delete alert confirmation will not be shown, and the events will be deleted immediately.
You can also select the recurring appointments and press the Delete key, which prompts you to confirm whether you need to delete the event or series. You can choose Delete Series to delete the recurrence appointments.
Note: For more details, refer to our documentation.
GitHub reference
You can check out the complete working example for this blog’s contents on GitHub.
Summary
Thanks for reading! In this blog, we’ve seen how to perform batch CRUD operations in the Syncfusion Blazor Scheduler with the OData adaptor in .NET 7. Try out these steps and leave your feedback in the comments section below!
The new version of Essential Studio is available for existing customers on the License and Downloads page. If you are not a Syncfusion customer, try our 30-day free trial to check out our available features.
For questions, you can contact us through our support forums, support portal, or feedback portal. We are always happy to assist you!


 No spam, just valuable updates.