

The Syncfusion Blazor File Upload is a component for uploading files, images, documents, audio files, and video files to a server. It works in both WebAssembly and server-side Blazor apps. It simplifies the file-uploading process and enhances productivity with bulk upload, image preview, customizable file size and type restrictions, progress indicators, confirmation messages, and other user-friendly features.
In this blog, we’ll see how to create thumbnail images using the Blazor File Upload component to enhance your user experience and optimize your app’s performance.
Advantages of using thumbnail images
A thumbnail image is a miniature version of a larger image. It serves as a preview or a visual summary of the larger image. Thumbnail images:
- Occupy less space, require less bandwidth, and can be displayed faster than the original full-size images.
- Preview images to give users an overview of the media content.
- Save storage space and store many images in space-constrained scenarios.
Overall, thumbnail images help display and organize images in a format that’s easy to store and download.
Prerequisites
Before getting started, we need to install the following prerequisites in our system:
Let’s see the steps to create thumbnail images using the Blazor File Upload component.
Step 1: Create a Blazor server-side app
First, create a Blazor server-side app.
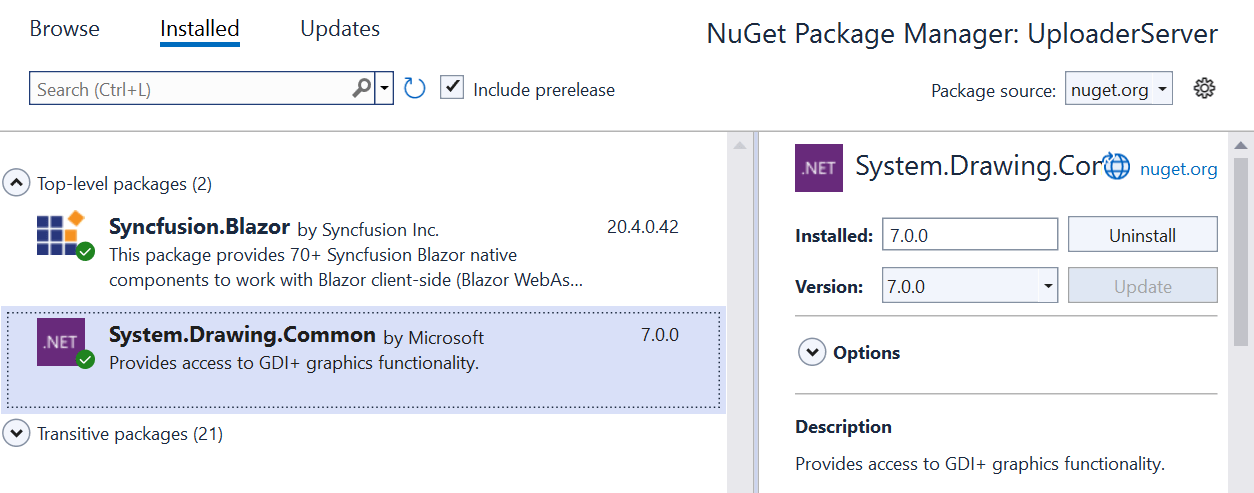
Step 2: Install the required NuGet packages
Open Visual Studio and select NuGet Package Manager from the Tools tab. Search for the Syncfusion.Blazor and System.Drawing NuGet packages and then install them.
Step 3: Import the installed namespaces
Now, import the following namespaces in your Blazor project:
- Syncfusion.Blazor.Inputs including the Blazor File Upload component.
- System.Drawing to work with images.
- System.IO to work with file paths.
Refer to the following code example.
@using Syncfusion.Blazor.Inputs;
@using System.Drawing;
@using System.IO;
Step 4: Add the Blazor File Upload component
Refer to the following code example to add the Blazor File Upload component to the project.
<SfUploader AutoUpload="false" AllowedExtensions=".png, .jpg, .jpeg" MaxFileSize="2000000">
 <UploaderEvents ValueChange="OnChange"></UploaderEvents>
</SfUploader>
In this code, we have set a false value to the AutoUpload property to handle the file-uploading process manually. The AllowedExtensions property is set to a list of file extensions separated by commas: .png, .jpeg, and .jpg. Then, we added the ValueChange event to the uploader and specified the OnChange method as the event handler.
Step 5: Create and save the thumbnails
Define the OnChange event handler method for the ValueChange event of the File Upload component. This method will be called when the user selects one or more files to upload. We can get the uploaded files inside the ValueChange event handler method as arguments.
Refer to the following code example.
private async void OnChange(UploadChangeEventArgs args)
{
    foreach (var file in args.Files)
    {
        // This line creates a file path using the name of the file.
        var path = Path.Combine(
              Directory.GetCurrentDirectory(),
                "wwwroot", file.FileInfo.Name);
        // Create a MemoryStream to write the file to memory.
        MemoryStream memoryStream = new MemoryStream();

        // Reset the position of the memory stream to the beginning.
        memoryStream.Position = 0;
        // Calls the OpenReadStream method on the uploaded file to get a read stream.
        await file.File.OpenReadStream(long.MaxValue).CopyToAsync(memoryStream);

        var image = Image.FromStream(memoryStream);

        // Calculate the new width and height of the thumbnail.
        int thumbnailWidth = 100;
        int thumbnailHeight = 100;

        var thumbnail = image.GetThumbnailImage(thumbnailWidth, thumbnailHeight, null, IntPtr.Zero);
        thumbnail.Save(path, image.RawFormat);
    }
}
Here, in the OnChange event handler method, we’ve created a file path (saving path) using the file name and app in the wwwroot directory. Then, we iterated through each file in the Files collection of the UploadChangeEventArgs object.
The OpenReadStream method will be called for each file to get a read stream. The Image object is created from the file data using the MemoryStream value of the uploaded file.
Then, we set the new width and height to control the size of the thumbnail image.
The Image.GetThumbnailImage method is used to create a thumbnail version of the uploaded image, and the Save method is used to save the thumbnail to the specified file path. The second argument in the Save method specifies the format of the image, which should be the same as in the original image.
Refer to the following images.

From the above images, it is evident that by using thumbnails, we can optimize memory consumption and enhance the performance of our Blazor app with ease.
GitHub references
For more details, refer to the code example in the GitHub repository.
Conclusion
Thanks for reading! In this blog, we’ve seen how to create thumbnail images using the Syncfusion Blazor File Upload component. Try out the steps in this blog post and leave your feedback in the comments section below!
For existing customers, the new version of Essential Studio® is now available on the License and Downloads page. If you’re not a Syncfusion customer, we invite you to take advantage of our 30-day free trial and explore our range of features.
For questions, you can contact us via our support forum, support portal, or feedback portal. We are always happy to assist you!


Related blogs
- Seamlessly Save and Load Reports from SQL Server Database to Blazor Pivot Table
- Effortlessly Populate Blazor Pivot Table with MongoDB Server Data: A Comprehensive Guide
- Simple Steps to Integrate OpenAI (ChatGPT) with Syncfusion’s Blazor Rich Text Editor
- Role-Based Authorization in Blazor File Manager: An Overview
 No spam, just valuable updates.
Comments (1)
Thanks Suresh for the detailed example! Can it also work without System.Drawing, i.e. on a Linux Server? To my understanding System.Drawing.Common only supports Windows, right? Best, Thomas