Xamarin Holiday Challenge Guidelines for Mac
System requirements
- Refer to the Xamarin system requirements documentation to learn more about the development environments.
- Xamarin.Forms 4.0.0.425677 or greater is required to complete this challenge.
Follow these steps to add the required pages:
- Download the Essential UI Kit for Xamarin.Forms from here, and follow these instructions to install the downloaded extension in your Visual Studio for Mac.
-
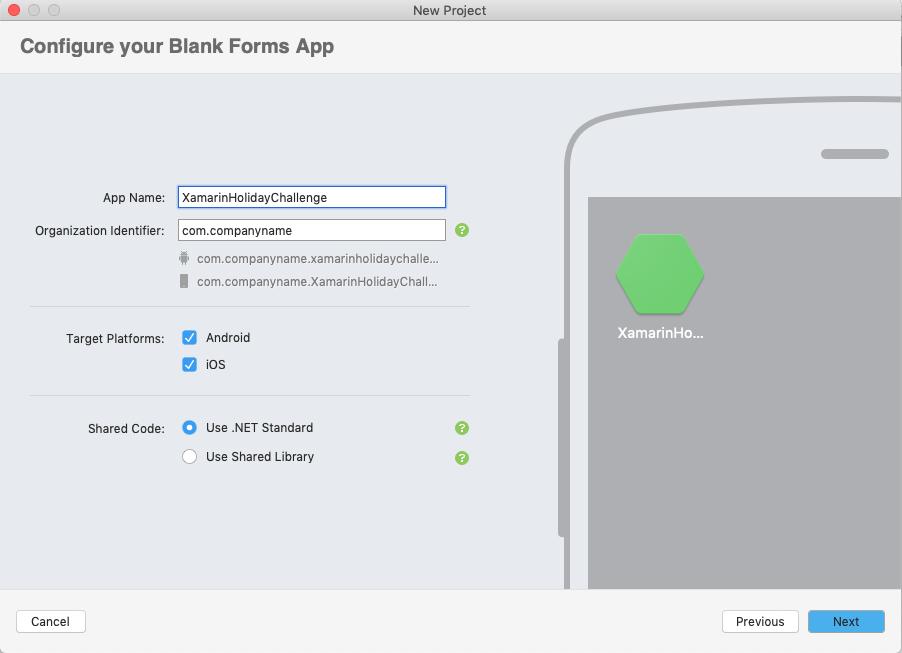
Create a new Xamarin.Forms project in Visual Studio for Mac:
- Set the App Name to XamarinHolidayChallenge.
- Leave the remaining fields as it is and click Next.
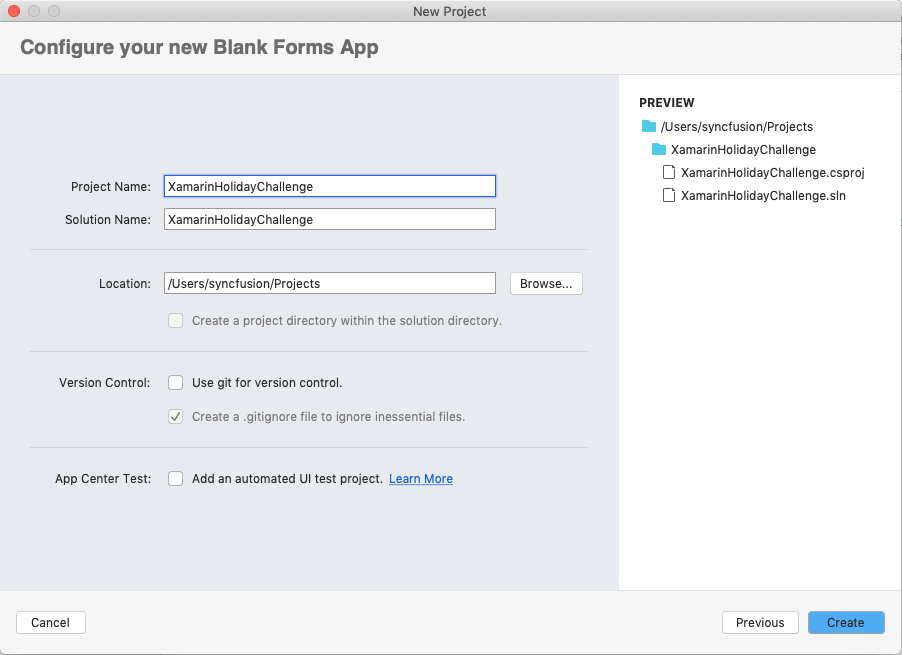
- Leave all the fields as it is and click Create.
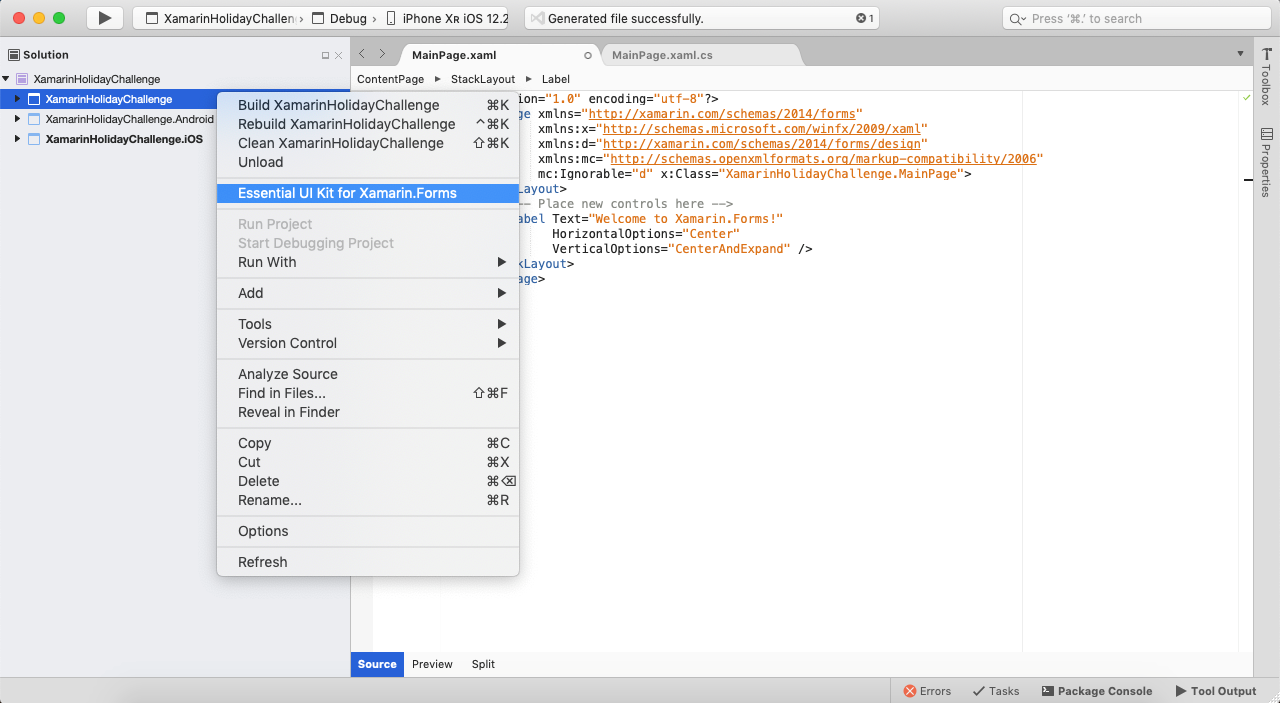
- Right-click on the .NET Standard project and select Essential UI Kit for Xamarin.Forms.
- Select the following screens from the Essential UI Kit dialog and click Add.
- Forms -> Simple Login Page.
- Onboarding -> Walkthrough Page.

Note: This extension adds all the files and NuGet packages required for the selected screens to the .NET Standard and platform projects.
- As documented here, install the NuGet package of SfScheduler in .NET Standard, Android, and iOS projects and call the init method of renderers.
- Create a new class called Meeting in the Model folder in your .NET Standard project. Then copy and paste the model code from this link.
- Create a new class called SchedulerPageViewModel in the ViewModel folder in your .NET Standard project. Copy and paste the view model code from this link.
- Add the following namespace in the SchedulerPageViewModel.cs file.
| using System.Collections.Generic; using XamarinHolidayChallenge.Models; |
|---|
- Add a new content page in your .NET Standard project with the name Scheduler:
- Right-click the .NET Standard project.
- Click Add and choose New File.
- Choose Forms ContentPage XAML in the Forms category.
- Set the name to “Scheduler”.
- Click New.
- Add the following namespaces in the Scheduler.xaml file.
| xmlns:syncfusion="clr-namespace:Syncfusion.SfSchedule.XForms;assembly=Syncfusion.SfSchedule.XForms" |
|---|
This namespace helps to access the APIs of Syncfusion’s Scheduler.
| xmlns:local="clr-namespace:XamarinHolidayChallenge.ViewModels" |
|---|
This namespace helps to access the ViewModel added in step 7.
- Add the following code in the Scheduler.xaml file. The SchedulerPageViewModel mentioned in this code is a class created in step 7.
| <ContentPage.BindingContext> <local:SchedulerPageViewModel/> </ContentPage.BindingContext> <ContentPage.Content> <syncfusion:SfSchedule ScheduleView="WorkWeekView" DataSource="{Binding Meetings}" AllowAppointmentDrag="True"> <syncfusion:SfSchedule.AppointmentMapping> <syncfusion:ScheduleAppointmentMapping EndTimeMapping="EndTime" StartTimeMapping="StartTime" ColorMapping="Color" SubjectMapping="Subject"/> </syncfusion:SfSchedule.AppointmentMapping> </syncfusion:SfSchedule> </ContentPage.Content> |
|---|
Set the binding context and configure the Scheduler control.
- Hide the navigation bar using the NavigationPage.HasNavigationBar property of ContentPage, as follows.

Follow these steps to add navigation across the pages.
- Set the OnBoardingAnimationPage to MainPage of the application as follows in the App.xaml.cs file in the .NET Standard project.
|
public App() { InitializeComponent(); MainPage = new NavigationPage(new Views.Onboarding.OnBoardingAnimationPage()); } |
|---|
- Navigate to the SimpleLoginPage after the walk-through process is completed. Add the following code inside the MoveToNextPage method in OnBoardingAnimationViewModel.cs.
|
private void MoveToNextPage() { Application.Current.MainPage.Navigation.PopAsync(); Application.Current.MainPage.Navigation.PushAsync(new Views.Forms.SimpleLoginPage()); } |
|---|
- Navigate to the Scheduler view from the login page. Add the following code inside the LoginClicked method of LoginPageViewModel.cs.
|
private void LoginClicked(object obj) { Application.Current.MainPage.Navigation.PushAsync(new Scheduler()); } |
|---|
Build and run it on Android and iOS.
Build and run the app on Android and iOS devices or emulators to see what you've built with the Essential UI Kit and Syncfusion’s Scheduler control.
Troubleshooting
If you are getting any type of “not found” error while building the project, then open the .NET Standard project file in edit mode and search for ItemGroup with the remove command. If you find it, then delete that item group from the project file and rebuild the project again. Reference https://github.com/mhutch/MonoDevelop.AddinMaker/issues/78.