
Intelligent Mobile Apps with .NET MAUI Succinctly®

CHAPTER 2
Setting Up the Development Environment
To build the sample AI-powered travel companion app, you first need to set up the development environment and configure an Azure subscription. This chapter will guide you through installing the necessary tools and creating an Azure account, while later chapters will cover setting up individual services.
Registering for an Azure subscription
To set up a development environment to build mobile apps with .NET MAUI that leverage Microsoft Azure AI services, the first requirement is a Microsoft Azure subscription. If you do not have one, you can register for a 30-day trial. You will need to register using a Microsoft account. Complete the registration process by providing your details, verifying your identity with a credit card (you will not be charged unless you upgrade your subscription), and accepting the terms. Once you register, you will receive $200 in free credit, which can be used for various Azure services, including Azure AI services, and is perfect for walking through the examples described in this ebook.
Locating Azure AI services
Once you have registered for an Azure subscription, you need to log in to the Azure Portal, which is the place where you manage all the available Azure services, not just AI services. The main page of the Azure Portal is a dashboard that provides shortcuts to the most popular Azure services. You will find a shortcut called AI services. If you click on this shortcut, you will access a page that contains the full list of available Azure AI services, as shown in Figure 1.
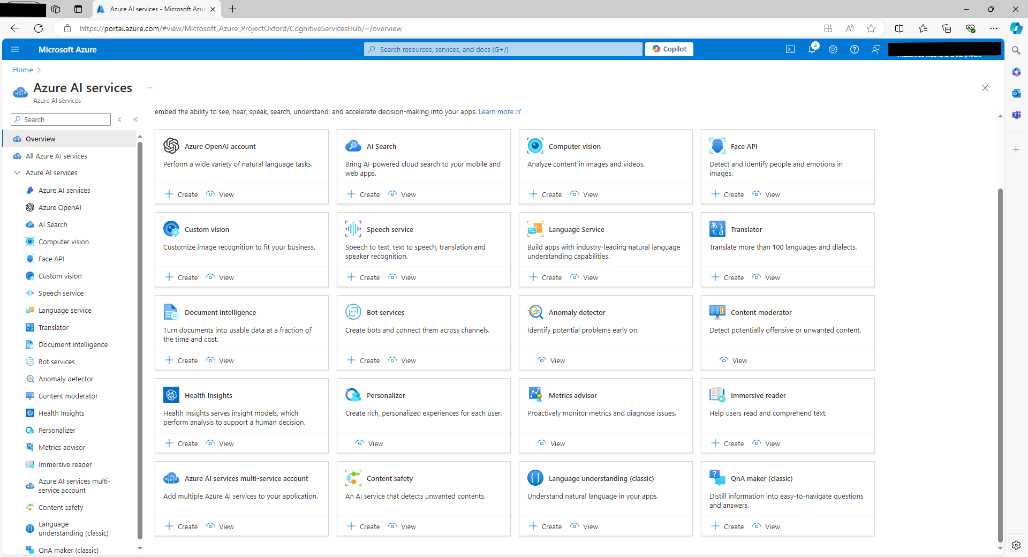
Figure 1: Full list of Azure AI services
In the next chapters, you will be asked to create new service instances for the AI service targeted within each chapter. Keep Figure 1 as a reference to find the specific service quickly and remember that you can access this page by clicking AI services in the Azure Portal home page.
Creating a resource group
As the name implies, an Azure resource group is a container for cloud services. It provisions all the resources that are common to the services it contains. A resource group is also needed to complete the code examples discussed in this ebook. To create a resource group, once you have logged in to the Azure Portal, type Resource Group in the search bar and click the Resource Groups item that appears. This will open the Resource groups page shown in Figure 2.
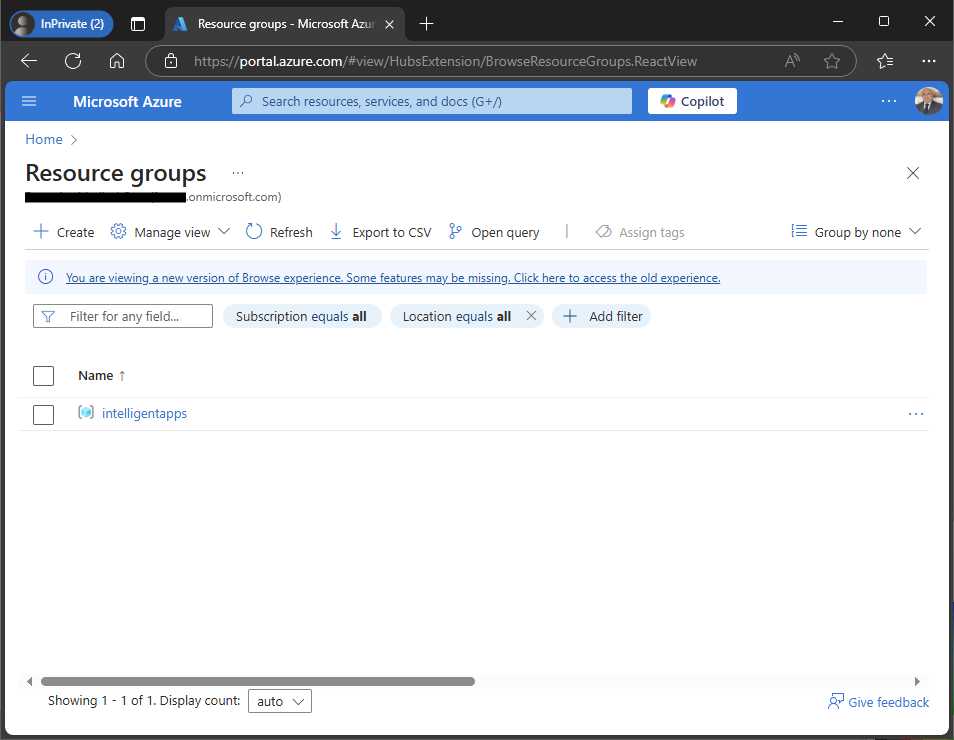
Figure 2: Locating resource groups
Click Create. In the Create a resource group page, select your Azure subscription, and then enter an all-lowercase name for the resource group, such as intelligentapps.
Note: Every time you specify a name for an Azure resource, it must be lowercase.
Figure 3 shows the completed resource creation form.
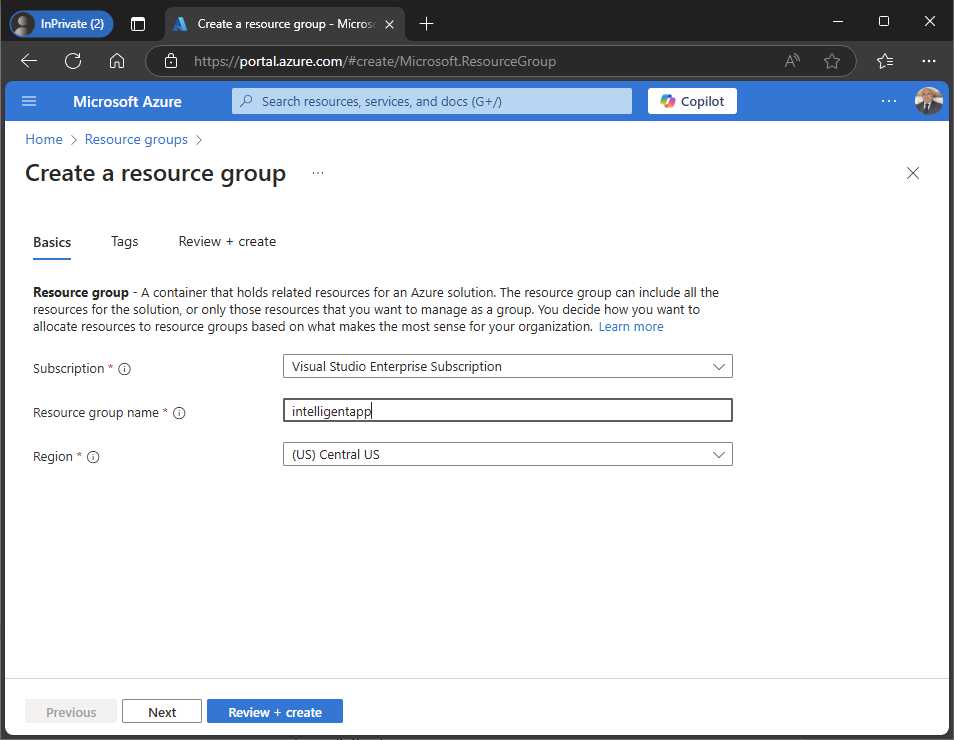
Figure 3: Creating a resource group
In the Region dropdown, select the region closest to your location. When ready, click Review + create, then Create, and wait for the resource group to be deployed.
Note: Remember to delete the Azure resources that you no longer use to avoid extra costs or credit consumption.
Installing .NET workloads
Assuming that you are working with Microsoft Visual Studio 2022, you need to ensure that .NET 9 and the .NET MAUI libraries are installed on your machine. To do so, launch the Visual Studio Installer and click Modify. Make sure the .NET Multi-platform App UI development workload is selected (see Figure 4).

Figure 4: Selecting the .NET MAUI workload
Select the Individual components tab at the top and ensure that .NET 9.0 Runtime is selected, as shown in Figure 5.

Figure 5: Selecting the .NET 9 runtime
This ensures that you have the latest and most updated versions of the development technology. When ready, click Close and wait for any necessary updates to be installed.
Note: If you plan to target iOS and macOS, you need a Mac computer and you need to follow the steps described in the official documentation.
Creating a .NET MAUI solution
The last step in setting up the development environment is creating a .NET MAUI solution that you will extend in the next chapters with AI capabilities. In Visual Studio 2022, select File > New Project. In the new project dialog, locate the .NET MAUI App template (Figure 6), select it, and then click Next.
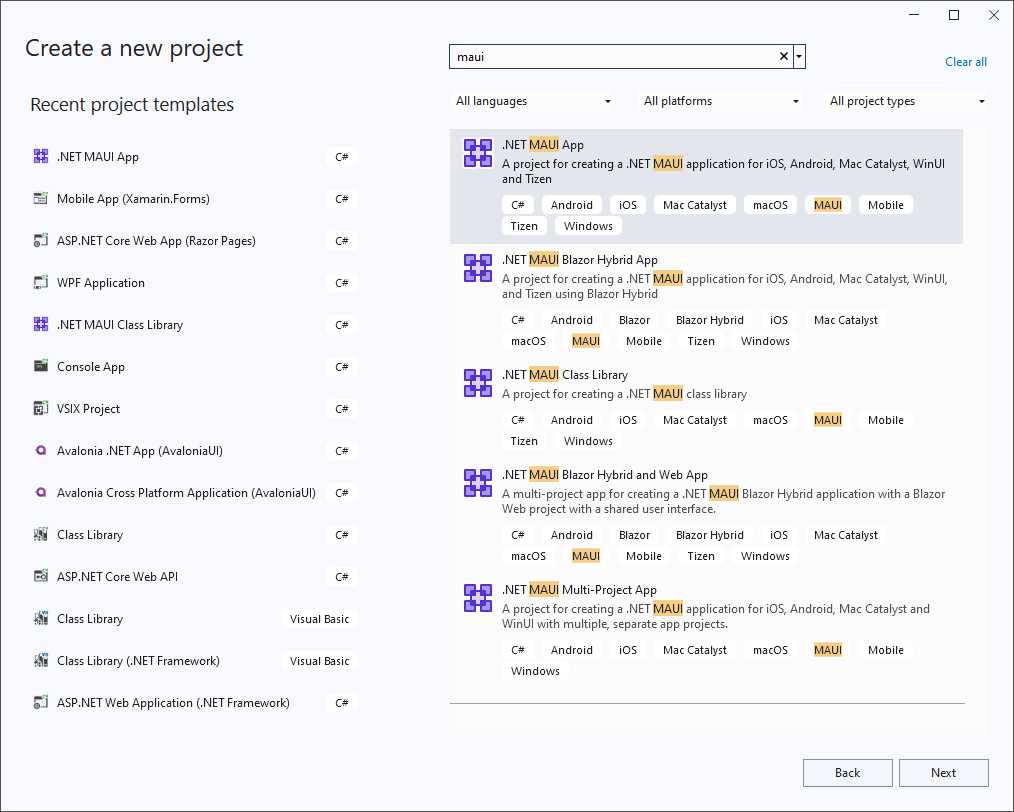
Figure 6: Creating a .NET MAUI App project
In the next screen, specify a project name (use TravelCompanion for consistency with the examples in this ebook) and the location, and then click Next. In the third and final screen, select .NET 9 (Standard Term Support) as the target framework and click Create. You can still select .NET 8 as the target framework if you prefer working on a long-term support release.
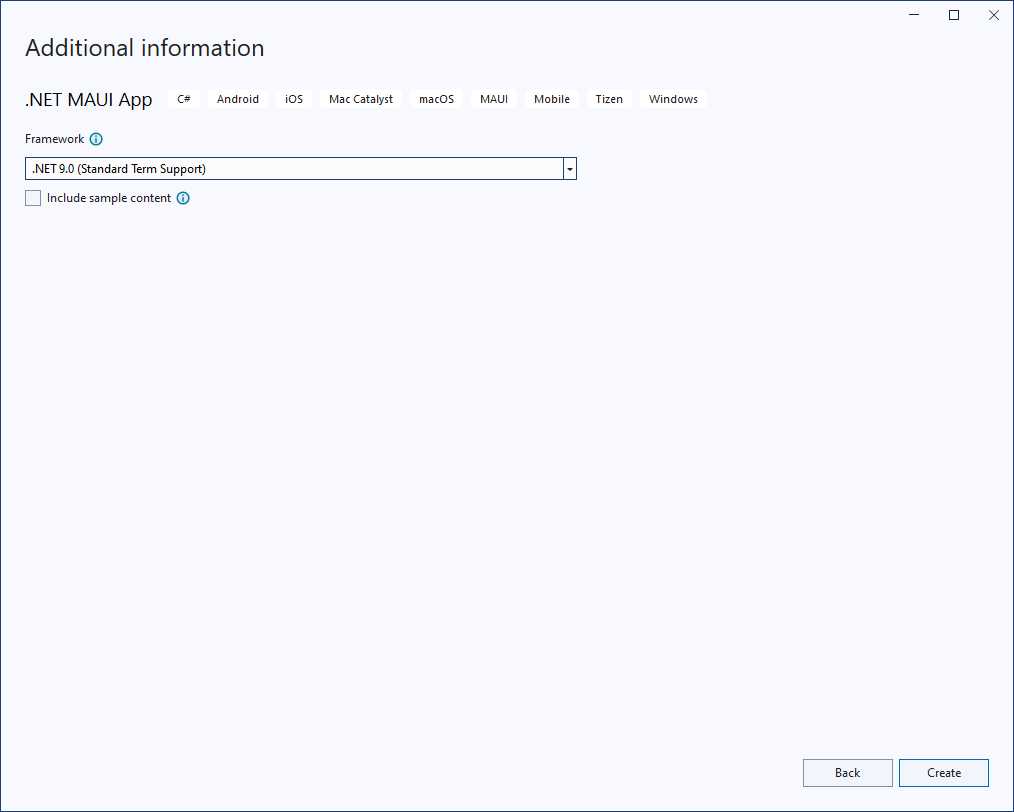
Figure 7: Selecting the target framework
After a few seconds, the new solution will be available. Figure 8 shows how it appears in the Solution Explorer.
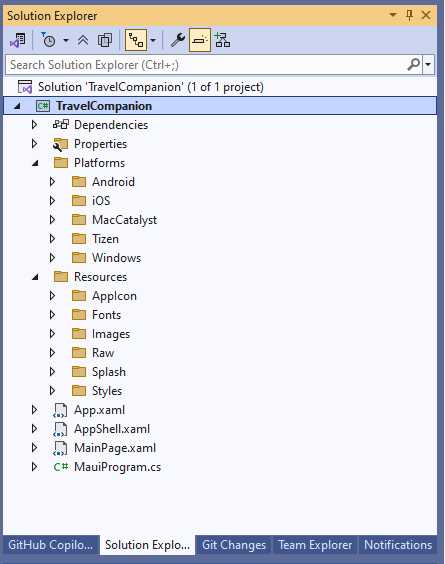
Figure 8: The sample solution in Visual Studio 2022
Tip: The companion solution for this ebook contains icons for the navigation bar that you can use if you prefer to write the sample app from scratch.
Chapter summary
In this chapter, you have seen how to configure the development environment to work with .NET MAUI in Visual Studio 2022 and the Microsoft Azure AI services. On the Azure side, you have seen how to access the Azure Portal, where to locate the Azure AI services, and how to create resource groups. On the desktop side, you have seen how to set up the .NET workloads for Visual Studio 2022, and you have created a new .NET MAUI solution that you will augment in the next chapters. Now you have everything you need to start building intelligent applications.
- An ever-growing .NET MAUI control suite with rich feature sets.
- DataGrid, Charts, ListView, Scheduler, and more.
- Active community and dedicated support.
- Phone, tablet, and desktop support.