
Essential Python Succinctly®

CHAPTER 1
Getting Started
Installation
Before we can use Python, we must install it. We can get the latest installer from the Python downloads website.
Note: An alternative to installing Python by itself is to install the Anaconda distribution, which contains a Python execution engine and approximately 500 compatible libraries, such as scikit-learn. Installing and using Anaconda is complicated and outside the scope of this book.
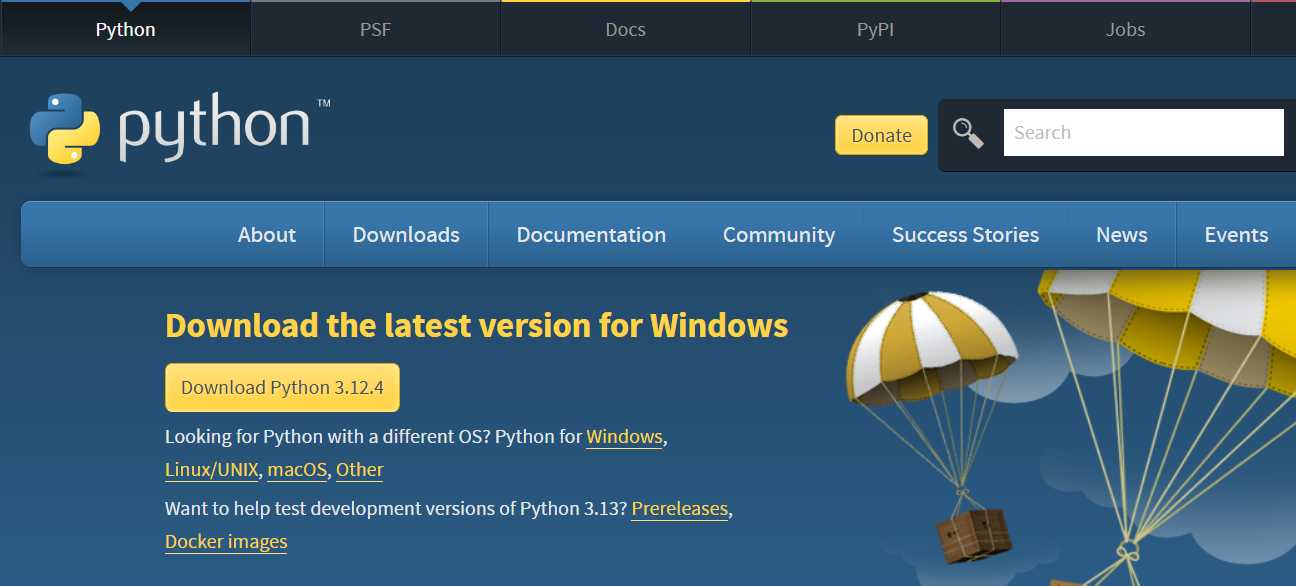
Figure 1-a: Python Downloads Website
I usually go for the latest version of Python for Windows, which is the operating system I use. Select Download Python to proceed, and ensure you choose the version corresponding to your operating system.
Then, once the download has been completed, execute the installer. Because I already have a previous version of Python installed, I get this message to upgrade.
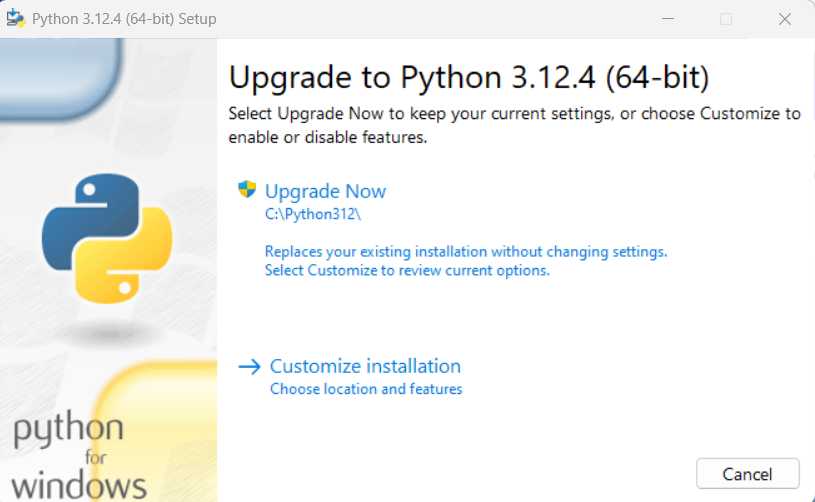
Figure 1-b: Python Installer
In some cases, the Customize installation option is an excellent choice because it allows you to adapt the Python installation to your environment settings and features.
In any case, whichever option you choose, the process is intuitive and straightforward, and the installation wizard will guide you.
For simplicity, and because I already have a previous version of Python installed, I’ll go with the Upgrade Now option without changing settings.
Figure 1-c: Installing (Upgrading) Python
Once the installation process has been finalized, you’ll see a screen that looks similar to this one, and then you can click Close.

Figure 1-d: Python Installation Finalized
The other thing you’ll want to do is to install an IDE or a programming editor. In my experience, the two best options available for Python development are Visual Studio Code (VS Code) and PyCharm.
I mostly use Visual Studio Code, so feel free to install it to follow along easily.
Using print
So, now that everything has been set up, let’s start with the basics. I will create a new file called basics.py within the Visual Studio Code Explorer.
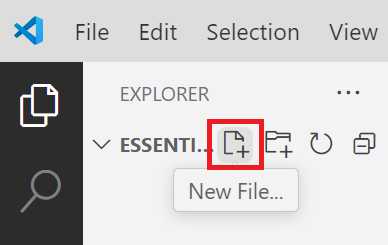
Figure 1-e: Create a New File (VS Code Explorer)
Once the basics.py file has been created, let’s add the following code to print a message in the console.
Code Listing 1-a: The basics.py File (Printing a Message – Single Quotes)
print('Welcome to Python programming!') |
As its name implies, the print statement outputs a message in Python. The text between single quotes ('') is the message that will be printed: Welcome to Python programming!
It is also possible to use double quotes ("") to print messages.
Code Listing 1-b: The basics.py File (Printing a Message Using Double Quotes)
print("Welcome to Python programming!") |
Regardless of which quotes are used, the output will be the same. So, let’s combine these instructions.
Code Listing 1-c: The basics.py File (Printing Messages)
print('Welcome to Python programming!') |
To see this in action, let’s execute this code. Go to the Terminal menu in Visual Studio Code and select New Terminal—this will open the console within VS Code.
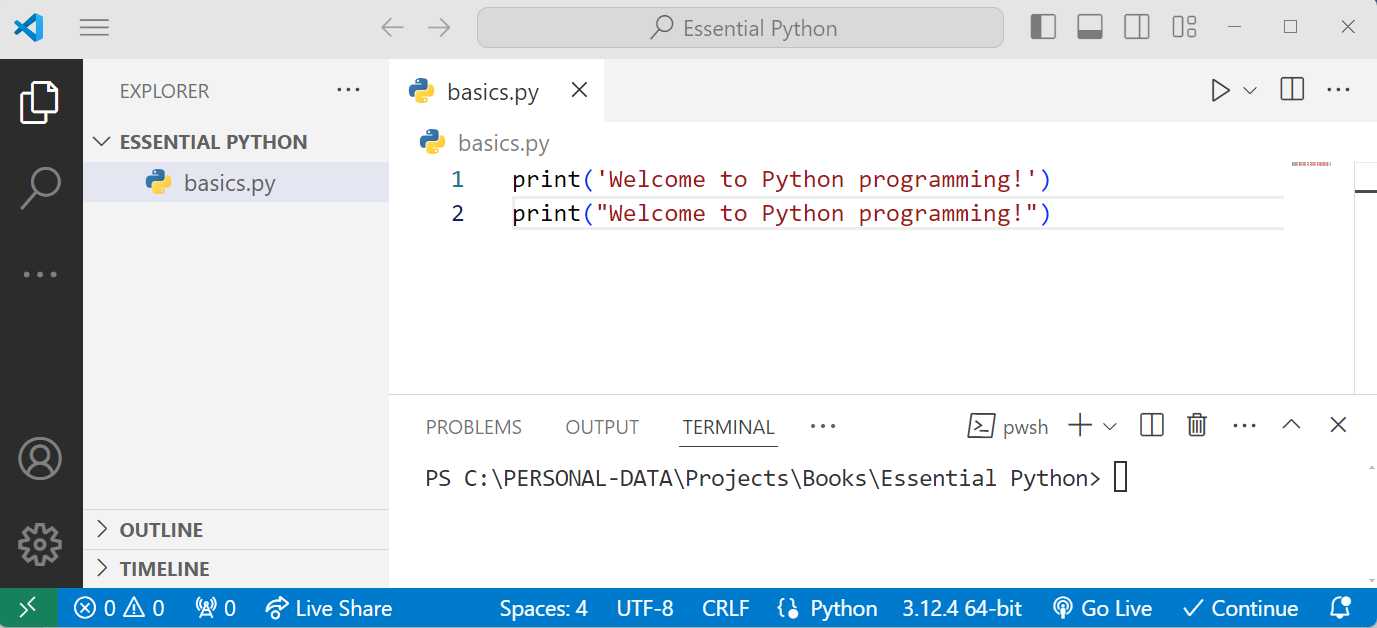
Figure 1-f: VS Code (TERMINAL Open)
Within the terminal, type the following command to run the code and press Enter.
Code Listing 1-d: Command to Execute the Python Script
python basics.py |
Once done, you’ll see the messages in the terminal. As you can see, the output was the same regardless of the quotes used.
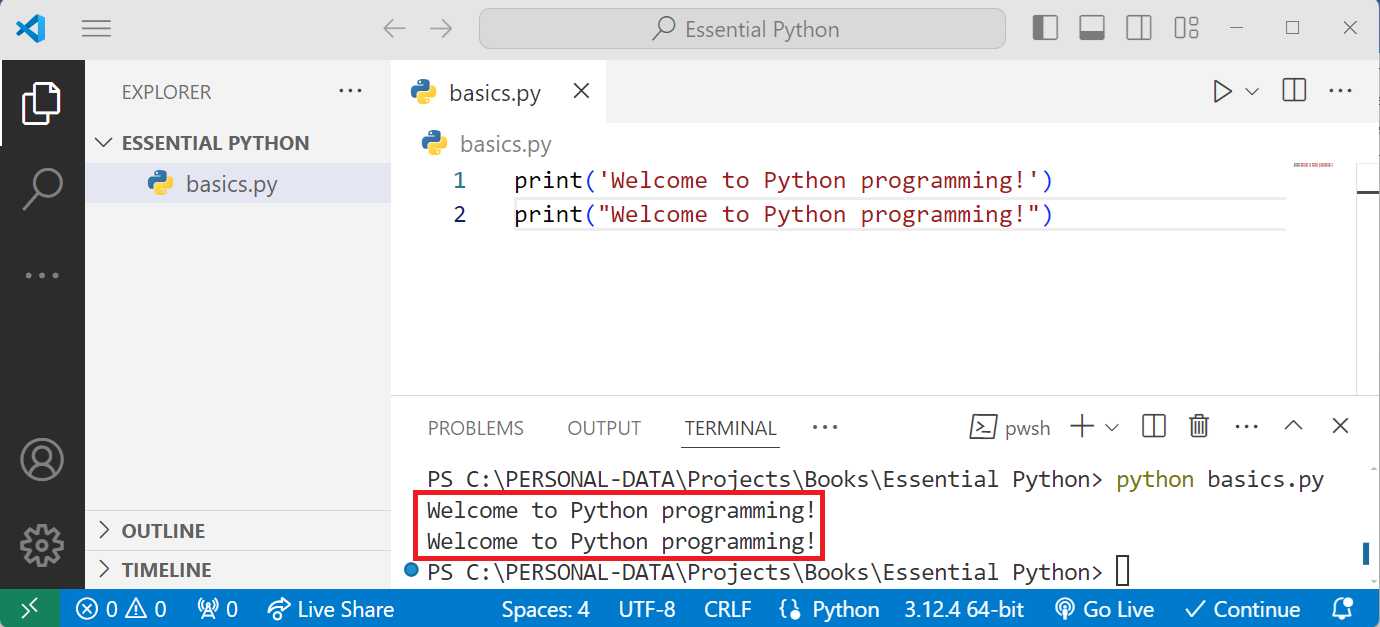
Figure 1-g: VS Code (Terminal Open with Messages)
Variables
A fundamental aspect of programming with Python is working with variables. A variable stores data that can be used later within a Python program.
Let’s examine different variable types in Python. Delete all the previous code in the basics.py file and add the following code.
Note: Comments in Python start with the # character. Python is a dynamically typed language, meaning you don’t declare a variable’s type. Python has an add-on library named typing that allows you to supply “type hints.”
Note: You can run the following code examples by opening the built-in terminal within VS Code and executing the command: python <script>.py. Replace <script> with the name of the respective Python file to execute.
Code Listing 1-e: Variable Types in Python (basics.py)
name = "Alice" # String variable anotherName = 'Alice' # String variable age = 30 # Integer variable height = 5.5 # Float variable is_student = True # Boolean variable |
First, we have a string variable called name, to which we assign Alice as a value using a string with double quotes (").
Then, we have a string variable called anotherName, to which we assign Alice as a value using a string with single quotes (').
Following that, we have an integer (number) variable called age, to which we assign 30 as a value. On the other hand, height is a float variable to which we assign 5.5 as a value.
Finally, we have the is_student variable, to which we assign a True value. The other value a boolean variable can have is False. Now, let’s print those variables.
Code Listing 1-f: Printing the Variable Types in Python (basics.py)
print("Name:", name) print("Another Name:", anotherName) print("Age:", age) print("Height:", height) print("Is Student:", is_student) |
We get the following output if we run the code by invoking the python basics.py command.
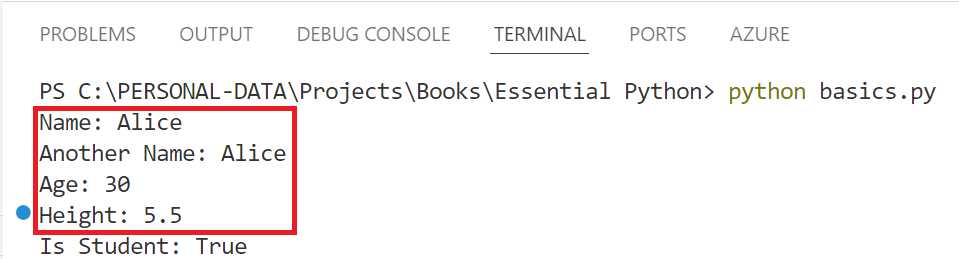
Figure 1-h: VS Code (Terminal Open with Printed Results)
As you can see, we can store values and later use them by using variables. In our case, we printed them, but as you’ll see later, we can do other operations with variables.
Lists
Lists in Python are used to store multiple items in a single variable. Lists are ordered (meaning the items have a defined order), mutable (meaning you can change their content), and can hold different data types. Let’s go ahead and create our first list.
Code Listing 1-g: Creating a List (basics.py)
fruits = ["apple", "banana", "cherry"] |
This code creates a list named fruits with three string elements: apple, banana, and cherry.
Now, let’s add some additional code on how to access an element within the list, and how to add an element to the list.
Code Listing 1-h: Lists - Accessing and Adding Elements (basics.py)
# Accessing elements in a list print("First fruit:", fruits[0]) # Adding elements to a list fruits.append("mango") print("Fruits after adding date:", fruits) |
Lists are zero-indexed, meaning the first element has an index of 0, the second element has an index of 1, and so on. In the previous code listing, fruits[0] accesses the first element in the list, apple.
The fruits.append() method adds a new item to the end of the list. In this case, fruits.append("mango") adds mango to the list. After this operation, fruits contain ["apple", "banana", "cherry", "mango"].
So, lists are a great way to store multiple items in a single variable, and they are instrumental in Python programming.
Loops
The for loop in Python iterates over each item in a collection (like a list) and executes the indented code block for each item. Let’s begin by looking at the following code.
Code Listing 1-i: For Loop – Printing a List (basics.py)
# For loop for fruit in fruits: print("Fruit:", fruit) |
This code essentially prints the list of fruits we previously created. The for fruit in fruits statement iterates over the list of fruits. On each iteration, the variable fruit holds the current item’s value in the list.
The print("Fruit:", fruit) statement, inside the for loop, prints the current value of fruit.
Let’s explore the while loop by looking at the following code.
Code Listing 1-j: While Loop (basics.py)
count = 0 while count < 3: print("Count:", count) count += 1 |
The while loop continues to execute the indented block of code as long as the condition specified is True. Let’s break this code down to understand it better.
· The statement count = 0 initializes a variable count with 0.
· while count < 3 checks if count is less than 3. If the condition is True, it executes the code block inside the loop.
· print("Count:", count) prints the current count value.
· count += 1 increments count by 1. The loop will stop executing once count reaches 3.
Conditionals
Conditionals allow you to run different code blocks depending on whether a particular condition is True or False. Let’s have a look at the following code.
Code Listing 1-k: Conditionals (basics.py)
if age < 18: print("Minor") elif age < 65: print("Adult") else: print("Senior") |
Explanation:
· The if age < 18 statement checks if age is less than 18. If True, the code block inside the if statement is executed, printing Minor.
· The elif age < 65 statement checks another condition if the previous if statement was False. If age is less than 65, it prints Adult.
· The else statement catches all other cases. If none of the previous conditions were True, it prints Senior.
Functions
Functions are blocks of reusable code that perform a specific task. They help to modularize your code, making it easier to manage, test, and reuse. Let’s look at a basic function.
Code Listing 1-l: Basic Function (basics.py)
def greet(name): """Greet a person by their name.""" return f"Hello, {name}!" print(greet("Bob")) |
Explanation:
· def greet(name) defines a function named greet that takes a parameter name.
· """Greet a person by their name.""" is a docstring, a special kind of comment used to describe the purpose of the function.
· return f"Hello, {name}!" returns a string that includes the value of name.
· print(greet("Bob")) calls the greet function with "Bob" as the argument and prints the returned string "Hello, Bob!".
Let’s look at a function with multiple parameters and a default parameter value.
Code Listing 1-m: Function with Parameters (basics.py)
def add(a, b=5): """Add two numbers.""" return a + b print("Add 3 + 4:", add(3, 4)) print("Add 3 + default 5:", add(3)) |
This function takes multiple parameters, and you can also set default values for these parameters. Let’s break this function down to understand what each part does.
· def add(a, b=5) defines a function add with two parameters, a and b. The parameter b has a default value of 5. If no argument is provided for b, it will automatically be set to 5.
· return a + b returns the sum of a and b.
· print("Add 3 + 4:", add(3, 4)) calls the add function with 3 and 4 as arguments, so a=3 and b=4. It prints 7.
· print("Add 3 + default 5:", add(3)) calls the add function with only 3 as an argument. Here, a=3, and b takes the default value 5. It prints 8.
Dictionaries
Dictionaries in Python store data in key-value pairs. They are unordered, mutable, and indexed by keys. Let’s look at the following code.
Code Listing 1-n: Dictionaries (basics.py)
person = { "name": "Charlie", "age": 28, "city": "New York" } # Accessing elements in a dictionary print("Person's name:", person["name"]) # Adding elements to a dictionary person["email"] = "[email protected]" print("Person dictionary after adding email:", person) |
Explanation:
· person = {"name": "Charlie", "age": 28, "city": "New York"} creates a dictionary named person with keys name, age, and city corresponding to the values Charlie, 28, and New York, respectively.
· You can access a dictionary value using its key, so person["email"] retrieves the value associated with the key name, Charlie.
· You can add new key-value pairs to a dictionary by assigning a value to a new key. person["email"] = "[email protected]" adds the key email with the value "[email protected]" to the person dictionary.
Tuples
A tuple is an ordered, immutable collection of items. Tuples are similar to lists but immutable, meaning that once you create a tuple, you cannot change its elements. Tuples are often used for data that should remain the same throughout the program, and to return multiple values from a function.
Code Listing 1-o: Tuples (basics.py)
coordinates = (10.0, 20.0) # Accessing elements in a tuple print("X coordinate:", coordinates[0]) print("Y coordinate:", coordinates[1]) |
Explanation:
· coordinates = (10.0, 20.0) creates a tuple named coordinates with two float elements: 10.0 and 20.0.
· Like lists, tuples are zero-indexed; thus, coordinates[0] accesses the first element, which is 10.0, and coordinates[1] accesses the second element, which is 20.0.
Classes
Classes are blueprints for creating objects (instances). An object is an instance of a class, containing both data (attributes) and functions (methods) that operate on the data.
Code Listing 1-p: Classes (basics.py)
class Dog: """A simple class representing a dog."""
def __init__(self, name, age): """Initialize the dog with a name and age.""" self.name = name self.age = age
def bark(self): """Make the dog bark.""" return f"{self.name} says woof!" # Creating an instance of the Dog class my_dog = Dog("Rex", 5) # Accessing attributes and methods print("Dog's name:", my_dog.name) print("Dog's age:", my_dog.age) print(my_dog.bark()) |
Explanation:
· class Dog defines a new class named Dog.
· """A simple class representing a dog.""" this docstring describes what the class represents.
· def __init__(self, name, age); the __init__ method is a special method called a constructor. It is automatically invoked when a new instance of the class is created. It initializes the object's attributes.
· self.name = name assigns the value of name to the object’s name attribute.
· self.age = age assigns age value to the object’s age attribute.
· def bark(self) defines a method named bark associated with instances of the Dog class.
· return f"{self.name} says woof!" returns a string where the dog’s name is included, followed by " says woof!".
· my_dog = Dog("Rex", 5) creates an instance of the Dog class with the name "Rex" and age 5. The __init__ method is called, setting my_dog.name to "Rex" and my_dog.age to 5.
· my_dog.name accesses the name attribute of my_dog, which is "Rex".
· my_dog.age accesses the age attribute of my_dog, which is 5.
· my_dog.bark() calls the bark method of my_dog, which returns "Rex says woof!".
List of objects
You can create lists containing objects, just like any other data type. Let’s consider the following code.
Code Listing 1-q: List of Objects (basics.py)
dogs = [Dog("Buddy", 3), Dog("Bella", 2), Dog("Max", 1)] for dog in dogs: print(dog.name, "is", dog.age, "years old.") |
So, dogs = [Dog("Buddy", 3), Dog("Bella", 2), Dog("Max", 1)] creates a list of Dog objects. Each Dog is instantiated with a name and age.
On the other hand, for dog in dogs iterates over each Dog object in the dogs list. Then, for each Dog object, it prints the dog’s name and age.
The finished basics.py code
Based on all the previous code snippets covered, here is what the finished basics.py code file looks like.
Code Listing 1-r: Recap of Previous Examples (basics.py)
# Variables # name = "Alice" # String variable anotherName = 'Alice' # String variable age = 30 # Integer variable height = 5.5 # Float variable is_student = True # Boolean variable print("Name:", name) print("Another Name:", anotherName) print("Age:", age) print("Height:", height) print("Is Student:", is_student) # Lists # # A list is an ordered collection of items. fruits = ["apple", "banana", "cherry"] # Accessing elements in a list print("First fruit:", fruits[0]) # Adding elements to a list fruits.append("mango") print("Fruits after adding date:", fruits) # For loop for fruit in fruits: print("Fruit:", fruit) # While loop count = 0 while count < 3: print("Count:", count) count += 1 # Conditionals # Conditionals allow you to execute different code based on conditions. if age < 18: print("Minor") elif age < 65: print("Adult") else: print("Senior") # Functions # A function is a reusable block of code that performs a specific task. def greet(name): """Greet a person by their name.""" return f"Hello, {name}!" print(greet("Bob")) # Function with multiple parameters and default parameter value def add(a, b=5): """Add two numbers.""" return a + b print("Add 3 + 4:", add(3, 4)) print("Add 3 + default 5:", add(3)) # Dictionaries # A dictionary is a collection of key-value pairs. person = { "name": "Charlie", "age": 28, "city": "New York" } # Accessing elements in a dictionary print("Person's name:", person["name"]) # Adding elements to a dictionary person["email"] = "[email protected]" print("Person dictionary after adding email:", person) # Tuples # A tuple is an ordered, immutable collection of items. coordinates = (10.0, 20.0) # Accessing elements in a tuple print("X coordinate:", coordinates[0]) print("Y coordinate:", coordinates[1]) # Classes # A class defines a blueprint for creating objects. class Dog: """A simple class representing a dog."""
def __init__(self, name, age): """Initialize the dog with a name and age.""" self.name = name self.age = age
def bark(self): """Make the dog bark.""" return f"{self.name} says woof!" # Creating an instance of the Dog class my_dog = Dog("Rex", 5) # Accessing attributes and methods print("Dog's name:", my_dog.name) print("Dog's age:", my_dog.age) print(my_dog.bark()) dogs = [Dog("Buddy", 3), Dog("Bella", 2), Dog("Max", 1)] for dog in dogs: print(dog.name, "is", dog.age, "years old.") |
Combining dictionaries and classes
Let’s look at a comprehensive example that combines dictionaries and classes to manage more complex data.
Code Listing 1-s: Dictionaries and Classes (students.py)
# Comprehensive example combining dictionaries and classes class Student: """A class representing a student.""" def __init__(self, name, grades): """Initialize the student with a name and grades.""" self.name = name self.grades = grades # Dictionary of subject: grade
def average_grade(self): """Calculate the average grade of the student.""" total = sum(self.grades.values()) count = len(self.grades) return total / count if count > 0 else 0 students = [ Student("Alice", {"math": 90, "science": 85, "english": 88}), Student("Bob", {"math": 75, "science": 80, "english": 70}), Student("Charlie", {"math": 95, "science": 100, "english": 90}), ] for student in students: print(f"{student.name}'s average grade is {student.average_grade()}") |
Explanation:
· class Student defines a new class named Student.
· def __init__(self, name, grades) The constructor initializes the name and grades attributes.
· self.grades = grades: The grades attribute is a dictionary where the keys are subjects (like "math" or "science"), and the values are the corresponding grades.
· Calculating average grade:
o def average_grade(self) defines a method to calculate the average student’s grade.
o total = sum(self.grades.values()) sums all the values (grades) in the grades dictionary.
o count = len(self.grades) counts the number of subjects.
o return total / count if count > 0 else 0 calculates and returns the average grade. If there are no grades, it returns 0 to avoid division by zero.
· Creating instances and calculating averages:
o students = [] creates a list of Student objects, each initialized with a name and a dictionary of grades.
o for student in students iterates over each Student object in the students list.
o print(f"{student.name}'s average grade is {student.average_grade()}") prints the student’s name and their average grade, calculated by the average_grade() method.
If we execute this script by running the python students.py command, we get the following results from the built-in terminal within VS Code.

Figure 1-i: VS Code (Terminal Open with Printed Results)
Recap
In conclusion, each of these snippets introduces you to the core concepts of Python, offering a solid foundation for programming in the language. Variables help you understand how to store different types of data, while lists allow you to work with ordered collections of items.
Loops enable automation by iterating over collections, and conditionals help you make decisions in your code based on specific conditions. Functions encapsulate reusable logic, making your code more efficient and modular.
Moving further, dictionaries let you manage key-value pairs, providing a flexible way to store and access data. Unlike lists but immutable, tuples offer a way to work with fixed collections. Classes introduce the concept of object-oriented programming by creating blueprints for objects, combining both data and behavior.
By incorporating dictionaries within classes, you can manage more complex data structures and operations. Together, these concepts form a comprehensive base that will support further exploration and practical application of Python in various programming tasks.
- 1800+ high-performance UI components.
- Includes popular controls such as Grid, Chart, Scheduler, and more.
- 24x5 unlimited support by developers.