.NET PDF Examples
Add Form Fields to PDFs in C# with the .NET PDF Library
The Syncfusion® .NET PDF Library offers powerful capabilities for creating, reading, and editing PDF documents. Users can create and manage PDF form fields, enabling interactive data entry, enhanced user engagement, and streamlined form‑based workflows.
Watch this video to see how to add PDF form fields using the Syncfusion .NET PDF Library.
Create interactive PDF forms in C#
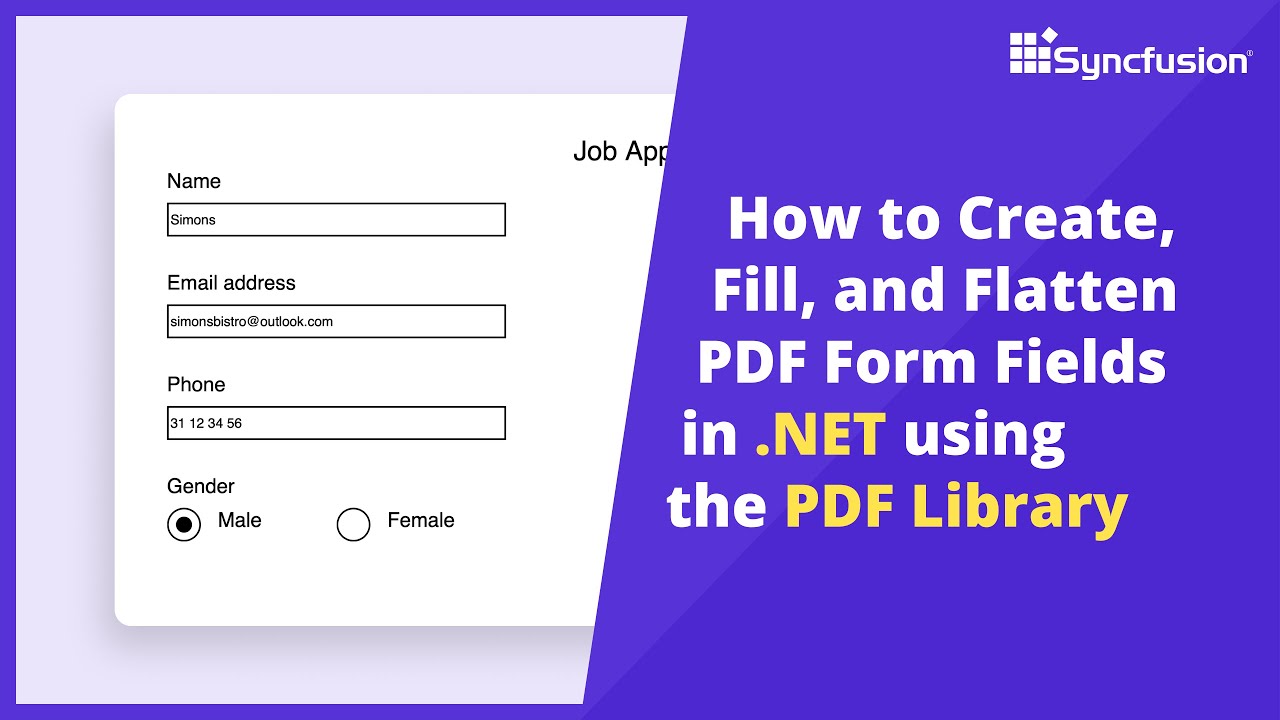
Learn how to programmatically create interactive PDF forms with text fields, checkboxes, and dropdowns in C# using the Syncfusion .NET PDF Library. This guide demonstrates fillable form creation and field customization.
Step 1: Create a new C# Console Application project
Begin by creating a new C# Console Application project in Visual Studio or your preferred IDE to implement PDF form field functionality.
Step 2: Install Syncfusion PDF NuGet package
Install the Syncfusion.Pdf.Net.Core NuGet package in your C# project from NuGet.org. This package provides the necessary APIs for creating interactive PDF forms.
Step 3: Add required namespaces for PDF form fields
Import the following namespaces in your Program.cs file to access PDF form field classes and interactive elements:
using Syncfusion.Drawing;
using Syncfusion.Pdf;
using Syncfusion.Pdf.Graphics;
using Syncfusion.Pdf.Interactive;
Step 4: Create a new PDF document and add a page
Create a new PdfDocument object and add a blank page where you’ll place the interactive form fields.
// Create a new PDF document
using (PdfDocument pdfDocument = new PdfDocument())
{
    // Add a new page to the PDF document
    PdfPage pdfPage = pdfDocument.Pages.Add();
}
Step 5: Draw the form title and labels
Create fonts and draw the form title “Job Application” and field labels on the page using the graphics object.
// Create a standard font
PdfFont font = new PdfStandardFont(PdfFontFamily.Helvetica, 16);
// Draw the title text on the page
pdfPage.Graphics.DrawString("Job Application", font, PdfBrushes.Black, new PointF(250, 0));
// Change the font size for form field labels
font = new PdfStandardFont(PdfFontFamily.Helvetica, 12);
// Draw the label "Name" on the page
pdfPage.Graphics.DrawString("Name", font, PdfBrushes.Black, new PointF(10, 20));
Step 6: Create the name text box field
Create a PdfTextBoxField for the name input. Configure its position, size, and tooltip, then add it to the document’s form fields collection.
// Create a text box field for entering the name
PdfTextBoxField nameField = new PdfTextBoxField(pdfPage, "Name");
nameField.Bounds = new RectangleF(10, 40, 200, 20);
nameField.ToolTip = "Name";
// Add the field to the form
pdfDocument.Form.Fields.Add(nameField);
Step 7: Add email address label and field
Draw the “Email address” label and create another text box field for email input. Configure its properties and add it to the form.
// Draw the label "Email address" on the page
pdfPage.Graphics.DrawString("Email address", font, PdfBrushes.Black, new PointF(10, 80));
// Create a text box field for entering the email address
PdfTextBoxField emailField = new PdfTextBoxField(pdfPage, "Email address");
emailField.Bounds = new RectangleF(10, 100, 200, 20);
emailField.ToolTip = "Email address";
// Add the field to the form
pdfDocument.Form.Fields.Add(emailField);
Step 8: Save the PDF form document
Save the PDF document with the interactive form fields using the Save method. Users can fill out these fields in PDF readers.
// Save the PDF document
pdfDocument.Save(Path.GetFullPath(@"Output/Output.pdf"));
GitHub project
NuGet installation
Get started quickly by downloading the installer and checking license information on the Downloads page.
Table of contents
Explore these resources for comprehensive guides, knowledge base articles, insightful blogs, and ebooks.
Learning


Technical Support


