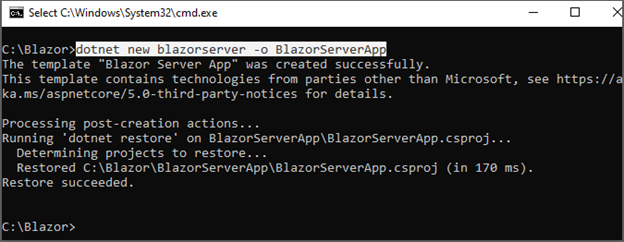
Follow these steps to create a Blazor WebAssembly (client-side) application using a command-line interface (CLI).
Create a Blazor WebAssembly App in CLI
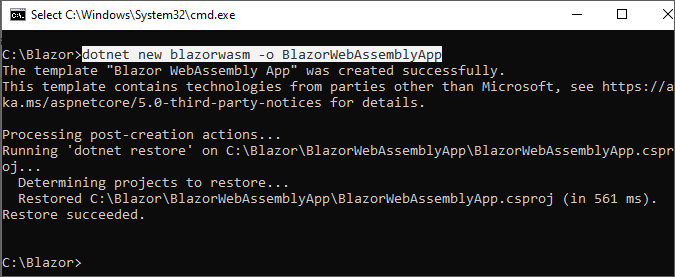
Open a command prompt where you want your project to be located and run the following command.
| dotnet new blazorwasm -o BlazorWebAssemblyApp |
Navigate to Blazor WebAssembly App
Run the cd BlazorWebAssemblyApp command to navigate to the BlazorWebAssemblyApp folder.
Run the application
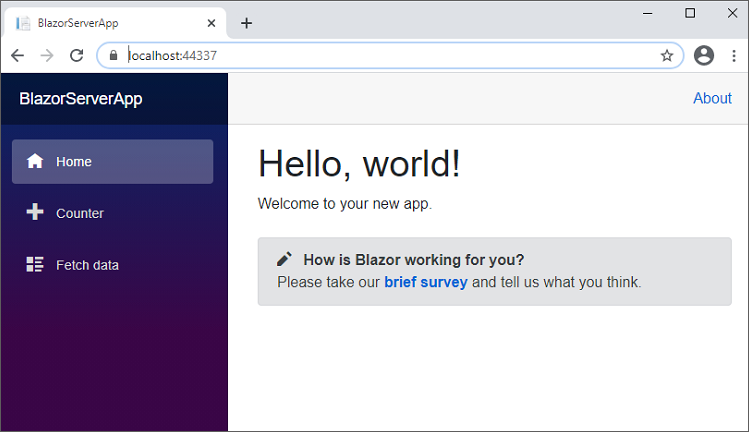
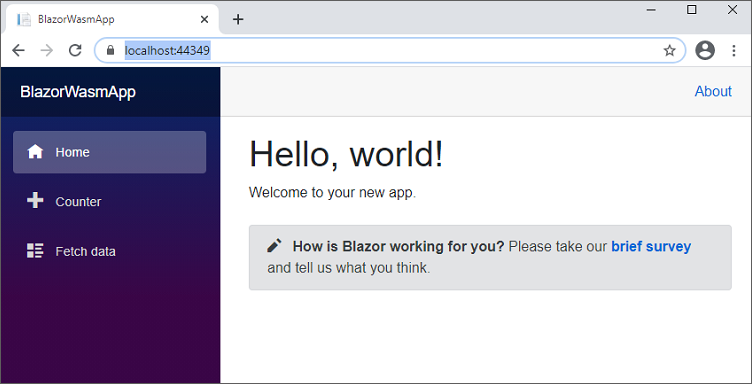
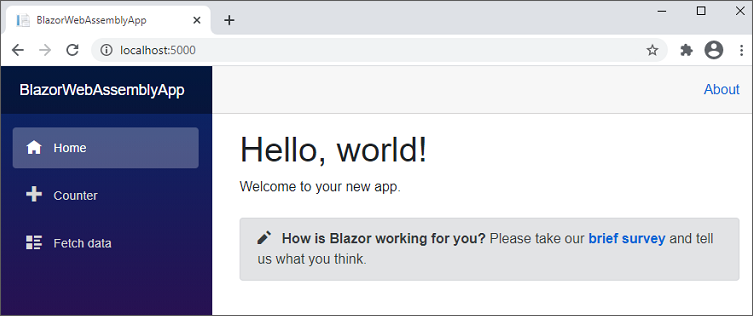
The dotnet run command runs the application. See the following output in the default browser.
Note: If you have installed multiple SDK versions and need a specific framework version (e.g., net5.0, netcoreapp3.1) project, then add the -f flag to the dotnet new blazorwasm command. Refer here for the available flag options.
Permalink