This article will walk you through the process of launching a React app that utilizes Syncfusion React components in a Docker environment.
Docker is an open-source platform that automates the deployment, scaling, and management of applications, especially those built with microservices architecture. It allows developers to package applications in containers, which are self-contained units including everything needed to run the app, such as code, runtime, system tools, libraries, and settings.
The Syncfusion React UI components library is a comprehensive suite of over 80 high-performance, lightweight, modular, and responsive UI components that come in a single package.
Before diving into the steps of launching a Syncfusion React app in Docker, let’s look at the prerequisites you’ll need to have.
Prerequisites
You first need the Docker setup installed on your machine. Follow the Install Docker Desktop documentation instructions.
You’ll also need the basic requirements for utilizing Syncfusion React components. Refer to the System Requirements documentation for details.
Create a React app with Syncfusion React components
To create a React app that uses the Syncfusion React Data Grid component, follow the steps provided in this documentation. Once you have created the app, you can integrate it with Docker.
Integrate the React app into Docker
You then need to create a container image to integrate the React app with Docker. A container image is an instruction manual for creating a Docker container, which is a runnable image instance. You can manage containers using the Docker API or CLI.
Step 1: Create a container image.
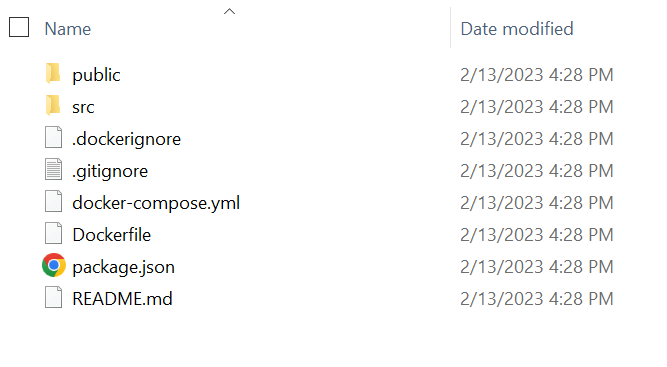
To create the container image, you need to create a Docker file in the root directory of the React app. The Docker file contains instructions for generating the container image. The following is an example of what the Docker file might look like.
Once the Docker file is created, add the relevant code snippet to generate the container image for the React app.
# Dockerfile

# Use an existing node alpine image as a base image.
FROM node:18-alpine

# Set the working directory.
WORKDIR /app

# Copy the package.json file.
COPY package.json .

# Install application dependencies.
RUN npm install

# Copy the rest of the application files.
COPY . .

# Expose the port.
EXPOSE 3000

# Run the application.
CMD [“npm”, “start”]
As per the configuration, Docker will copy the React app into the app container folder. During the creation of the React app, the node module files will be installed automatically. You can also keep these files or directories from being copied to the container using the dockerignore file.
Refer to the following code example.
// .dockerignore file

node_modules
Dockerfile
.git
.gitignore
.dockerignore
Step 2: Build a Docker container using Docker Compose.
Now, we’ll build a Docker container using the Docker Compose tool, designed to define and operate multi-container Docker apps. With just a single command, Docker Compose provides an easy way to set up and launch a group of connected containers.
To utilize Docker Compose, create a docker-compose.yml file and specify your app’s services, networks, and volumes.
Refer to the following code example.
# docker-compose.yml

# Reference compose file version 3
version: “3”
services:
# Service name is react-app
react-app:
# build from Dockerfile
build: .
# expose 3000 as hosting port & 3000 in container port
ports:
- “3000:3000”
environment:
#Provide your license key for activation as environment variable to docker container
REACT_APP_SYNCFUSION_LICENSE_KEY: ${REACT_APP_SYNCFUSION_LICENSE_KEY}
Step 3: Run the Docker container.
Finally, run the Docker container using the following Docker Compose command.
Docker-compose up
Now, you can check the container status in the Docker Desktop app’s container tab.
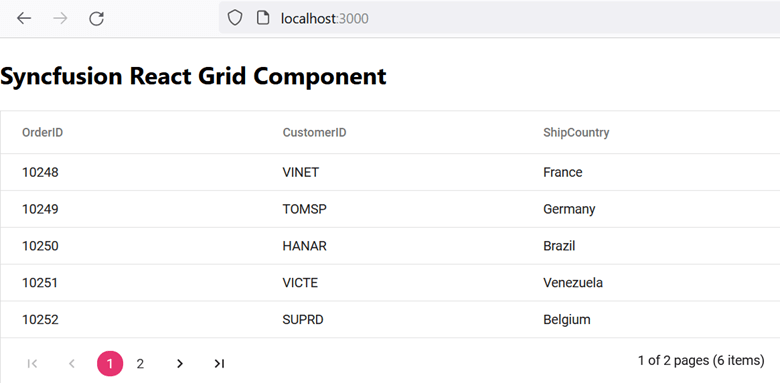
The React application will be accessible at http://localhost:3000/, and the output will look like the following image.

GitHub repository
Check out the complete code example to launch the Syncfusion React app on the Docker environment on GitHub.

Explore the endless possibilities with Syncfusion’s outstanding React UI components.
Conclusion
Thanks for reading! In this blog, we’ve learned how to launch a React app that utilizes Syncfusion React components in a Docker environment. Try the steps discussed in this blog post and leave your feedback in the comments section below!
The new version of Essential Studio® is available for existing customers from the License and Downloads page. If you are not a Syncfusion customer, try our 30-day free trial to check out our available features.
You can also contact us through our support forums, support portal, or feedback portal. We are always happy to assist you!
Related blogs
- Easily Integrate the React Image Editor into the Rich Text Editor
- Empowering Mobile Users with Syncfusion React Data Grid’s Adaptive UI Layout
- Integrating Google Calendar Events with Syncfusion React Scheduler [Webinar Show Notes]
- Creating a CRUD-Enabled Scheduling App with Syncfusion React Scheduler, Node.js, and PostgreSQL

Comments (1)
Nice article, but I think that this will be good for development, while in production you should use NGINX.
The key is to build the app once and run it multiple times, so support for the runtime environment is missing – https://github.com/kunokdev/cra-runtime-environment-variables
In production, you build he frontend once and deploy it multiple times (you connect to different API servers). Changing an API server shouldn’t involve rebuilding the entire container, just replacing a single variable in Docker or Portainer, but this should be a part of the next article.