
RESTful services have become the de facto standard for writing web applications. They help us expose resources on the internet using simple HTTP requests. REST (representational state transfer) is an architectural style that enables developers to create web services that are easy to build, read, and maintain. This approach allows the developers to focus on the business logic of their application instead of worrying about how data is transmitted over the network.
Our Syncfusion Blazor Scheduler is a fully-featured calendar component. It allows users to manage their time efficiently. It facilitates easy resource scheduling, rescheduling appointments through editor pop-ups, drag and drop, and resizing actions.
This blog explains the steps to synchronize data between the Syncfusion Blazor Scheduler and RESTful services.
Let’s get started!
Project setup
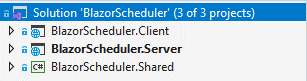
First, create a simple Blazor-hosted(WebAssembly) application. Refer to the Getting started with Blazor ASP.NET Core-hosted apps in the Visual Studio page for the introduction and project creation steps.
The project will look like in the following screenshot.
 Now, refer to the Adding a component package to the application page to add the Blazor Scheduler component to your application.
We are going to use Entity Framework Core and data migration commands to create an SQL database and table. So, install the Microsoft.EntityFrameworkCore and Microsoft.EntityFrameworkCore.SqlServer NuGet packages to perform these actions in the server project.
Creating models
Let’s create the required database models for the application.
Create a new folder from the project shared directory under the name Models.
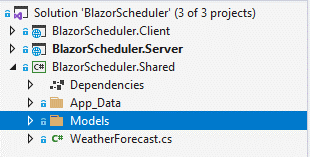
Then, create an event model class named EventModel inside the Models folder. Refer to the following code example.
EventModel.cs
public class EventModel
{
    public int Id { get; set; }
    public string Subject { get; set; }
    public DateTime? StartTime { get; set; }
    public DateTime? EndTime { get; set; }
    public string StartTimezone { get; set; }
    public string EndTimezone { get; set; }
    public string Location { get; set; }
    public string Description { get; set; }
    public bool? IsAllDay { get; set; }
    public bool? IsBlock { get; set; }
    public bool? IsReadOnly { get; set; }
    public int? FollowingID { get; set; }
    public int? RecurrenceID { get; set; }
    public string RecurrenceRule { get; set; }
    public string RecurrenceException { get; set; }
    public int? OwnerId { get; set; }
}
Now, create a resource model class named ResourceModel inside the Models folder.
ResourceModel.cs
public class ResourceModel
{
    public int Id { get; set; }
    public string Name { get; set; }
    public string Color { get; set; }
}
Note: Refer to the Create a data model documentation to learn more about EntityFramework data model creation.
Syncfusion Blazor Scheduler helps you create intuitive booking, event, and calendar experiences with built-in views, recurring appointments, editing, rescheduling, localization, and flexible customization.
See Blazor Scheduler in ActionCreating a database and context
Here, we will create an SQL database based on the models in this application. Refer to the documentation on creating the database and tables based on the models.
After creating the database, we have to add the resource table data to it to retrieve the resource initially. In this app, the local SQL database is named ScheduleData.mdf and is available under the App_Data folder for reference.
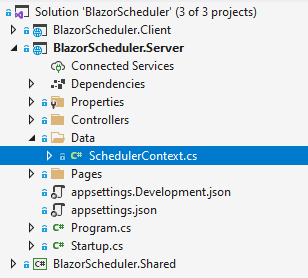
The next step is to creating a context for the database. Create a SchedulerContext class under the data folder in the server project. Refer to the following screenshot.
 In the SchedulerContext class, configure the database models into a database table like in the following code example.
public class SchedulerContext : DbContext
{
    public SchedulerContext(DbContextOptions<SchedulerContext> options) : base(options) { }

    public virtual DbSet<EventModel> EventModels { get; set; }
    public virtual DbSet<ResourceModel> ResourceModels { get; set; }

    protected override void OnModelCreating(ModelBuilder modelBuilder)
    {
        modelBuilder.Entity<EventModel>().ToTable("EventData");
        modelBuilder.Entity<ResourceModel>().ToTable("ResourceData");
    }
}
Thus, we have successfully created the database and its context.
Configuring the database
Next, register the SchedulerContext class in the startup class of the ConfigureServices section.
Refer to the following code.
services.AddDbContext<SchedulerContext>(context => context.UseSqlServer("<database connection string>"));Now, we have successfully connected the app with the database.
Adding API controllers
Then, we create API controllers to perform CRUD actions with the RESTful services. Create the ScheduleController and ResourceController APIs under the Controllers folder in the server project to easily retrieve, update, and remove events data in the database.
ScheduleController.cs
[Route("api/[controller]")]
[ApiController]
public class ScheduleController : ControllerBase
{
    private readonly SchedulerContext _context;

    public ScheduleController(SchedulerContext context)
    {
        _context = context;
    }

    [HttpGet]
    public IEnumerable<EventModel> Get()
    {
        return _context.EventModels.ToList();
    }

    [HttpPost]
    public void Post([FromBody] EventModel eventModel)
    {
        if (ModelState.IsValid)
        {
            try
            {
                _context.EventModels.Add(eventModel);
                _context.SaveChanges();
            }
            catch
            {
                throw;
            }
        }
    }

    [HttpPut("{id}")]
    public void Put(int id, [FromBody] EventModel eventModel)
    {
        if (ModelState.IsValid)
        {
            try
            {
                _context.Entry(eventModel).State = EntityState.Modified;
                _context.SaveChanges();
            }
            catch
            {
                throw;
            }
        }
    }

    [HttpDelete("{id}")]
    public void Delete(int id)
    {
        if (ModelState.IsValid)
        {
            try
            {
                EventModel eventModel = _context.EventModels.Find(id);
                _context.EventModels.Remove(eventModel);
                _context.SaveChanges();
            }
            catch
            {
                throw;
            }
        }
    }

}
ResourceController.cs
[Route("api/[controller]")]
[ApiController]
public class ResourceController : ControllerBase
{
    private readonly SchedulerContext _context;

    public ResourceController(SchedulerContext context)
    {
        _context = context;
    }

    [HttpGet]
    public IEnumerable<ResourceModel> Get()
    {
        return _context.ResourceModels.ToList();
    }
}
Note: Refer to the Add Web API Controllers documentation to synchronize data between the app and server.
Configure RESTful services into Blazor Scheduler
Finally, render the Syncfusion Blazor Scheduler component in the index.razor file in the client project with the RESTful API services. Use the Data Manager to perform data processing between the Blazor Scheduler and RESTful services.
Refer to the following example code.
Index.razor
@using BlazorScheduler.Shared.Models
@using Syncfusion.Blazor
@using Syncfusion.Blazor.Data
@using Syncfusion.Blazor.Schedule
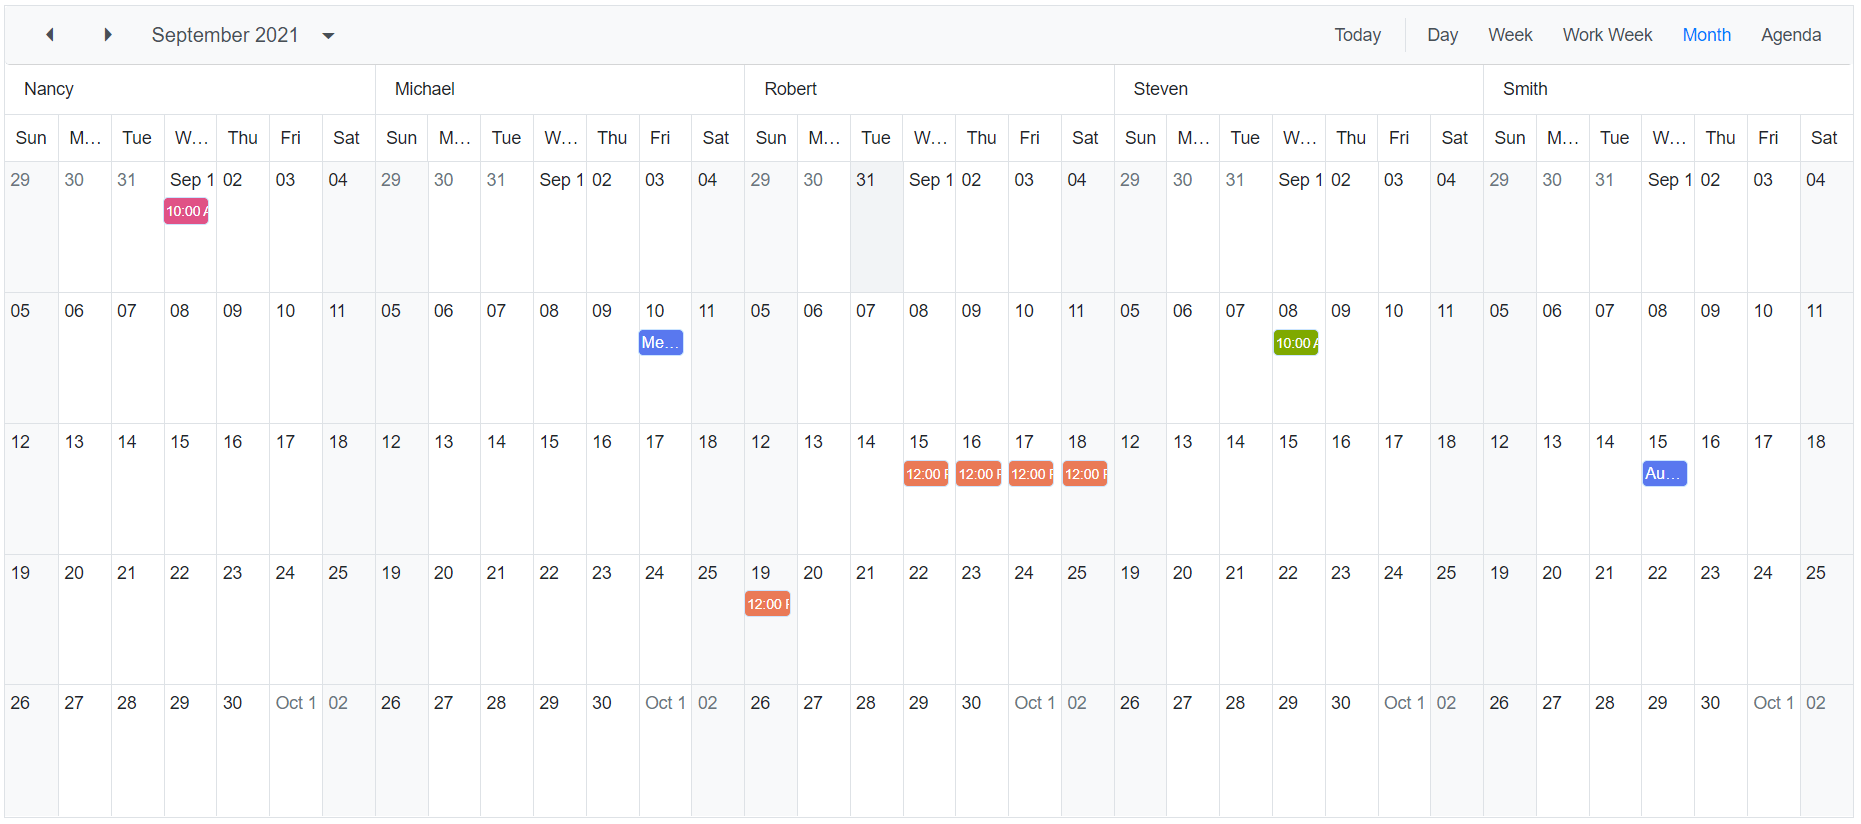
<SfSchedule TValue="EventModel" Width="100%" Height="650px" CurrentView="View.Month" SelectedDate="new DateTime(2021, 9, 1)">
<ScheduleGroup Resources="@GroupData"></ScheduleGroup>
<ScheduleResources>
<ScheduleResource TItem="ResourceModel" TValue="int" Field="OwnerId" Title="Choose Owner" Name="Owners" IdField="Id" TextField="Name" ColorField="Color">
<SfDataManager Url="/api/Resource" Adaptor="Adaptors.WebApiAdaptor"></SfDataManager>
</ScheduleResource>
</ScheduleResources>
<ScheduleEventSettings TValue="EventModel">
<SfDataManager Url="/api/Schedule" Adaptor="Adaptors.WebApiAdaptor"></SfDataManager>
</ScheduleEventSettings>
</SfSchedule>
@code{
private string[] GroupData = new string[] { "Owners" };
}After synchronizing the RESTful services with the Blazor Scheduler, we can easily retrieve data from the RESTful services even at the initial load of the Blazor Scheduler.
For every CRUD action in the Blazor Scheduler, the data will properly synchronize with the database using the RESTful services.
GitHub reference
You can check out the complete GitHub demo for Synchronizing Blazor Scheduler events and resource data with RESTful services.
Summary
Thanks for reading! This blog provided the easy steps to synchronize events and resource data in the Syncfusion Blazor Scheduler with RESTful services. This will help you integrate your app with RESTful services and enjoy its benefits. So, try out the steps in this blog post and leave your feedback in the comments section below.
Syncfusion Essential Studio® for Blazor offers over 65 high-performance, lightweight, and responsive UI components for the web, including file-format libraries, in a single package. Use them to enhance your app’s look!
For existing customers, the latest version is available for download from the License and Downloads page. If you are not yet a Syncfusion customer, you can try our 30-day free trial to check out the available features. Also, try out our other demos from this GitHub location.
You can also contact us through our support forums, Direct-Trac, or feedback portal. We are always happy to assist you!


 No spam, just valuable updates.
Comments (1)
Hi Sellakumar
Thanks for this article, it has really helped me a lot. The only issue I am having is when I try to edit an appointment, I just get a 404 error, and I can’t establish why. Any pointers would be gratefully received.
Thanks and regards
Peter