
Cloud storage is a service that allows users to store any digital files in a remote server, from which they can be easily accessed by any device.
Azure Blob Storage is a service that enables you to upload and store large amounts of files in the cloud. It allows you to store your data cost-effectively while keeping it easily accessible using code or a direct storage client library.
Our Syncfusion Blazor File Upload component can help upload one or more images, documents, audio, video, and other files to a server. It is an extended version of the HTML 5 upload component (<input type=” file”>). Its rich feature set includes multiple-file selection, progress bars, auto uploading, drag and drop, folder (directory) uploading, file validation, and more.
In this article, we will learn how to upload files to Azure Blob Storage using the Syncfusion Blazor File Upload component by looking at code examples.
We are going to divide the article into the following sections:
- Creating Azure storage.
- Uploading files to Azure with ASP.NET Core-hosted Blazor WebAssembly (WASM).
Prerequisites
Creating Azure storage
First, sign in to the Azure portal to create a storage account. If you don’t have a subscription, create a free subscription account and follow these steps:
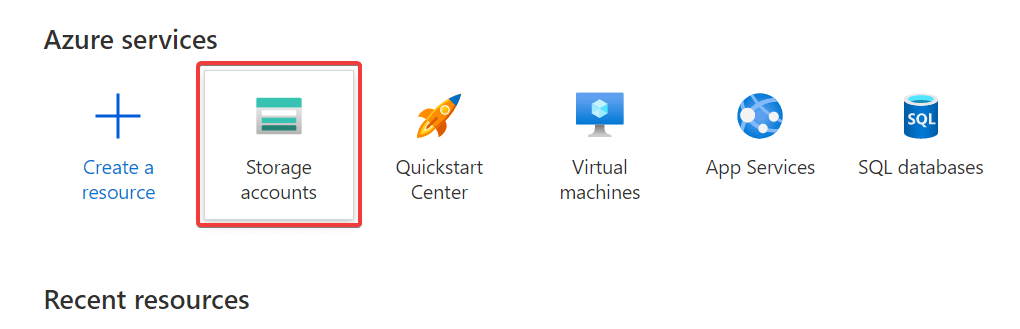
Step 1: Select the Storage accounts option from the portal menu at the top.
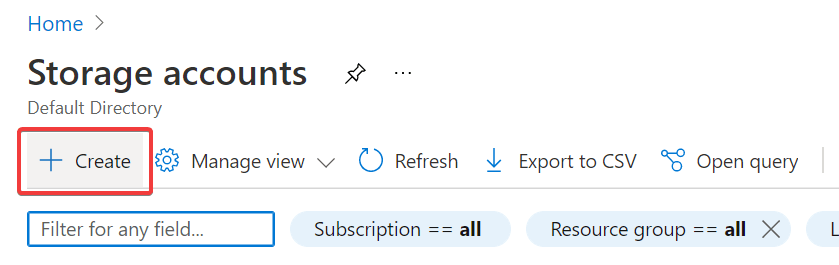
 Step 2: Then, on the Storage accounts page, select Create.
 Options for your new storage account will be listed on the Create a storage account page.
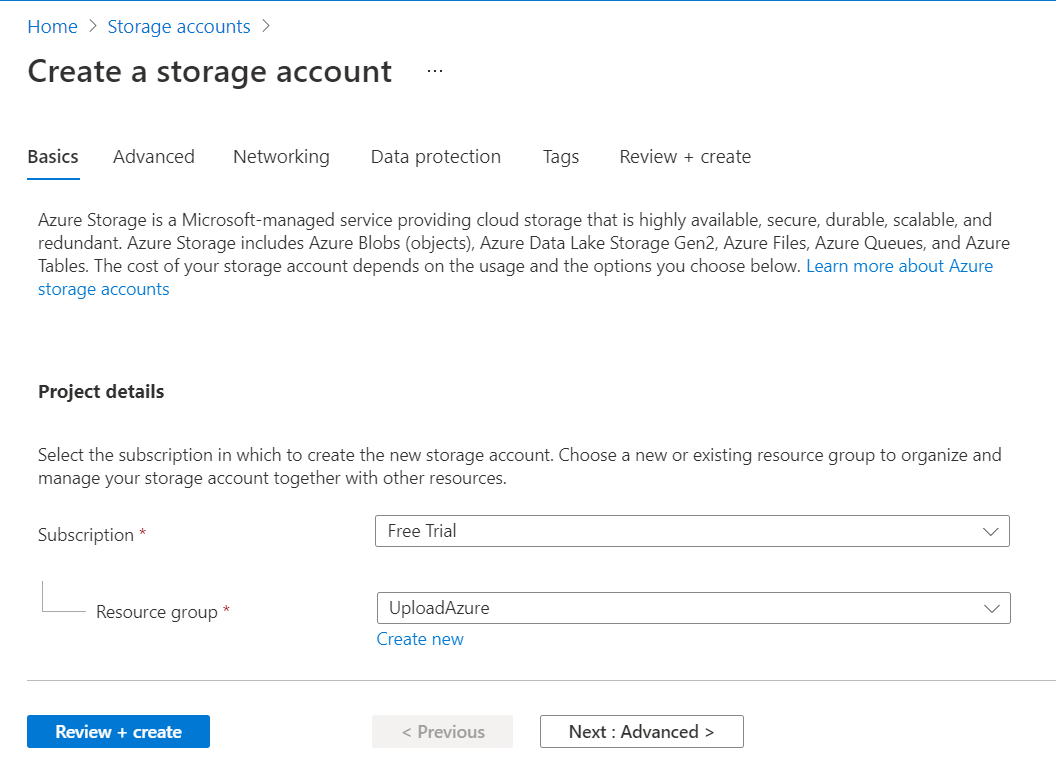

Step 3: In the Basics tab, provide the following basic details of your storage account:
- The existing resource group (or create a new one).
- The name of your storage account.
- The region, performance, and redundancy.
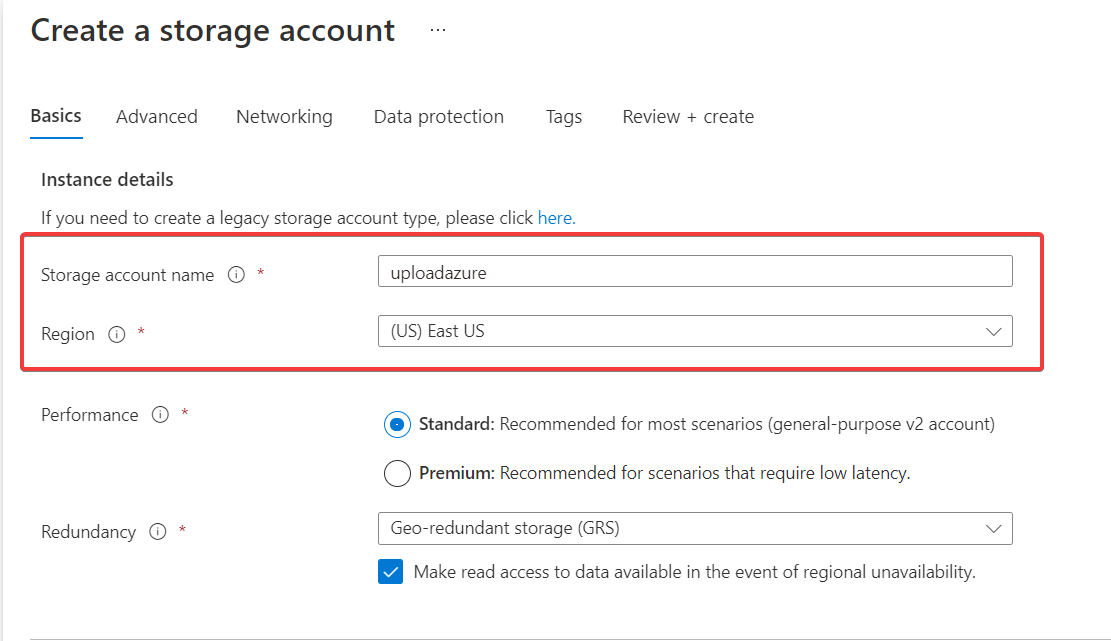
Note: The check box Make read access to data available in the event of regional unavailability will be checked by default.
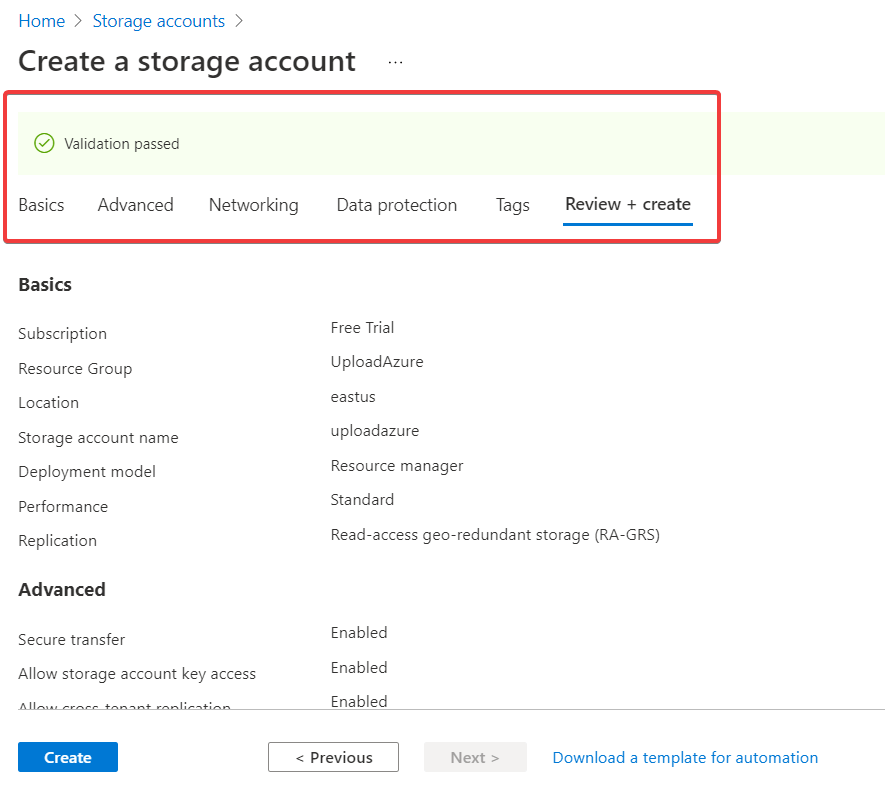
Step 4: In the other tabs, don’t change anything. Click Next until you reach the Review+Create tab. Then, your validation will pass. Refer to the following screenshot.
Note: For more details about the options in the other tabs, refer to Create a storage account documentation.
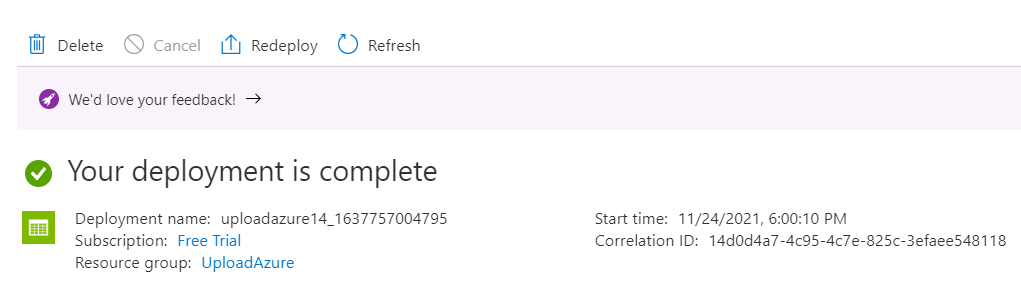
Step 5: Now, click the Create and wait for the deployment to complete. After deployment, you will see a screen like in the following screenshot.
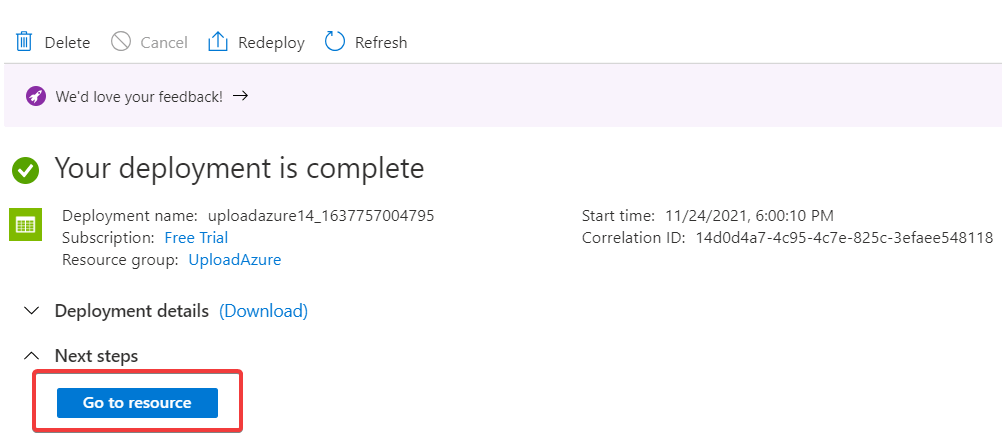
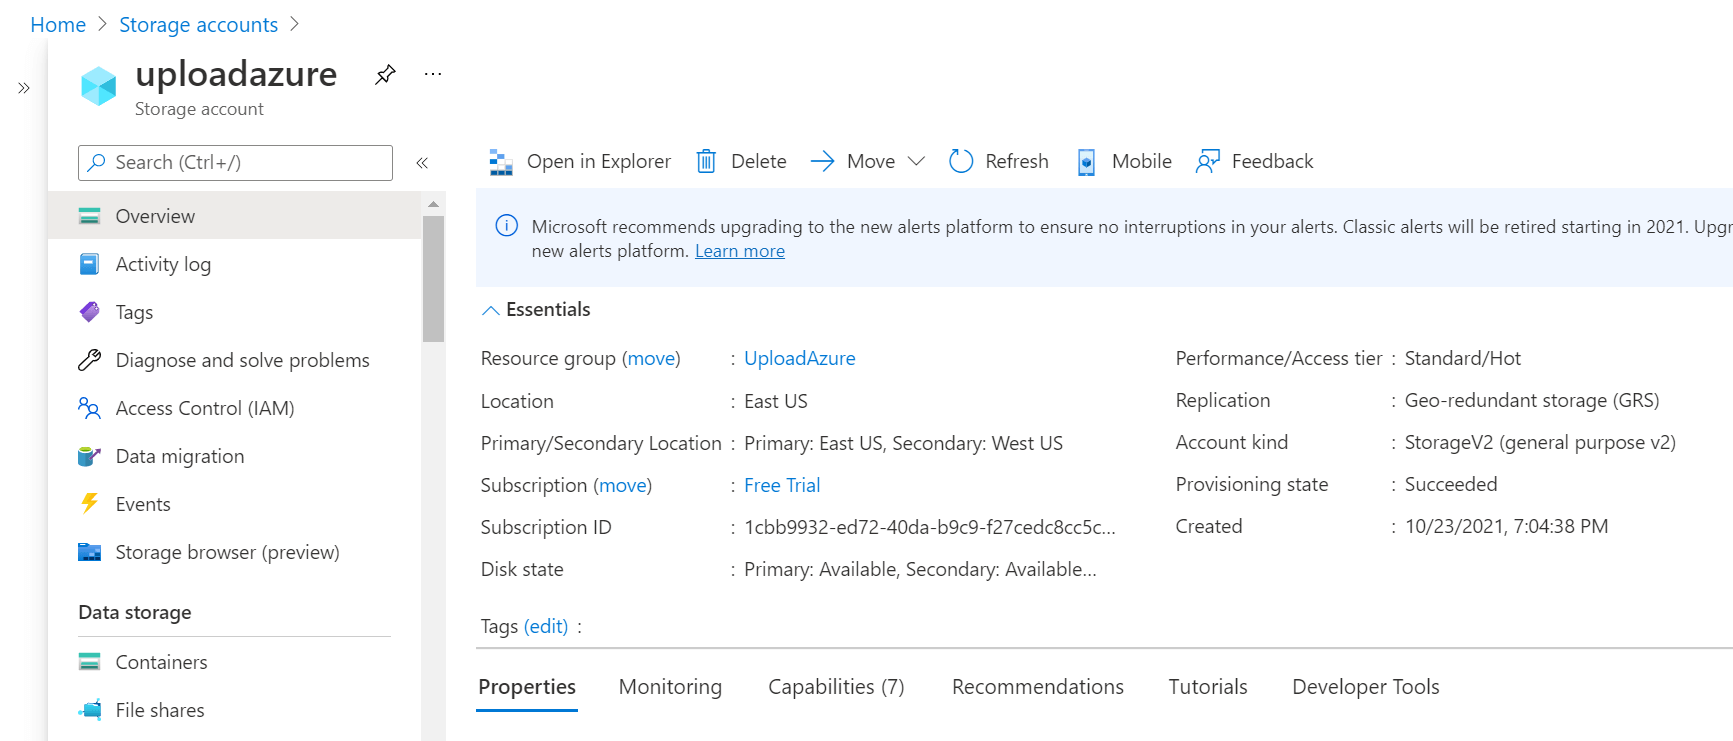
 Step 6: After successful deployment, click Go to resource to see your storage.
 Now, your storage will look like the following screenshot.
 Step 7: From the left portal menu, select Access keys and copy your Key and Connection string. We will use them later in our application.
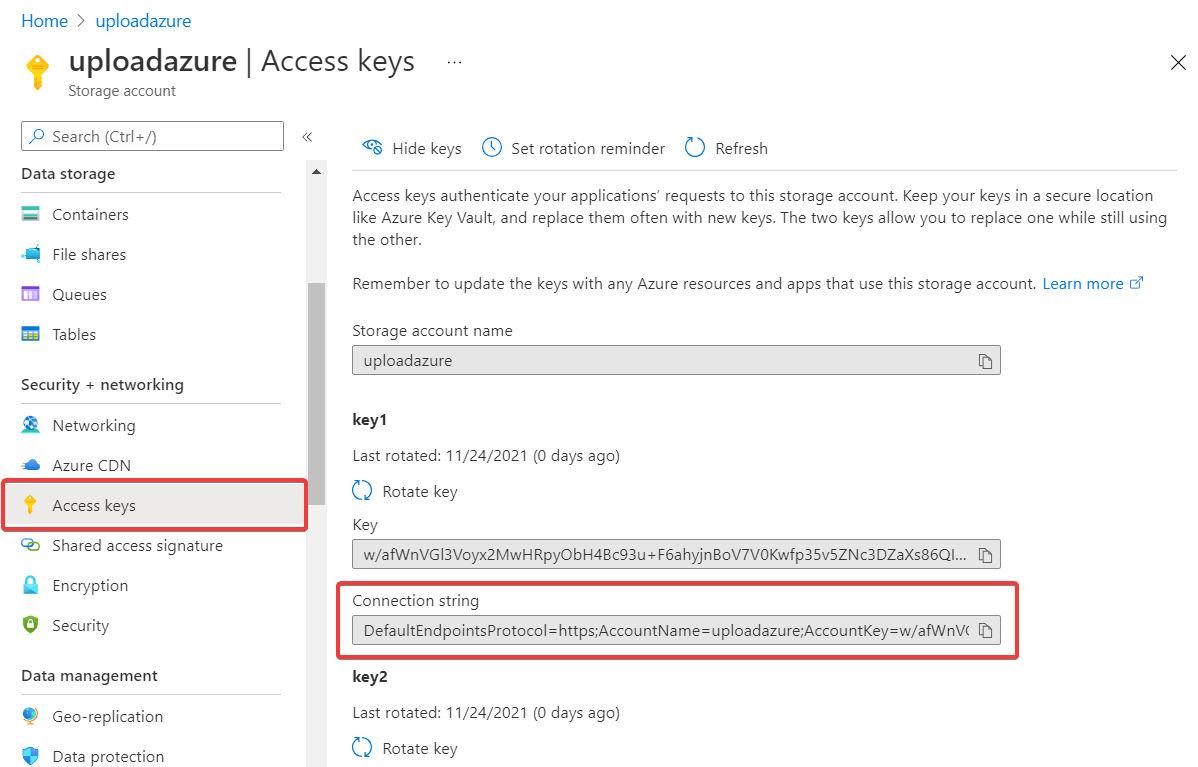
Upload files to Azure with ASP.NET Core-hosted Blazor WebAssembly (WASM)
Create an ASP.NET Core-hosted Blazor WebAssembly app and add the required model and controller classes. We now have three project files inside the solution:
Client: Contains the client-side code and the pages that will be rendered in the browser.
Server: Contains the server-side code, such as DB-related operations and the Web API.
Shared: Contains the shared code that can be accessed at both the client and server.
Add Blazor File Upload component in the client project
In the client project, add the Syncfusion Blazor File Upload component in the Index.razor page under the Pages folder. For more details, refer to the Getting Started with Blazor File Upload Component documentation.
The following code renders the Blazor File Upload component.
<SfUploader AutoUpload="true" Multiple="false" ID="UploadFiles" MaxFileSize="5000000">
</SfUploader>
Add upload handler to the server project
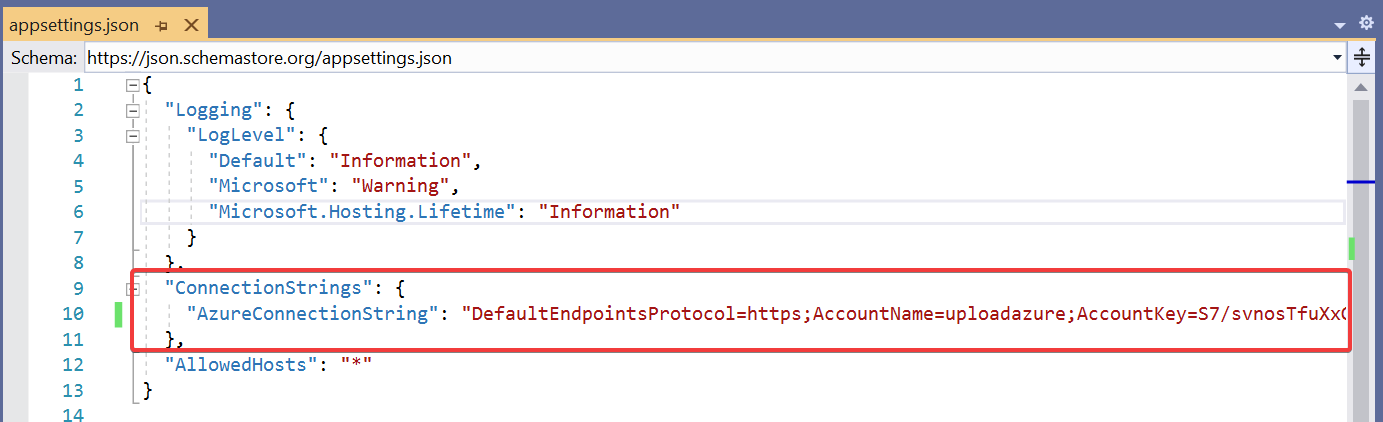
Step 1: Now, include the connection string details in the appsettings.json file. Refer to the following screenshot.
 You can get the connection string in the Access keys section of your storage account. Refer to the following screenshot.
Step 2: Then, install the Azure.Storage.Blob library to work with the Azure Storage Blob service.
 Step 3: Add the Save action controller in the UploadAzureController file under the Controllers folder.
Step 4: In the UploadAzureController, extract the Azure connection string from the appsettings.json file and store it in the private variable (azureConnectionString).
Refer to the following code.
[Route("api/[controller]")]
[ApiController]
public class UploadAzureController : ControllerBase
{
    private readonly string azureConnectionString;
    public UploadAzureController(IConfiguration configuration)
    {
        azureConnectionString = configuration.GetConnectionString("AzureConnectionString");
    }
}
Step 5: Now, add the Upload action to upload the files to the Azure Blob storage.
[HttpPost("[action]")]
public async Task Upload(IList<IFormFile> UploadFiles)
{
    try
    {
        foreach (var files in UploadFiles)
        {
            // Azure connection string and container name passed as an argument to get the Blob reference of the container.
            var container = new BlobContainerClient(azureConnectionString, "upload-container");

            // Method to create our container if it doesn’t exist.
            var createResponse = await container.CreateIfNotExistsAsync();

            // If container successfully created, then set public access type to Blob.
            if (createResponse != null && createResponse.GetRawResponse().Status == 201)
                await container.SetAccessPolicyAsync(Azure.Storage.Blobs.Models.PublicAccessType.Blob);

            // Method to create a new Blob client.
            var blob = container.GetBlobClient(files.FileName);

            // If a blob with the same name exists, then we delete the Blob and its snapshots.
            await blob.DeleteIfExistsAsync(Azure.Storage.Blobs.Models.DeleteSnapshotsOption.IncludeSnapshots);

            // Create a file stream and use the UploadSync method to upload the Blob.
            using (var fileStream = files.OpenReadStream())
            {
                await blob.UploadAsync(fileStream, new BlobHttpHeaders { ContentType = files.ContentType });
            }
        }
    }
    catch (Exception e)
    {
        Response.Clear();
        Response.StatusCode = 204;
        Response.HttpContext.Features.Get<IHttpResponseFeature>().ReasonPhrase = "File failed to upload";
        Response.HttpContext.Features.Get<IHttpResponseFeature>().ReasonPhrase = e.Message;
    }
}
Step 6: Then, add the upload action URL to the Syncfusion Blazor File Upload component.
<SfUploader AutoUpload="true" Multiple="false" ID="UploadFiles" MaxFileSize="5000000">
    <UploaderAsyncSettings SaveUrl="api/UploadAzure/Upload"></UploaderAsyncSettings>
</SfUploader>
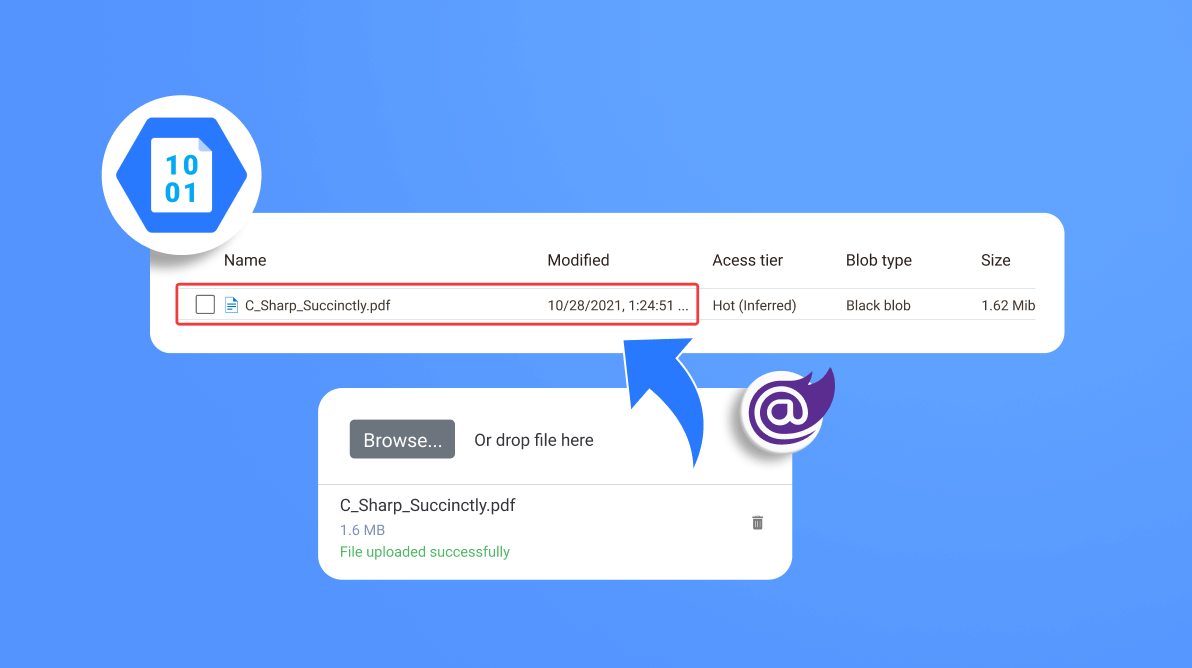
Step 7: Finally, execute the project, select the files, and upload them.
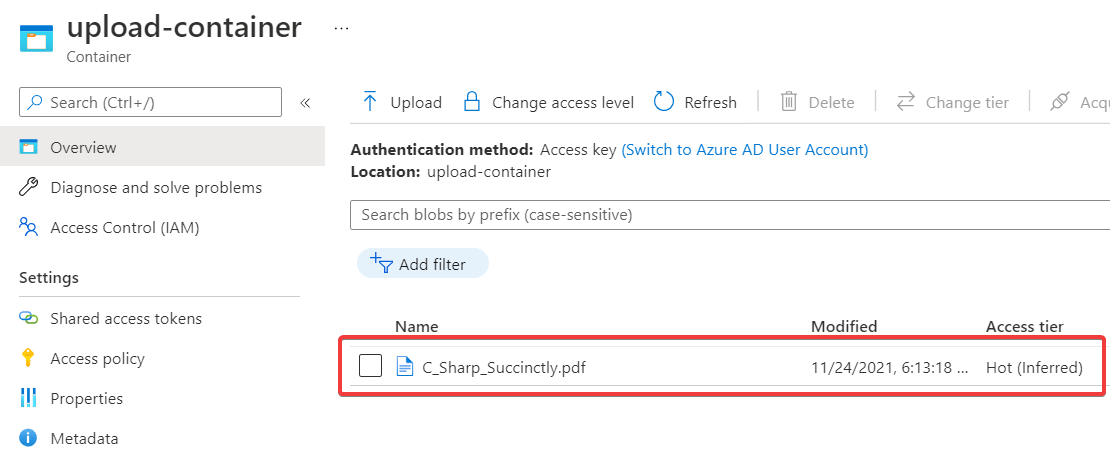
 Thus, we have uploaded our files in Azure Blob Storage in a Blazor WebAssembly application. Refer to the following screenshot.
GitHub reference
For more details, refer to the Upload files to Azure Blob storage using the Blazor File Upload demo.
Conclusion
Thanks for reading! In this blog, we have seen the simple procedures to upload Blazor files in the Azure Blob Storage using the Syncfusion Blazor File Upload component. With this, you can easily store your huge amount of files in the cloud and access them anywhere and anytime. Try out the steps here and leave your feedback in the comments section below!
Syncfusion Essential Studio® for Blazor offers over 70 high-performance, lightweight, and responsive UI components for the web, including file-format libraries, in a single package. Use them to build stunning web applications!
You can also contact us through our support forum, Direct-Trac, or feedback portal. We are always happy to assist you!


 No spam, just valuable updates.
Comments (3)
How would this be achieved in Blazor Server ?
Thanks!
I have followed this tutorial and I get an error “failed to upload” when testing, are there any specific settings I need to set on my storage account for this to work?
When I download you project and run it in Visual Studio 2022 I only get a blank page.
If I set the client project to startup project I get errors.
How to get it to run?
Could it be blazor related?