
TL;DR: Syncfusion ASP.NET Core Smart TextArea component is introduced in the 2025 Volume 4 release. It brings AI‑powered sentence‑level autocompletions to your apps. It integrates seamlessly with OpenAI, Azure OpenAI, or Ollama to deliver smart, context‑aware suggestions that enhance writing workflows and boost overall productivity.
As developers, we’re always looking for ways to enhance productivity and deliver smoother, more intuitive user experiences. Syncfusion® ASP.NET Core UI Controls already provide a strong toolkit for building modern, high‑performance applications, and with the introduction of the new Smart TextArea, things get even better.
Released in the 2025 Volume 4 update, the Smart TextArea brings AI‑assisted writing directly into your ASP.NET Core apps.
In this guide, we’ll explore what the Smart TextArea offers and how to integrate it into your app. We’ll also learn how to connect the control to Azure OpenAI, OpenAI, or Ollama to power real‑time, sentence‑level autocompletions.
Ready to enhance your users’ writing workflow? Let’s get started.
Why the Smart TextArea matters
A standard textarea allows basic text entry, but nothing more. The Smart TextArea changes this by introducing intelligent, AI‑driven writing assistance directly within the editing experience.
With sentence‑level autocompletions based on your configuration and the user’s input, the Smart TextArea helps users write faster, communicate more clearly, and reduce repetitive typing. Whether someone is replying to an issue, drafting an email, or participating in a chat, the control becomes a helpful writing companion that improves productivity with every keystroke.
Key benefits
- AI‑powered sentence completion: Provides context‑aware predictions to help users finish sentences efficiently.
- Customizable suggestions: Supports both predefined phrases and AI‑generated completions tailored to technical, conversational, or customer‑support contexts.
- Real‑time assistance: Offers instant suggestions to improve clarity, reduce errors, and accelerate content creation.
- Seamless integration: Easily integrates into ASP.NET Core apps to deliver AI‑assisted writing across text‑based workflows.
How it works
The Smart TextArea for ASP.NET Core enhances the standard textarea by applying real‑time, AI‑driven analysis to the user’s input.
Here’s what happens behind the scenes:
- The control monitors what the user is typing and detects context based on previous words or phrases.
- It checks for predefined suggestions that you configure.
- When enabled, it sends the user’s partial text to the connected AI model.
- The model generates the most suitable sentence‑level continuation.
- The Smart TextArea displays several potential completions, and the user can accept or refine them instantly.
This creates a smooth, intelligent writing experience, especially useful in communication‑heavy workflows.
Example scenarios
- Typing “To investigate” in a GitHub issue reply may prompt “We will need a reproducible example as a public Git repository.”
- Entering “Hello!” in a customer support chat may prompt: “How can I assist you today?”
These context‑aware completions help users reduce repetitive phrasing and maintain consistent communication quality.
Getting started with the ASP.NET Core Smart TextArea component
Now that we’ve seen what the Smart TextArea can do, let’s walk through how to integrate it into your ASP.NET Core app.
Prerequisites
Before you begin, ensure you have the following installed:
- .NET 8 or later.
- A new or existing ASP.NET Core application.
- An OpenAI / Azure OpenAI Account, or Ollama environment.
Step 1: Create a new ASP.NET Core project
Start by creating a new ASP.NET Core project using Visual Studio via Microsoft Templates or the Syncfusion ASP.NET Core Extension.
Step 2: Install Syncfusion ASP.NET Core NuGet package
To add the Smart TextArea control to your ASP.NET Core app, install the Syncfusion.EJ2.AspNet.Core NuGet package.
You can install it in Visual Studio:
- Open Tools → NuGet Package Manager → Manage NuGet Packages for Solution.
- Search for
Syncfusion.EJ2.AspNet.Core. - Install the package into your project.
If you prefer using the Package Manager Console, run the following command:
Install-Package Syncfusion.EJ2.AspNet.Core -Version 32.1.19Step 3: Add Syncfusion ASP.NET Core Tag Helper
Now, we need to enable the Syncfusion Tag Helper to use the Smart TextArea in our Razor pages.
Open the ~/Pages/_ViewImports.cshtml file and add the following code in it.
@addTagHelper *, Syncfusion.EJ2Step 4: Add stylesheet and script resources
Next, reference the required Syncfusion CSS and JavaScript files in your layout.
Edit the ~/Pages/Shared/_Layout.cshtml file and include the following code inside the <head> section:
<head>
    ...
    <link rel="stylesheet" href="https://cdn.syncfusion.com/ej2/32.1.19/fluent2.css" />
    <script src="https://cdn.syncfusion.com/ej2/32.1.19/dist/ej2.min.js"></script>
</head>
Step 5: Configure AI service
The Smart TextArea for ASP.NET Core relies on an AI provider to generate sentence‑level completions. We can connect it to OpenAI, Azure OpenAI, or Ollama, depending on our app’s requirements.
Option 1: Configure OpenAI
Create an OpenAI API key and assign it to openAIApiKey value in your configuration. Then, specify the model you want the Smart TextArea to use, such as gpt‑3.5‑turbo, gpt‑4, or any other supported model, by setting the openAIModel value.
Install the following NuGet packages into your project:
Install-Package Microsoft.Extensions.AI
Install-Package Microsoft.Extensions.AI.OpenAI
To configure the OpenAI service, add the following settings to the ~/Program.cs file in your ASP.NET Core app.
using Microsoft.Extensions.AI;
using OpenAI;
using Syncfusion.EJ2;

…..
…..
builder.Services.AddRazorPages();

string openAIApiKey = "API-KEY";
string openAIModel = "OPENAI_MODEL";
OpenAIClient openAIClient = new OpenAIClient(openAIApiKey);
IChatClient openAIChatClient = openAIClient.GetChatClient(openAIModel).AsIChatClient();
builder.Services.AddChatClient(openAIChatClient);

builder.Services.AddSyncfusionSmartComponents()
    .InjectOpenAIInference();

var app = builder.Build();
.....
…..
Option 2: Configure Azure OpenAI
Before setting up Azure OpenAI, deploy an Azure OpenAI Service resource and the model you plan to use.
Once deployed, Azure will provide the required values:
azureOpenAIKeyazureOpenAIEndpointazureOpenAIModel
Install the following NuGet packages into your project:
Install-Package Microsoft.Extensions.AI
Install-Package Microsoft.Extensions.AI.OpenAI
Install-Package Azure.AI.OpenAI
To configure the AI service, add the following settings to the ~/Program.cs file in your ASP.NET Core app.
using Syncfusion.EJ2;
using Microsoft.Extensions.AI;
using Azure.AI.OpenAI;
using System.ClientModel;

…..
builder.Services.AddRazorPages();

string azureOpenAIKey = "AZURE_OPENAI_KEY";
string azureOpenAIEndpoint = "AZURE_OPENAI_ENDPOINT";
string azureOpenAIModel = "AZURE_OPENAI_MODEL";
AzureOpenAIClient azureOpenAIClient = new AzureOpenAIClient(
     new Uri(azureOpenAIEndpoint),
     new ApiKeyCredential(azureOpenAIKey)
);
IChatClient azureOpenAIChatClient = azureOpenAIClient.GetChatClient(azureOpenAIModel).AsIChatClient();
builder.Services.AddChatClient(azureOpenAIChatClient);

builder.Services.AddSyncfusionSmartComponents()
    .InjectOpenAIInference();

var app = builder.Build();
.....
…..
Option 3: Ollama
To use Ollama for running self-hosted models:
1. Download and install Ollama
Visit Ollama’s official website and install the appropriate app for your operating system.
2. Install the desired model from the Ollama library
Browse the available models in the Ollama Model Library and install the one that works for you, such as llama2:13b, mistral:7b, etc.
3. Configure your application
Update your app settings to point to your local Ollama server:
- Endpoint: Set the endpoint URL to where Ollama is running, typically: http://localhost:11434.
- ModelName: specify the exact model name you installed, such as llama2:13b.
4. Install the required NuGet package
Install the necessary NuGet dependencies in your project to enable communication with the Ollama runtime.
Install-Package Microsoft.Extensions.AI
Install-Package OllamaSharp
Add the following settings to the ~/Program.cs file in your ASP.NET Core app.
using Syncfusion.EJ2;
using Microsoft.Extensions.AI;
using OllamaSharp;

builder.Services.AddRazorPages();

string ModelName = "MODEL_NAME";
IChatClient chatClient = new OllamaApiClient("http://localhost:11434", ModelName);
builder.Services.AddChatClient(chatClient);

builder.Services.AddSyncfusionSmartComponents()
    .InjectOpenAIInference();

var app = builder.Build();
....
Step 6: Add ASP.NET Core Smart TextArea Control
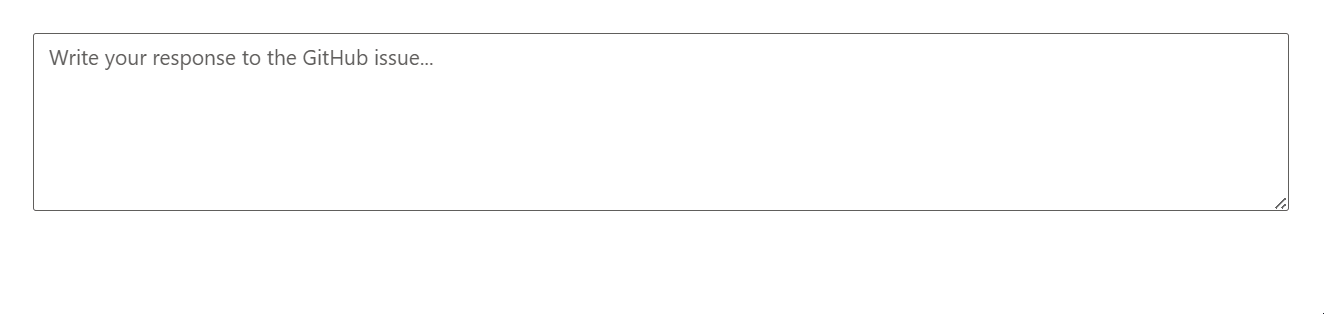
Finally, add the Syncfusion ASP.NET Core Smart TextArea tag helper in the ~/Pages/Index.cshtml page, as shown in the code example below.
@{
    var presets = new
    {
        userRole = "Maintainer of an open-source project replying to GitHub issues",
        userPhrases = new[]
        {
            "Thank you for contacting us.",
            "To investigate, we'll need a repro as a public Git repo.",
            "Could you please post a screenshot of NEED_INFO?",
            "This sounds like a usage question. This issue tracker is intended for bugs and feature proposals. Unfortunately, we don't have the capacity to answer general usage questions and would recommend Stack Overflow for a faster response.",
            "We don't accept ZIP files as repros."
        },
        placeHolder = "Write your response to the GitHub issue..."
    };
}

<ejs-smarttextarea
    id="smartTextarea"
    user-role="@presets.userRole"
    user-phrases="@presets.userPhrases"
    width="75%"
    placeholder="@presets.placeHolder"
    floatLabelType="Auto"
    rows="5">
</ejs-smarttextarea>
Let’s review the attributes in the code example above.
- user-role: This attribute is required to define the autocompletion context based on the role of the person typing.
- user-phrases: This attribute is optional and provides predefined expressions that align with the user/app’s tone and frequently used content.
Press Ctrl+F5 (Windows) or ⌘+F5 (macOS) to run the app. This will open your browser and display the Syncfusion ASP.NET Core Smart TextArea.
Type Thank you to see the sentence autocompletion feature in action, as shown below.
Customizing the appearance of suggestions
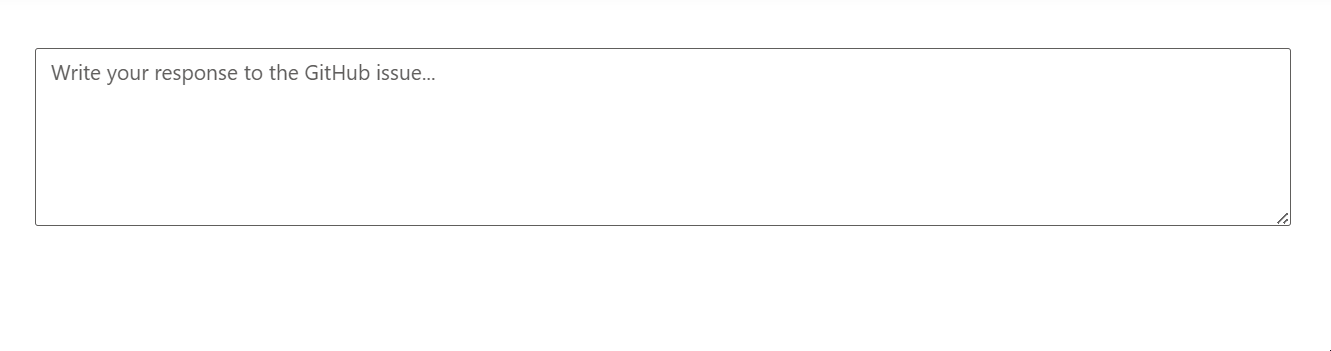
The show-suggestion-on-popup attribute in the ASP.NET Core Smart TextArea control determines how suggestions are presented to users. When this attribute is set to true, the Smart TextArea displays suggestions inside a pop-up panel.
Try this in your code:
@{
    var presets = new
    {
        userRole = "Maintainer of an open-source project replying to GitHub issues",
        userPhrases = new[]
        {
            "Thank you for contacting us.",
            "To investigate, we'll need a repro as a public Git repo.",
            "Could you please post a screenshot of NEED_INFO?",
            "This sounds like a usage question. This issue tracker is intended for bugs and feature proposals. Unfortunately, we don't have the capacity to answer general usage questions and would recommend Stack Overflow for a faster response.",
            "We don't accept ZIP files as repros."
        },
        placeHolder = "Write your response to the GitHub issue..."
    };
}

<ejs-smarttextarea
    id="smartTextarea"
    user-role="@presets.userRole"
    user-phrases="@presets.userPhrases"
    width="75%"
    placeholder="@presets.placeHolder"
    floatLabelType="Auto"
    rows="5"
    show-suggestion-on-popup="true">
</ejs-smarttextarea>
Here’s a quick demo of the feature in action:
GitHub reference
You can also find the complete example for ASP.NET Core Smart TextArea on GitHub.
Conclusion
Thank you for reading! The Syncfusion ASP.NET Core Smart TextArea released in the 2025 Volume 4 is a powerful AI-driven component designed to enhance text input efficiency and accuracy. With its intelligent sentence-level autocompletion, it transforms how users compose text, reducing typing effort and improving workflow efficiency. By integrating this control into your apps, you can streamline content creation, ensure consistent communication, and enhance the overall user experience.
Check out Syncfusion AI solutions for Blazor, ASP.NET Core, Angular, React, Vue, and TypeScript/JavaScript platforms. You can also refer to our Release Notes and What’s New pages to see the other updates in this release, and leave your feedback in the comments section below.
If you’re a Syncfusion user, you can download the setup from the license and downloads page. Otherwise, you can download a free 30-day trial.
You can also contact us through our support forum, support portal, or feedback portal for queries. We are always happy to assist you!


 No spam, just valuable updates.