
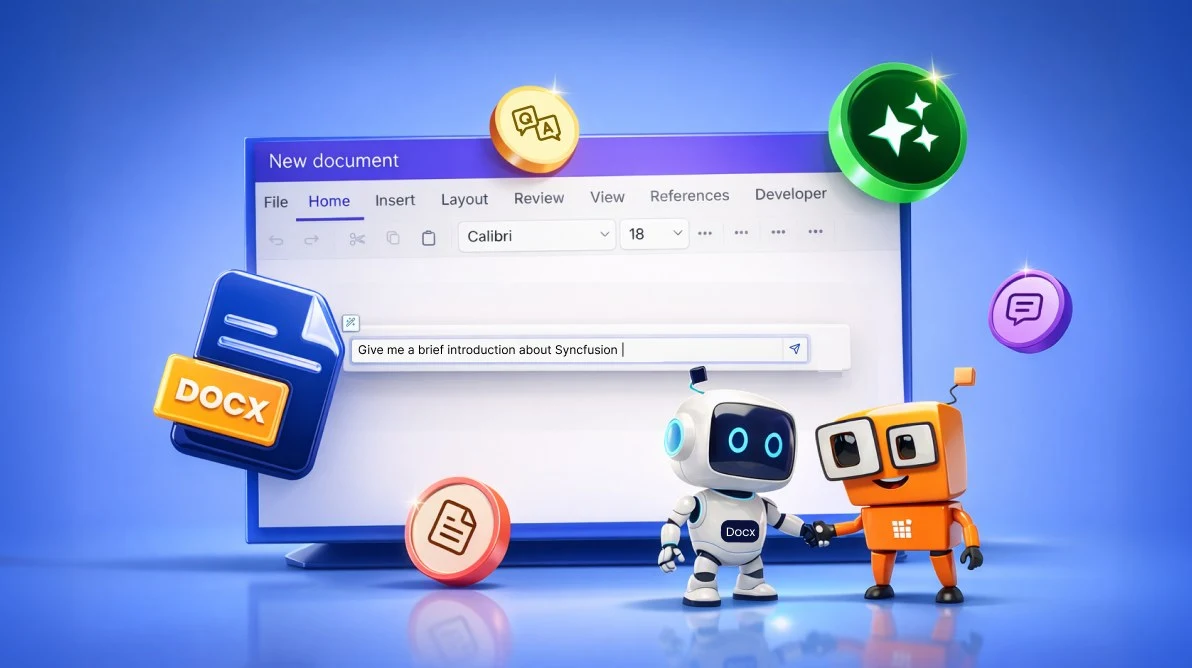
TL;DR: Add AI-powered capabilities to a React DOCX Editor to generate content, refine writing, summarize documents, and answer contextual questions. This guide demonstrates how to integrate Syncfusion’s APIs with your preferred AI service using a BYOK approach, enabling flexible integration while maintaining full data privacy.
Why modern document editing needs more than just typing
Modern document creation has moved far beyond basic typing and formatting. Today’s users expect their editor to actually help them to generate content, improve clarity, translate text, summarize long sections, and let them interact with their documents more intelligently. Jumping between multiple apps to handle these tasks disrupts focus and slows down productivity.
To make this experience feel seamless, the Syncfusion® React DOCX Editor offers APIs that let developers embed powerful AI capabilities directly into the editing workflow, including:
- AI-powered content generation,
- Refinement,
- Summarization,
- Translation,
- Context-aware Q&A
AI results are inserted straight into the document through the editor, so the output blends naturally with existing content and formatting. The AI interaction interface, prompts, summarization, translation, rewriting panels, and more are built at the application level, giving you full control over the experience.
Let’s see why integrating AI into the Syncfusion React DOCX Editor is valuable, the intelligent capabilities you can add, and how these enhancements make modern document workflows smoother and far more efficient.
Why integrating AI into a DOCX Editor is a game-changer
Integrating AI into a DOCX editor workflow is all about saving time, reducing manual effort, and improving the overall writing and editing experience:
- Generate document content faster using short prompts, no external tools or app switching required.
- Improve writing quality instantly with AI-assisted rewriting, grammar correction, and tone adjustment.
- Summarize long documents with AI or ask natural language questions to extract key insights without reading everything.
- Stay in your workflow; all AI-assisted results are delivered directly into the document through the editor, keeping the experience seamless and uninterrupted.
Building an AI‑powered React DOCX Editor
Let’s follow these steps to integrate AI services in Syncfusion React DOCX Editor SDK:
Step 1: Set up the React project
Start by creating a React project and installing the required dependencies using the following commands.
npm create vite@latest ai-docx-editor -- --template react
cd ai-docx-editor
Now, install the Syncfusion React DOCX Editor and the required AI libraries.
npm install @syncfusion/ej2-react-documenteditor --save
npm install openai --save
Step 2: Configuring the AI service
Set up the AI service by specifying the required resource name, providing the API key for authentication, and selecting the AI model you wish to use.
The following code initializes the AI service and defines a utility function to handle requests.
import { generateText } from "ai";
import { createGoogleGenerativeAI } from "@ai-sdk/google";
import { createAzure } from "@ai-sdk/azure";
import { createOpenAI } from "@ai-sdk/openai";

// For Google Gemini AI
const google = createGoogleGenerativeAI({
  baseURL: "https://generativelanguage.googleapis.com/v1beta",
  apiKey: "API_KEY",
});

// For Azure OpenAI
const azure = createAzure({
  resourceName: "RESOURCE_NAME",
  apiKey: "API_KEY",
});

// For Groq
const groq = createOpenAI({
  baseURL: "https://api.groq.com/openai/v1",
  apiKey: "API_KEY",
});

const aiModel = azure("MODEL_NAME"); // Update the model here

export async function getAzureChatAIRequest(options: any) {
  try {
    const result = await generateText({
      model: aiModel,
      messages: options.messages,
      topP: options.topP,
      temperature: options.temperature,
      maxOutputTokens: options.maxTokens,
      frequencyPenalty: options.frequencyPenalty,
      presencePenalty: options.presencePenalty,
      stopSequences: options.stopSequences,
    });

    return result.text;
  } catch (err) {
    console.error("Error occurred:", err);
    return null;
  }
}
Step 3: Configure the Syncfusion React DOCX Editor for visualization
The Syncfusion React DOCX Editor allows users to create, edit, view, and print Word documents in web applications. It runs entirely on the client side, resulting in faster, smoother editing.
Inside the App.jsx file, import, and configure the Syncfusion React DOCX Editor component. This component acts as the main workspace for document editing in your app.
<DocumentEditorContainerComponent
                    id="document-editor"
                    ref={container}
                    height="100%"
                    serviceUrl={SERVICE_URL}
                    enableToolbar={true}
                    toolbarMode='Ribbon'
                    enableSpellCheck={true}
                    created={onContainerCreated}/>
Step 4: Create AI assistant buttons
Let’s create two buttons for the AI-assisted services:
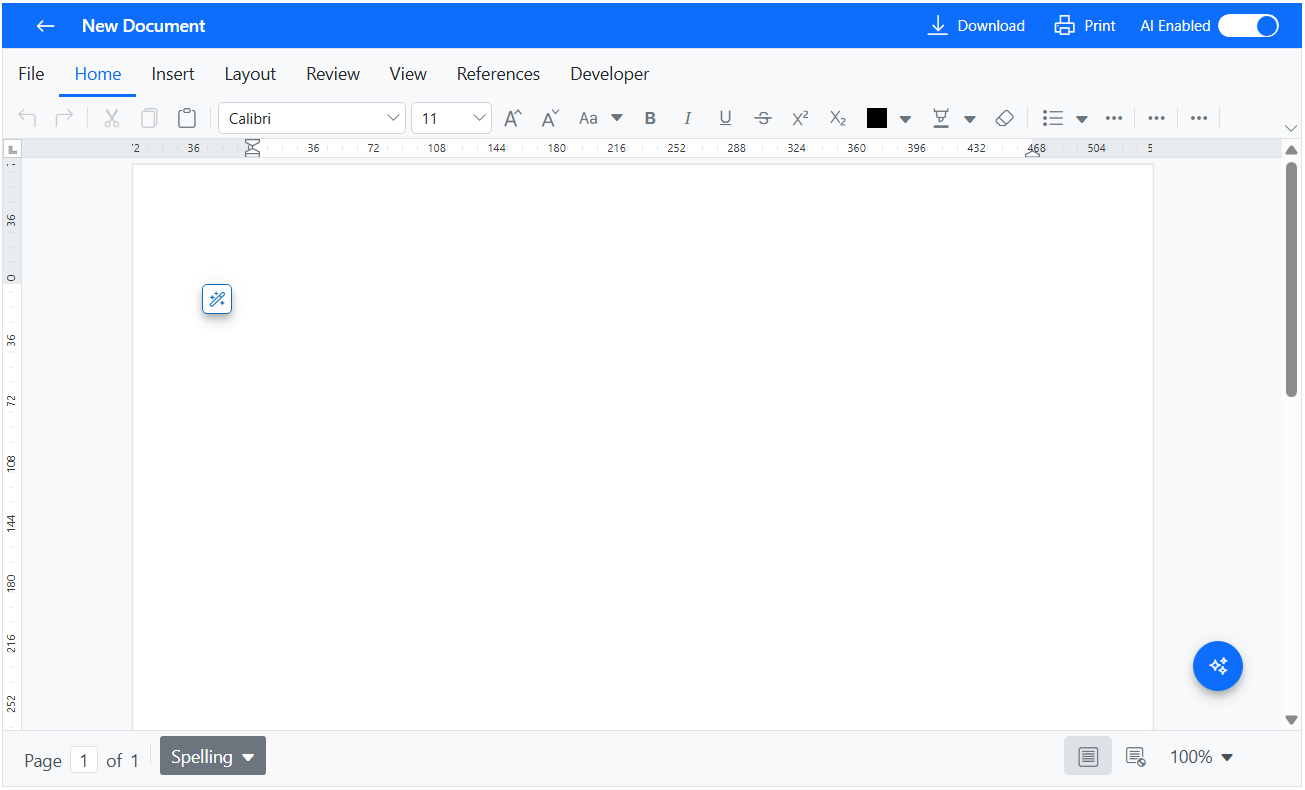
- The first button will be placed inside the content area. It will help users generate new content and refine existing content using AI.
- The second button will appear in the bottom-right corner of the Syncfusion React DOCX Editor. Users will use it to access AI-powered summarization and Q&A features.
<FabComponent
  ref={assistFabRef}
  cssClass="ai-assist-btn"
  iconCss="e-icons e-ai-assist-btn"
  title={isSmartEditor ? "Refine the content" : "Generate new content"}
  visible={fabAssistVisible}
  onMouseDown={(e) => {
    e.preventDefault();
    e.stopPropagation();
  }}
  onClick={openAssistMenu}
  style={{
    position: "absolute",
    left: `${assistBtn.left}px`,
    top: `${assistBtn.top}px`,
    width: `${assistBtn.width}px`,
    height: `${assistBtn.height}px`,
  }}/>

<FabComponent
  ref={chatFabRef}
  cssClass="ai-chat-btn"
  iconCss="e-icons e-ai-chat-btn"
  title="Summarization and Q&A"
  visible={fabChatVisible}
  created={onChatFabCreated}
  onClick={openChat}/>
Refer to the following image.
Step 5: AI-powered content generation using React Document Editor
To generate content using AI, we’ll create:
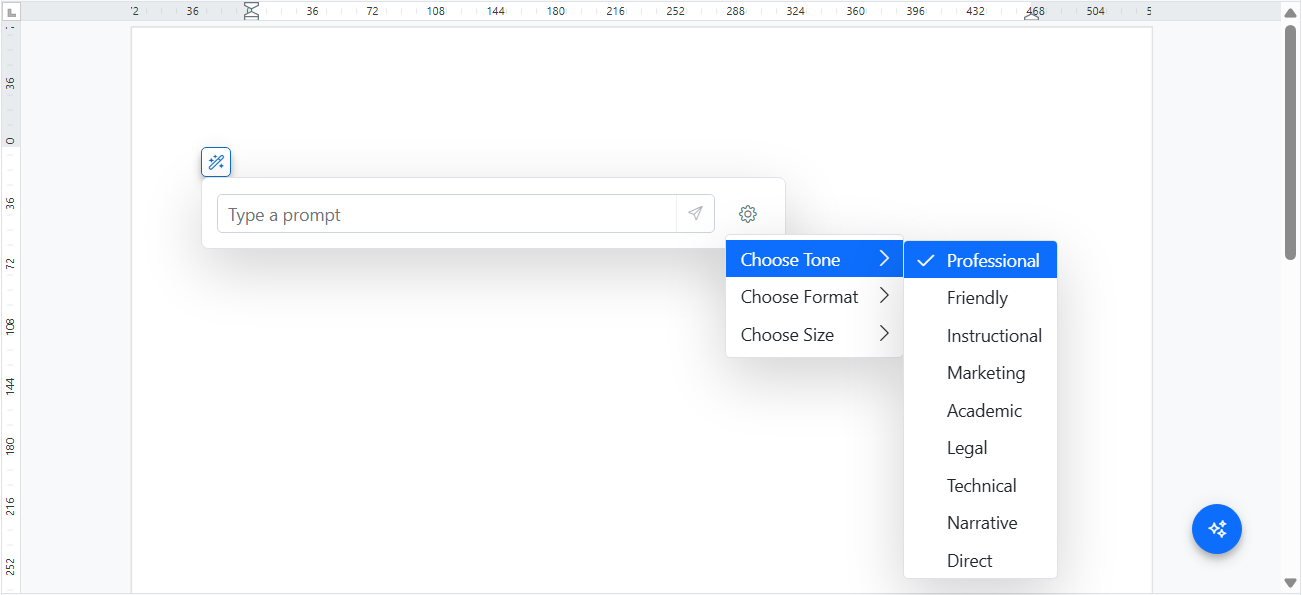
- A dialog with a textbox for the user to enter input,
- A settings icon to set the tone, length, and format of the result to be generated, and
- A send icon to submit the input to the AI.
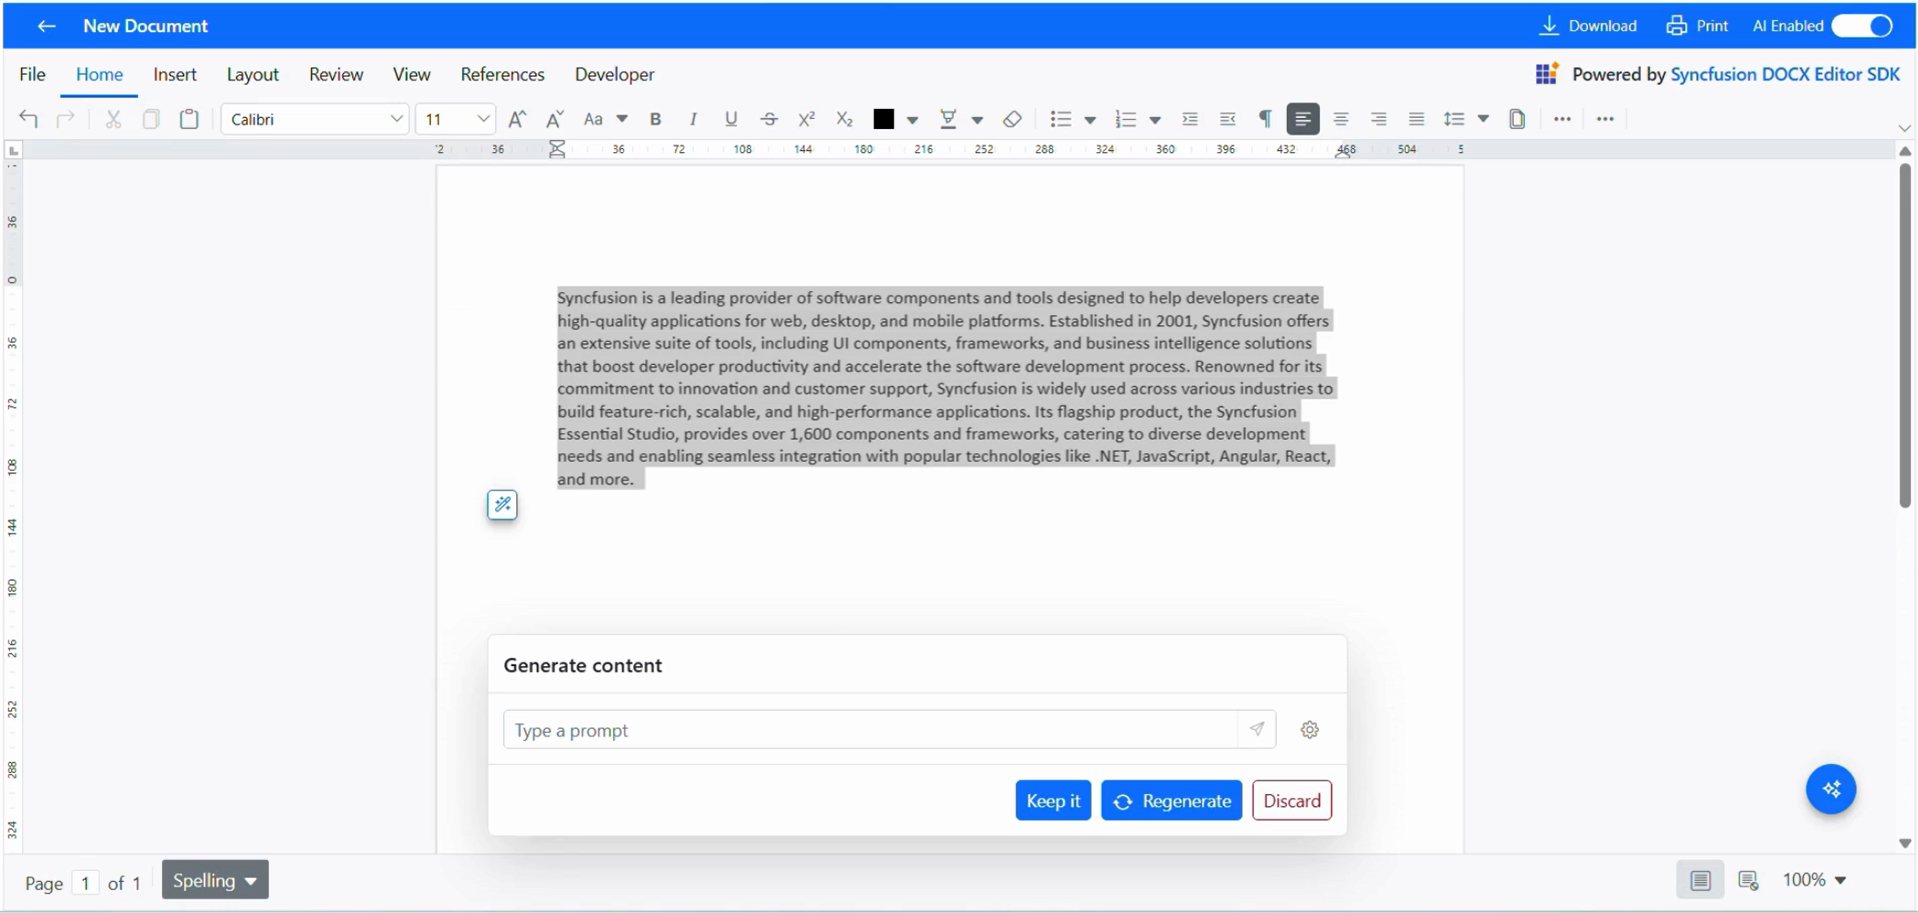
Once content is generated, the user can enter a short instruction to expand or refine it, and the system will generate an updated result as needed. Also, we’ll implement the “Keep it”, “Regenerate”, and “Discard” buttons in the same dialog footer to seamlessly manage the generated content.
See the code example for generating content using AI in the DOCX Editor.
<DialogComponent
  ref={genDialogRef}
  visible={genVisible}
  target="#ai-assist"
  header={isContentGenerated ? "Generate content" : undefined}
  footerTemplate={isContentGenerated ? generateFooterTemplate : undefined}
  position={{ X: dialogPos.x, Y: dialogPos.y }}
  showCloseIcon={false}
  isModal={false}
  width="45%"
  beforeOpen={generateContentOpen}
  cssClass={
    isContentGenerated
      ? "ai-rewrite-dialog ai-assist-dialog"
      : "ai-generate-dialog ai-assist-dialog"
  }>

  <div className="ai-dialog-body">
    <div className="ai-generate-content">
      <div className="e-de-parent gc-row ai-gc-row">
        <div className="ai-input-wrapper">
          <TextBoxComponent
            ref={textboxRef}
            id="e-de-editableDiv"
            placeholder="Type a prompt"
            cssClass="ai-input-box"
            value={userPrompt}
            input={textboxValueChange}
            created={TextBoxCreated}
            type="text"
            onFocus={floatFocus}
            onBlur={floatBlur}
            onKeyDown={(e) => {
              if (e.key === "Enter" && userPrompt?.trim()) {
                e.preventDefault();
                onSend();
              }
            }}/>

        </div>
        <DropDownButtonComponent
          ref={gearRef}
          id="ai-assist-settings-btn"
          iconCss="e-icons e-settings"
          cssClass="e-caret-hide settings-btn"
          beforeOpen={(args) => {
            args.cancel = true;
            openGearMenu();
          }}/>

      </div>
    </div>
  </div>
</DialogComponent>
See the outputs in the following images.
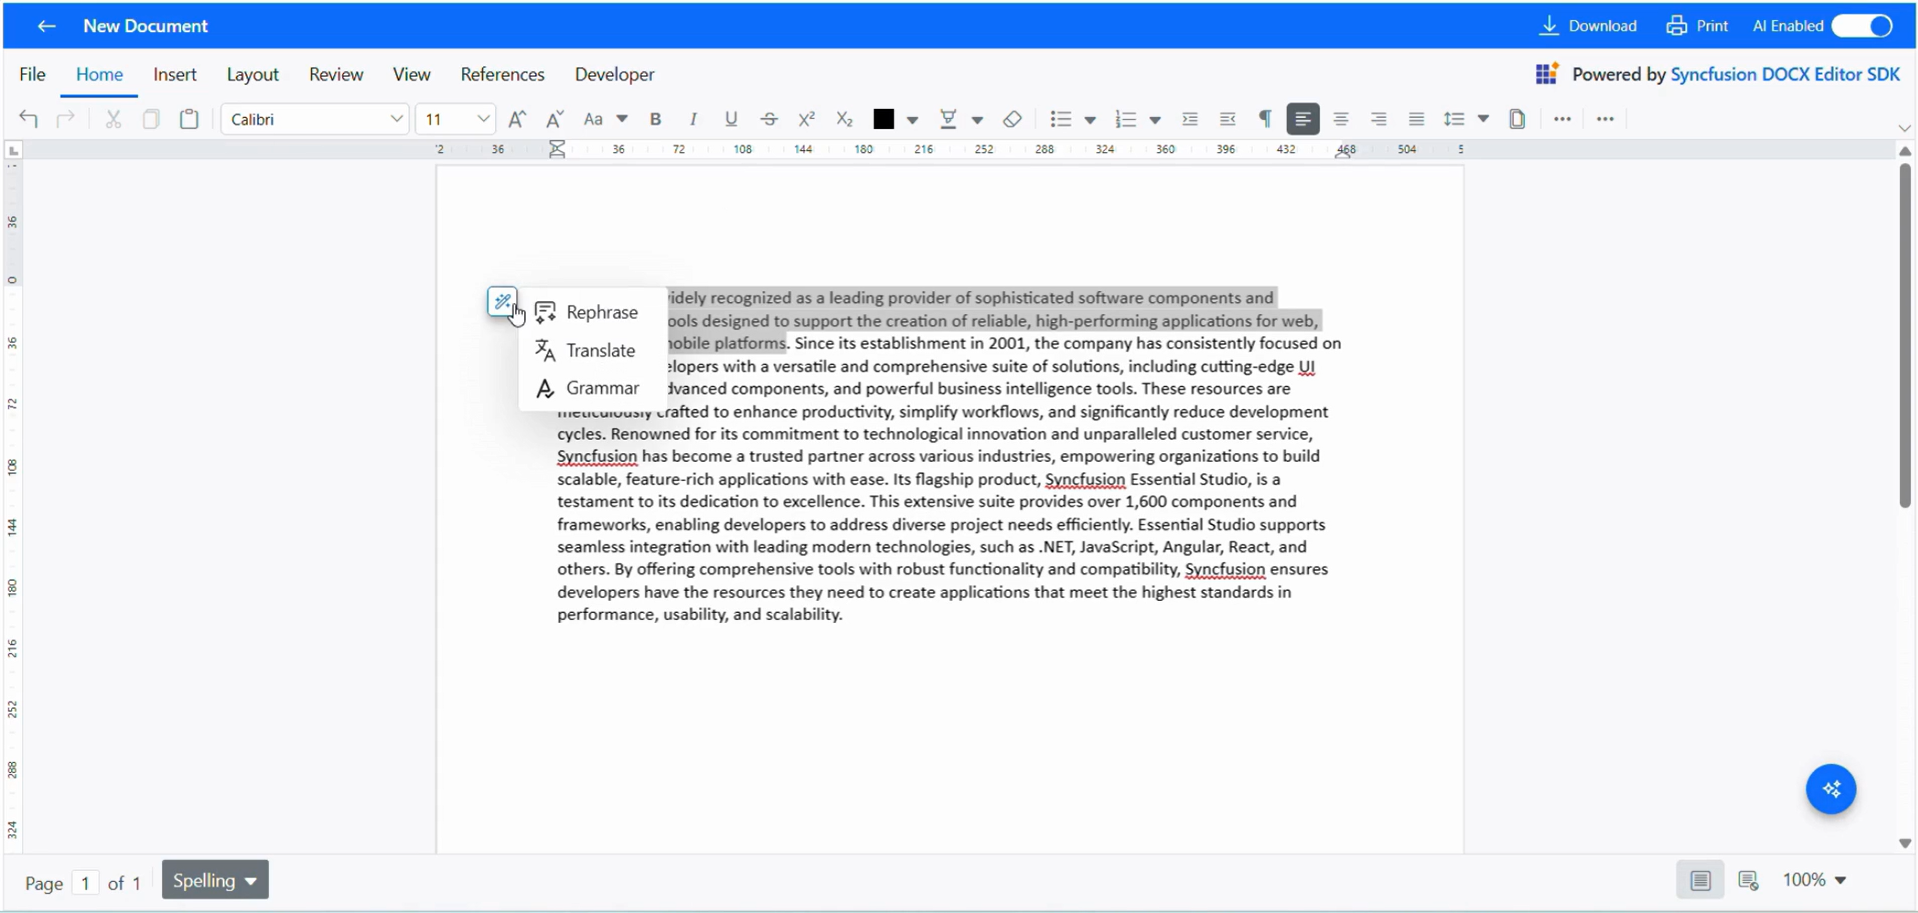
Step 6: AI-powered content refinement: Rewrite, fix grammar, and translate
Let’s design the context menu to display the AI writing refinement options:
- Rewriting: to rephrase existing content
- Grammar: To automatically detect and fix grammar issues, and the
- Translation: To convert selected text into other languages for multilingual document editing and cross‑team collaboration.
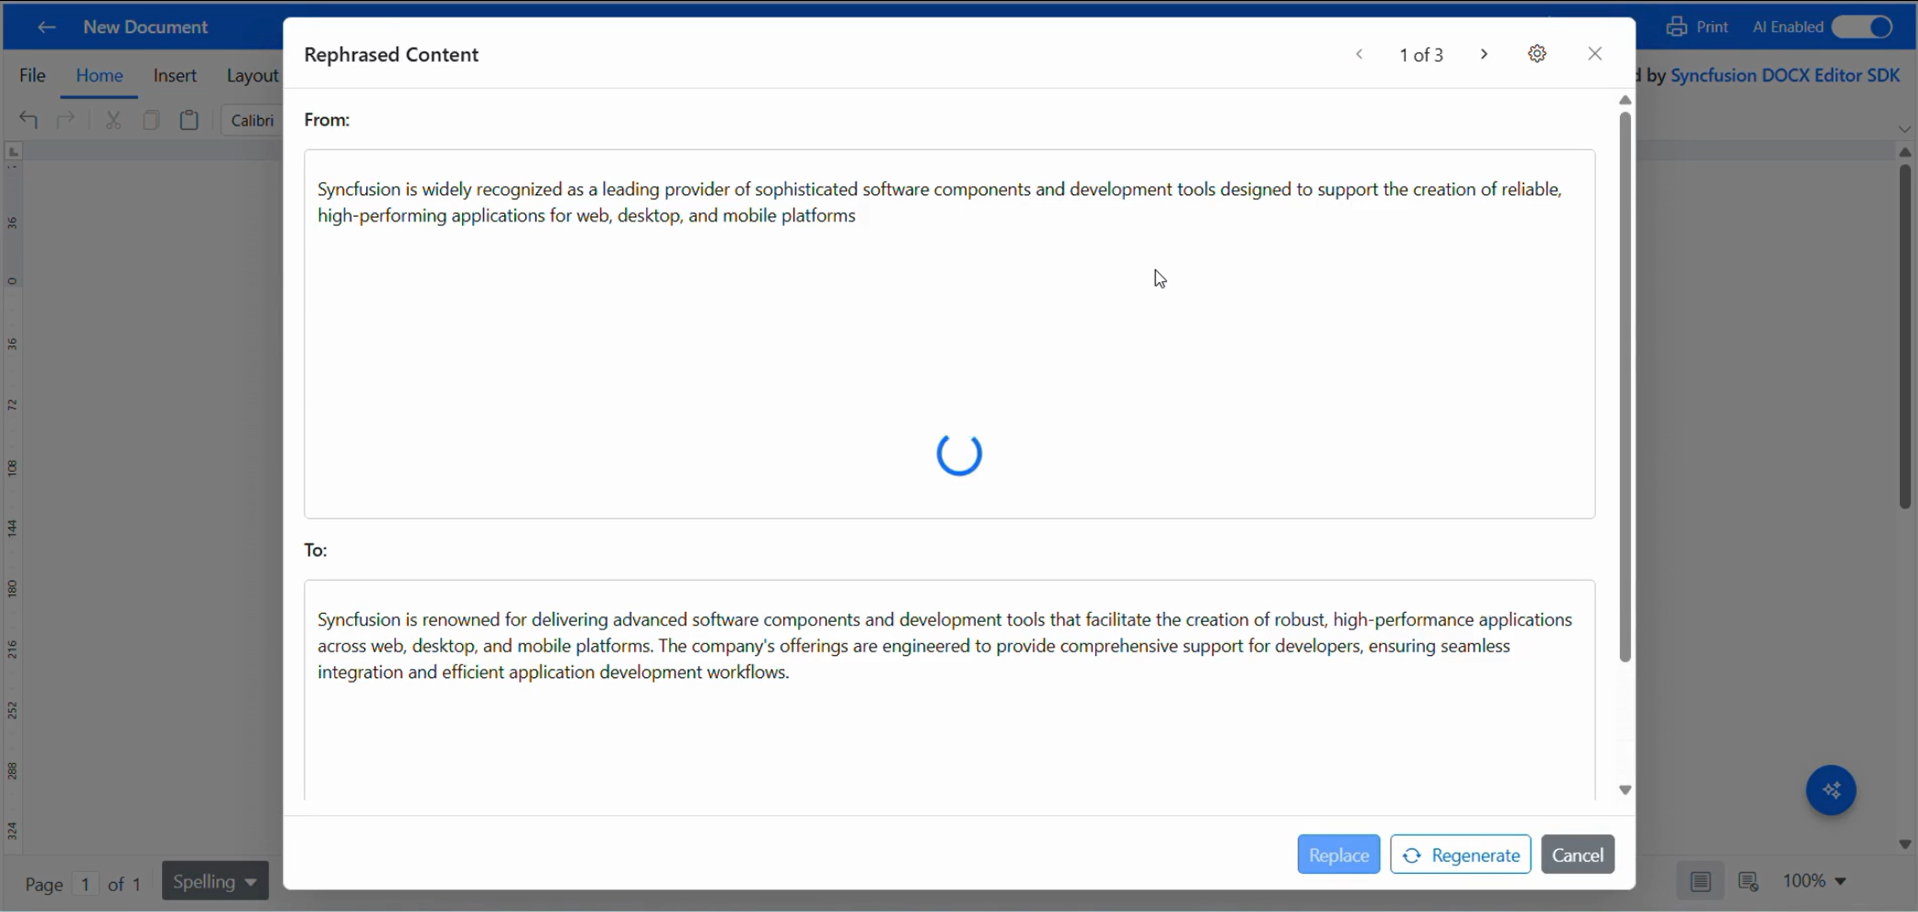
When the user selects any of these options, a dialog opens to handle the chosen AI refinement task. In the dialog, we’ll show the selected existing content in the top pane and the AI‑generated result in the bottom pane for a clear comparison.
The Rewrite option includes a Settings icon within the dialog to configure the tone, length, and format of the rewritten output.
The Grammar Fix option displays a list of grammar issues so that the user can choose which corrections should be applied in the dialog. We’ll also include the Replace and Cancel buttons in the dialog footer to either apply the AI‑refined content to the document or cancel the action.
For both the Rewrite and Grammar Fix dialogs, a Regenerate button is available so users can generate improved results after adjusting tone, length, format, or selected grammar corrections.
Refer to the code example for implementation.
// To show the refinement option
<ContextMenuComponent
  ref={cmAssistRef}
  cssClass="ai-smart-menu"
  items={menuItems}
  select={onMenuSelect}/>

// For the refinement option’s dialog
<DialogComponent
  ref={smartDialogRef}
  visible={smartVisible}
  target="#ai-assist"
  header={smartHeaderTemplate}
  footerTemplate={smartFooterTemplate}
  showCloseIcon={true}
  isModal={true}
  width="70%"
  close={() => setSmartVisible(false)}
  cssClass="e-smart-editor-dialog">
  <div className="ai-dialog-body">
    <SplitterComponent
      orientation="Vertical"
      separatorSize={0}
      className={`ai-splitter e-vertical-smart ${
        popupType === AiTask.Rephrase
          ? "e-smart-rephrase"
          : popupType === AiTask.Translate
          ? "e-smart-translate"
          : "e-smart-grammar"
      }`}>

      <PanesDirective>
        <PaneDirective
          size="50%"
          content={() => (
            <div className="pane-content">
              <div className="pane-content-header">
                <label className="translate-label">
                  {popupType === AiTask.Translate ? "Translate from:" : "From:"}
                </label>
              </div>
              <div
                className="pane-text-area"
                dangerouslySetInnerHTML={{ __html: inHtml }}/>
            </div>
          )}/>

        <PaneDirective
          size="50%"
          content={() => (
            <div className="pane-content">
              <div className="pane-content-header">
                <label className="translate-label">
                  {popupType === AiTask.Translate ? "Translate to:" : "To:"}
                </label>

                {popupType === AiTask.Translate && (
                  <ComboBoxComponent
                    dataSource={TranslateList}
                    value={translateTo}
                    change={changeLanguage}
                    width="160px"
                    placeholder="Translate to"
                    popupHeight="220px"
                    showClearButton={false}/>
                )}

                {popupType === AiTask.Grammar && (
                  <MultiSelectComponent
                    dataSource={GrammarOptions}
                    fields={{ text: "Name", value: "Name" }}
                    value={checks}
                    change={(e) => setChecks(e.value || [])}
                    mode="CheckBox"
                    showSelectAll={true}
                    showDropDownIcon={true}
                    allowFiltering={true}
                    placeholder="e.g. Spelling Errors"
                    width="180px"
                    popupHeight="260px"
                  >
                    <Inject services={[CheckBoxSelection]}/>
                  </MultiSelectComponent>
                )}
              </div>

              <div
                id="e-de-editableDiv"
                className="pane-text-area"
                dangerouslySetInnerHTML={{ __html: outHtml }}/>
            </div>
          )}/>
      </PanesDirective>
    </SplitterComponent>

    <div id="spinner-container" className="spinner-target"/>
  </div>
</DialogComponent>
Refer to the following images for visual clarity.
Step 7: AI- powered document summarization and intelligent Q&A
Let’s implement the code for AI-powered content summarization and contextual Q&A.
Here, when the user clicks the Summarization button, a chat panel will open with a default prompt, “Summarize this document,” to help generate a concise summary of lengthy content and highlight the main ideas.
Also, we’ll include a textbox for the user to enter a general intelligent question or a question related to the document’s content, along with a send button to submit the request to the AI service.
<AIAssistViewComponent
  ref={assistInstance}
  cssClass="e-aiassist-chat"
  promptPlaceholder="Type a question"
  promptSuggestions={aiSuggestions}
  promptIconCss="e-icons e-aiassist-chat-icon"
  responseIconCss="e-aiassist-chat-icon"
  created={chatPanelCreated}
  toolbarSettings={{
    items: [
      { iconCss: "e-icons e-close", align: "Right", tooltipText: "Close" },
    ],
  }}
  bannerTemplate={() => (
    <div className="ai-assist-banner">
      <div className="e-icons e-aiassist-page-icon"/>
      <div className="e-aiassist-page-header">How can I help you?</div>
    </div>
  )}
  promptRequest={async (args) => {
    const prompt = String(args?.prompt || "").trim();
    if (!prompt) {
      args.response = "";
      return;
    }

    try {
      if (prompt === "Summarize this document") {
        await new Promise((resolve) => {
          requestAnimationFrame(() => setTimeout(resolve, 10));
        });

        const documentContent = await getDocumentText(container);

        // Prepare the prompt for summarization
        const options = {
          messages: [
            {
              role: "system",
              content:
                "You are a helpful assistant. Your task is to analyze the provided text and generate short summary. Always respond in proper HTML format, but do not include <html>, <head>, or <body> tags.",
            },
            { role: "user", content: documentContent },
          ],
          model: "gpt-4",
        };

        const summaryHtml = await getAzureChatAIRequest(options);
        args.response = summaryHtml || "<p>No summary available.</p>";
        assistInstance.current.addPromptResponse(args.response);

        const suggestionsRaw = await getAzureChatAIRequest({
          messages: [
            {
              role: "system",
              content:
                "You are a helpful assistant. Your task is to analyze the provided text and generate 3 short diverse questions and each question should not exceed 10 words",
            },
            { role: "user", content: documentContent },
          ],
          model: "gpt-4",
        });

        if (suggestionsRaw) {
          const next = suggestionsRaw
            .split(/\d+\.\s*/)
            .filter((x) => x.trim() !== "")
            .map((text, index) => `${index + 1}. ${text.trim()}`);

          if (next.length) setAiSuggestions(next);
        }
      } else {
        await new Promise((resolve) => {
          requestAnimationFrame(() => setTimeout(resolve, 10));
        });

        // Prepare the prompt for Q&A
        const options = {
          messages: [
            {
              role: "system",
              content:
                "You are a helpful assistant. Use the provided context to answer the user question. Always respond in proper HTML format, but do not include <html>, <head>, or <body> tags. Context:",
            },
            { role: "user", content: prompt },
          ],
          model: "gpt-4",
        };

        const answerHtml = await getAzureChatAIRequest(options);
        const response = String(answerHtml ?? "<p>No answer.</p>");
        args.response = response;
        assistInstance.current.addPromptResponse(response);
      }
    } catch (e) {
      args.response = `<p class="aiassist-error">AI error: ${e?.message || e}</p>`;
    }
  }}
  responseToolbarSettings={{
    items: [
      { iconCss: "e-icons e-copy", tooltip: "copy" },
      { iconCss: "e-btn-icon e-de-ctnr-new", tooltip: "insert" },
    ],
    itemClicked: async (e) => {
      const idx =
        typeof e?.dataIndex === "number"
          ? e.dataIndex
          : (assistInstance.current?.prompts?.length ?? 1) - 1;

      const resHtml = assistInstance.current?.prompts?.[idx]?.response ?? "";
      if (!resHtml) return;

      const tmp = document.createElement("div");
      tmp.innerHTML = resHtml;

      const plainText = (tmp.innerText || "").trim();
      const tip = (e?.item?.tooltip || "").toLowerCase();

      if (tip === "copy") {
        if (navigator.clipboard && window.ClipboardItem) {
          const blobHtml = new Blob([resHtml], { type: "text/html" });
          const blobText = new Blob([plainText], { type: "text/plain" });

          await navigator.clipboard.write([
            new ClipboardItem({
              "text/html": blobHtml,
              "text/plain": blobText,
            }),
          ]);
        } else {
          await navigator.clipboard?.writeText(plainText);
        }
      } else if (tip === "insert") {
        const editor = container?.current?.documentEditor?.editor;
        if (editor && plainText) {
          editor.insertText(plainText);
        }
      }
    },
  }}
>
  <ViewsDirective>
    <ViewDirective
      header="AI Assistant"
      iconCss="e-icons e-aiassist-chat-header"/>
  </ViewsDirective>
</AIAssistViewComponent>
Step 8: Integrating AI for results
Here’s the code to prepare the prompt from the user’s input according to the chosen AI service.
let options = {
  messages: [
    {
      role: "system",
      content: `Develop your prompt based on the chosen AI option here`
    },
    {
      role: "user",
      content: 'Handle the user input here'
    }
  ],
  model: "gpt-4",
};
Then, implement the code to send the request to AI.
let out = await getAzureChatAIRequest(options);Let’s insert the AI‑generated content into the content area for the AI content generation option.
const insertContent = async (out) => {
  if (canceledRef.current) return;

  closeStopDialog();
  setInHtml("");
  setOutHtml(out);

  try {
    const ed = editorRef?.current?.documentEditor;
    if (ed) {
      await ed.editor.delete();
      ed.focusIn();

      const { end: caretEndBefore } = getOffsets();
      if (caretEndBefore != null) selectOffsets(caretEndBefore, caretEndBefore);

      const plain = htmlToPlain(out);
      if (canceledRef.current) {
        return;
      }

      ed.editor.insertText(plain);
      ed.editor.insertText("\n");

      const { end: endAfter } = getOffsets();
      if (
        caretEndBefore != null &&
        endAfter != null &&
        endAfter >= caretEndBefore
      ) {
        selectOffsets(caretEndBefore, endAfter);
        setDraftRange({ start: caretEndBefore, end: endAfter });
      } else {
        setDraftRange({ start: null, end: null });
      }
    }
  } catch (e) {
    alert("Insert failed: " + (e?.message || e));
  }

  setUserPrompt("");
};
Now, replace the selected text with the AI result for AI writing refinement options.
const replaceSelectionWithPlainText = async (html) => {
  const text = (html || '')
    .replace(/<[^>]+>/g, ' ')
    .replace(/\s+/g, ' ')
    .trim();

  try {
    const editor = editorRef?.current?.documentEditor;
    if (editor?.selection?.text) editor.editor.delete();
    editor?.editor?.insertText(text);
  } catch (e) {
    alert('Replace failed: ' + e.message);
  }
};
Finally, copy the result from the chat panel or insert it into the DOCX Editor for Summarization and Q&A options.
if (tip === 'copy') {
  if (navigator.clipboard && window.ClipboardItem) {
    const blobHtml = new Blob([resHtml], { type: 'text/html' });
    const blobText = new Blob([plainText], { type: 'text/plain' });

    await navigator.clipboard.write([
      new ClipboardItem({
        'text/html': blobHtml,
        'text/plain': blobText,
      }),
    ]);
  } else {
    await navigator.clipboard?.writeText(plainText);
  }
} else if (tip === 'insert') {
  const editor = container?.current?.documentEditor?.editor;
  if (editor && plainText) {
    editor.insertText(plainText);
  }
}
Bring Your Own Key (BYOK): Use your own AI model
The Syncfusion DOCX Editor uses a Bring Your Own Key (BYOK) model for AI integration. Developers can connect their own AI service, such as OpenAI, Azure OpenAI, or any custom LLM, with no lock-in to a specific provider.
- You can use your own AI service API key. Syncfusion does not provide or manage AI credentials.
- You can also choose the AI model that best fits our use case, such as GPT-4, Claude, Gemini, or others.
- You retain complete flexibility to switch AI providers at any time without changing the editor integration.
Data privacy and security in AI-assisted DOCX editing
AI support in the DOCX Editor is designed with privacy and control at the core.
All AI communication happens through your app, ensuring:
- Syncfusion never accesses or stores your prompts, AI responses, or document content.
- All data remains fully within your own environment, suitable for GDPR-compliant and enterprise document workflows.
- You retain complete control over how AI requests are routed and processed, with no third-party data exposure.
This setup keeps your documents secure and gives you complete control, making it safe to use AI even in sensitive or regulated scenarios.
Get started: Syncfusion React DOCX Editor with AI Integration
Refer to our GitHub example demonstrating how to build an app-level AI interaction UI, including prompt input, summarization, translation, and rewriting panels with the Syncfusion React DOCX Editor. The sample shows how AI-generated results are bound and inserted into the document through the editor’s API.
Explore the DOCX editing experience online
Experience the core editing capabilities of the Syncfusion DOCX Editor for free. You can create, format, and export high-quality DOCX documents directly in your browser. Enjoy seamless online editing with our free DOCX Editor now.
No setup, downloads, or sign-in required!
Frequently Asked Questions
You can enable AI by using the AI Enabled option available at the top-right of the editor.How to enable the AI in this DOCX Editor?
No, the DOCX Editor does not include built‑in AI. Developers integrate their own AI service using an API key.Does the DOCX Editor include built‑in AI?
While generating or rewriting content, you can adjust tone, format, and length by clicking the settings icon before sending the AI request.How to set the tone, format, and length for AI results?
You can connect any AI provider that exposes an API—such as OpenAI, Azure OpenAI, or a custom LLM.Which AI services can I use with the DOCX Editor?
All AI processing happens in your application layer, not inside the editor.Where does AI processing happen?
Yes. The AI input panel and controls are fully customizable since they are implemented at the application level.Can the AI interaction UI be customized?
AI features require internet access only if the chosen AI provider requires connectivity.Do AI features require internet access?
Conclusion
Thanks for reading! AI is now a core expectation in modern document workflows. The Syncfusion React DOCX Editor with AI integration gives developers a production-ready foundation to embed AI content generation, grammar correction, document summarization, and intelligent Q&A directly into their apps, with full control over the AI provider, data privacy, and security.
Whether you’re building an enterprise document editor, a SaaS writing tool, or a collaborative document platform, the DOCX Editor provides the API infrastructure to make it happen.
If you’re a Syncfusion user, you can download the setup from the license and downloads page. Otherwise, you can download a free 30-day trial.
You can also contact us through our support forum, support portal, or feedback portal for queries. We are always happy to assist you!


 No spam, just valuable updates.