

In the previous article of this series, we learned how to register users with authentication. In this article, we will add the authorization feature to our application. Let’s start by adding the user policies.
Define the user policies
Our app will support policy-based authorization. Add the Policies.cs class file inside the MovieApp.Shared\Models folder. Add the following code to it.
public static class Policies
{
    public static AuthorizationPolicy AdminPolicy()
    {
        return new AuthorizationPolicyBuilder()
            .RequireAuthenticatedUser()
            .RequireRole(UserRoles.Admin)
            .Build();
    }

    public static AuthorizationPolicy UserPolicy()
    {
        return new AuthorizationPolicyBuilder()
            .RequireAuthenticatedUser()
            .RequireRole(UserRoles.User)
            .Build();
    }
}
We will add support for the following two policies:
- AdminPolicy: will check the Admin role for an authenticated user.
- UserPolicy: will check the User role for an authenticated user.

Configure the Program.cs file
Now, register and configure the authentication services for the .NET middleware.
Add the following code to the Program.cs file.
builder.Services.AddAuthentication(JwtBearerDefaults.AuthenticationScheme)
 .AddJwtBearer(options =>
 {
     options.RequireHttpsMetadata = false;
     options.SaveToken = true;
     options.TokenValidationParameters = new TokenValidationParameters
     {
         ValidateIssuer = true,
         ValidateAudience = true,
         ValidateLifetime = true,
         ValidateIssuerSigningKey = true,
         ValidIssuer = builder.Configuration["Jwt:Issuer"],
         ValidAudience = builder.Configuration["Jwt:Audience"],
         IssuerSigningKey = new SymmetricSecurityKey(Encoding.UTF8.GetBytes(builder.Configuration["Jwt:SecretKey"])),
     };
 });
The AddAuthentication extension method helps us to register the services required by the JWT authentication scheme. The AddJwtBearer extension method allows us to enable JWT-bearer authentication.
To validate the JWT, define the token validation parameters. The description of each parameter is shown below:
- ValidateIssuer: Asks the middleware to validate the issuer during token validation.
- ValidateAudience: Asks the middleware to validate the audience during token validation.
- ValidateLifetime: Asks the middleware to validate the lifetime during token validation.
- ValidateIssuerSigningKey: Asks the middleware to validate the signing SecurityKey during token validation.
- ValidIssuer: A string value that represents a valid issuer that will be used to check against the token’s issuer. We will use the same value that we used while generating JWT.
- ValidAudience: A string value that represents a valid audience that will be used to check against the token’s audience. We will use the same value that we used while generating JWT.
- IssuerSigningKey: Sets the security key that will be used during token validation.
The next step is to register the authorization policy services. Add the code shown.
builder.Services.AddAuthorization(config =>
{
    config.AddPolicy(UserRoles.Admin, Policies.AdminPolicy());
    config.AddPolicy(UserRoles.User, Policies.UserPolicy());
});
Update the GraphQL server configuration DI like in the following code example. This will add authorization support to the GraphQL server.
builder.Services.AddGraphQLServer()
    .AddDefaultTransactionScopeHandler()
    .AddAuthorization() //Add this extension method.
    .AddQueryType<MovieQueryResolver>()
    .AddMutationType<MovieMutationResolver>()
    .AddTypeExtension<AuthMutationResolver>()
    .AddFiltering()
    .AddSorting();
Add the following code to enable authentication and authorization capabilities for our application.
app.UseAuthentication();
app.UseAuthorization();
Note: Add these two lines of code after the app.UseRouting() method call.
Secure the GraphQL resolver
Use the [Authorize] attribute to secure our GraphQL server endpoint.
Note: The [Authorize] attribute is available in the Microsoft.AspNetCore.Authorization and HotChocolate.AspNetCore.Authorization packages. The packages are different from each other. Use the attribute provided by the HotChocolate.AspNetCore.Authorization package.
Navigate to the MovieMutationResolver.cs file and add the following import statement at the top.
using HotChocolate.AspNetCore.Authorization;
Allow only the authenticated user with the role Admin to add, edit, and delete the movie data. So, annotate the corresponding methods with the [Authorize] attribute and policy like in the following code example.
[Authorize(Policy = UserRoles.Admin)]
[GraphQLDescription("Add a new movie data.")]
public AddMoviePayload AddMovie(Movie movie)
{
    // Existing method definition.
}


[Authorize(Policy = UserRoles.Admin)]
[GraphQLDescription("Edit an existing movie data.")]
public async Task<AddMoviePayload> EditMovie(Movie movie)
{
    // Existing method definition.
}

[Authorize(Policy = UserRoles.Admin)]
[GraphQLDescription("Delete a movie data.")]
public async Task<int> DeleteMovie(int movieId)
{
    // Existing method definition.
}Add GraphQL client mutation for authentication
Since we have added a new method on the server for user login, regenerate the GraphQL client using the process discussed in part 2 of this series.
Add the AuthenticateUser.graphql file inside the MovieApp.Client\GraphQLAPIClient folder. Add the GraphQL mutation to authenticate the user, as follows.
mutation login($userData:UserLoginInput!){
    userLogin(userDetails:$userData){
      errorMessage,
      token
    }
}
Please use the Visual Studio shortcut Ctrl+Shift+B to build the project. It will regenerate the Strawberry Shake client class.
Add the required NuGet packages
Now, add two NuGet packages to the client project.
Navigate to Tools >> NuGet Package Manager >> Package Manager Console. Select MovieApp.Client from the default project drop-down and run the following command.
Install-Package Microsoft.AspNetCore.Components.Authorization -Version 6.0.2 |
This package will provide the required support for authentication and authorization to the Blazor project.
Now, add the Blazored.LocalStorage package. This will allow us to access the local storage of the browser. This will help us store and fetch JWT in the local storage.
Install-Package Blazored.LocalStorage -Version 4.2.0 |
Add the following line in the MovieApp.Client\Program.cs file to register this package.
builder.Services.AddBlazoredLocalStorage(); |
Create the AuthToken class
Add the AuthToken.cs class file in the MovieApp.Client project. Include the following code inside the file.
public static class AuthToken
{
    public static string TokenValue { get; set; } = string.Empty;

    public static string TokenIdentifier { get; set; } = "authToken";
}
The static property TokenIdentifier provides the string value that will be used as a key while storing the JWT in local storage.
Create the custom authentication state provider
Add a class file in the MovieApp.Client project and name it CustomAuthStateProvider.cs. Include the following code inside the file.
public class CustomAuthStateProvider : AuthenticationStateProvider
{
    private readonly ILocalStorageService _localStorage;
    private readonly AuthenticationState _anonymousUser;

    public CustomAuthStateProvider(ILocalStorageService localStorage)
    {
        _localStorage = localStorage;
        _anonymousUser = new AuthenticationState(new ClaimsPrincipal(new ClaimsIdentity()));
    }

    public void NotifyAuthState()
    {
        NotifyAuthenticationStateChanged(GetAuthenticationStateAsync());
    }

    static IEnumerable<Claim> ParseClaimsFromJwt(string jwt)
    {
        var claims = new List<Claim>();
        var payload = jwt.Split('.')[1];

        var jsonBytes = ParseBase64WithoutPadding(payload);

        var keyValuePairs = JsonSerializer.Deserialize<Dictionary<string, object>>(jsonBytes);

        if (keyValuePairs is not null)
        {
            claims.AddRange(keyValuePairs.Select(kvp => new Claim(kvp.Key, kvp.Value.ToString())));
        }

        return claims;
    }

    static byte[] ParseBase64WithoutPadding(string base64)
    {
        switch (base64.Length % 4)
        {
            case 2: base64 += "=="; break;
            case 3: base64 += "="; break;
        }
        return Convert.FromBase64String(base64);
    }
}
The ParseClaimsFromJwt method helps us to extract the user claims from the JWT payload. The NotifyAuthState method allows us to raise the AuthenticationStateChanged event. It will notify all the components about the change in the authentication state of the application.
The CustomAuthStateProvider class is inherited from the abstract class AuthenticationStateProvider. Now, override the GetAuthenticationStateAsync method of the AuthenticationStateProvider class.
Add the following code.
public override async Task<AuthenticationState> GetAuthenticationStateAsync()
{
    AuthToken.TokenValue = await _localStorage.GetItemAsync<string>(AuthToken.TokenIdentifier);

    if (string.IsNullOrWhiteSpace(AuthToken.TokenValue))
    {
        return _anonymousUser;
    }

    List<Claim>? userClaims = ParseClaimsFromJwt(AuthToken.TokenValue).ToList();

    return new AuthenticationState(new ClaimsPrincipal(new ClaimsIdentity(userClaims, "BlazorClientAuth")));
}
Then, fetch the JWT from local storage. If the JWT is set in the local storage, invoke the ParseClaimsFromJwt method to fetch the user claims. Next, return an instance of the AuthenticationState class with the user claims.
If the token is not set, return an empty instance of AuthenticationState class.
Configure the Program.cs file
Add the following code in the MovieApp.Client\Program.cs file.
builder.Services.AddScoped<CustomAuthStateProvider>();
builder.Services.AddScoped<AuthenticationStateProvider>(
    provider => provider.GetRequiredService<CustomAuthStateProvider>()
    );
This will allow us to use the CustomAuthStateProvider as a scoped service across our client project.
Now, configure the HTTP client by setting the authorization header. This will make sure that the JWT is passed to the server via the request header in each HTTP request.
builder.Services.AddMovieClient()
           .ConfigureHttpClient(client =>
           {
               client.BaseAddress = new Uri(graphQLServerPath);

               client.DefaultRequestHeaders.Authorization =
                new AuthenticationHeaderValue("Bearer", AuthToken.TokenValue);
           }
);
Finally, add the authorization services using the following code.
builder.Services.AddOptions();

builder.Services.AddAuthorizationCore(config =>
{
    config.AddPolicy(UserRoles.Admin, Policies.AdminPolicy());
    config.AddPolicy(UserRoles.User, Policies.UserPolicy());
});
Create the login component
Create a new component under the pages folder and name it Login.razor. Add ComponentBase as base class for the component Login.razor.cs.
Add the following code to the base class.
public class LoginBase : ComponentBase
{
    [Parameter]
    [SupplyParameterFromQuery]
    public string returnUrl { get; set; } = default!;

    [Inject]
    NavigationManager NavigationManager { get; set; } = default!;

    [Inject]
    CustomAuthStateProvider CustomAuthStateProvider { get; set; } = default!;

    [Inject]
    MovieClient MovieClient { get; set; } = default!;

    [Inject]
    ILocalStorageService LocalStorageService { get; set; } = default!;

    [Inject]
    ILogger<LoginBase> Logger { get; set; } = default!;

    string _returnUrl = "/";
    protected UserLogin login = new();
    protected CustomValidator customValidator;

    protected override void OnInitialized()
    {
        if (returnUrl is not null)
        {
            _returnUrl = returnUrl;
        }
    }
}
Now, inject the required services. This component will accept an optional string parameter named returnUrl. This parameter will be supplied via the URL query string.
Add the following method to authenticate the user.
protected async Task AuthenticateUser()
{
    customValidator.ClearErrors();

    try
    {
        UserLoginInput loginData = new()
        {
            Password = login.Password,
            Username = login.Username,
        };

        var response = await MovieClient.Login.ExecuteAsync(loginData);

        if (response.Data is not null)
        {
            AuthResponse authResponse = new()
            {
                ErrorMessage = response.Data.UserLogin.ErrorMessage,
                Token = response.Data.UserLogin.Token
            };

            if (authResponse.ErrorMessage is not null)
            {
                customValidator.DisplayErrors(nameof(login.Username), authResponse.ErrorMessage);
                throw new HttpRequestException($"User validation failed. Status Code: 401 Unauthorized");
            }
            else
            {
                await LocalStorageService.SetItemAsync(AuthToken.TokenIdentifier, authResponse.Token);
                CustomAuthStateProvider.NotifyAuthState();
                NavigationManager.NavigateTo(_returnUrl);
            }
        }
    }
    catch (Exception ex)
    {
        Logger.LogError(ex.Message);
    }
}
Now, clear out any errors in the form by invoking the ClearErrors method of the customValidator service. We will create an object of the type UserLoginInput and invoke the Login method of the MovieClient.
If login fails at the server, the response will have an ErrorMessage. We will set a custom error for the username field of the form and throw a HttpRequestException from the method.
If the login is successful at the server, store the JWT in the local storage. Next, invoke the NotifyAuthState method of the customValidator service and then navigate the user to the path set by the returnUrl.
Add the following code to the Login.razor file.
@page "/login"
@inherits LoginBase

<div class="row justify-content-center">
    <div class="col-md-6">
        <div class="card mt-3 mb-3">
            <div class="card-header">
                <div class="d-flex justify-content-between">
                    <h2>Login</h2>
                    <div class="d-flex align-items-center">
                        <strong>New User? </strong>
                        <a href='register' class="nav-link">Register</a>
                    </div>
                </div>
            </div>
            <div class="card-body">
                <EditForm Model="@login" OnValidSubmit="AuthenticateUser">
                    <DataAnnotationsValidator />
                    <CustomValidator @ref="customValidator" />

                    <div class="mb-3">
                        <label for="Username" class="form-label">Username</label>
                        <div class="col">
                            <InputText class="form-control" @bind-Value="login.Username" />
                            <ValidationMessage For="@(() => login.Username)" />
                        </div>
                    </div>

                    <div class="mb-3">
                        <label for="Password" class="form-label">Password</label>
                        <div class="col">
                            <InputText type="password" class="form-control" @bind-Value="login.Password" />
                            <ValidationMessage For="@(() => login.Password)" />
                        </div>
                    </div>

                    <div class="form-group" align="right">
                        <button type="submit" class="btn btn-success">Login</button>
                    </div>
                </EditForm>
            </div>
        </div>
    </div>
</div>
The EditForm component helps us to create the login form. We have added the built-in validators as well as the custom validators on the form. Invoke the AuthenticateUser method on valid submission of the form.
Create the redirect to the login component
Create a new component called RedirectToLogin.razor in the MovieApp.Client\Shared folder. Add the following code to it.
@inject NavigationManager Navigation

@code {
    protected override void OnInitialized()
    {
        Navigation.NavigateTo($"login?returnUrl={Uri.EscapeDataString(Navigation.Uri)}");
    }
}
This component can redirect the user to the Login page if the user tries to access a secure page without proper authentication. Then, set the returnUrl to the path the user tries to access.
Update the app component
Add the following import definition to the Imports.razor file.
@using Microsoft.AspNetCore.Components.Authorization
Open the App.razor file and replace the existing code with the following code.
<CascadingAuthenticationState>
    <Router AppAssembly="@typeof(App).Assembly" PreferExactMatches="@true">
        <Found Context="routeData">
            <AuthorizeRouteView RouteData="@routeData" DefaultLayout="@typeof(MainLayout)">
                <NotAuthorized>
                    @if (!context.User.Identity.IsAuthenticated)
                    {
                        <RedirectToLogin />
                    }
                    else
                    {
                        <p>You are not authorized to access this resource.</p>
                    }
                </NotAuthorized>
            </AuthorizeRouteView>
        </Found>
        <NotFound>
            <PageTitle>Not found</PageTitle>
            <LayoutView Layout="@typeof(MainLayout)">
                <p role="alert">Sorry, there's nothing at this address.</p>
            </LayoutView>
        </NotFound>
    </Router>
</CascadingAuthenticationState>
The CascadingAuthenticationState component helps us to provide the authentication state at the root level inside the app.razor file. The AuthorizeRouteView component allows us to display the page matching for the specified route only if the user is authorized to see it.
The content inside the NotAuthorized tag will be displayed only to non-authorized users.
The context property is provided by the Blazor framework’s AuthenticationState class. Access the user information via the context property and check if the user is authenticated or not. If the user tries to access a page without authentication, we will redirect the user to the login page. Otherwise, we will display the message that the user is not authorized to access this resource.
Add authorization to the Blazor components
There are two ways to implement authorization in Blazor components:
- Using the [Authorize] attribute in the component file.
- Using the IAuthorizationService in the base class.
Open the AddEditMovie.razor file and add the following code at the top.
@using MovieApp.Shared.Models;
@using Microsoft.AspNetCore.Authorization

@attribute [Authorize(Policy = UserRoles.Admin)]
// Other code
We added the [Authorize] attribute and specified the policy, which is to allow to access this component.
After this, we will secure the ManageMovie component. Add the following code to the ManageMovies.razor.cs file.
// Other code

[Inject]
IAuthorizationService AuthService { get; set; } = default!;

[CascadingParameter]
public Task<AuthenticationState> AuthenticationState { get; set; } = default!;

// Other code

protected override async Task OnInitializedAsync()
{
    var authState = await AuthenticationState;
    var CheckAdminPolicy = await AuthService.AuthorizeAsync(authState.User, Policies.AdminPolicy());

    if (CheckAdminPolicy.Succeeded)
    {
        await GetMovieList();
    }
    else
    {
        NavigationManager.NavigateTo($"login?returnUrl={Uri.EscapeDataString(NavigationManager.Uri)}");
    }
}
We injected the IAuthorizationService into the class. We have supplied the AuthenticationState as a CascadingParameter, which helps in accessing the user claims.
Inside the OnInitializedAsync lifecycle method, we fetch the current AuthenticationState of the user. The AuthorizeAsync method validates if the user meets the criteria specified in the policy. This method will return a Boolean value specifying whether the policy evaluation is successful or not.
If the user policy evaluation fails, we redirect the user to the Login page and set the returnUrl query parameter.
Update the NavMenu component
Open the NavMenu.razor.cs file and add the following code to it.
public class NavMenuBase : ComponentBase
{
    [Inject]
    NavigationManager NavigationManager { get; set; } = default!;

    [Inject]
    CustomAuthStateProvider CustomAuthStateProvider { get; set; } = default!;

    [Inject]
    ILocalStorageService LocalStorageService { get; set; } = default!;

    protected bool show = false;

    protected async Task LogoutUser()
    {
        await LocalStorageService.RemoveItemAsync(AuthToken.TokenIdentifier);
        CustomAuthStateProvider.NotifyAuthState();
        NavigationManager.NavigateTo("/");
    }
}
In the LogoutUser method, we perform the following three operations:
- Remove the JWT from the local storage.
- Invoke the NotifyAuthState method to notify of the change in the application authentication state.
- Navigate the user back to the home page.
Now, open the NavMenu.razor file and replace the existing code with the following.
@using MovieApp.Shared.Models
@inherits NavMenuBase

<nav class="navbar fixed-top navbar-expand-lg navbar-dark">
    <div class="container-fluid">
        <a class="navbar-brand" href="/">Movie App</a>
        <span class="spacer"></span>
        <AuthorizeView Policy="@UserRoles.Admin">
            <Authorized>
                <a class="nav-link" href="admin/movies">Admin Panel</a>
            </Authorized>
        </AuthorizeView>
        <AuthorizeView>
            <Authorized>
                <div class="dropdown">
                    <a class="nav-link dropdown-toggle" id="dropdownMenuButton" data-bs-toggle="dropdown"
                       aria-haspopup="true" aria-expanded="false" @onclick="e => show=!show">
                        @context.User.Identity.Name
                    </a>
                    <div class="dropdown-menu-end dropdown-menu @(show? "show" :"")">
                        <a class="dropdown-item" @onclick="LogoutUser">Logout</a>
                    </div>
                </div>
            </Authorized>
            <NotAuthorized>
                <a class="nav-link" href="login">Login</a>
            </NotAuthorized>
        </AuthorizeView>
    </div>
</nav>
The AuthorizeView component helps us to display the data only to the authorized users. The user with the role Admin can see the Admin Panel link in the nav-bar.
If the user is logged in, display a dropdown menu showing the username as the title and a logout button as a menu item.
If the user is not logged in, show a link to the login page.
Update the database
If a user registers using the UI, they will be registered with the User role. If we want to add a user with the Admin role, add it directly via the database.
Open SSMS and run the following SQL query in the MovieDB database.
INSERT INTO UserMaster |
Execution demo
Launch the application and you can register a new user as shown.
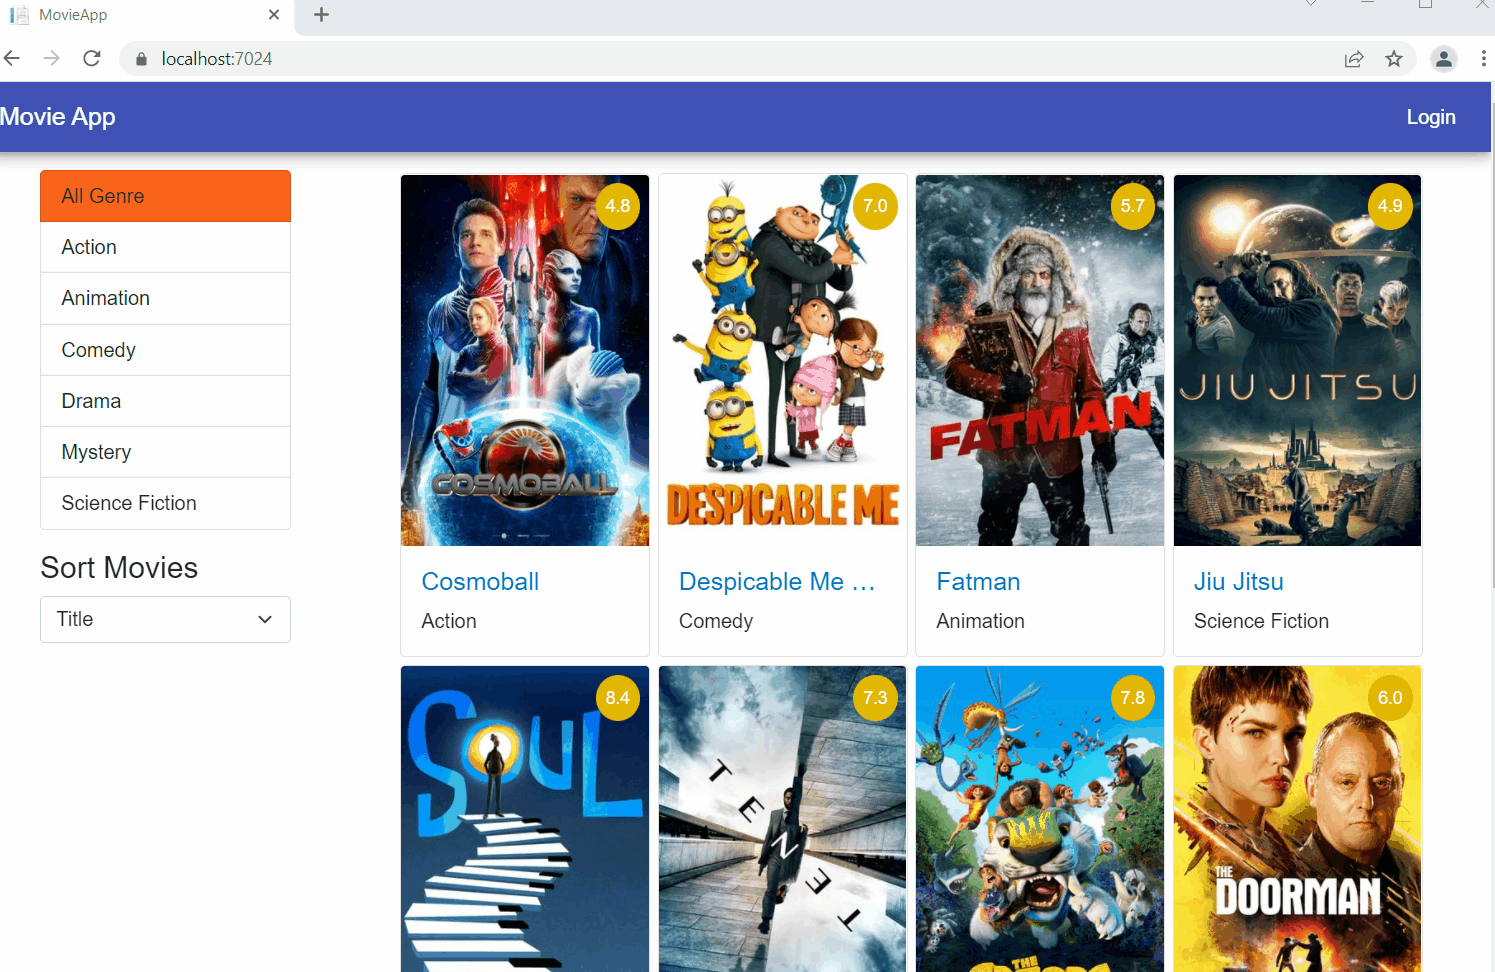
After the registration is successful, log in as the user.
Resource
The complete source code of this application is available on GitHub.
Summary
Thanks for reading! In this article, we have added authorization to restrict access to the application resources based on the policies defined for the user.
In our next article of this series, we will configure the client-side state management in our application.
Syncfusion’s Blazor component suite offers over 70 UI components that work with both server-side and client-side (WebAssembly) hosting models seamlessly. Use them to build marvelous apps!
If you have any questions or comments, you can contact us through our support forums, support portal, or feedback portal. We are always happy to assist you!


 No spam, just valuable updates.