
TL;DR: Spec-driven AI development replaces ad hoc prompting with structured specifications to build more predictable and maintainable AI-assisted features. This guide explores how to use OpenSpec in Code Studio to define clear requirements, improve reviewability, and create reliable AI workflows that scale across real-world development projects.
AI coding assistants can dramatically speed up development, but without structure, they often drift into “vibe coding.” Features are generated from loosely worded prompts, requirements get missed, and changes become hard to review or trust.
OpenSpec addresses this problem by replacing ad‑hoc chat instructions with lightweight, readable specifications that guide AI behavior. When used within Syncfusion® Code Studio, OpenSpec enables a predictable, spec‑driven workflow that keeps developers and AI aligned from planning to implementation.
Why prompt-driven AI coding breaks down
Prompt‑based workflows rely heavily on conversation context. Over time, this leads to:
- Inconsistent outputs between runs
- Missing or misunderstood requirements
- AI-generated changes that are difficult to review
- Loss of intent as prompts evolve
As projects grow, chat history alone is not enough to represent system behavior.
Spec‑driven development solves this by making intent explicit, before code is written.
What OpenSpec is (and why it’s different)
OpenSpec is a lightweight spec‑driven framework designed specifically for AI‑assisted development. Instead of writing code first and fixing issues later, you define what should be built and why it exists through simple, human‑readable files.
These specs act as a shared blueprint that both developers and AI assistants can reliably follow.
OpenSpec focuses on:
- Clear intent over conversational memory
- Small, reviewable changes
- Flexibility for real‑world codebases (new or existing)
Using OpenSpec within Code Studio
In Code Studio, AI assistants respond to instructions. OpenSpec replaces vague prompts with structured inputs that clearly and consistently explain expected behavior.
Specs live alongside your code in a predictable folder structure, making them easy to review, update, and version‑control. This ensures AI‑generated code aligns with actual project requirements, not guesses.
The Open-Spec directory model
Open Spec keeps your project organized by creating a clear folder structure. This structure helps both you and your AI assistant understand what the system currently does and what changes you want to make. Everything is stored in simple Markdown files, making it easy to read and maintain.
Open-Spec folder structure
OpenSpec keeps specs organized using a simple directory model:
├─ specs/         # Official system behavior

├─ changes/    # Active feature work (proposal.md, design.md, tasks.md, and temporary specs)

│  ├─ <feature-name>/

│  │  ├─ proposal.md

│  │  ├─ design.md

│  │  ├─ tasks.md

│  │  └─ specs/

└─ changes/archive/  # Completed features
This separation makes it clear:
- What the system does today
- What is changing right now
- What has already been completed
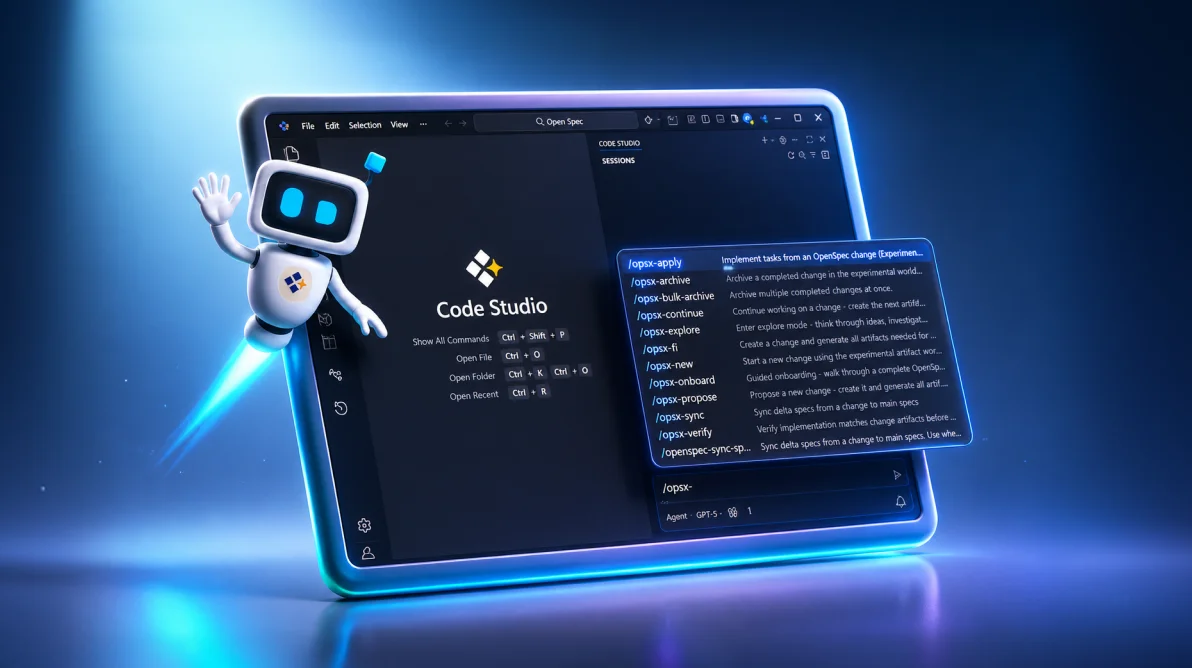
The Open-Spec action workflow (OPSX)
Instead of rigid phases, OpenSpec uses actions you can run when needed. This keeps development flexible while still structured.
Core actions include:
- explore: Think through ideas without creating files
- propose: Generate proposals, designs, tasks, and temporary specs
- apply: Let AI implement tasks step by step
- archive: Merge completed work into official specs
You are never locked into a phase. Specs can evolve as the feature evolves.
Building your first feature with OpenSpec
1. Explore an idea (optional)
Use explore to ask questions, inspect code, or clarify your idea without generating or modifying files.
/opsx:explore <your-idea>
2. Propose the feature
Create a structured plan for the feature.
/opsx:propose <feature-name>
This generates:
- proposal.md: Why the feature exists
- design.md: How it works
- tasks.md: Ordered implementation steps
- Temporary specs: Planned system changes
3. Apply tasks
Once reviewed, let the AI implement tasks safely and predictably.
/opsx:apply
The AI follows tasks.md in order, touching only what was planned.
4. Archive the change
Finalize the feature and update official specs.
/opsx:archive
Temporary specs are merged into the main system specs, and the change is archived.
Expanded workflow (optional)
For larger features, OpenSpec provides additional actions:
- new: Start a fresh change
- continue: Resume existing work
- ff: Generate all planning files at once
- verify: Validate consistency before coding
- sync: Fix outdated or drifting specs
These can be enabled as needed without changing the core workflow. You can also turn these actions on or off depending on what your project needs by running this command in your terminal:
openspec config profile
Getting started with open-spec in Code Studio
In this section, we’ll walk through how to set up Open‑Spec and start building your first feature step‑by‑step inside Code Studio.
About Syncfusion Code Studio
Syncfusion Code Studio is an AI-powered integrated development environment (IDE) with built-in assistance to support modern software development workflows. To learn more about Code Studio, visit our introduction blog.
Prerequisites:
Before we start, ensure you have:
- Syncfusion Code Studio is installed and configured on your system.
- Node.js version 20.19.0 or higher installed.
Step 1: CLI & environment setup
You can set up Open‑Spec globally using a single command in your terminal:
npm install -g @fission-ai/openspec@latest
This installs the Open‑Spec CLI, allowing you to run the openSpec command from any project on your system.
Step 2: Initializing Open-Spec in a project
Once the CLI is installed, initialize OpenSpec inside your project. Open a terminal, navigate to your project directory, and run the following command:
openspec init
This creates the openspec/directory and sets up the folders and configuration files needed for spec‑driven development.
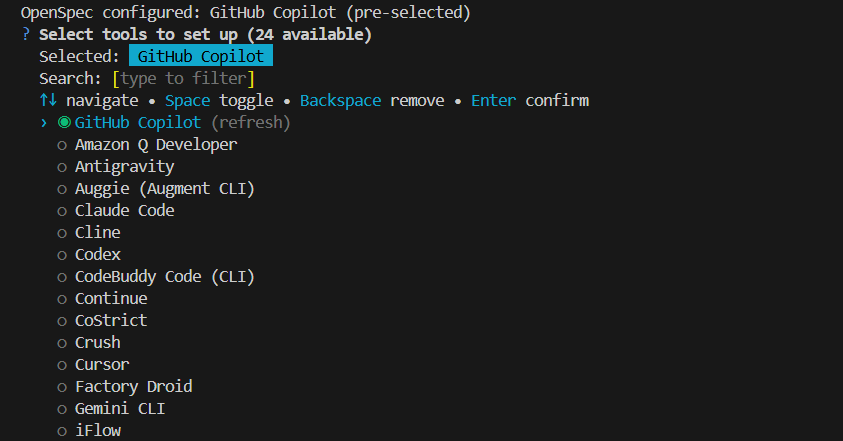
AI tool selection:
During the openspec init process, you’ll be prompted to choose an AI assistant. For Code Studio, select GitHub Copilot.
Why GitHub Copilot?
- The OpenSpec installer currently does not include a dedicated “Code Studio” option.
- Selecting GitHub Copilot ensures compatibility with the AI assistants supported by Code Studio.
- All OpenSpec actions (explore, propose, apply, archive) will run smoothly without affecting your existing Code Studio workflow.
You can continue using Code Studio as usual. OpenSpec provides structured guidance for AI-assisted development.
Building your first feature with Open‑Spec
Now that OpenSpec is set up, you’re ready to build your first feature using the default OpenSpec workflow. This workflow relies on four core actions, explore, propose, apply, andarchive, and provides a simple, low-risk way to develop new features in Code Studio.
This walkthrough shows how to move from an initial idea to a fully implemented feature, with AI assistance guided by clear specifications rather than ad‑hoc prompts.
1. /opsx:explore: Understand the feature before creating anything
The explore action is optional but highly recommended when your requirements are unclear or still evolving. It allows you to think through your idea, ask questions, inspect the codebase, and explore alternatives, without creating or modifying any files.
Use the command below and include your idea, question, or goal:
/opsx:explore <your-idea-here>
Below is a quick showcase of how to use /opsx:explore directly inside the Code Studio chat window. This helps you see exactly where to type the command and how the AI responds as it generates the feature plan.
Note: The /opsx:explore action is completely safe. It does not edit, create, or delete any files in your project.
2. /opsx:propose: Create the feature plan
Once your idea is clear, use /opsx:propose to define the feature formally. This action creates a structured plan that explains what to build, why it’s needed, and how the AI should implement it.
Run the command below, replacing <your-feature> with a meaningful name.
/opsx:propose <your-feature>
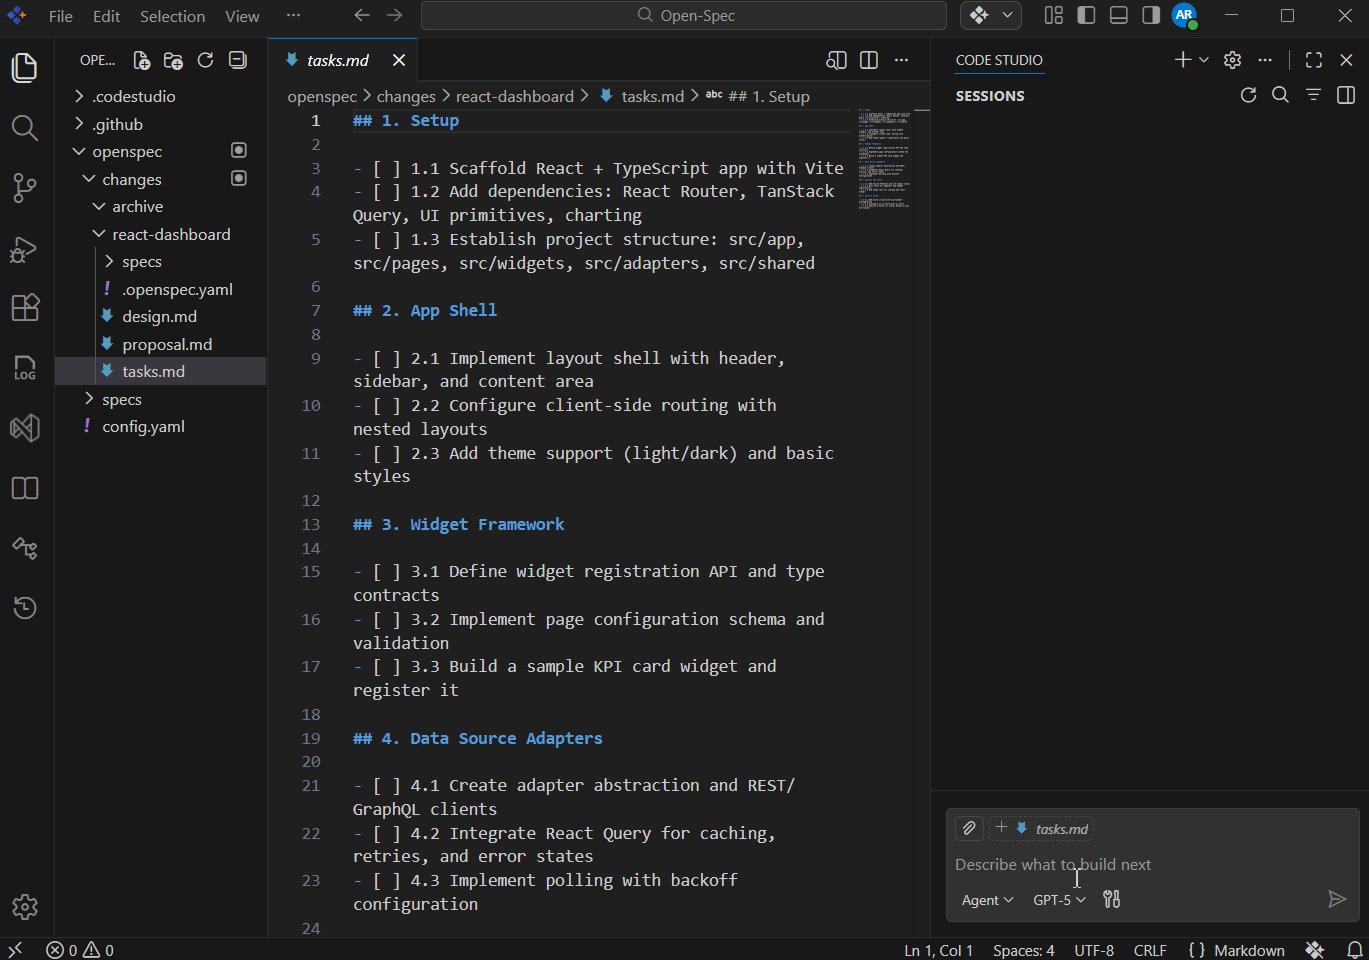
When you run the /opsx:propose command, Open‑Spec immediately creates a new changes folder for your feature inside:
openspec/changes/<your-feature name>/
Inside this folder, OpenSpec generates the planning artifacts required to guide AI development:
- proposal.md: Explains the purpose and problem the feature solves
- design.md: Describes how the feature works within the system
- tasks.md: Lists clear, ordered implementation steps
- specs/: Defines the system behavior that will be added or updated
Together, these files form a reliable blueprint that the AI can follow without guessing.
3. /opsx:apply: Let the AI implement the feature
After your feature plan is ready, you’re ready to implement the feature. The /opsx:apply action instructs the AI to follow tasks.md step-by-step, making changes only where planned.
Use the command below to start the implementation:
/opsx:apply
No additional description is required. The AI completes each task in order, keeping changes focused, predictable, and easy to review.
4. /opsx:archive: Finish the feature and update the true specs
After the AI finishes building your feature with /opsx:apply, use /opsx:archive to complete the change and update your real specs.
You run it like this:
/opsx:archive
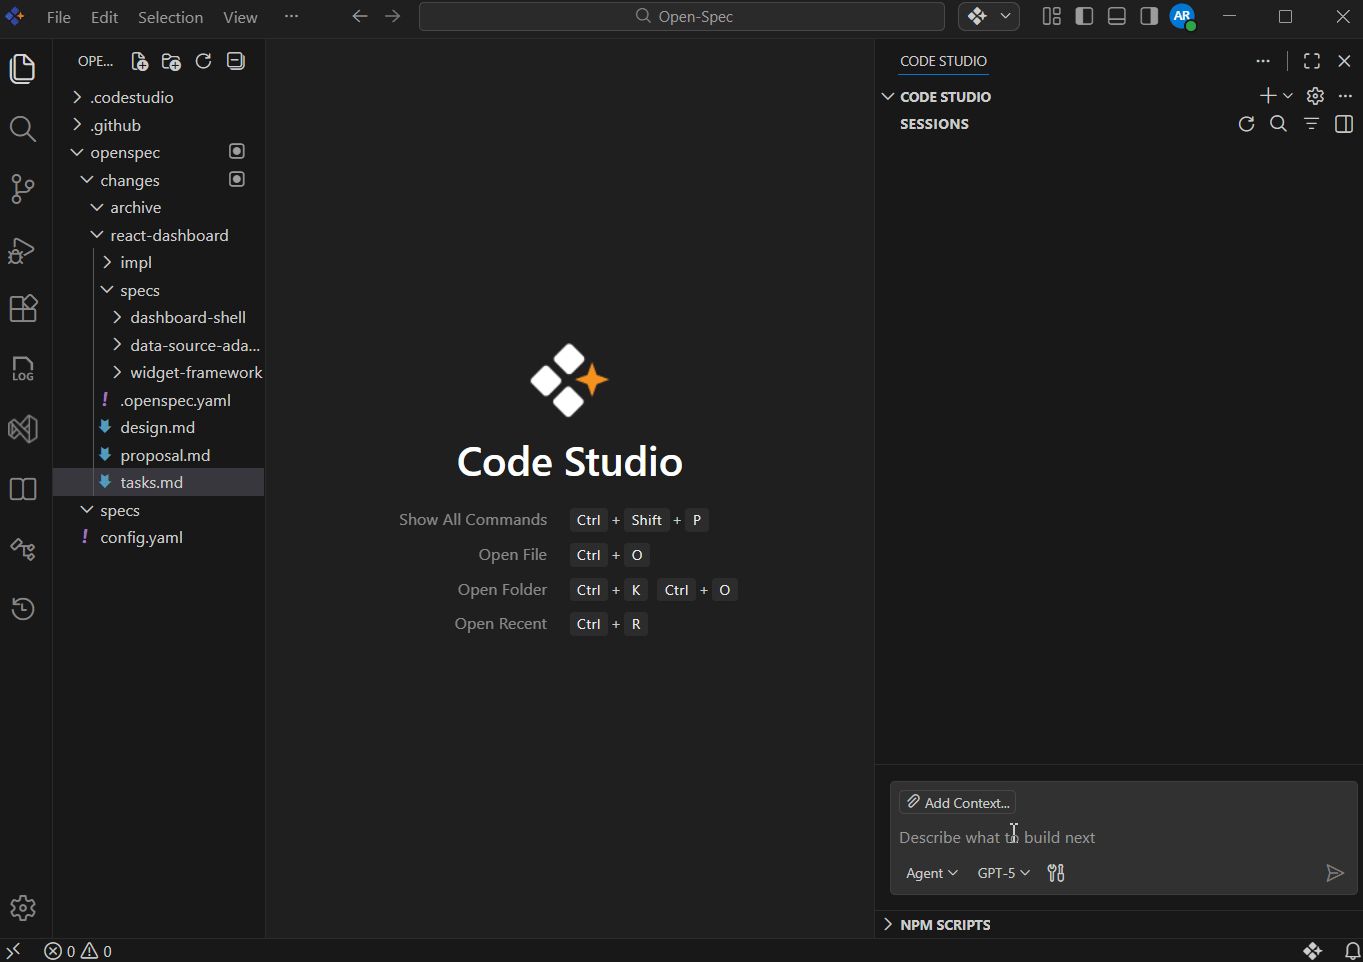
This step moves the feature out of the “work in progress” state and makes it part of the actual system by:
- Merging temporary specs into the main specs
- Archiving the completed change for future reference
Understanding the two specs locations
- openspec/specs/: Official specs representing current system behavior
- openspec/changes/<feature>/specs/: Temporary specs used during development
When you run /opsx:archive, OpenSpec merges temporary specs into openspec/specs/ and moves the feature folder to:
openspec/changes/archive/
What to check after you run /opsx:archive :
- Updated specs exist in
openspec/specs/. - The feature folder appears in
openspec/changes/archive/. - No temporary specs remain in the active change folder.
Open-Spec vs other spec-driven tools
Some spec frameworks work best for greenfield projects with heavy upfront planning. OpenSpec takes a different approach:
- Designed for existing codebases
- Encourages small, incremental changes
- Keeps specs lightweight and readable
- Separates current behavior from planned updates
This makes OpenSpec well-suited for real-world development, where change is constant.
Open‑spec cheat sheet
| Action | Command | What It Does (Simple Explanation) |
| Explore an idea (optional) | /opsx:explore | Helps you think through your feature, ask questions, and explore ideas before creating any files. |
| Explore a topic | /opsx:explore <your-idea> | Let’s you explore a specific idea, problem, or question before planning the feature. |
| Create a feature plan | /opsx:propose <your-feature> | Creates proposal, design, tasks, and Temporary specs for your feature inside a new change folder. |
| Apply tasks (start coding) | /opsx:apply | AI follows tasks step by step and builds features safely and predictably. |
| Finish & merge the change | /opsx:archive | Moves the completed change to the archive and merges the temporary specs into the main specs |
| Enable more actions (expanded workflow) | openspec config profile | Lets you turn on or off additional Open‑Spec actions based on your pr |
Best practices for working with Open‑Spec
Working with Open‑Spec becomes much easier and smoother when you follow a few simple best practices. These tips help you avoid confusion, save time, and get clear, predictable results from your AI assistant.
- Start with small features to learn the workflow
- Review generated specs before applying changes
- Avoid asking the AI to guess, let specs guide it
- Keep each change focused on one problem
- Archive completed work immediately
These habits keep AI‑generated code predictable and easy to review.
Frequently Asked Questions
Yes, Open Spec works great with existing projects. It was designed to help you update real systems safely by separating your current system specs from proposed changes.Can I use Open-Spec with an existing project?
You can fix the files and rerun What happens if I make a mistake in the tasks or design?
/opsx:apply, or use the expanded workflow and run /opsx:verify to check for mistakes before coding.
No. Open‑Spec is flexible. Most users start with the default three: propose → apply → archive. You can enable more actions (new, continue, ff, verify, sync) anytime using: Do I have to use all OPSX actions?
openspec config profile
No. Open‑Spec creates small, easy-to-read files automatically. You simply review or edit them if needed. Everything stays lightweight and simple.Do I need to write long documents?
Yes. For bigger features, you can switch to the expanded workflow and use commands like Can I use Open-Spec for big features?
/opsx:new, /opsx:ff, /opsx:verify, and /opsx:sync to plan everything more deeply and safely.
Yes. Open-Spec keeps changes clearly separated, makes reviews easier, and stores finished work in the archive folder so teams always know what changed and why.Is Open-Spec good for teams?
Conclusion
Thank you for reading! OpenSpec brings structure to AI-assisted development by replacing prompt-based guesswork with clear, spec-driven intent. Its action‑based workflow, explore, propose, apply, archive, helps developers build features that are easier to trust, review, and maintain.
When paired with Syncfusion Code Studio, OpenSpec ensures that AI follows a consistent plan rather than improvising, resulting in cleaner implementations and fewer surprises, whether you’re shipping small updates or managing complex systems.


![Code Studio The Enterprise IDE for AI-Powered Development [Webinar Show Notes]](https://www.syncfusion.com/blogs/wp-content/uploads/2025/10/Code-Studio-The-Enterprise-IDE-for-AI-Powered-Development-Webinar-Show-Notes.jpg)
 No spam, just valuable updates.