
Vue 3 Succinctly®

CHAPTER 2
Setup
Overview
Welcome to the world of Vue 3 and its Composition API, which didn’t exist in the previous version of Vue. In this chapter, we will explore the process of setting up a Vue 3 project by using Vite (pronounced veet, and also created by Evan You, the creator of Vue) and understand the basic structure of the application.
Setup
To work with Vue 3, we need to have Node.js installed, which is a cross-platform and open-source JavaScript runtime environment.
To install Node.js, go to the Node.js website and download the LTS (long-term support) or the latest Current version. I suggest using the LTS version, which is recommended for most users, even though the latest Current version is OK for following along with this book.
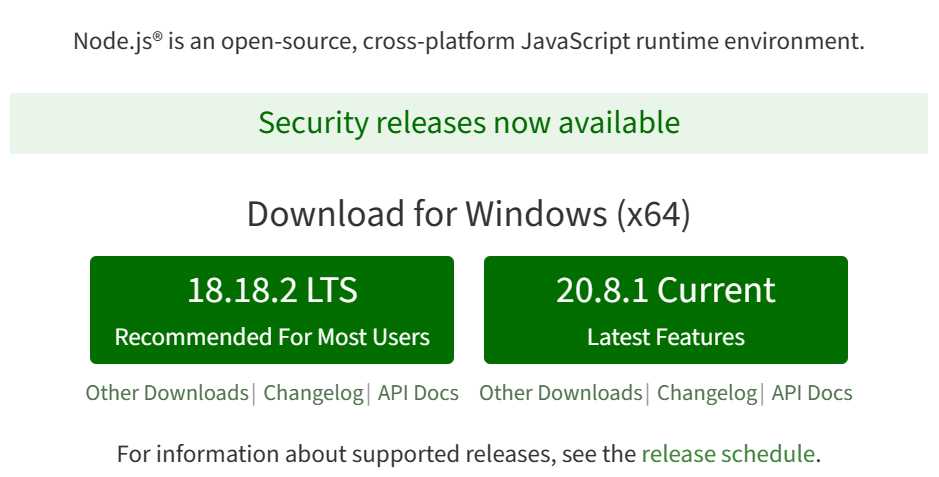
Figure 1-a: Node.js Website
The installation of Node.js is straightforward and consists of a few steps that can easily be performed by using a step-by-step installation wizard shown in the following figure:
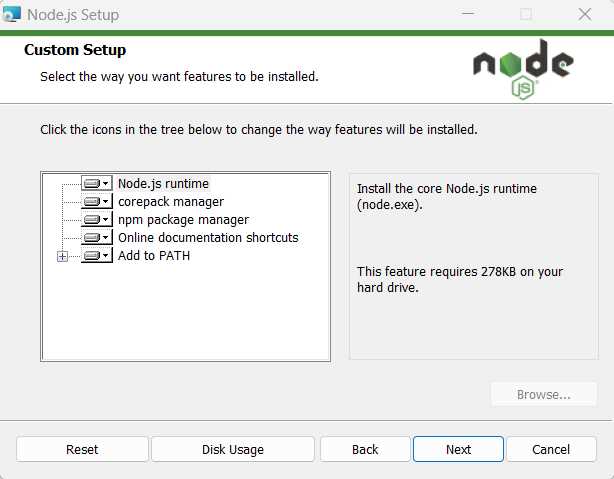
Figure 1-b: Node.js Installation Wizard
Once Node.js has been installed, we need to install the Vue CLI globally on our system. We can do this by opening the command line or terminal and running the following command:
Code Listing 1-a: Vue CLI Installation Command
npm install -g @vue/cli |
After installation, you can run the following command to check which version of the Vue CLI was installed on your machine:
Code Listing 1-b: Check Vue CLI Version
vue –version |
With the Vue CLI installed, we are ready to install Vite. We can install Vite globally by using the following command:
Code Listing 1-c: Vite Installation Command
npm install -g create-vite |
Once Vite is installed, you can navigate to your project directory and create a new Vue 3 project by running the following command:
Code Listing 1-d: Creating a Vue Project with Vite
create-vite my-vue3-project |
Once you have run this command, you will be requested to select a framework, as shown in the following figure:
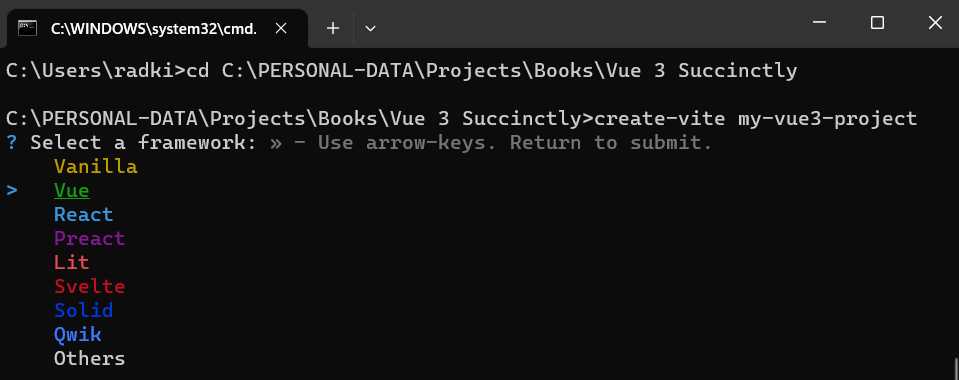
Figure 1-c: Selecting a Framework (Creating a Vue Project with Vite)
Let’s select Vue as the option and choose a variant; I will choose JavaScript rather than TypeScript.
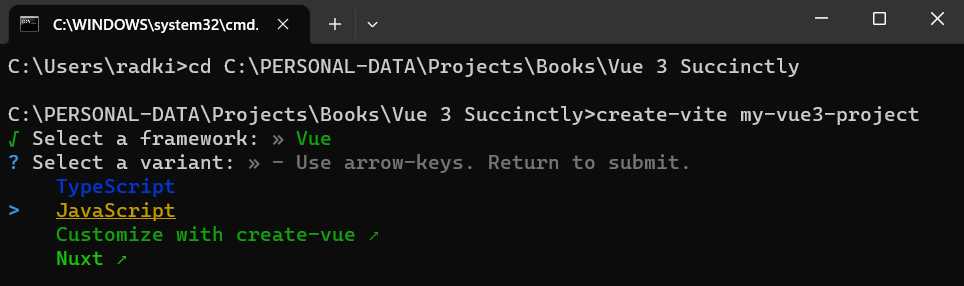
Figure 1-d: Selecting a Variant (Creating a Vue Project with Vite)
Once you’re done, navigate to the project directory and run the following commands in the order specified:
Code Listing 1-e: Commands to Install Packages and Run the Project in Development Mode
cd my-vue3-project npm install npm run dev |
Let’s visualize these steps: first, navigate to the created Vue application folder.
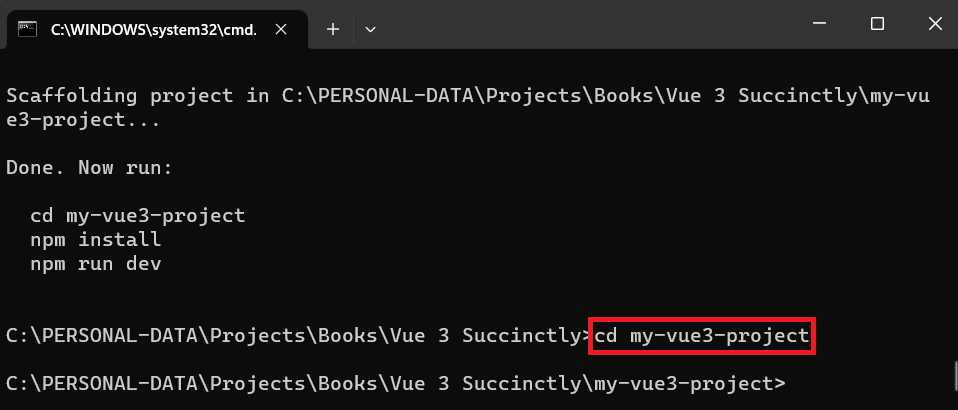
Figure 1-e: Navigating to the Vue Application Folder
Next, install the required NPM packages by running the npm install command.
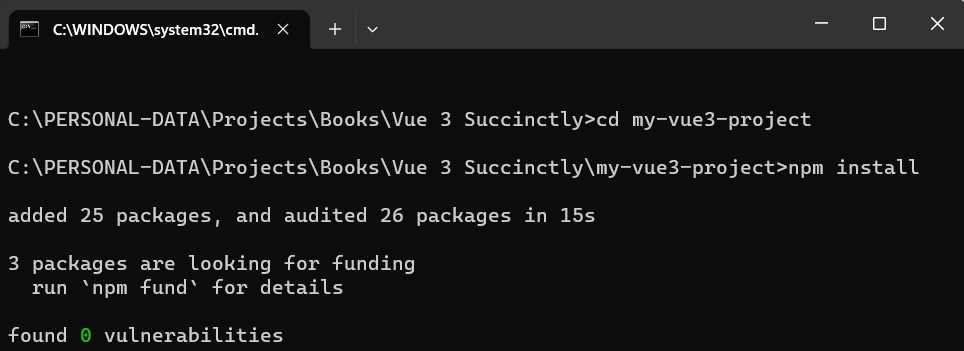
Figure 1-f: Installing NPM Packages
Once we have installed the required NPM packages, we can run the application created in development mode by using the npm run dev command.
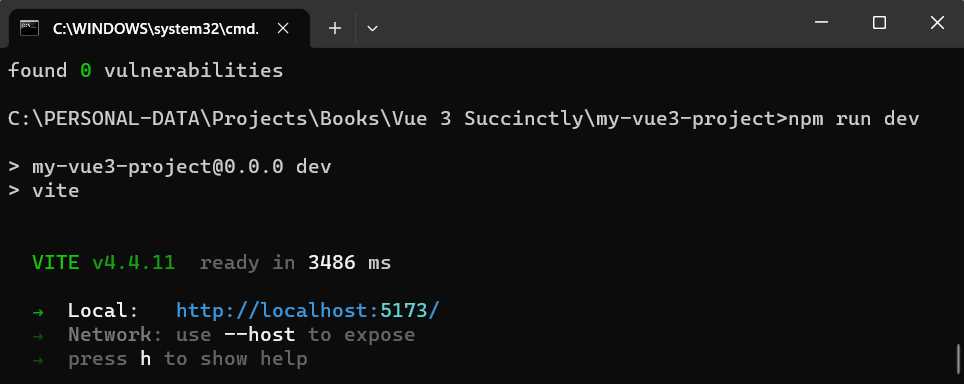
Figure 1-g: Running the App in Dev Mode
Once the application is running, we can navigate to the highlighted localhost URL and see what the application looks like.
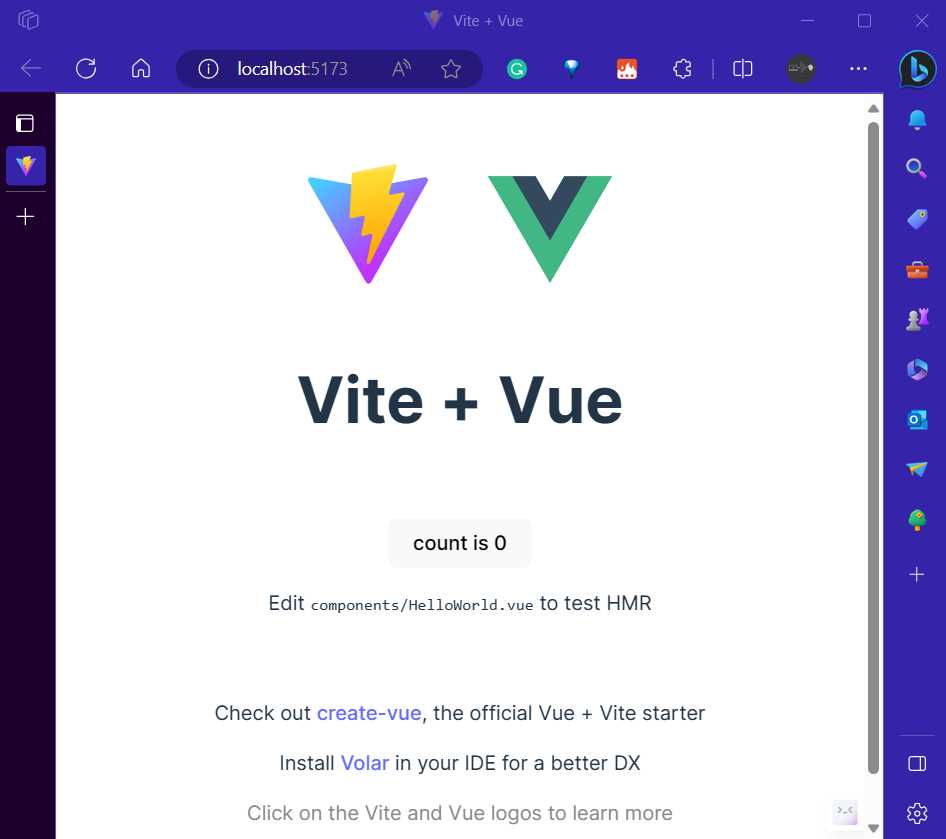
Figure 1-h: The App in Dev Mode (Edge Browser)
Excellent—that’s the scaffolded application running in the browser.
Root component
Let’s look at the default project structure of the application just created by using Vite.
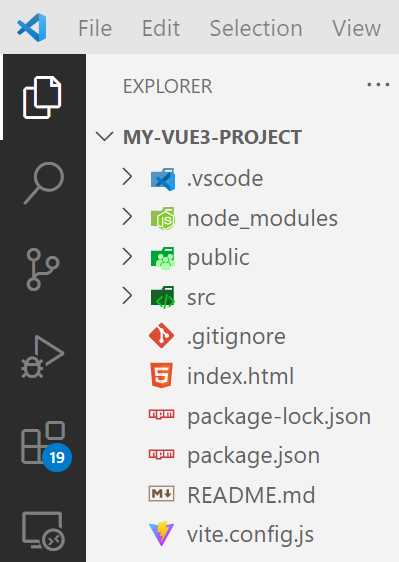
Figure 1-i: The Default App Structure (VS Code)
Understanding the structure of a Vue 3 application is essential for effective development. In a Vite project, your application's entry point is usually the src/main.js file. We import and mount the root (App) Vue component within this file.
Code Listing 1-f: The src/main.js File
import { createApp } from 'vue' import './style.css' import App from './App.vue' createApp(App).mount('#app') |
The root (App) Vue component is defined in the src/App.vue file. This component serves as the main structure for the application and is where we'll start building the UI later.
Code Listing 1-g: The src/App.vue File
<script setup> import HelloWorld from './components/HelloWorld.vue' </script> <template> <div> <a href="https://vitejs.dev" target="_blank"> <img src="/vite.svg" class="logo" alt="Vite logo" /> </a> <a href="https://vuejs.org/" target="_blank"> <img src="./assets/vue.svg" class="logo vue" alt="Vue logo" /> </a> </div> <HelloWorld msg="Vite + Vue" /> </template> <style scoped> .logo { height: 6em; padding: 1.5em; will-change: filter; transition: filter 300ms; } .logo:hover { filter: drop-shadow(0 0 2em #646cffaa); } .logo.vue:hover { filter: drop-shadow(0 0 2em #42b883aa); } </style> |
The src/App.vue file has three sections. First, we have the script section, which includes the JavaScript or TypeScript code.
Then, we have the template section, where the HTML and markup are defined, and then the style section, where the CSS is defined. The order in which these sections appear is not relevant.
As you can see, within one Vue file, we can have code, HTML markup, and CSS, making it convenient and easy to create modular applications.
Recap
In this short chapter, we’ve looked at setting up the environment and creating a Vue 3 app by using Vite, which, as you saw, was straightforward.
In the chapters that follow, we’ll dive deeper into Vue 3 and its concepts and features, and implement the application.
- 80+ high-performance, modular, and responsive Vue UI components.
- Popular components like Data Grid, Charts, and Diagram.
- Incredibly lightweight and user-friendly.