
Visual Studio 2015 Succinctly®

CHAPTER 5
IDE Customizations: Window Layout
Visual Studio has been offering a huge number of ways to customize the development environment for many years. This includes customizing toolbars, settings, menu commands, the code editor, and other parts of the workspace. After all, as a developer, you spend so much time in Visual Studio and so you must be able to adjust the environment according to your personal preferences and needs. Visual Studio 2015 introduces a new customization called Custom Window Layout, which makes it easier to organize your workspace.
Custom Window Layout
Visual Studio 2015, as well as its predecessors, has many tool windows that can be arranged on the workspace and even be docked to the four sides of the development environment. Solution Explorer, Toolbox, Error List, and Properties are all examples of related tool windows. You typically organize your workspace according to the kind of project you are working on. However, when you switch to another project type, you will probably use different tool windows and reorganize your workspace. Switching between different project types, and consequently to different window layouts, would then require manually rearranging all the necessary tool windows. In addition, if you work with Visual Studio on multiple machines, you have to arrange your window layout on each installation. To make your life easier, Visual Studio 2015 introduces a new way of customizing your workspace, called Custom Window Layout. This new feature allows saving, managing, reapplying, and roaming your window layouts with convenient tools.
Saving Window Layouts
To understand how Custom Window Layout works, first suppose you have specific tool windows opened when working on a WPF project for Windows. Figure 40 provides an example where you can see the Toolbox, Document Outline, Solution Explorer, and Properties tool windows.
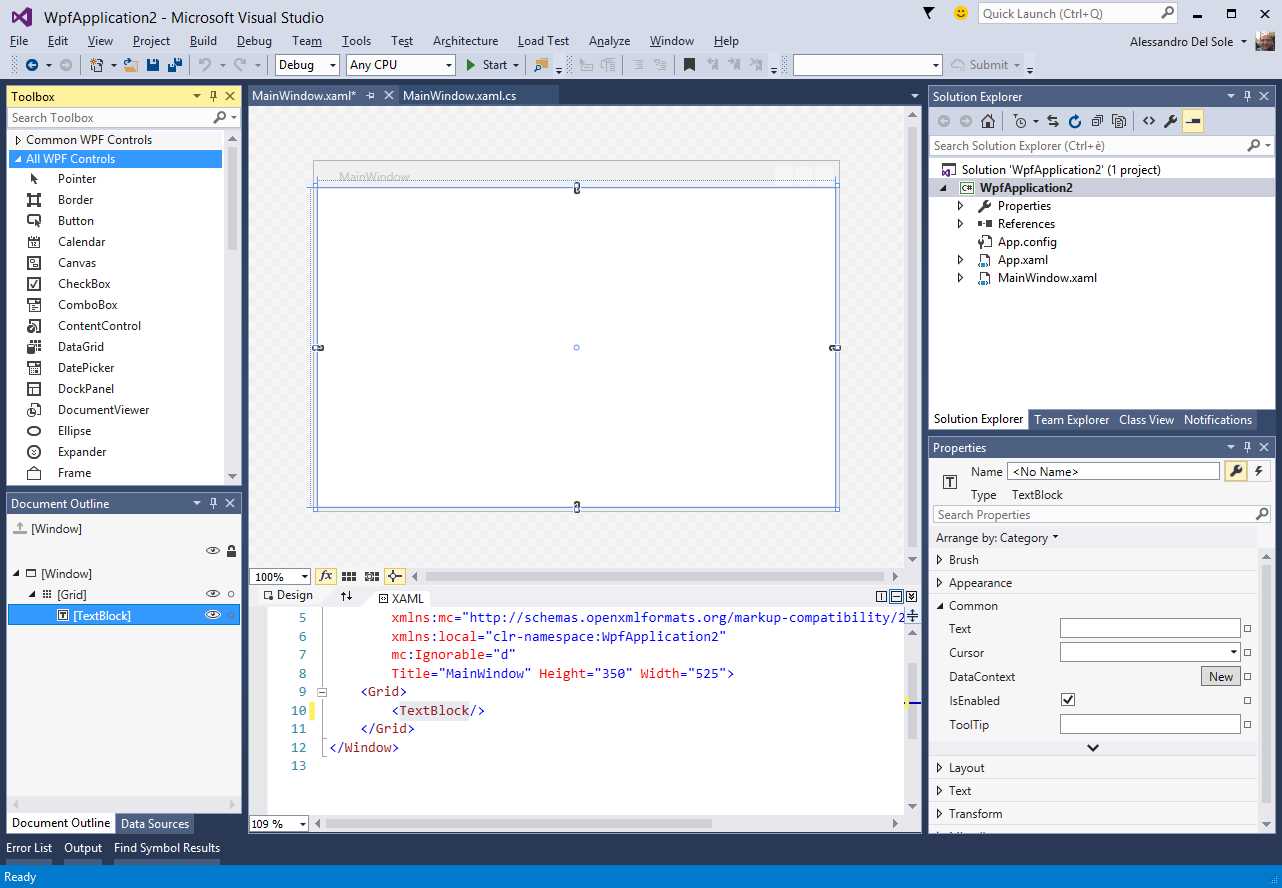
- A sample window layout for WPF projects.
Suppose you now need to change project type, switching to a web project for the Azure platform. You will need to open completely different tool windows, which means losing the current layout now and for future work on the project. Visual Studio 2015 now provides an easy opportunity to save and restore window layouts. The Window menu offers a new command called Save Window Layout. This will open the Save Window Dialog, where you can enter a name for the current layout, as demonstrated in Figure 41.

- Supplying a name for the window layout.
At this point, your window layout will be saved for later reuse.
Tip: When you sign in with your Microsoft Account, custom window layouts are synchronized across all your Visual Studio 2015 installations. This means that you can run Visual Studio 2015 on a different machine and find all your saved layouts.
Applying Window Layouts
Imagine that, after working on a WPF project, you need to switch to a project for the Azure platform, for example a Mobile Service project. You will definitely use different tool windows such as Server Explorer, SQL Server Object Explorer, and HDInsight Task List. Figure 42 shows an example of window layout for this kind of project, but your effective preferences might be different.

- Using another window layout for a different project type.
You can save the current window layout as you saw in the previous paragraph, but the most important consideration comes when you return to working on your WPF project. For a better understanding, close the Azure project and open a new or existing WPF project. The Window menu provides a command called Apply Window Layout, which allows selecting a different window layout among a list of saved layouts, as Figure 43 demonstrates.
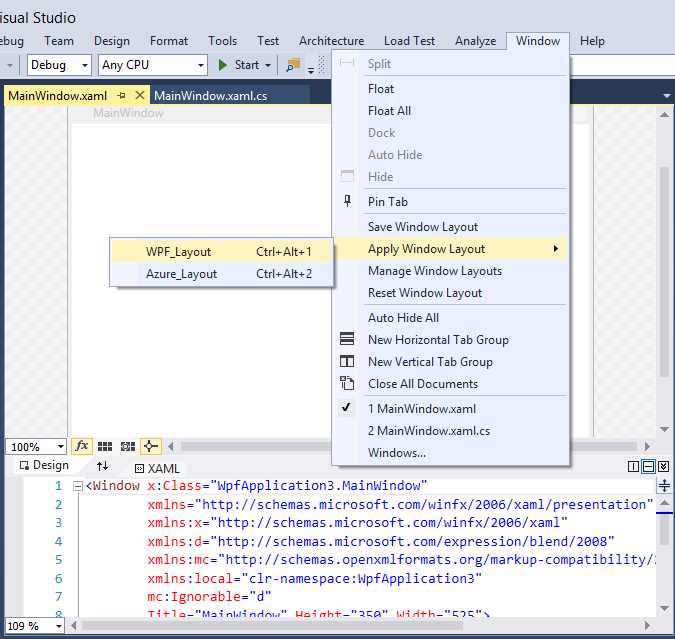
- Applying window layouts.
When you choose one from the list, Visual Studio 2015 will ask for a confirmation before applying a different layout. At this point, you will get your original workspace restored, showing all the necessary tool windows for working with WPF.
Note: Visual Studio 2015 will be able to completely restore a window layout only if the current project type supports all tool windows in the layout. For instance in the current example, if you try to apply the WPF layout when the project for Azure is still open, the Document Outline tool window will not be restored, because it is not supported by a project for Azure. More generally, it is not supported by projects different than XAML-based ones. This is the reason why you should first open a specific project and then apply a layout.
Managing Custom Window Layouts
Visual Studio 2015 also provides an easy way to manage your custom window layouts. The Manage Window Layouts command in the Window menu opens the Manage Window Layouts dialog (see Figure 44), where you will be able to delete layouts, rename layouts, and move layouts on the list.

- Managing window layouts.
Restoring The Default Layout
Visual Studio 2015 ships with a default window layout. Restore the default layout by using the Reset Window Layout command in the Window menu. This option is useful when you want to completely clean your environment preferences and reapply saved layouts.
Chapter Summary
Custom Window Layout in Visual Studio 2015 provides a new way of customizing the IDE by saving, managing, and restoring tool window arrangements in the workspace for different projects. This feature helps you keep a very well organized development environment.
- 1800+ high-performance UI components.
- Includes popular controls such as Grid, Chart, Scheduler, and more.
- 24x5 unlimited support by developers.