
Uno Platform Succinctly®

CHAPTER 1
Setup and Basics
Overview
Throughout this chapter, we will explore how to set up the development environment to work with the Uno Platform.
You will need to install Visual Studio 2019. If you have a professional license, that's great. If you do not, then it is acceptable to use the Community edition, but make sure you install version 16.3 or later.
Uno applications will run natively on Windows; however, installing additional packages is required to run applications built with Uno on other platforms, which Visual Studio installs for you.
On my machine, I will be using Windows 10 and Visual Studio Community 2019 version 16.9.4.
Getting started
Let's set up the development environment. You are going to need Visual Studio 2019 version 16.3 or later if you would like to have a setup similar to mine.
The Uno documentation describes the prerequisites and the steps involved in setting up the development environment, depending on the editor used. For Visual Studio 2019 (which is what I've used), you can find the steps, requirements, and actions here.
There is also the possibility to use other editors or IDEs with the Uno Platform, such as Visual Studio Code or Visual Studio for Mac.
You are free to use the option you feel most comfortable with; however, I would recommend using a setup similar to mine to easily follow along with the examples covered throughout the book.
When I first tried Uno, I downloaded one of the example applications and opened the Visual Studio solution to run it. I found out that even though I had followed the steps to install all the prerequisites for using Visual Studio on Windows as my editor of choice, I was missing a few components required to run the solution on some platforms, such as Android. I was able to find this out because Visual Studio was smart enough to indicate that several components were missing, as seen in the following figure.

Figure 1-a: Visual Studio Solution Explorer – Missing Components Message
The solution to address these missing components is to install them, which you can do by clicking the Install option seen on the upper-right corner of the message.
In my case, after I did that, the Visual Studio 2019 installer popped up on the screen, indicating that the following components were missing.
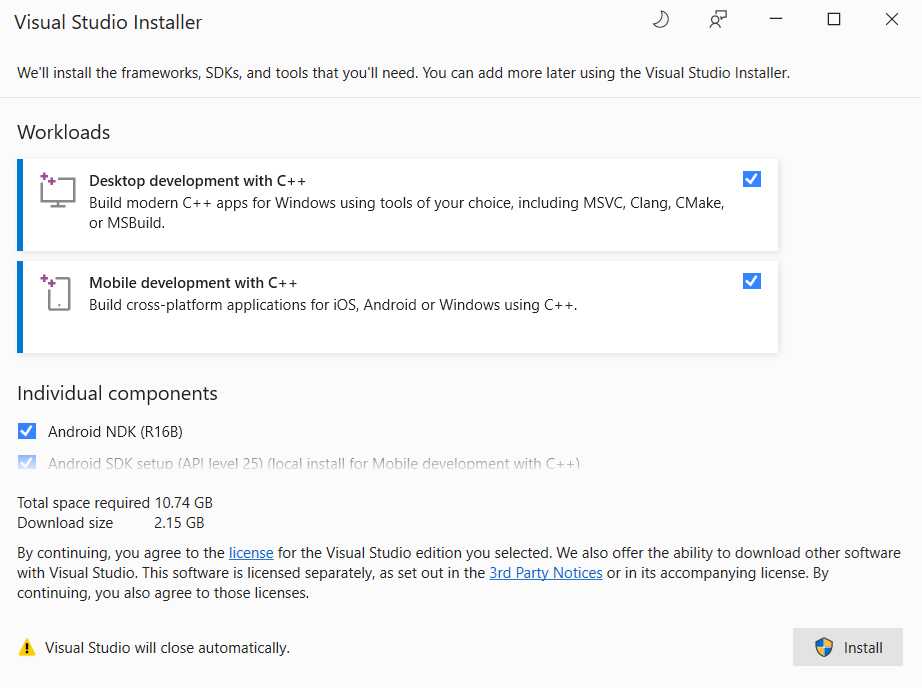
Figure 1-b: Visual Studio Installer, Missing Components
I clicked the Install button to resolve this and install all the remaining components that the example application required.
After finalizing the installation process, I downloaded and installed the suggested emulator from the list shown in the Android Device Manager.

Figure 1-c: Android Device Manager – Emulator Installation
Once the emulator was installed, I was able to run the downloaded example application from the Uno website successfully.
Something important to mention is that the installation experience you might have could be different from what I went through. Depending on which editor you use or what example Uno application you download and run, your installation experience could vary from what I have described. The key is to make sure you follow all the steps for the editor or IDE you choose to use. In the case of Visual Studio 2019 on Windows, follow these instructions.
With Visual Studio Code, use these instructions, and with Visual Studio for Mac, use these instructions.
Uno Platform extension
Once all the required components are installed, the next step is to install the Uno Platform extension for Visual Studio (also known as Uno Platform Solution Templates). This extension will allow you to create an Uno project seamlessly.
There are two ways to install the extension. One way is to download it and execute the extension installer.
Another way is to install it from Visual Studio 2019 directly—which is my preferred way. All you need to do is launch Visual Studio 2019 and click Continue without code.
Once Visual Studio 2019 is open, nagivate to Extensions > Manage Extensions from the menu bar.
You will see the Manage Extensions window appear. Search for uno and select the Uno Platform Solution Templates option.
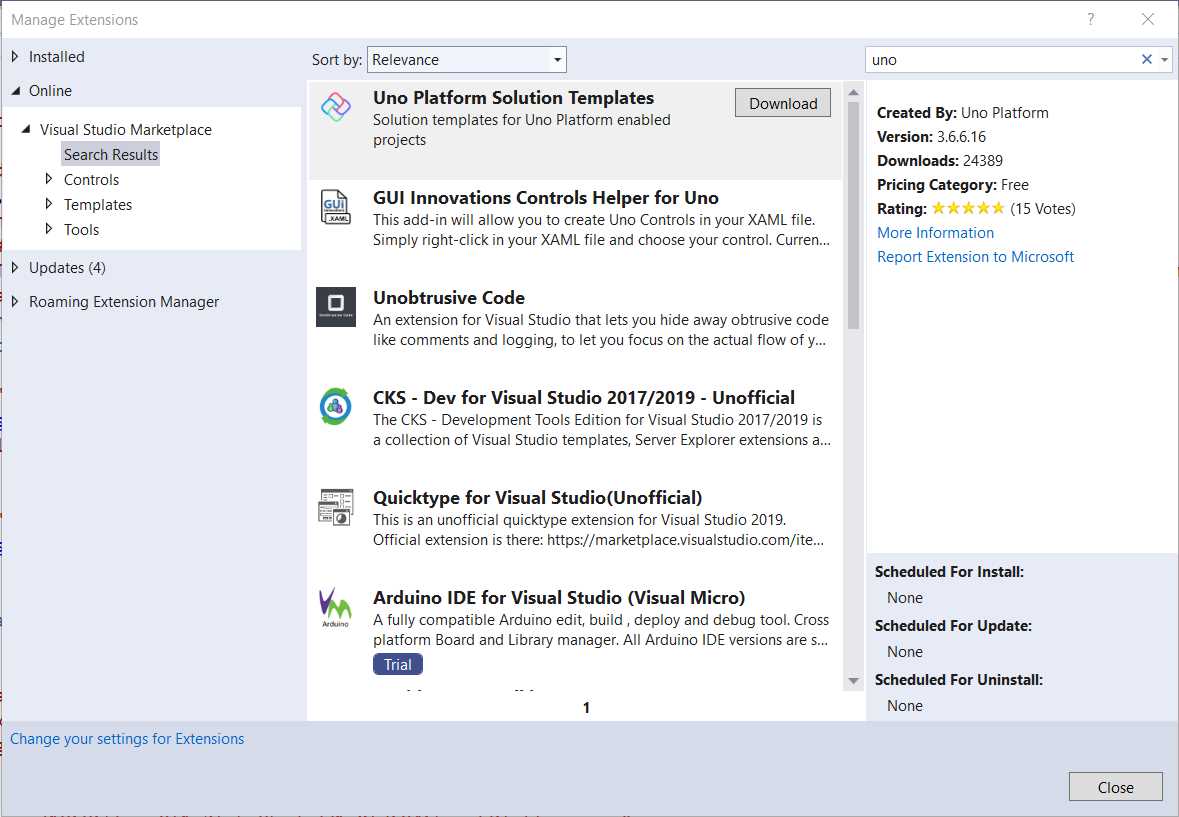
Figure 1-d: Manage Extensions Window – Uno Platform Solution Templates
This process will run the extension installer.
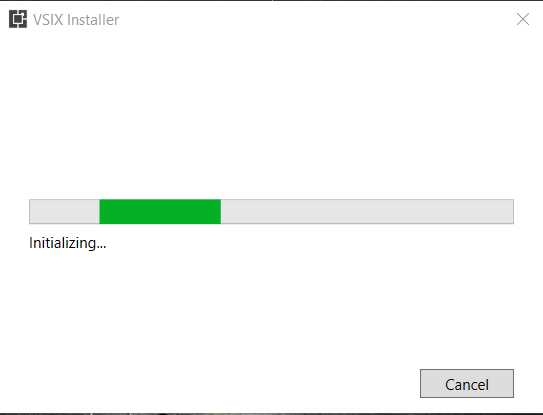
Figure 1-e: Installing the Uno Platform Solution Templates
Once the installation process has ended, we can restart Visual Studio 2019 and create a new Uno Visual Studio solution using a template.
Creating an Uno solution
After Visual Studio 2019 has restarted, you will see the Create a new project window. Search for uno and select the Cross-Platform App (Uno Platform) option. Then, click Next.
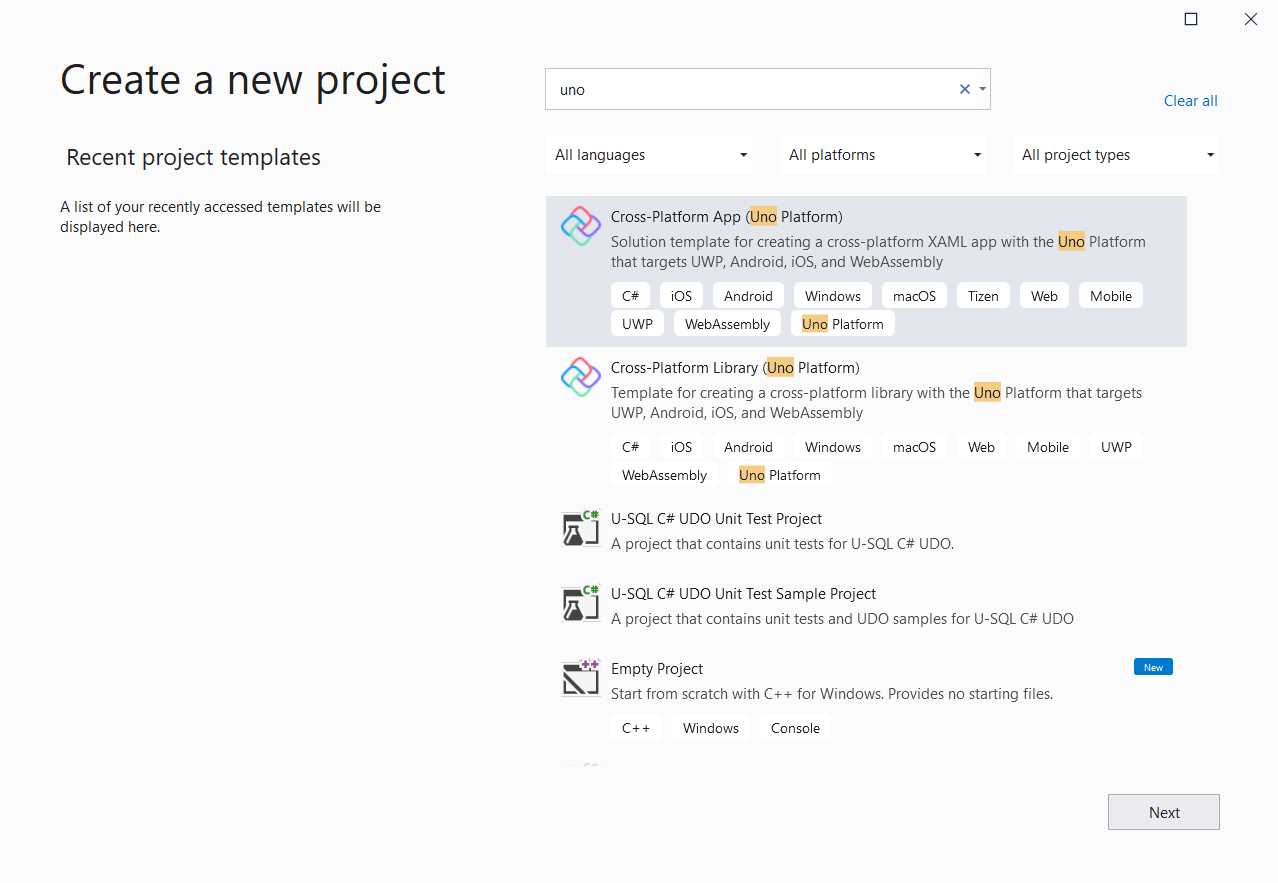
Figure 1-f: Creating a New Uno Solution with Visual Studio 2019
After doing that, you will have to indicate the project name and the location.
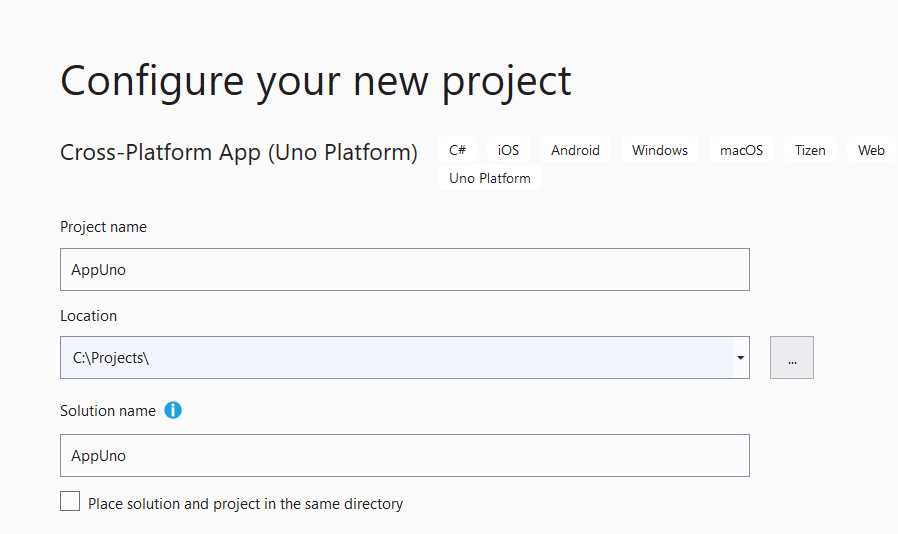
Figure 1-g: Choosing the Uno Solution Name and Location
Click Next (not visible in the preceding screenshot) to continue, which will take you to the following screen.

Figure 1-h: Uno Solution – Additional Information
In this step, you can choose which platforms you want your Uno project to support. You can clear any of the options that you do not want your project to target.
Next, click Create. This will create the Uno Visual Studio 2019 solution, containing various projects, each targeting a different platform.
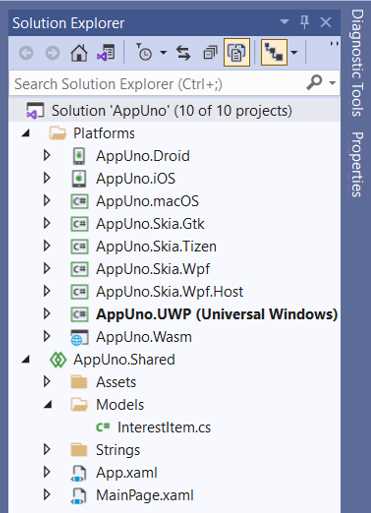
Figure 1-i: Uno Solution with Various Projects (Each Targeting a Different Platform)
In addition to having a different project for each platform, a shared project is also part of the solution. This shared project is where the code will reside, shared among the other projects within the solution.
The shared project is where you will spend most of your time working with an Uno solution, and where you will aim to write most of your logic.
Running the app
Now that we have the project ready, let's explore some of the basics of how the Uno solution works. Using the Solution Explorer within Visual Studio 2019, go to the shared project—which in my case is called AppUno.Shared—and open the MainPage.xaml file.
Listing 1-a: The MainPage.xaml File – AppUno.Shared Project
<Page x:Class="AppUno.MainPage" xmlns="http://schemas.microsoft.com/winfx/2006/xaml/presentation" xmlns:x="http://schemas.microsoft.com/winfx/2006/xaml" xmlns:local="using:AppUno" xmlns:d="http://schemas.microsoft.com/expression/blend/2008" xmlns:mc="http://schemas.openxmlformats.org/markup-compatibility/2006" mc:Ignorable="d"> <Grid Background="{ThemeResource ApplicationPageBackgroundThemeBrush}"> <TextBlock Text="Hello, world!" Margin="20" FontSize="30" /> </Grid> </Page> |
As you can see, we have this XAML file that declares a Page that contains a Grid, and that includes a TextBlock, which renders a Hello, world! message on the screen when the application runs.
To see this in action, we need first to set the AppUno.UWP (Universal Windows) project as the solution's startup project, which you can do by right-clicking it within the Solution Explorer and choosing the Set as Startup Project option.
Next, click the Run button in Visual Studio 2019 to execute the UWP application.
![]()
Figure 1-j: The Run Button in Visual Studio 2019 (for UWP Apps)
You will then see the UWP version of the application running as a native Windows app, as follows.

Figure 1-k: The UWP App Running
Next, let's run the application in the browser. We can do this by setting AppUno.Wasm as the startup project by right-clicking it within the Solution Explorer and choosing Set as Startup Project. Then, click the Run button in Visual Studio 2019 to execute the WebAssembly application.
![]()
Figure 1-l: The Run Button in Visual Studio 2019 (For WebAssembly Apps)
The compilation process takes a bit longer than when building the UWP version of the application.
After the building process is finished, you will see the WebAssembly version of the browser's application running in the browser, as follows.
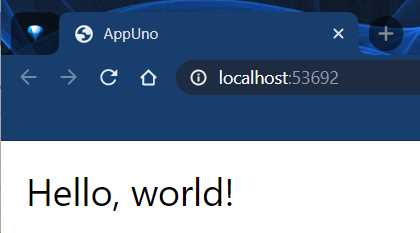
Figure 1-m: The WebAssembly App Running
Next, let's try to run the Android version of the application. We can do this by setting AppUno.Droid as the startup project by right-clicking it within the Solution Explorer and choosing the Set as Startup Project option.
However, before clicking on the Run button, we will need to execute the Android emulator. To do that, go to Tools > Android > Android Device Manager.
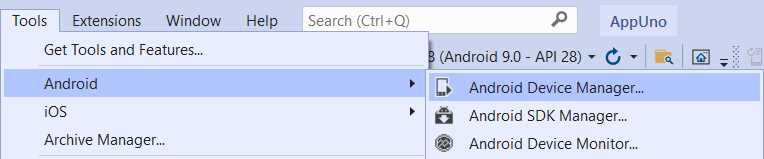
Figure 1-n: How to Open the Android Device Manager within Visual Studio 2019
The Android Device Manager will then open, and you'll be able to use any Android emulators available or create new ones. On my machine, I have the following one.

Figure 1-o: Android Device Manager (Launched from Visual Studio 2019)
To launch the Android emulator (if you have one), click Start. If you don't have an emulator created, you can create a new one by clicking New.
We can also change the settings of the existing emulator by clicking Edit. In my case, I've started the emulator I have, which looks as follows.

Figure 1-p: Android Emulator Running
Once the emulator is running, we can click the Run button in Visual Studio 2019 to execute the AppUno.Droid project. This will deploy the application to the emulator and run it.
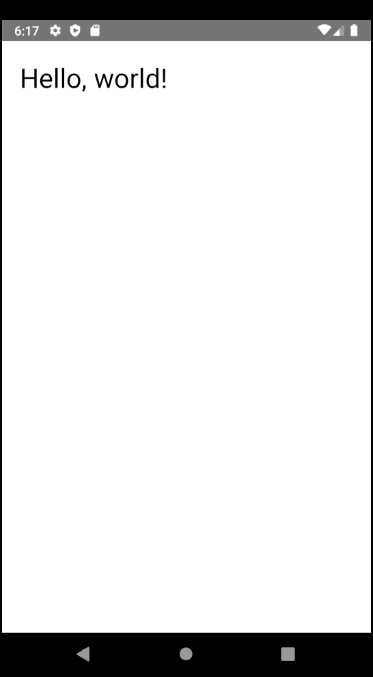
Figure 1-q: The Android App Running
Excellent—we can see the application is running on Android. It's pretty amazing that with the same codebase, we've been able to run the application as a native Windows (UWP) application, as a web application using WebAssembly, and as a mobile app running on Android.
I'm not aware of any other platform that can offer such a wide range of cross-platform support using C# and XAML at the time of writing this book.
Summary
Throughout this chapter, we've explored how to get started with the Uno Platform by explicitly looking at the setup, creating a project from scratch, and running an application targeting different platforms.
Next, we will explore how the solution is structured and then build upon that to learn even more about Uno.
- 1800+ high-performance UI components.
- Includes popular controls such as Grid, Chart, Scheduler, and more.
- 24x5 unlimited support by developers.