
Power Automate Desktop Succinctly®

CHAPTER 2
Getting Started
Quick intro
Getting started with Power Automate Desktop is straightforward. To begin, you’ll need to have either Windows 10 or 11.
We need to install the Power Automate Desktop application, and to do that, we need to either use the MSI installer or get the app from the Microsoft Store. In my case, I’ll do it using the MSI installer. I suggest you do the same so you can follow along easily. Once downloaded, we can click on the file to install the application.
Figure 1-a: The Power Automate Desktop MSI Installer
Once you execute the installer, typically, the installation process runs in the background. When it’s done, you should see something similar to the following screen.
Figure 1-b: The Power Automate Desktop Installation Process Finished
That was easy! Let’s run the app by going to the Windows menu and clicking the Power Automate app menu option.

Figure 1-c: The Power Automate Desktop App Option (Windows 11 Menu)
When launching Power Automate Desktop, you must sign in and set default parameters such as your country or region.
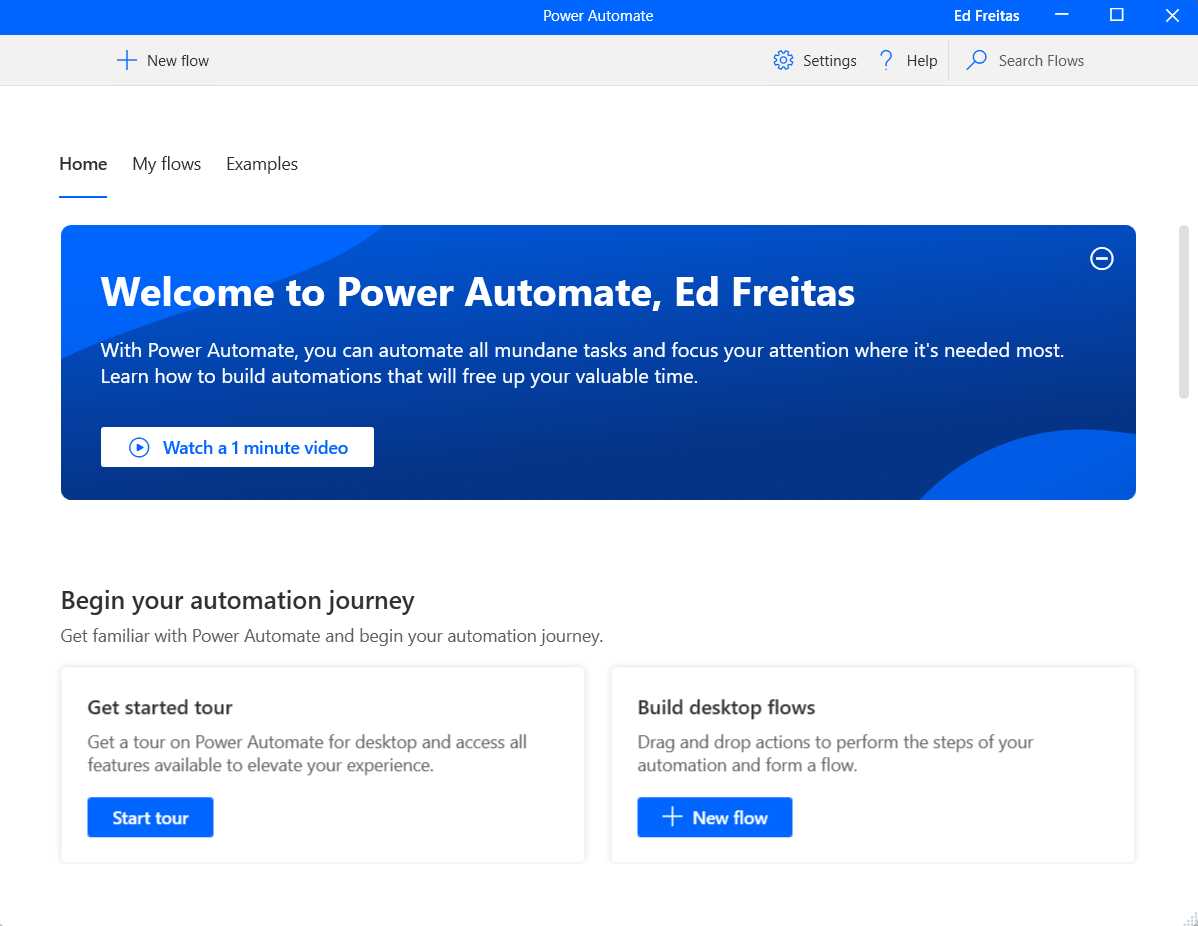
Figure 1-d: Welcome Screen—Power Automate Desktop
This welcome screen includes three options to introduce us to this technology. We can watch a one-minute video, tour the product, or create a new flow.
I suggest you watch the video and later take the tour, which I’ll skip here and instead go straight into the action.
Creating a new flow
Automation with Power Automate Desktop is all about creating and using flows, which are made up of actions. Let’s go ahead and create our first flow by clicking + New flow. Once done, you’ll see a screen similar to the following one.
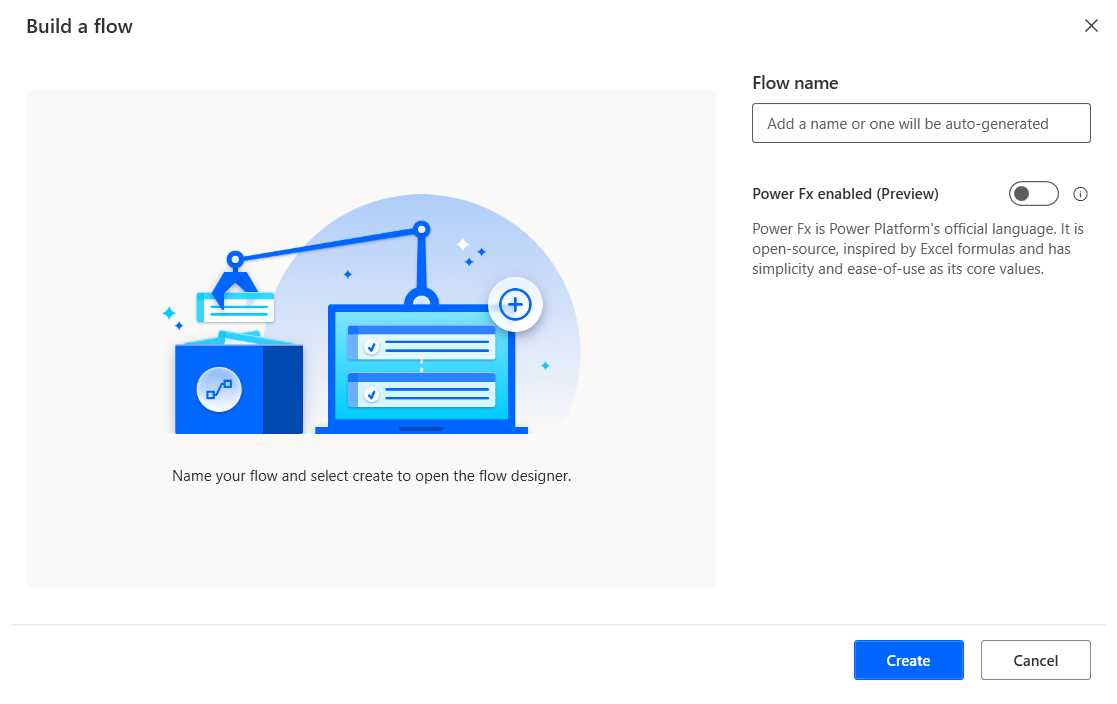
Figure 1-e: Power Automate Desktop (Build a flow Screen)
All we need to do to create a flow is give it a name and click Create. Let’s name this flow InitialFlow.
Once we do that, we should see the following screen.
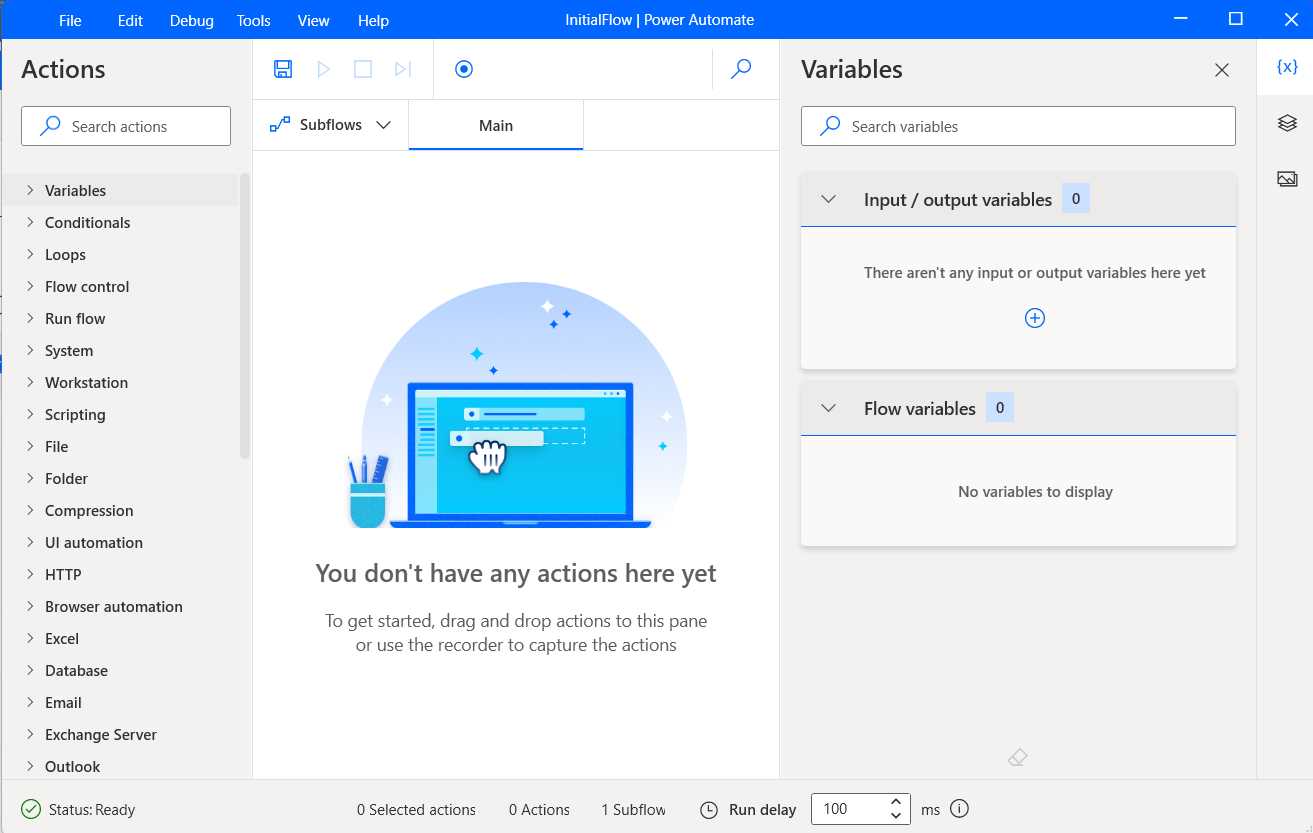
Figure 1-f: Power Automate Desktop (InitialFlow)
This screen contains the Actions pane on the left, the Subflows/Main pane in the middle, and the Variables pane on the right.
The magic of Power Automate Desktop is contained within the Actions pane, which includes diverse actions that perform all sorts of operations.
Actions are grouped into categories, such as actions that allow you to work with variables, conditionals, loops, flow control, run flow, systems, files, folders, browser automation, databases, email, and Outlook.
Designing the flow
Now that we have created the flow, let’s start with the basics and explore how to work with variables using Power Automate Desktop. Figure 1-g shows what the finished flow looks like.
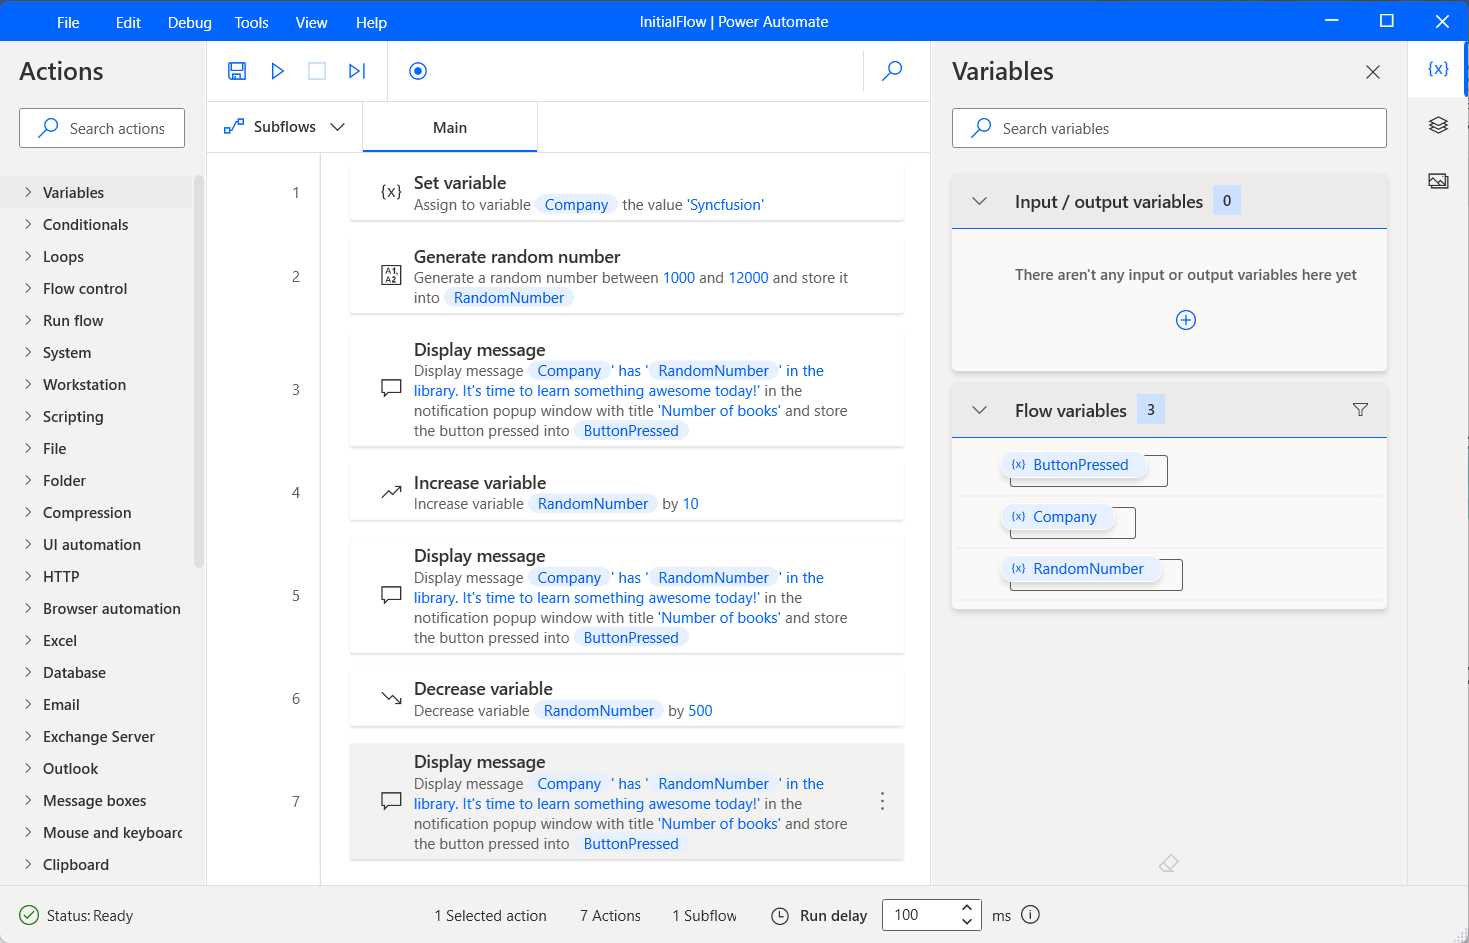
Figure 1-g: Power Automate Desktop (The Finished InitialFlow)
To begin, expand the Variables category, click the Set variable action, and drag it to the Main section within the middle pane.
Once this action has been dragged to the Main section, we will see the following dialog.
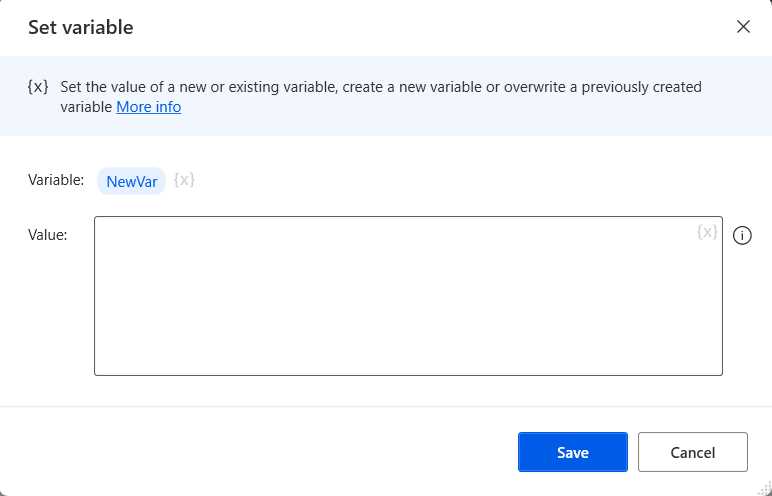
Figure 1-h: Power Automate Desktop (The Set variable Action—Default Details)
By default, this variable is called NewVar. Let’s click on the NewVar name and rename it Company.
Note: When clicking on the NewVar variable, you’ll see %NewVar%. This is how variables are specified in Power Automate Desktop. Variables within Power Automate Desktop are contained within the %% chars. So, when changing the name of the variable Company, keep the %% chars. Therefore, the variable name should be %Company%. Power Automate Desktop adds them if you don’t explicitly add the percent (%%) characters.
After changing the variable name to Company, let’s also set Syncfusion as the variable’s value.
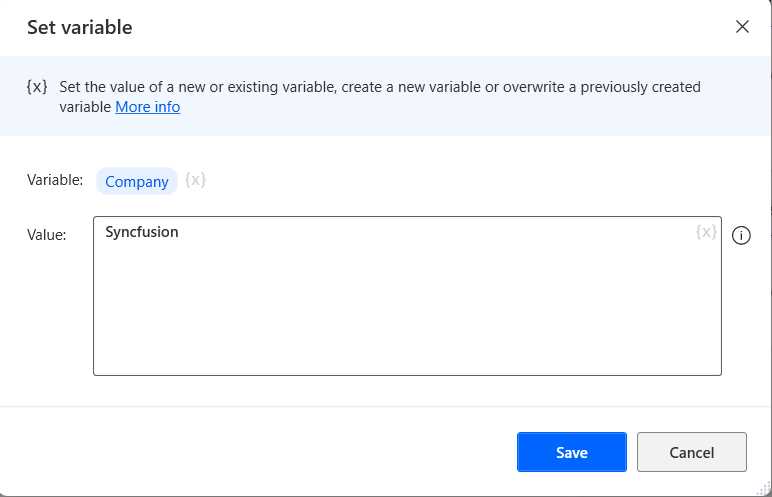
Figure 1-i: Power Automate Desktop (The Set variable Action—Changed Details)
Once done, let’s click Save. By doing that, we’ll have added the first action to the flow, which will now look as follows.
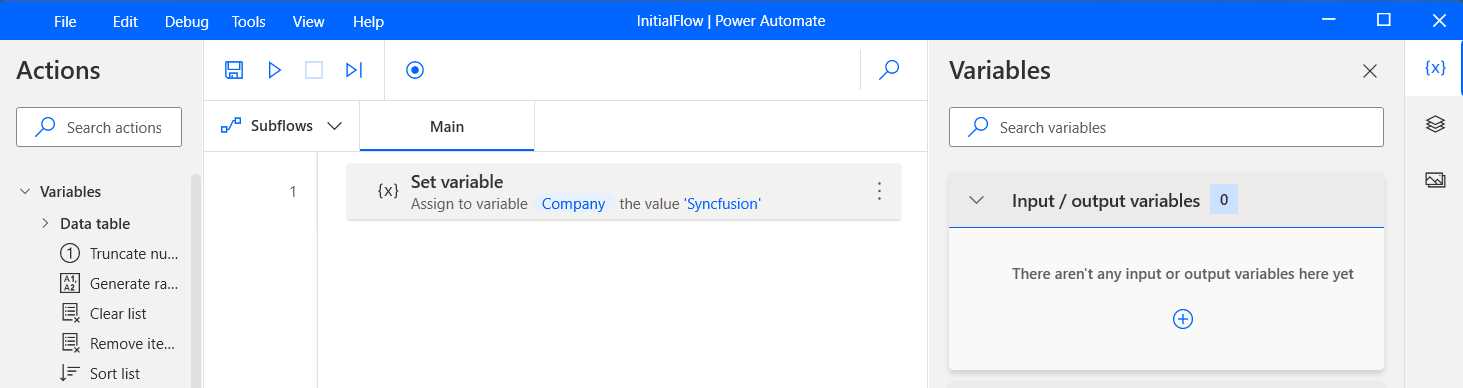
Figure 1-j: Power Automate Desktop (The First Action Added)
Adding Generate random number
Now that we have added the first action to the flow, let’s add additional ones. The goal of this flow is not to automate anything specifically but to show you the basics of what any flow uses, which are variables.
So, let’s go ahead and add the Generate random number action to the flow by dragging it to the main window, and you’ll see the following screen. This action can be found under Variables.
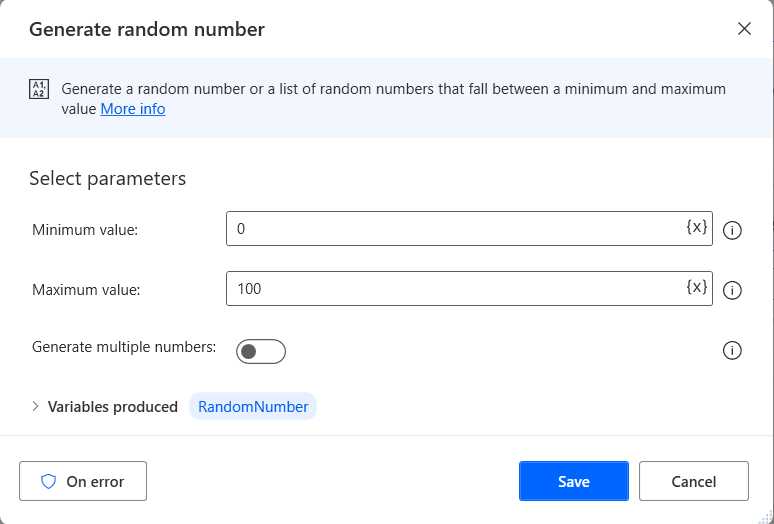
Figure 1-k: Power Automate Desktop (The Generate random number Action—Default Details)
Let’s change the default values to 1000 as the Minimum value and 12000 as the Maximum value.

Figure 1-l: Power Automate Desktop (The Generate random number Action—Changed Details)
With the values changed, let’s click Save.
Adding Display message
Now, the next thing we want to do is to add the Display message action to the flow. We can do this by dragging the action to the flow. This action can be found under Message boxes. We can easily find it by typing “display” in the Actions search bar.
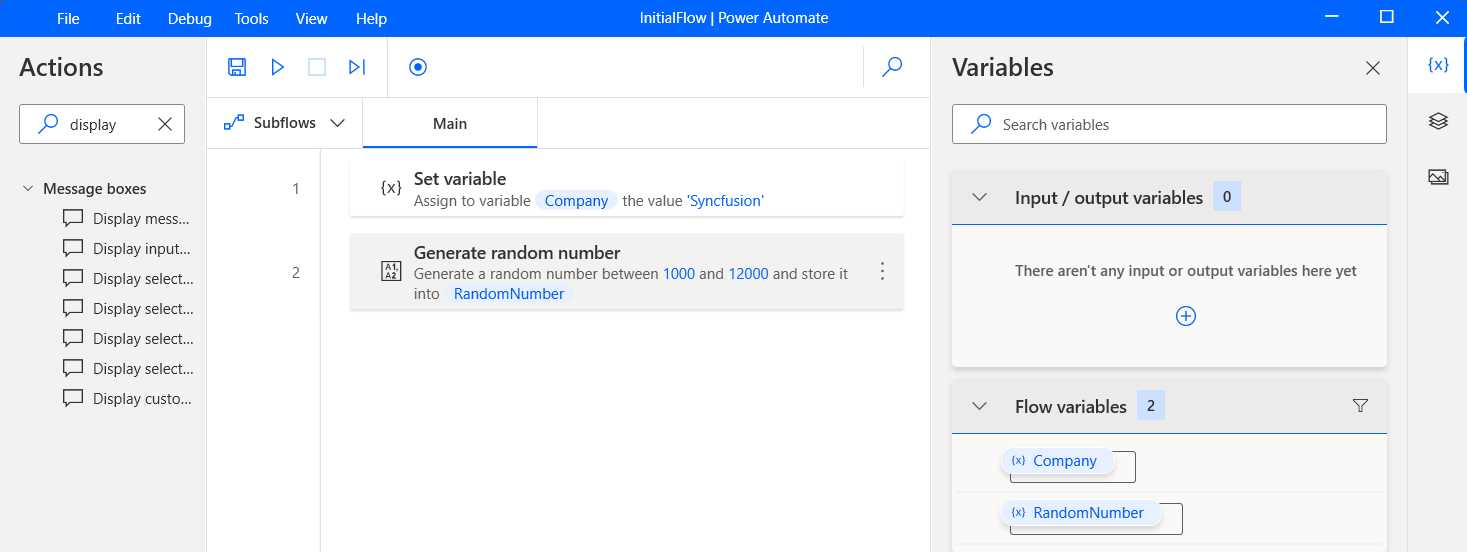
Figure 1-m: Power Automate Desktop (Searching for the Display message Action)
We can set the following values for the Message box title and Message to display fields once the action has been added to the flow.
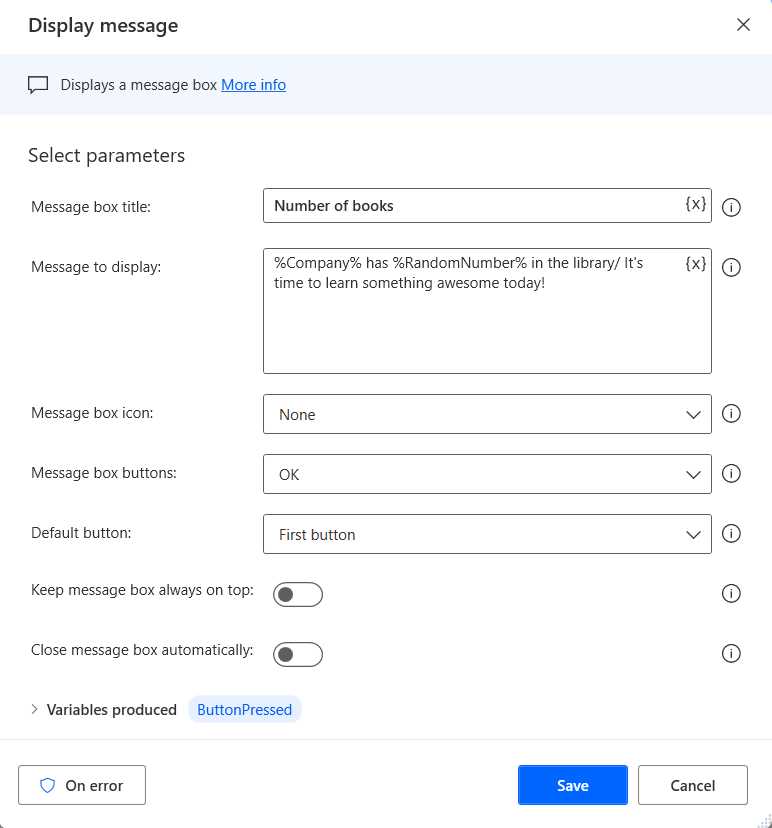
Figure 1-n: Power Automate Desktop (The Display message Action—Changed Details)
Notice how, within the Message to display field, we include the values of the Company and RandomNumber variables—%Company% and %RandomNumber%. The rest of the action properties are left with their default values. Finally, we can click Save.
At this stage, the flow does only three things so far. It assigns to the Company variable Syncfusion as a value, generates a random number, and displays a message with the values of the company name and the random number generated.
Adding Increase variable
The next thing we want to do is add the Increase variable action to the flow. The idea is to increase the value of the RandomNumber variable by 10.
We can find the Increase variable action under Variables. So, drag it to add it to the flow and place it after the Display message action we previously added.
As the variable name, we can indicate that we want to increment the RandomNumber variable, so it must be specified using the %% chars—%RandomNumber%. We can increment its value by 10.

Figure 1-o: Power Automate Desktop (The Increase variable Action—Changed Details)
We can click Save once we have specified these field values.
Copying Display message
Next, we want to show the value of the RandomNumber variable after increasing it. To do this, we must select the previous Display message action, press Ctrl+C to copy it, and then press Ctrl+V to paste it.
Once done, drag the copied Display message action right after the Increase variable action.
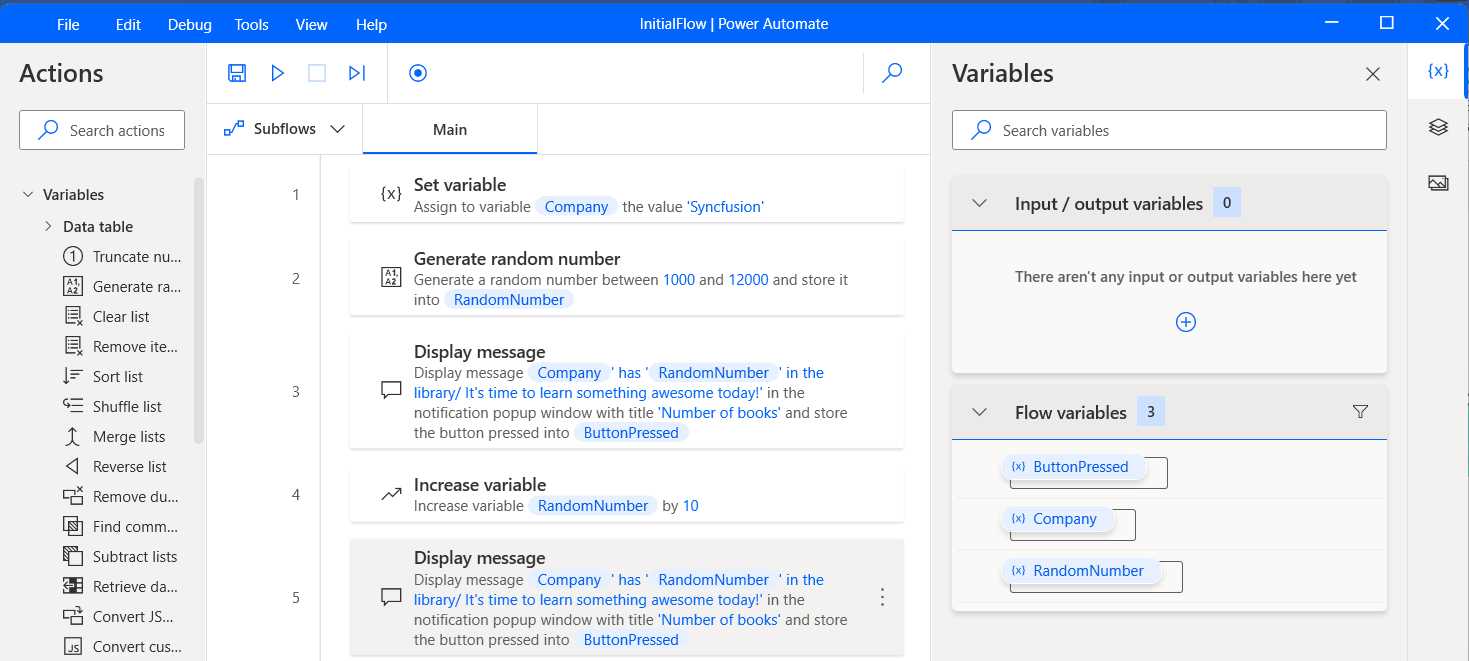
Figure 1-p: Power Automate Desktop (The Updated InitialFlow)
Adding Decrease variable
Let’s add the Decrease variable action to the flow and place it after the second Display message action. The Decrease action variable can be found under Variables.
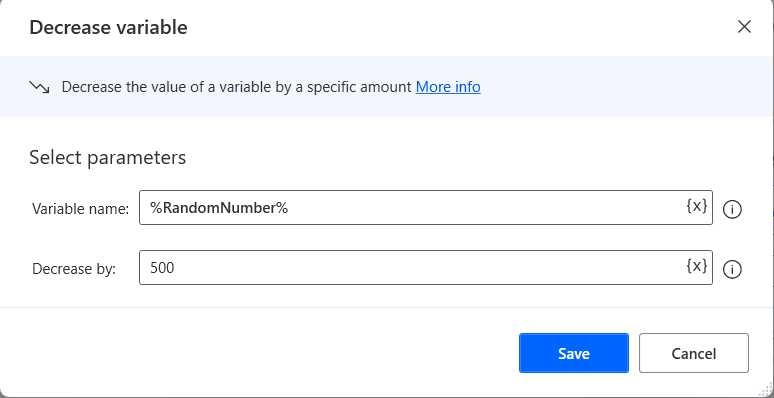
Figure 1-q: Power Automate Desktop (The Decrease variable Action—Changed Details)
As the variable name, we indicate that we want to decrease the value of the RandomNumber variable, which is why we write it as %RandomNumber%. Let’s reduce its value by 500.
Note: When specifying a variable, you must keep the %% chars—in this case, the variable name will be written as %RandomNumber%.
Once we’re done, we can click Save.
Copying Display message
Next, we want to show the value of the RandomNumber variable after decreasing it. To do this, we can select the previous Display message action, press Ctrl+C to copy it, and then press Ctrl+V to paste it.
Once done, drag the copied Display message action right after the Decrease variable action.
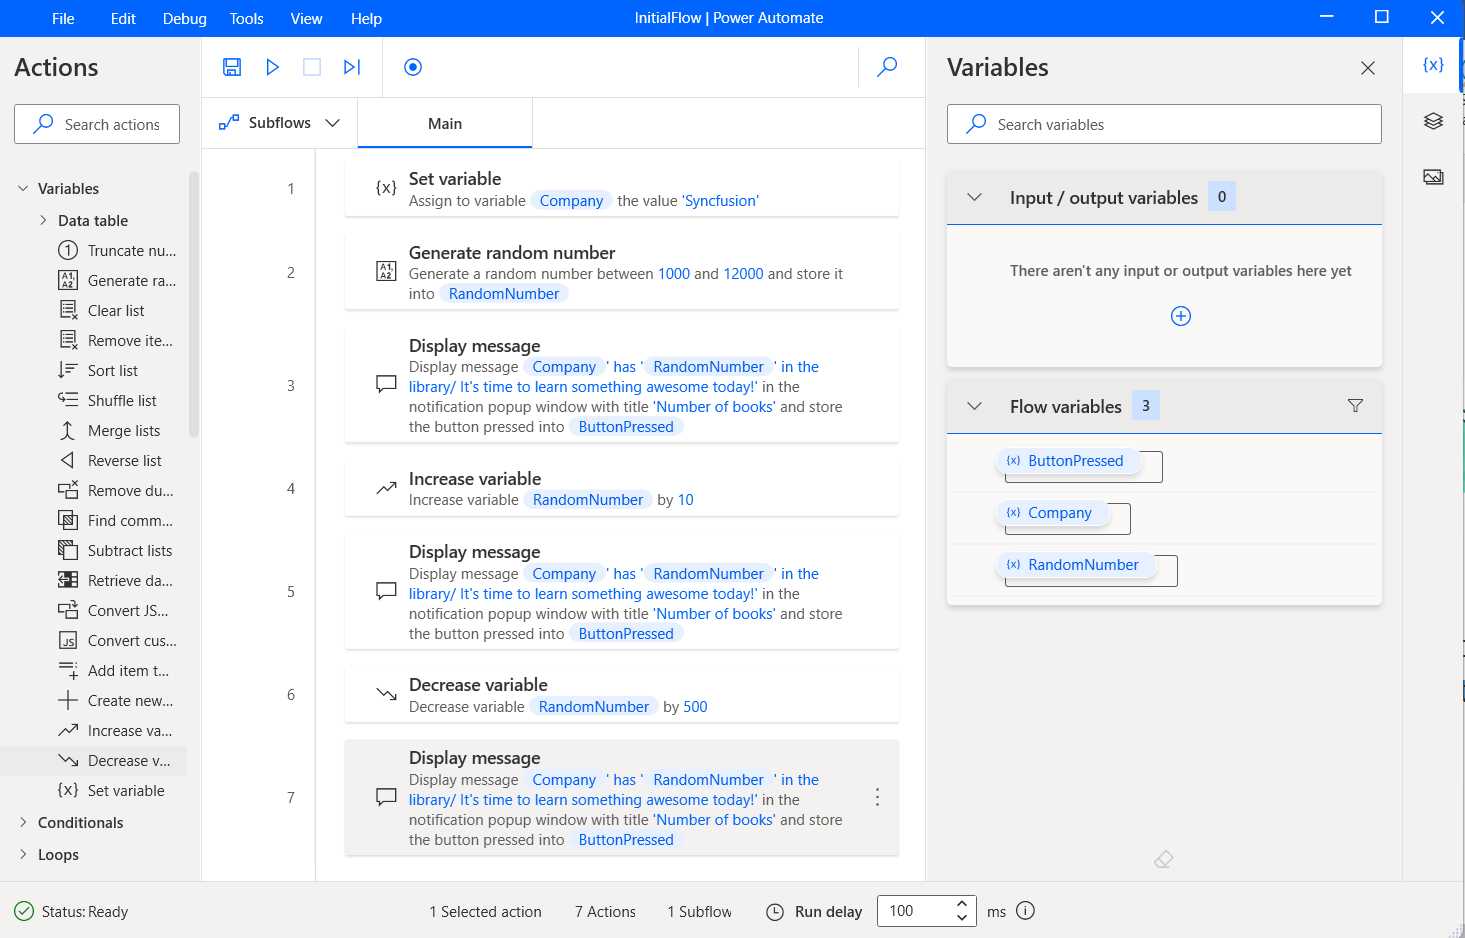
Figure 1-r: Power Automate Desktop (The Updated InitialFlow)
So now, we can display the value of the RandomNumber variable three times: after the random number has been generated, after its value has been increased, and after its value has been decreased.
By doing this, we see how to work with variables, crucial to building automated workflows using Power Automate Desktop.
Saving and running the flow
Let’s save the flow and run it to see what we have created in action. First, click the save-flow icon, and then the arrow icon next to it to run the flow.
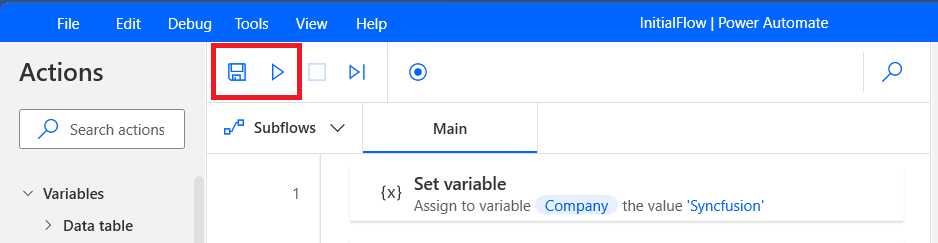
Figure 1-s: Power Automate Desktop (The Save and Run Flow Buttons)
The flow execution begins, and we should see three message boxes being displayed—for example, here’s the first one.
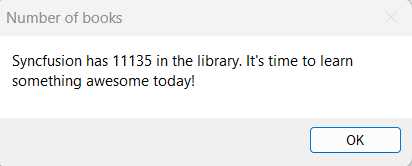
Figure 1-t: Power Automate Desktop (The Display message Action Running)
Each Display message action will show a different value and will most likely differ from the ones you’ll see on your machine, given that it’s a randomly generated value.
Quick recap
Awesome! We’ve now seen and gone through the process of building our first automated flow using Power Automate Desktop.
Although the flow technically doesn’t do much and doesn’t automate anything, we’ve explored how to add actions to the flow and work with variables, which is crucial for building more complex workflows.
We’ll explore and build some practical automated workflows in the following chapters.
- 1800+ high-performance UI components.
- Includes popular controls such as Grid, Chart, Scheduler, and more.
- 24x5 unlimited support by developers.