
PDF Succinctly®

CHAPTER 6
Creating PDFs in C#
Dynamically generating PDFs from a C# program has many potential applications. For example, you could automatically generate custom invoices for a company. Instead of hand-coding all the information, you could pull the company name, price, and items from a database and use them to generate a content stream.
While this could be accomplished by manually outputting each object in the native PDF language, a third-party library makes things much easier. Instead of manipulating strings and saving them to a file, a PDF library lets you interact with a PDF document in an object-oriented fashion. The iTextSharp library is the most popular open-source PDF library for C#.
This chapter will introduce the basics of iTextSharp. It assumes you have a working .NET SDK, which provides the csc command for compiling C# code. This chapter is not meant to be a comprehensive guide to iTextSharp or dynamic PDF document generation. It merely serves as a quick-start guide to the core features of iTextSharp.
Disclaimer
The iTextSharp library is a C# port of the iText Java library (available from the same website). Some features and aspects of the API were lost during the port to C#. To add to the confusion, these changes are not documented. In fact, as of this writing, there is no iTextSharp documentation to speak of. The only available online API reference is for the Java version, which can be found at http://api.itextpdf.com/itext.
Despite some inconsistencies, this documentation still proves to be a useful reference for C# developers.
Installation
The latest version of iTextSharp can be downloaded from SourceForge. Extract itextsharp-dll-core-5.2.1.zip from the package. It should contain a file called itextsharp.dll. Any C# projects that require iTextSharp functionality must be compiled against this library.
The Basics
Let’s start with a simple “Hello, World” example. Add the following to a new file called HelloWorld.cs (this file is available at https://bitbucket.org/syncfusion/pdf-succinctly).
using System; |
First, we declare the necessary namespaces for our program. The vast majority of useful classes reside in iTextSharp.text. The only thing we need from iTextSharp.text.pdf is PdfWriter, which will be discussed in a moment.
Then, we create a C# representation of a PDF document with new Document(). After that, we register the document with an instance of PdfWriter. This makes sure content we add to the document object is written to the file itext.pdf. Next, we open the document with the Open() method. This must be called before any content is added to doc.
Now that the document is open, we can create a Paragraph instance and attach some text to it. This may seem odd, considering the fact that PDF does not know what a paragraph is—it only knows Tj, Td, and T*. Fortunately, iTextSharp provides higher-level elements like paragraphs, headers, and lists. This makes it much, much easier to produce dynamic PDFs that include arbitrary runs of text.
Finally, we close the document and output a short success message.
Compiling
Remember, this program needs to be compiled against the iTextSharp library. So, move itextsharp.dll into the same folder as HelloWorld.cs (alternatively, you can place it in your PATH). Then, run the following command to compile the program.
csc /reference:itextsharp.dll HelloWorld.cs |
This creates an executable called HelloWorld.exe. When you run it, this program will create a PDF document called itext.pdf with the text “Look! My First PDF!” at the top. The internals of this document should have a familiar syntax; however, the streams are compressed and thus unreadable. In addition, several line feeds have been removed, making it harder to orient yourself.
We can make it easier to inspect itext.pdf by uncompressing it with pdftk. Its syntax is somewhat unintuitive:
pdftk itext.pdf output itext-pretty.pdf uncompress |
Now, if you open up itext-pretty.pdf, you should find a PDF document that is much easier to understand. The trailer dictionary points to the catalog, which should be 5 0 obj. The catalog points to the root page tree (3 0 obj), and you should be able to find your way from there.
However, iTextSharp added a few new objects to the output file. The trailer has an /Info entry, which we haven’t seen before. It points to an information dictionary that contains metadata about the document. If you scroll up to 7 0 obj, you’ll see that iTextSharp records itself as the producer application, along with a modification date and a creation date. In addition to these, the PDF specification defines /Title, /Author, /Subject, and /Keywords. All of these values should be string literals.
There is also a new /ID entry in the trailer dictionary. It uniquely identifies this version of the document, which can be useful for integrating the document into a workflow.
iTextSharp Text Objects
As we’ve seen, iTextSharp works on a higher level than PDF text objects. It uses three levels of text objects: chunks, phrases, and paragraphs. These core text objects, along with most of the other available elements, reside in the iTextSharp.text namespace.
Chunks
Chunks are the smallest unit of text you can work with. They’re useful when you need to style a specific word or phrase differently than the rest of the line. Check out the following code sample.
Chunk before = new Chunk("Look! My "); |
As you would expect from a higher-level library, you are able to directly associate an underline with a span of text. The SetUnderline() method takes two arguments: the width of the underline stroke, and the offset distance from the baseline.
However, chunks don’t provide much functionality outside of basic styles. They can underline and italicize text, but they can’t perform line-level operations. For this, we need the Phrase class.
Phrases
A Phrase is a group of Chunk objects, along with some line-aware functionality. It can wrap lines to a certain length, space lines according to a given leading, and cascade formatting to its chunks. We can see this in action if we change our Paragraph to a Phrase and add a few more chunks to it.
Phrase p = new Phrase(); |
Paragraphs
The Paragraph is iTextSharp’s block-level text object. Since it is made up of phrases, it has all the same line-related functionality. In addition, paragraphs have indentation and text-alignment capabilities. We’ll take a closer look at these properties in a moment.
Lists
On top of these basic text objects, iTextSharp provides common typesetting elements, including lists. We can create a list with the aptly named List class, and add items to it by creating ListItems.
List list = new List(List.UNORDERED); |
By default, lists use a hyphen to denote each item. But, this can be changed with the SetListSymbol() method.
list.SetListSymbol("\u2022"); |
Now, the list uses the Unicode bullet character. Note that this method must be called before adding any items to the list.
Formatting a Document
Anything you can do in the native PDF language, you should be able to do in iTextSharp. In this section, we’ll look at iTextSharp’s version of media boxes, colors, fonts, and paragraph formatting.
Document Dimensions
The /MediaBox entry in a page object defines the size of that page. In iTextSharp, this is accomplished by passing a Rectangle containing the dimensions to the Document constructor.
Rectangle mediaBox = new Rectangle(300, 400); |
Now, if you open the document created by HelloWorld.cs, you’ll find a /MediaBox entry of [0 0 300 400]. iTextSharp also ships with a useful PageSize class that contains constants for common paper dimensions. For example, PageSize.A5 is a 420 × 595 Rectangle.
The Document constructor also accepts four numerical parameters defining the left, right, top, and bottom margins of the page, respectively. For example, a document created by the following sample will have no page margins at all.
Document doc = new Document(mediaBox, 0, 0, 0, 0); |
Colors
iTextSharp uses the BaseColor class to represent colors as RGB components. We can define the background color of a page by assigning an instance of BaseColor to the BackgroundColor field of Rectangle.
mediaBox.BackgroundColor = new BaseColor(255, 255, 240); |
Of course, iTextSharp also supports other common color spaces, including: CMYKColor, GrayColor, and SpotColor. There is even a PatternColor that can use a bitmap to paint a fill.
Selecting Fonts
The Font class combines a font face, size, and color into a reusable style. However, working with the Font class directly can be a bit complicated, so iTextSharp provides a factory method for creating a Font instance.
BaseColor red = new BaseColor(255, 0, 0); |
This creates a red, oblique Helvetica font that is 12 points high. Now we can pass this font instance to any text object. For example, we’ll turn the “Apple” text in our list red.
list.Add(new ListItem("Apples", apple_font)); |
All of the other text objects (chunks, phrases, and paragraphs) also take a font as their second parameter. However, the List object has some unexpected behavior—all the bullets are red.
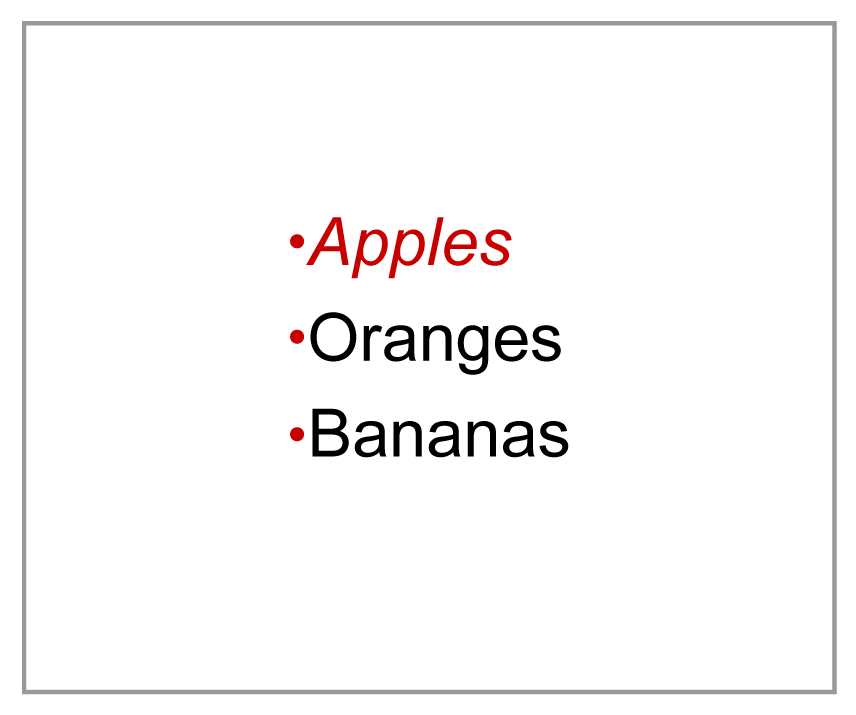
Figure 23: The apple_font applied to all bullets
We can fix this by explicitly setting the font of the bullet. First, we’ll create the font.
BaseColor black = new BaseColor(0, 0, 0); |
Then we’ll use this font in a new Chunk and assign it to the list symbol.
list.ListSymbol = new Chunk("\u2022", symbol_font); |
Notice that we had to use the ListSymbol field instead of the SetListSymbol() method. While SetListSymbol() is documented to accept either a string or a Chunk, the C# port seems to have lost this functionality. Instead, the ListSymbol field accepts a Chunk. This is a common “idiom” used by the developers porting the library.
Custom Fonts
Using the same method, you can also embed fonts into the document from your hard drive. The ability to embed fonts is a big reason behind the prevalence of PDFs. Since they don’t rely on client-side resources, they can ensure that content appears the same on any computer, regardless of their installed fonts.
Fonts can be embedded by directly accessing the font file as follows.
Font chunk_font = FontFactory.GetFont( |
This embeds a font residing at C:\Windows\Fonts\Chunkfive.otf, which is a copy of Chunk Five Roman obtained from FontSquirrel.com. WINANSI is the font’s encoding, and EMBEDDED is a Boolean flag that tells the PDF to embed the font.
Formatting Text Blocks
Now that we have font selection under our belts, we can move on to block-level formatting. This includes: leading, spacing before and after, left and right indentation, and alignment:

Figure 24: iTextSharp’s block-level formatting fields
Let’s jump right in. Change the Phrase back to a Paragraph, then set all four of the following fields.
Paragraph p = new Paragraph(); |
Leading, spacing, and indentation all accept a float, but alignment requires a constant defined in the Element class. Other alignment options are: ALIGN_LEFT, ALIGN_RIGHT, and ALIGN_JUSTIFIED. If you justify the text, uncompress the file, and sift through the content stream, you’ll discover that iTextSharp justifies text using the same Tc and Tw method discussed near the beginning of the book.
Summary
This chapter provided a brief tour of the iTextSharp library. You should be well on your way to dynamically creating PDF documents from C# and leveraging them against the .NET framework. I leave the rest of iTextSharp for you to explore. On a related note, Syncfusion also offers a commercial PDF library that provides a high-level object model to create, modify, convert, and view PDF files from .NET applications. Online samples of Syncfusion’s PDF library can be found here.
- 1800+ high-performance UI components.
- Includes popular controls such as Grid, Chart, Scheduler, and more.
- 24x5 unlimited support by developers.