
Nuxt.js Succinctly®

CHAPTER 2
Project Structure
Initial project structure
An essential part of understanding Nuxt.js is knowing a project's folder structure. That’s what this chapter is all about.
Let's begin by looking at the scaffolded project's folder structure. If you have VS Code open, ensure that the EXPLORER panel is visible. It displays the list of folders and files that are part of the project.
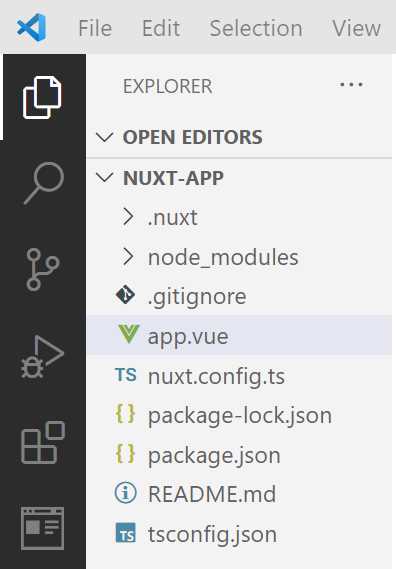
Figure 2-a: VS Code (EXPLORER—Project Folders and Files)
Notice that the project doesn't (yet) include any project-specific folders. It consists only of the .nuxt folder, which contains all the core Nuxt.js engine and configuration, and the node_modules folder, which includes the dependencies required by Nuxt.js.
So, there aren't any project-related folders specific to the Nuxt.js app itself. This means that this project we created is a barebones Nuxt.js app, which is nothing more than an empty shell, and we would need to create project-specific folders manually.
This is the path we will take—to create the folder and file structure ourselves as we go. However, there's an alternative way that I'd like to show you.
Create Nuxt app
There's a tool that works with Nuxt.js version 2 called create-nuxt-app, which can scaffold a Nuxt.js (version 2) application with a complete folder structure in no time.
At the time of writing this book, create-nuxt-app does not yet support Nuxt.js version 3; nevertheless, I'd like to cover it briefly.
Creating a Nuxt.js (version 2) application with create-nuxt-app is straightforward. You need to execute the following command and replace <project-name> with the name of your app, where npx stands for “node package execute.”
Code Listing 2-a: Command to Install create-nuxt-app and Scaffold a Nuxt.js (v2) App
npx create-nuxt-app <project-name> |
Let's go through these steps using VS Code. I will type the following command using the built-in VS Code terminal, within my root directory.
Code Listing 2-b Create the test Nuxt.js (v2) App
npx create-nuxt-app test |
After I press Enter, create-nuxt-app asks to confirm the name of the application.
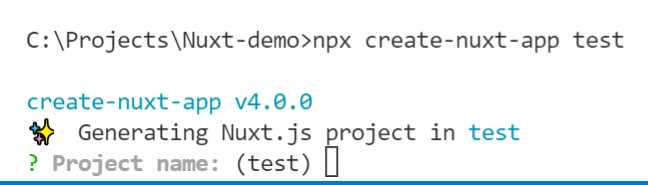
Figure 2-b: Project Name— create-nuxt-app (Built-in Terminal—VS Code)
At this stage, if I press Enter, the project name will be set as test. However, I could also choose to type in a different name for the project. I'll stick with test and press Enter.
Then, create-nuxt-app requests the programming language we want to use for our Nuxt.js (version 2) application. We can change the programming language by using the arrow keys. In my case, I'll choose JavaScript. To select it, I press Enter.
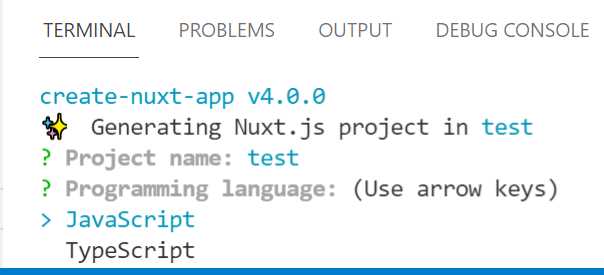
Figure 2-c: Programming language— create-nuxt-app (Built-in Terminal—VS Code)
The next step is to choose the package manager our application will use. Although Yarn is also valid, I will select the Npm option using the down arrow key, and then press Enter.
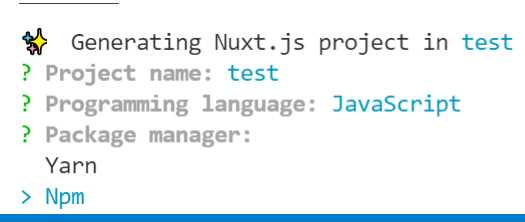
Figure 2-d: Package Manager— create-nuxt-app (Built-in Terminal—VS Code)
Next, there's the option to select one of several UI frameworks. I won't be choosing any UI framework, as the goal is to walk you through these steps. However, if you were using create-nuxt-app to scaffold an app you’re creating, you could choose a UI framework that would best fit your project.
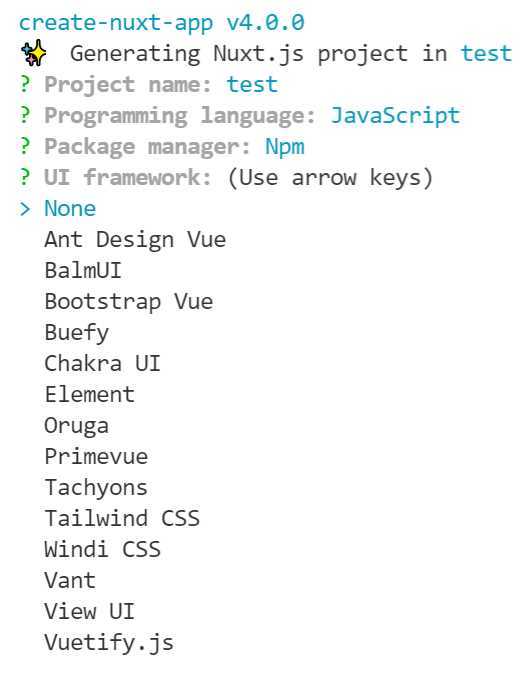
Figure 2-e: UI Framework—create-nuxt-app (Built-in Terminal—VS Code)
Next, there's the option to add additional modules, such as the Axios HTTP client library, or add progressive web app (PWA) capabilities to the Nuxt.js application.
For most applications, you would probably need to choose Axios—which can be done by pressing the space key. Since this is just a walkthrough, I won't select an option. To continue, I’ll press Enter.

Figure 2-f: Nuxt.js Modules— create-nuxt-app (Built-in Terminal—VS Code)
Next, there's the option to select one or more Linting tools. To continue, I press Enter.
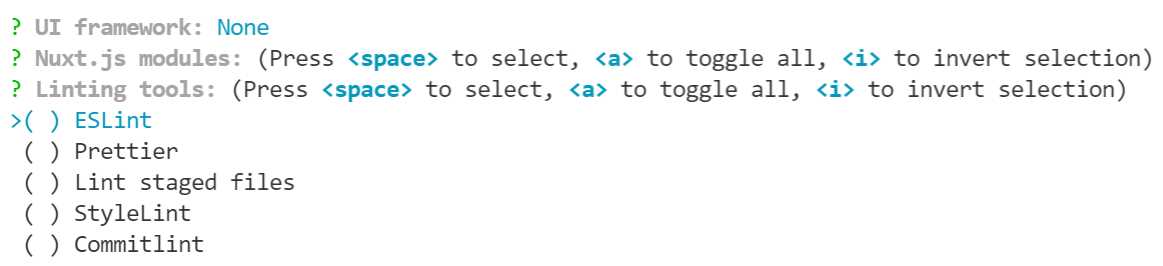
Figure 2-g: Linting Tools— create-nuxt-app (Built-in Terminal—VS Code)
Next, it is possible to choose a Testing framework. I will leave it set to None and press Enter.
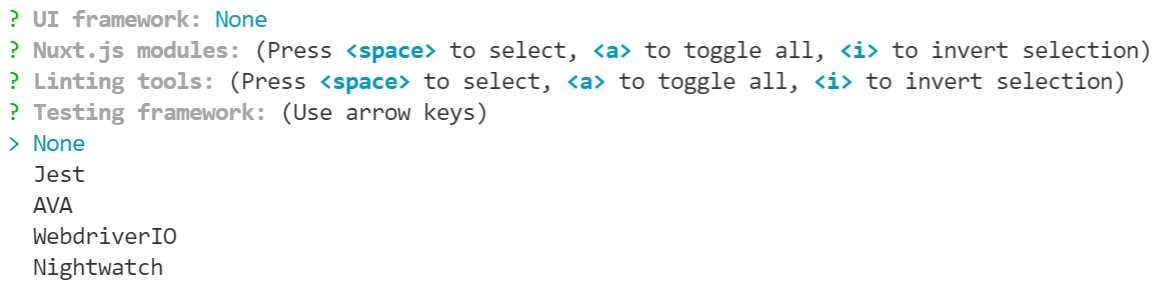
Figure 2-h: Testing Framework— create-nuxt-app (Built-in Terminal—VS Code)
Then, it is possible to select the application's rendering mode. I will choose Universal, which includes server-side rendering (SSR)—which is the whole purpose of using Nuxt.js in the first place.
It is also possible to select Single Page App, but that doesn't add additional value; for that purpose, we can use Vue.js instead of Nuxt.js.
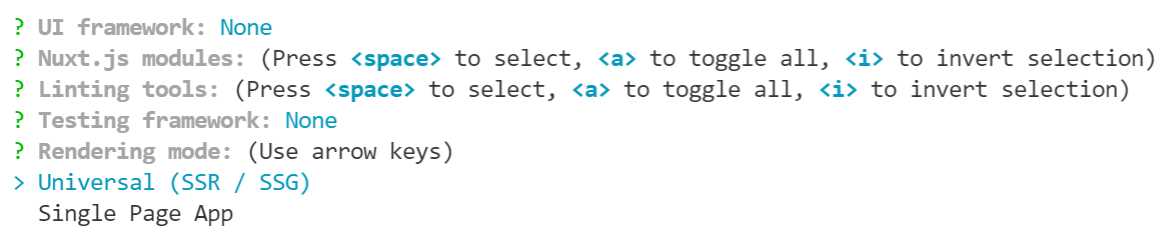
Figure 2-i: Rendering Mode— create-nuxt-app (Built-in Terminal —VS Code)
Following that, it is possible to select the deployment target. I will go with the Server option, which allows us to use Node.js hosting as a backend rather than generating a static site.
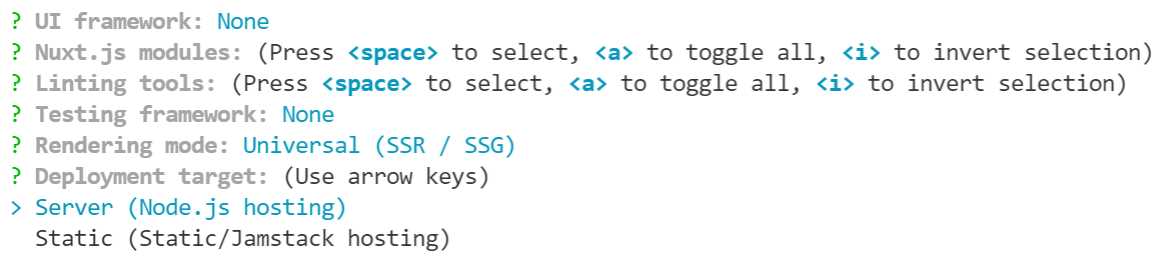
Figure 2-j: Deployment Target—create-nuxt-app (Built-in Terminal—VS Code)
Next, it is possible to choose additional development tools. I won't select any options. So, to continue, I press Enter.

Figure 2-k: Development Tools— create-nuxt-app (Built-in Terminal—VS Code)
Finally, I will indicate my GitHub username, and as the Version control system, select None. In a real-world project (and not a walkthrough), I would suggest you choose Git.
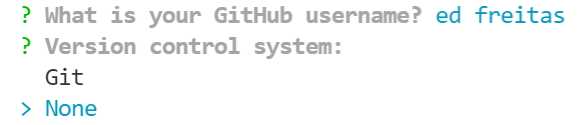
Figure 2-l: GitHub Username and Version Control System— create-nuxt-app (Built-in Terminal—VS Code)
We can see that the project is now successfully created.
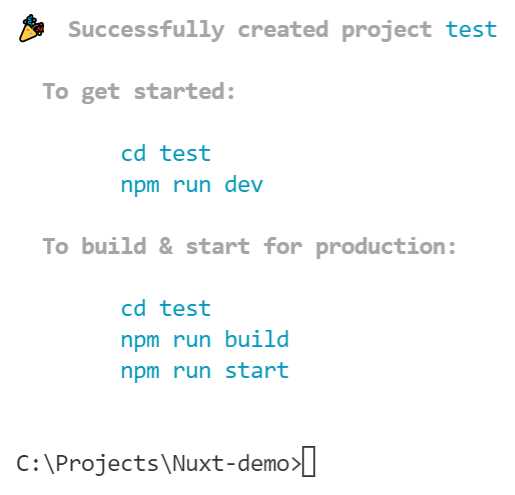
Figure 2-m: Project Created— create-nuxt-app (Built-in Terminal—VS Code)
We can use the following commands to run the scaffolded application.
Code Listing 2-c: Execute the Test Nuxt.js (v2) App
cd test npm run dev |
After executing these commands, we can see the scaffolded test application running.
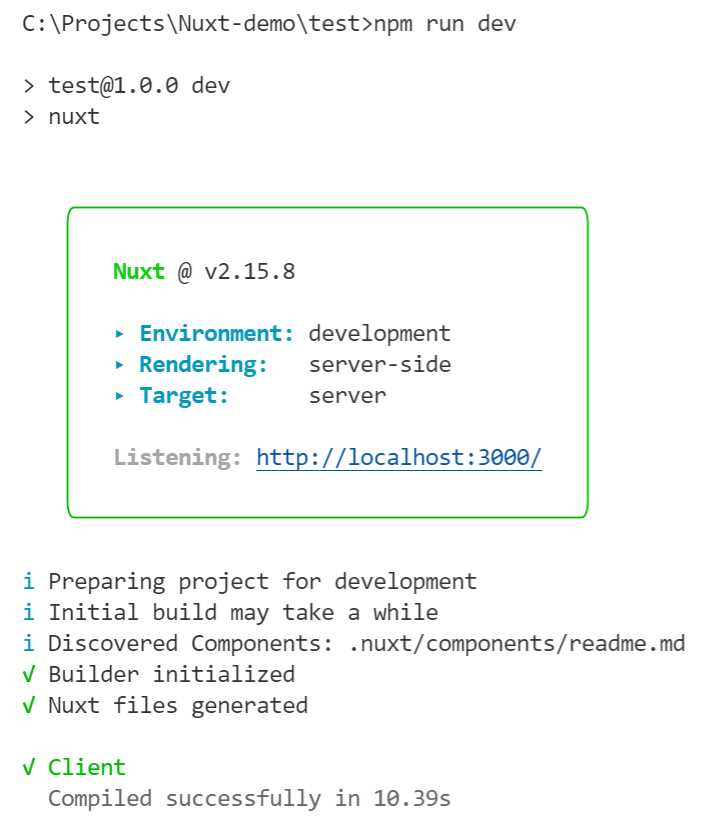
Figure 2-n: Project Executing—create-nuxt-app (Built-in Terminal—VS Code)
If we open the localhost URL, we can see the scaffolded application running.

Figure 2-o: Scaffolded App Running
To stop the execution of the application, press Ctrl+C from the built-in terminal within VS Code.
To learn more about working with the create-nuxt-app tool, you can find additional details in the official documentation.
Project structure (create-nuxt-app)
Now that we have explored how the create-nuxt-app tool works, let's look at the project structure that has been created.

Figure 2-p: Project Folders
We can see that the .nuxt and node_modules have been added, just like when we scaffolded the Nuxt.js 3 application. However, notice that the components, pages, static, and store folders have been added to the project.
As its name implies, the components folder is used for adding Vue.js components to the Nuxt.js application.
The pages folder is how Nuxt.js addresses routing, and each file within that folder constitutes a page of a Nuxt.js application. Vue.js and Nuxt.js applications are made up of pages, and each page can contain one or more components.
The static folder stores the application's static resources, such as JavaScript, CSS files, and images. On the other hand, the store folder is not required, and it is used for working with Vuex application state storage files.
Summary
Even though we won't be using the create-nuxt-app tool (as we'll focus on Nuxt.js 3 rather than Nuxt.js 2), I just wanted to show you the resultant folder structure, which is practical and speeds up development.
In the next chapter, we will continue with the original Nuxt.js 3 application we created, explore how to work with it by creating pages, and lay the foundations for the application we'll build throughout this book.
- 80+ high-performance, modular, and responsive Vue UI components.
- Popular components like Data Grid, Charts, and Diagram.
- Incredibly lightweight and user-friendly.