
Nuxt.js Succinctly®

CHAPTER 1
Getting Started
Client-side vs. server-side rendering
Before we begin, there's one crucial concept that I would like you to have crystal clear in your mind, and that's server-side rendering.
Nuxt.js should not be confused with a templating engine running on the server—it's not a replacement for templating engines such as EJS or Handlebars.
To understand server-side rendering, we need to take a step back and look at how traditional Vue.js applications (which are single-page applications) work—which is another reason you should first get up-to-speed with Vue.js before reading this book.
If you place UI components into your application pages rendered by some other server-side service or technology, such as PHP or ASP.NET, you don't need Nuxt.js.
On the other hand, Vue.js is a client-side framework for traditional single-page applications. The single-page application mechanism works for a Vue.js app because the user sends a request by entering a URL, and the server sends back an HTML file.
In that case, the HTML file sent by the server contains barely any HTML code, but it does include your single-page application logic—essentially, all the scripts that need to be loaded to start the Vue.js app, which runs entirely in the browser.
The loaded Vue.js app is responsible for rendering the UI. Therefore, the view adds all the HTML elements to the page, and it is also responsible for routing and catching any URLs that you might visit within the app.
With a traditional Vue.js application, you never receive a second HTML page from the server as a response when you visit a new URL route within that application (as long as you stay within the application's routes).
However, the HTML file could be served from the server and rendered there. In the traditional Vue.js application approach, the HTML file received doesn't contain the HTML that the user sees on the screen, as this content is all created on the client side through JavaScript.
The traditional Vue.js approach is not great for search engine optimization, especially if you need to load data asynchronously before rendering something onto the screen. The following figure illustrates this process.
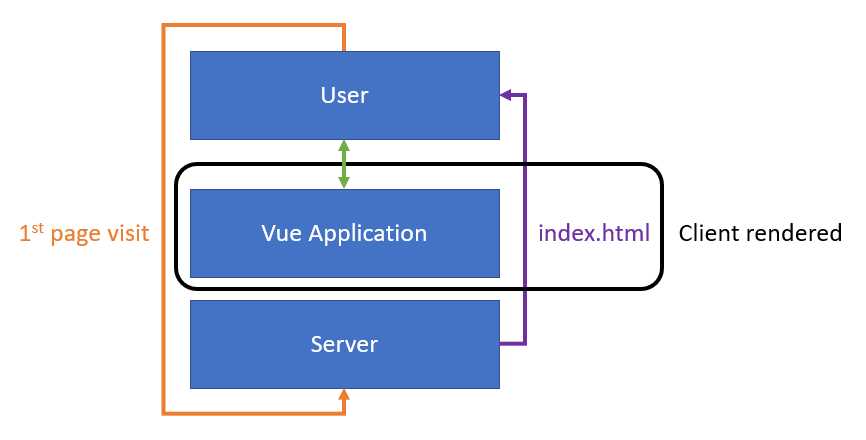
Figure 1-a: Traditional Client-Side Rendering (Single-Page Application)
In Figure 1-a, the index.html file is rendered on the client after the server returns it following a user request.
So, imagine for a second that the Google web crawler is indexing your site or application created with Vue.js. The crawler will not wait for your page content to load; instead, it will see an empty page. On the other hand, this traditional single-page approach is not well suited for sites that require fast loading times, such as e-commerce applications.
What Nuxt.js gives us is the ability to solve this problem by rendering that first page on the server. Therefore, that first page the user visits for any given URL within the application scope (independent of the root URL or another app URL) can be prerendered on the server, on the fly, when the user requests it.
With Nuxt.js, you get a regular Vue.js application, but that app gets prerendered dynamically or even statically on the server. In other words, with Nuxt.js, when a user accesses your page, the page is sent from the server prerendered and loaded. The following figure illustrates this process.
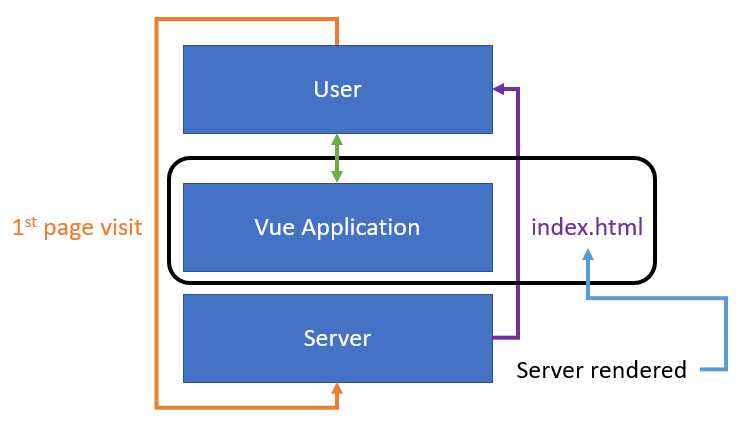
Figure 1-b: Server-side rendering
The difference, in this case, is that although the Vue.js application still manages the index.html file, the server can send back a non-empty index.html file on the first request that has been prerendered.
From there onward, we are back in single-page application mode, and no secondary HTML file gets rendered—as Vue.js handles all navigation actions from that point.
Nuxt.js helps in that initial load, pre-rendered on the server, which results in a non-empty HTML response, thus improving page load performance and SEO. This is what server-side rendering is all about.
Nuxt.js server-side rendering
Now that I’ve covered the difference between client-side and server-side rendering, I'd like to bring another essential item to your attention.
If you’ve worked extensively with Vue.js, you might already know that it’s possible to implement server-side rendering without using a framework like Nuxt.js. This topic is officially covered in the Vue.js documentation. It’s well covered there, and there's a complete guide that goes through all the steps required to implement it. However, it's not an easy thing to do.
Even though that guide exists, Nuxt.js abstracts most of that complexity away. The advantage of using Nuxt.js instead of implementing server-side rendering using Vue.js is that you get it ready to go, out of the box, and highly optimized.
With Nuxt.js, to get server-side rendering working, we need to create a new project—that's it (as we'll see shortly). There's no need to fiddle with Vue.js configuration.
So, to put things into perspective, Nuxt.js didn't invent server-side rendering and is not reinventing the wheel. All Nuxt.js does is make it super easy for any Vue.js application to have highly optimized server-side rendering out of the box—making development with Vue.js a cleaner and better experience.
Installing Node.js
To install Nuxt.js, you first need to have Node.js installed. If you don't have Node.js installed, you can download it from the official site.
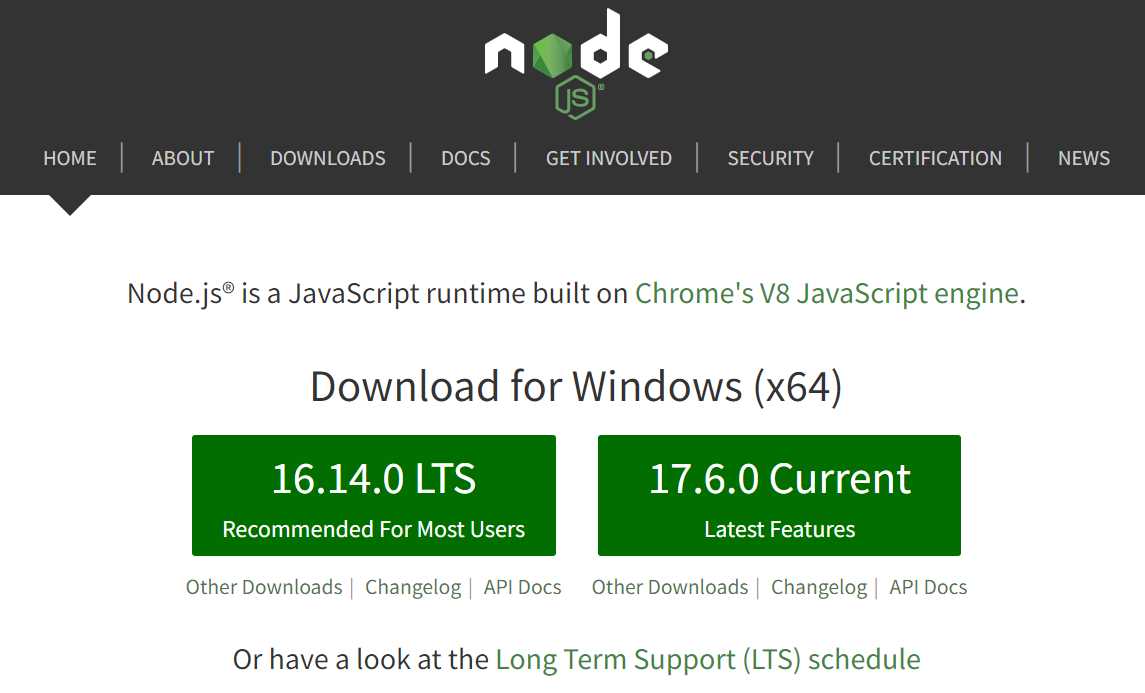
Figure 1-c: Node.js Official Website
You can choose to download either the long-term support (LTS) or the current version—either is fine. I will install the LTS version. Once you have downloaded Node.js, execute the installer file.
Figure 1-d: Node.js Installer
Once you have executed the installer, you'll see the following screen. Click Next to continue the installation process.

Figure 1-e: Initial Node.js Installation Screen
Then, you'll be asked to accept the license terms. Click Next to carry on with the installation. At this stage, you'll be presented with a screen where you can select the Node.js installation folder.
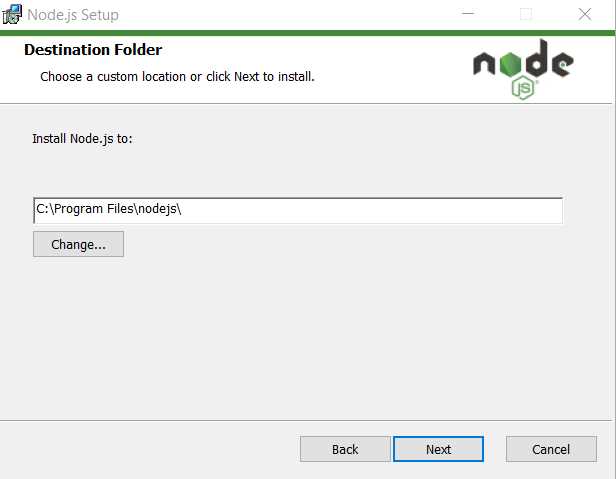
Figure 1-f: Node.js Installation (Destination Folder Screen)
I usually leave the default installation folder and click Next; however, you can choose a different folder if you prefer. With that done, click Next to continue the installation.
At this point, you'll see the Custom Setup screen. In my case, I always use the default options, as you can see in the following figure.

Figure 1-g: Node.js Installation (Custom Setup Screen)
To continue the installation, click Next. You should see the following screen.

Figure 1-h: Node.js Installation (Tools for Native Modules Screen)
You may choose to select the option Automatically install the necessary tools at this stage. When this option is selected, it allows the Node.js installer to install any other dependency needed using Chocolatey. To continue the installation, click Next.

Figure 1-i: Node.js Installation (Ready to install Node.js Screen)
We need to click Install at this stage. Doing that will deploy the Node.js runtime and files on the installation folder previously selected. The process is usually quick.
If a previous version of Node.js exists on the machine, that version gets removed before the newer version is deployed. Once the new files have been installed, you'll see the following screen.

Figure 1-j: Node.js Installation (Node.js Setup Wizard Screen—Finish)
To finalize the installation, all we need to do is click Finish. Now Node.js is installed, and we can install Nuxt.js.
Getting started with Nuxt.js
At the time of writing this book, the latest version of Nuxt.js is version 3 (in beta)—which is the version that we'll be working with throughout this book, as it includes support for the latest Vue.js features released with version 3.
Installing Nuxt.js is straightforward. From the terminal, command line, or from the built-in terminal within Visual Studio Code (VS Code)—which is my editor of choice—type in the following command. Feel free to use another editor; however, I recommend VS Code so you can follow along easily.
Code Listing 1-a: Command to Create a New Nuxt.js Project
npx nuxi init nuxt-app |
Note: The name of the Nuxt.js application being created is nuxt-app; however, you may choose a different name. I suggest using the same name to follow along easily.
Tip: For more information on how the npx command works, please check out the official NPM documentation.
Once you have executed this command, you'll be asked if you want to install the Nuxi NPM package, which is the new Nuxt.js CLI experience.
Note: NPM stands for node package manager.

Figure 1-k: VS Code Integrated Terminal (Installing Nuxt.js)
To continue, type in y and press enter—this will install the CLI and scaffold a new Nuxt.js project, as you can see in the following figure.

Figure 1-l: VS Code Integrated Terminal (Nuxt.js Installed)
With Nuxt.js installed and the project scaffolded, we can go into the newly created Nuxt.js application folder, called nuxt-app, with the following command.
Code Listing 1-b: Command to Change to the Project Folder
cd nuxt-app |
Once we are inside the nuxt-app folder, we can enter the npm install command at the prompt to install all the required packages and dependencies that our project will need.
Code Listing 1-c: Command to Install Project Dependencies
npm install |

Figure 1-m: Installing Project Dependencies (VS Code)
Note: Although it is possible to use yarn instead of npm, throughout this book, I'll be using npm. You may well choose to use yarn, though.
With that done, let's run the scaffolded application in development mode and have a look. You can do this by executing the following command.
Code Listing 1-d: Command to Execute the Project in Dev Mode
npm run dev -- -o |
After executing this command, you should see the following within the built-in terminal in VS Code. The -- as an argument on its own means further arguments should be treated as positional arguments, not options.
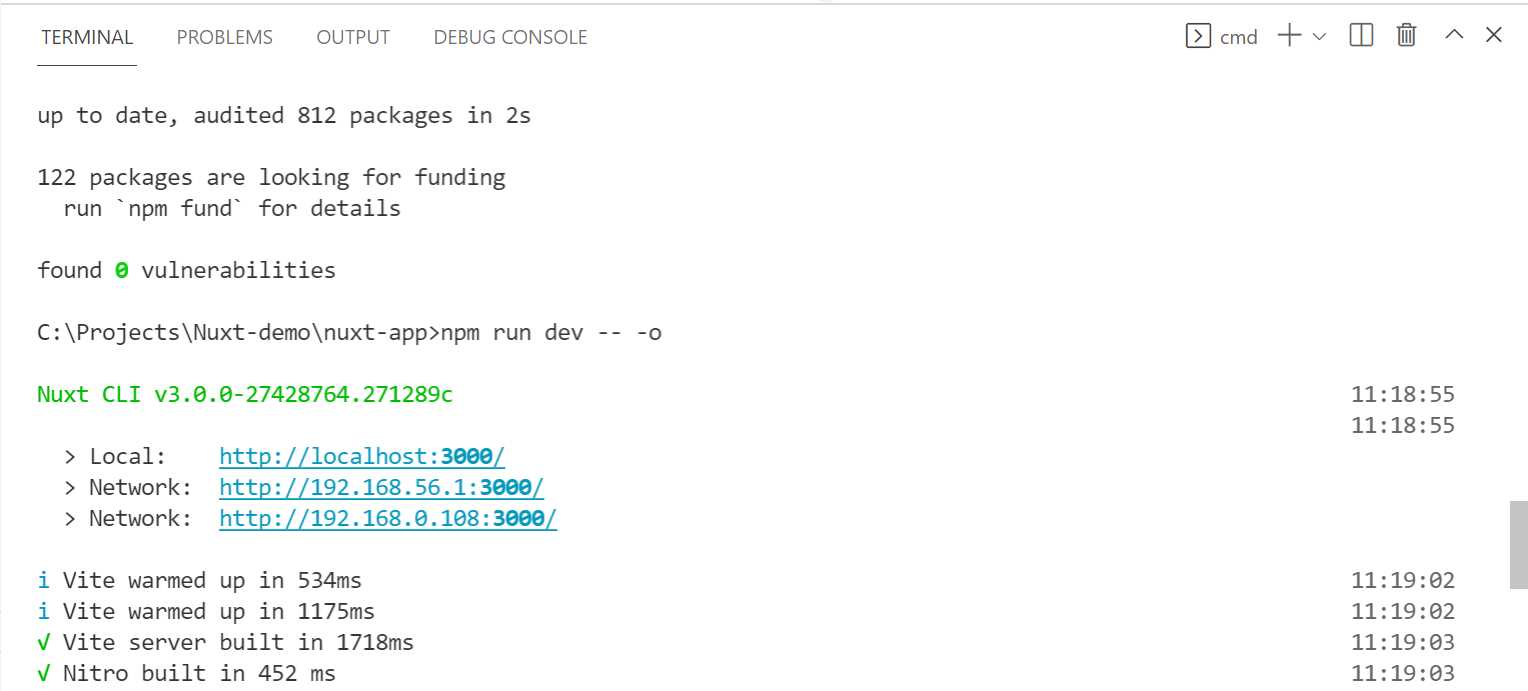
Figure 1-n: Execution of the Project
To visualize the Nuxt.js project running, you'll need to open it in a modern browser, which you can do by typing the local URL, or clicking directly on the URL link, as seen in the preceding figure.

Figure 1-o: Nuxt.js Starter Project Running
To stop the execution of the application, you can press Ctrl+C within the integrated VS Code terminal.
Summary
At this stage, we have successfully installed Nuxt.js and scaffolded a basic application, which, as you have seen, was straightforward.
The next chapter will explore the project structure and explain how pages, views, and routing work together.
- 80+ high-performance, modular, and responsive Vue UI components.
- Popular components like Data Grid, Charts, and Diagram.
- Incredibly lightweight and user-friendly.