
Nuxt.js Succinctly®

CHAPTER 5
Firebase
Overview
We are ready to start with the server-side setup of our application. Although we could write server-side code with previous versions of Nuxt.js, with version 3, we can now write endpoints just like writing an API using Node.js, but more straightforward.
To achieve data persistence and server-side functionality, we will use Firebase, a platform supported by Google for creating and monitoring mobile and web applications.
Getting started with Firebase
Getting started with Firebase is very easy. You need to have a Google Workspace or Gmail account to use it.
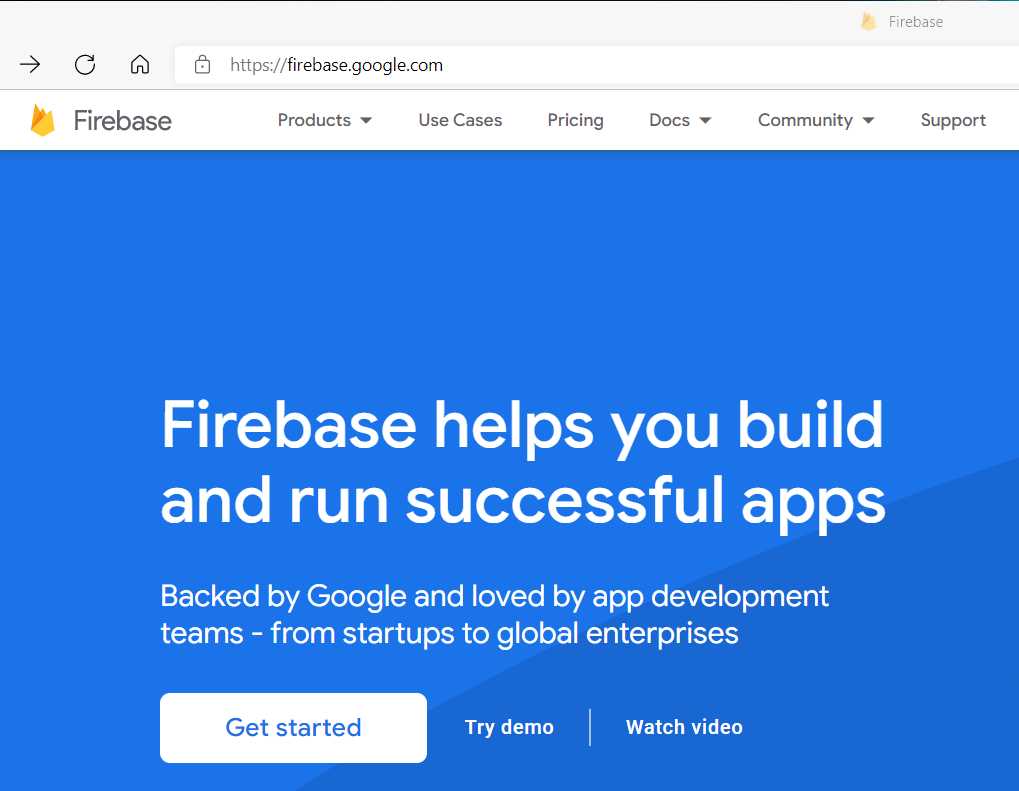
Figure 5-a: Firebase Home Page
Note: The Firebase home page and website might change over time, but you should still easily be able to continue with the steps provided.
Once you’re on the Firebase home page, click Get started > Continue.

Figure 5-b: Creating a Firebase Project (Step 1 of 3)
Next, we'll see the following screen for setting up Google Analytics.

Figure 5-c: Creating a Firebase Project (Step 2 of 3)
At this stage, I would suggest disabling the option Enable Google Analytics for this project, which I'm going to do. We don't need to use Google Analytics for our purposes; however, it's an option to consider for larger projects.
Next, click Create project to initiate the creation of the project and provision the necessary resources.

Figure 5-d: Provisioning Resources (Step 3 of 3 - Creating the Firebase Project)
Once the project has been provisioned, you should see the following screen.

Figure 5-e: Firebase Project Created
Click Continue, which will lead us to the project dashboard.

Figure 5-f: Firebase Project Dashboard
With the Firebase project created, we need to create a Firestore database, which you can do by clicking the navigation option highlighted in yellow in Figure 5-f, leading us to the following screen.
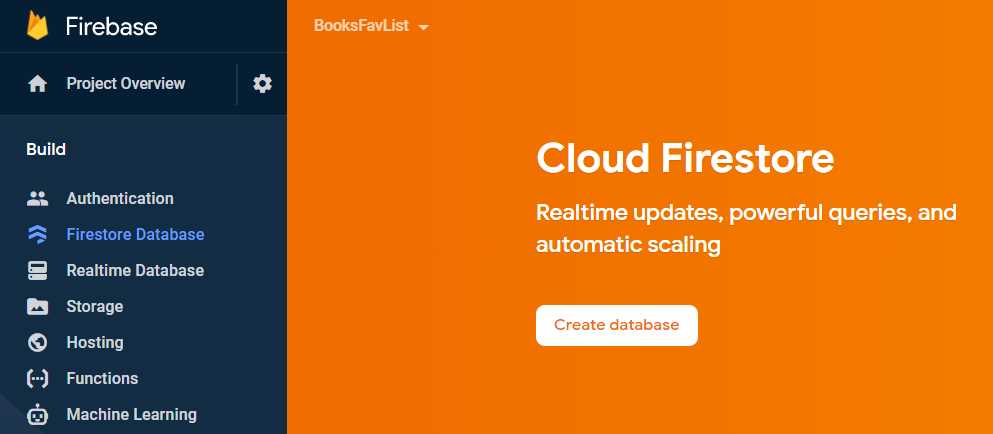
Figure 5-g: Cloud Firestore Main Page (Firestore Database)
Here, we can click the Create database button to continue creating the Firestore database; this will display the following window.

Figure 5-h: Create Database Window—Step 1 (Firestore Database)
Although I would usually recommend choosing the Start in test mode option, in this case, for the sake of simplicity and avoiding additional configuration later on (as the focus of this course is not Firebase), let's go with the Start in production mode option. So, let's leave the default option and click Next.

Figure 5-i: Create Database Window—Step 2 (Firestore Database)
Then, we can choose the Cloud Firestore location. I'll go with the default option (nam5 (us-central)), but feel free to select a location closer to where you are physically located.
So, to finish creating the Cloud Firestore database, click the Enable button to provision the required database resources.
The Cloud Firestore database is ready to be used, as we can see in Figure 5-j.

Figure 5-j: Cloud Firestore Database Ready
Now we can create a collection and add some data, which will replace the hardcoded book data we added to our client-side code.
Adding data
Instead of having data hardcoded into the application like we currently have, let's move that data to Cloud Firestore, instead, and modify our application to retrieve the data from it.
To do that, click the + Start collection option highlighted in the preceding figure—this will display the following window.
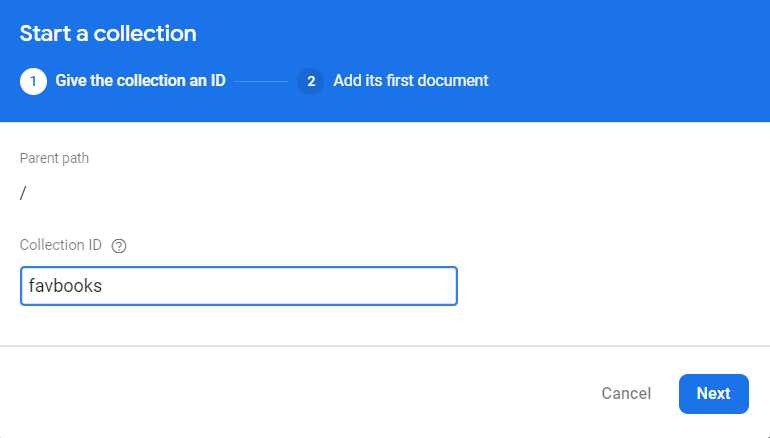
Figure 5-k: Start a collection (Step 1)—Firestore Database
I'll give the Collection ID the name favbooks and click Next to display the following window.
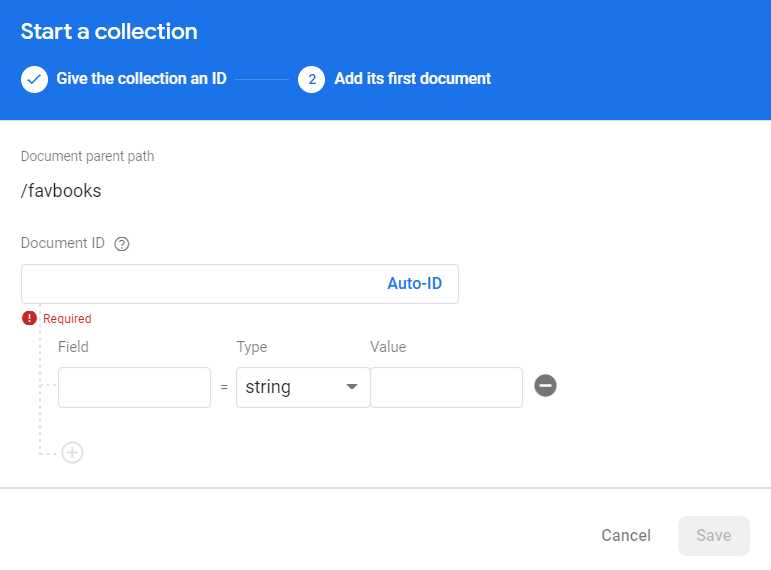
Figure 5-l: Start a collection (Step 2)—Firestore Database
Following that, click the Auto-ID button to generate the Document ID. Then, let's enter each field value using the same hardcoded values from the index.vue file. For the first document (seen in the following figure), we are adding the field values for Razor Components Succinctly.

Figure 5-m: Start a collection (Adding a Document)
Click Save at the bottom of the screen (not visible in the preceding figure) to save the document.
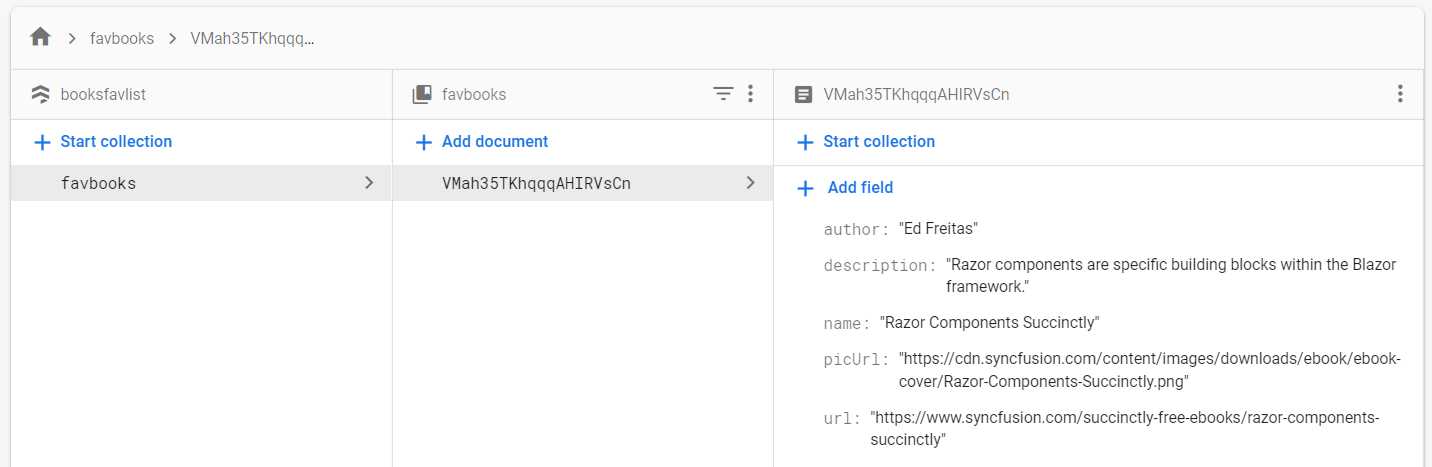
Figure 5-n: Document Added
Repeat the same steps for adding the data for Azure Virtual Desktop Succinctly and Ansible Succinctly. To do that, click the + Add document button.
Connecting the app to Firebase
With the data now available in the Cloud Firestore database, it's time to connect our application to Firebase, remove the hardcoded data from index.vue, and retrieve the data from the database.
Let's click the configuration icon and then click the Project settings option.
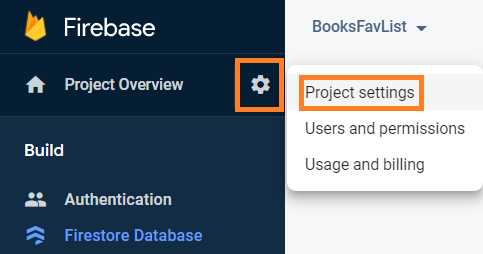
Figure 5-o: Project settings Option
Once you’re in the Project settings view, click the Service accounts tab and the Generate new private key button.

Figure 5-p: Project settings—Service accounts
Once you’re done, the following window will be displayed.

Figure 5-q: Generate new private key—Service accounts
Following that, click the Generate key button to download the private key we will use within our Nuxt.js project. In my case, the file looks as follows.

Figure 5-r: The Generated Key File
Note: Depending on how you named your Firebase project (if it is different than the name I used), the name of the generated key file might be different than mine.
Move the downloaded file to the root folder where your Nuxt.js project resides, to ensure that it is not exposed through the client-side part of the application.
Here is how the generated key file should look within the VS Code EXPLORER panel once moved to the project's root folder.

Figure 5-s: The Generated Key File (as seen in VS Code)
Installing the Firebase SDK
We must install the Firebase Admin SDK, the server-side version of Firebase. To do this, we need to open the built-in terminal within VS Code and type in the following command.
Code Listing 5-a: Command to Install the Firebase Admin SDK
npm install firebase-admin |
Once the installation process has been finalized, make sure to add the name of the generated key file to your project's .gitignore file.
This prevents the file from being added to your Git repository, which is good practice and helps you avoid sharing sensitive project information by mistake.

Figure 5-t: Adding the Generated Key File Name to .gitignore
Summary
At this stage, we have created a backend server for our project, hosted on the Firebase platform. In the next chapter, we will write our application's server-side logic, interacting directly with Firebase.
- 80+ high-performance, modular, and responsive Vue UI components.
- Popular components like Data Grid, Charts, and Diagram.
- Incredibly lightweight and user-friendly.