
Node.js Succinctly®

CHAPTER 12
Socket.io
In this chapter, we will learn about one of the Node.js modules, socket.io.
Getting Started
Socket.IO is a Node.js library. It aims to make real time apps possible in every browser and mobile device, blurring the differences between different transport mechanisms.
To install Socket.io, you can run the following script:
npm install socket.io |
To get started, we must remember the Socket.io functions, especially emit() to send data to socket.io client and on('xxx') to listen for incoming data. Note that xxx is string-defined data.
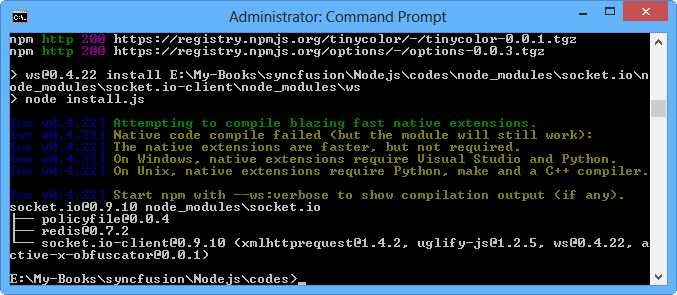
Figure 74: Installing Socket.io
Hello World
After you install the Socket.io module, we can start to create a Socket.io application.
Write the following script and save it as socketio1.js:
var app = require('http').createServer(handler) , io = require('socket.io').listen(app) , fs = require('fs') app.listen(8098); console.log('server started on port 8098'); function handler (req, res) { fs.readFile(__dirname + '/index.html', function (err, data) { if (err) { res.writeHead(500); return res.end('Error loading index.html'); } res.writeHead(200); res.end(data); }); } io.sockets.on('connection', function (socket) { socket.emit('news', { content: 'news from server'}); socket.on('feedback', function (data) { console.log(data); socket.emit('news', { content: 'news - ' + new Date() }); }); }); |
To work with Socket.io:
- Create the web server by calling createServer() with the handler function parameter.
var app = require('http').createServer(handler) |
- The Socket.io object is passed into the http object.
, io = require('socket.io').listen(app) |
- Activate listening on port 8098.
app.listen(8098); |
- In the handler function, we handle request/response to send the index.html file.
function handler (req, res) { fs.readFile(__dirname + '/index.html', function (err, data) { if (err) { res.writeHead(500); return res.end('Error loading index.html'); } res.writeHead(200); res.end(data); }); } |
- Wait for the incoming connection from the browser, the Socket.io client from index.html
io.sockets.on('connection', function (socket) { }); |
- Socket.io calls emit() to send data to the browser.
socket.emit('news', { content: 'news from server'}); |
- Wait for the incoming data with the 'feedback' event and send data.
socket.on('feedback', function (data) { console.log(data); socket.emit('news', { content: 'news - ' + new Date() }); }); |
Next we create the index.html file and write the following script:
<html> <head> <title>Demo Socket.IO </title> <script src="/socket.io/socket.io.js"></script> <script> var socket = io.connect(); //socket.emit('feedback','this content from client'); socket.on('news', function (data) { console.log(data); document.getElementById('newsContent').innerHTML = data.content; socket.emit('feedback', 'from client - ' + new Date()); }); </script> </head> <body> <span id='newsContent'></span> </body> </html> |
Explanation
- First, we include Socket.io.js
- Instantiate the socketio object.
- Call on() to wait for the 'news' event from the server.
- If the client gets the data, socketio will send data to the server by calling emit()
To run the application, we must run the server file:
Node socketio2.js |
Now open the browser and write the URL http://localhost/
Here is a sample program output for the server side:
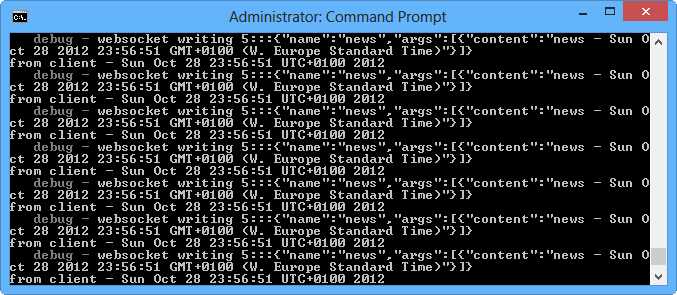
Figure 75: Server side of Socket.io app
Here is a sample program output for the browser. Activate the browser console to see incoming data from the server.
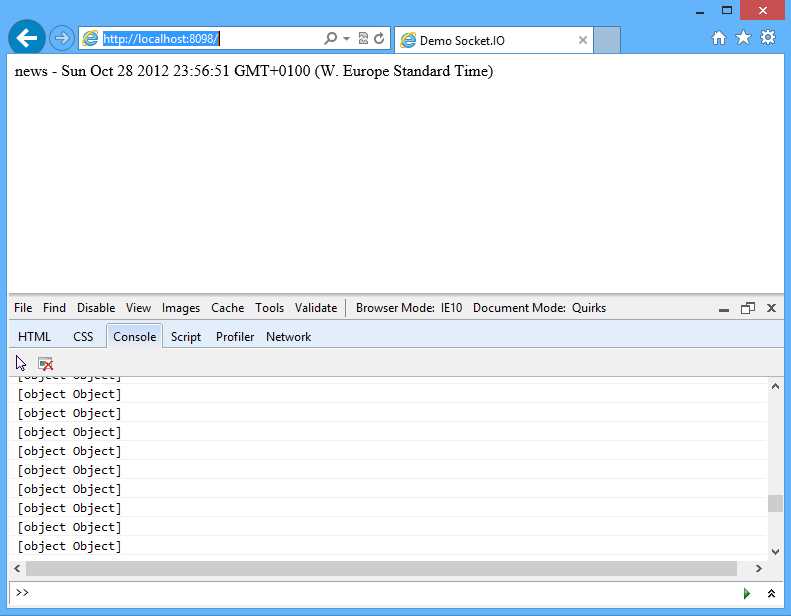
Figure 76: Browser as client app
Socket.io and Express.js
We can combine Sockect.io and Express.js. To illustrate this, we will use the same code from the previous section.
Write the following code and save as socketio2.js:
var express = require('express') , http = require('http'); var app = express(); var server = http.createServer(app); var io = require('socket.io').listen(server); console.log('server started'); app.get('/', function(req,res){ res.sendfile(__dirname + '/index.html'); }); io.sockets.on('connection', function (socket) { socket.emit('news', { content: 'news from server'}); socket.on('feedback', function (data) { console.log(data); socket.emit('news', { content: 'news - ' + new Date() }); }); }); server.listen(8098); |
Basically, we just pass the express object into the http object.
var express = require('express') , http = require('http'); var app = express(); var server = http.createServer(app); var io = require('socket.io').listen(server); |
Run this code and open the browser. You will get the same response from the application.
Real-Time Monitoring
Socket.io can be used to create a real-time application. The server can push data to the browser. The browser also can send data to the server.
To illustrate this, we will create real-time monitoring. In this scenario, the server pushes data to the browser. The browser will render graphics based on the data. Use the flot library (https://code.google.com/p/flot/) to visualize the data.
Download the flot library and extract it to your working folder.
Write the following code and save as socketio3.js:
var http = require('http'); var net = require('net'); var path = require('path'); var fs = require('fs'); var port = 9088; // Create an HTTP server. var srv = http.createServer(function (req, res) { console.log('request starting...'); var filePath = '.' + req.url; if (filePath == './') filePath = './realtime-demo.html'; var extname = path.extname(filePath); var contentType = 'text/html'; switch (extname) { case '.js': contentType = 'text/javascript'; break; case '.css': contentType = 'text/css'; break; } path.exists(filePath, function(exists) { if (exists) { fs.readFile(filePath, function(error, content) { if (error) { res.writeHead(500); res.end(); } else { res.writeHead(200, { 'Content-Type' : contentType }); res.end(content, 'utf-8'); } }); } else { res.writeHead(404); res.end(); } });
}); gw_srv = require('socket.io').listen(srv); srv.listen(port); console.log('server started'); gw_srv.sockets.on('connection', function(socket) { var dataPusher = setInterval(function () { socket.volatile.emit('data', Math.random() * 100); }, 1000); socket.on('disconnect', function() { console.log('closing'); //gw_srv.close(); srv.close(); }); }); // On connection |
Now write the following realtime-demo.html:
<!DOCTYPE HTML PUBLIC "-//W3C//DTD HTML 4.01 Transitional//EN" "http://www.w3.org/TR/html4/loose.dtd"> <html> <head> <meta http-equiv="Content-Type" content="text/html; charset=utf-8"> <title>Flot Demo</title> <script language="javascript" type="text/javascript" src="/flot/jquery.js"></script> <script language="javascript" type="text/javascript" src="/flot/jquery.flot.js"></script>
<script src="/socket.io/socket.io.js"></script> <script> var socket = io.connect(); var items = []; var counter = 0;
socket.on('data', function (data) { console.log(data); items.push([counter,data]); counter = counter + 1; $.plot($("#placeholder"), [items]); }); </script>
</head> <body> <h1>Flot Dmo</h1> <div id="placeholder" style="width:600px;height:300px;"></div> </body> </html> |
Run the following code:
node socketio3.js |
Open the browser. You will get a response as shown in the following figure:
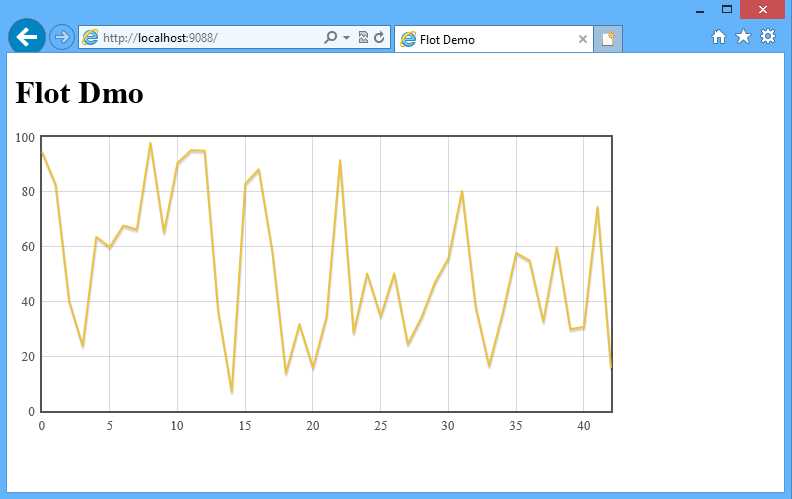
Figure 77: A simple app for visualizing the data
- 1800+ high-performance UI components.
- Includes popular controls such as Grid, Chart, Scheduler, and more.
- 24x5 unlimited support by developers.