
ML.NET Succinctly®

CHAPTER 2
Getting Started
The basics
Before exploring ML.NET, let's understand what machine learning (ML) is and how much value it brings.
In simple terms, machine learning uses historical data to make predictions. It looks at patterns within that data to create a mathematical model of the data, and then it processes similar data to make predictions. The following diagram illustrates this sequence.

Figure 1-a: Machine Learning—A Conceptual Representation
This process works because the new data is not memorized. Instead, based on the initial dataset supplied for creating the model, the machine learning process can find the same or similar patterns in the new data, and as such, make predictions.
Three common categories of prediction are image classification (is the image a dog or a cat?), tabular data (what is the creditworthiness of the loan applicant?), and natural language processing (is this restaurant review positive or negative?).
It is essential to understand that the initial dataset supplied must be good—in other words, the historical data needs to be of good quality—curated data. Using quality historical data will lead to a model producing good predictions, whereas using low-quality data will lead to a model that will likely make poor or inaccurate predictions, leading to erroneous results.
The better your historical data, the better your model will be. Machine learning uses specific algorithms to find patterns and retrieve insights from data.
Common ML approaches
There are two mainstream approaches to machine learning. One is called supervised and the other unsupervised. Note that these are not the only ways to do machine learning but are the ones you’ll most likely encounter at the beginning of your machine-learning journey.

Figure 1-b: The Most Common Machine Learning Approaches
In simple terms, with supervised machine learning, your dataset will contain a column (label) whose values you’ll want to predict.
Let’s say, for example, you work at Interpol as an analyst and have a list of fugitives and a column that indicates the probability of finding the offender. You would use this column to produce a prediction—this would be an example of supervised learning.
On the contrary, using the unsupervised learning approach, the dataset would not have the column or label containing the probability of finding the fugitive for the algorithm to predict. In this case, the algorithm is left on its own to find structure within the input provided—thus, it is called unsupervised.
In a nutshell, with supervised learning, example inputs and desired outputs (resultant columns or labels) are presented, allowing the computer to find patterns and rules that map inputs to the desired outcomes.
On the other hand, no result columns or labels are given to the algorithm with unsupervised learning, so it must find patterns and structure within the data provided. The following diagram illustrates these concepts.

Figure 1-c: The Supervised and Unsupervised Approaches
Beyond supervised and unsupervised learning, there are other types of machine learning approaches, such as (but not limited to) semi-supervised, reinforcement, meta-learning, topic modeling, and deep learning based on the extensive use of artificial neural networks.
Supervised and unsupervised algorithm types
Whether we use supervised or unsupervised learning, different algorithm types exist. Here are some of the most common algorithm types used by supervised learning:
· Regression: Used to predict values, such as an employee's salary. An increase is often used for time-series problems.
· Classification: Used for predicting classes, such as classifying pictures into different class types: houses, cars, airplanes, toys, etc. Classification is usually divided into binary classification (prediction with precisely two possible values) or multiclass classification (three or more possible values).
As for unsupervised learning, some of the most common algorithm types employed are:
· Clustering: Used for predicting groups with similar patterns, such as grouping online banking users based on their app usage habits.
· Anomaly detection: Used to predict elements that don’t align with the pattern found in the rest of the data, such as financial fraud.

Figure 1-d: Common Machine Learning Algorithm Types (Supervised and Unsupervised)
How machine learning works in a nutshell
Having seen different types and algorithms, let’s now look closely at how the machine-learning process works. As you already know, the process starts with data, and it’s essential to have good data for the model to perform well and give good results. Insufficient data leads to bad outcomes; as the old saying goes, garbage in, garbage out.
Once we have the historical data we will use, we need to go through data preparation or data cleaning—this includes performing activities such as adding, updating, or removing missing values.
Other data preparation activities include converting text values into numerical values, given that most algorithms work best with numerical values.
After the data preparation step, we must create the model, including deciding which algorithm type to use. For each of the previously discussed machine-learning types, there are many different algorithms to choose from, each with its advantages and disadvantages. Which works best depends on your data.
Once the model has been created, the next step is to evaluate it to check if it executes well and gives good results for new data it hasn’t processed.
The reasoning behind incorporating the evaluation step is to avoid providing the same data used to create the model (because that data is well-known). Instead, new data is used to check whether the model can generalize well. One key aspect is that the evaluation step is an iterative process. The model may not perform well when you evaluate it with the new data. In that case, you might have to try with a different algorithm, recreate the model, then try the new model with the new data as often as required to achieve good results.
Once you have a good-enough model, the next step is to deploy it in production where it will be used.
It is possible once the model is in production that the data will change over time, invalidating the previously created and deployed model and degrading the system's performance and results. In that case, you’ll have to go over the initial data-gathering step and repeat the process.
The following diagram illustrates the complete process just described.

Figure 1-e: Machine Learning Process
As you have seen, the machine learning process itself is not that complicated. Instead, it’s a thorough, well thought-out, and iterative process of refining the data and algorithm chosen to create the best possible model.
Enter ML.NET
ML.NET is a machine learning library designed for .NET developers (fully compliant with .NET Standard), mostly C# developers and other developers who use different languages that work with .NET, such as F# or Visual Basic.
Today’s most prominent machine-learning frameworks are typically used in combination with Python, and using these frameworks requires machine learning knowledge to some degree. ML.NET has been designed from the ground up in C#, and it specifically caters to .NET developers with no prior experience with machine learning.
In essence, ML.NET is nothing more than a NuGet package and a set of Visual Studio tools with machine learning capabilities baked in and available out of the box, a package you can install and use within Visual Studio with your projects.
Model Builder, which uses AutoML (automated machine learning), provides an approachable and easy user interface to create, train, and deploy machine learning models. With Model Builder, it’s possible to employ different algorithms, metrics, and configuration options to create the best possible model for your data.
Another great feature of Model Builder is that it offers several built-in scenarios with different machine-learning use cases. Beyond producing a trained model, Model Builder can work with CSV files and SQL databases and generate the source code required to load your model, make predictions, and connect to cloud resources.
Overall, ML.NET is an excellent choice for any .NET developer coming into this fascinating world, as it includes various high-level features that make it easy to implement machine learning in a .NET application.
Using ML.NET with Visual Studio
ML.NET works best when used with Visual Studio. In my case, I’ll be using Visual Studio 2022 Enterprise Edition. However, you may also use Visual Studio 2022 Community Edition. If you don’t have Visual Studio installed, ensure it is installed before following along.
With Visual Studio open, click the File menu, then click New, and then Project—this will display the following screen.

Figure 1-f: The “Create a new project” Screen (Visual Studio)
Then, select the Console App project option and click Next. You’ll be shown the following screen, where you can specify the project's name. I’ve renamed the project’s default name to TestML and have chosen the project’s Location.
You are free to name the project something completely different. However, keeping the same name I use might help you follow along easier. Once done, click Next.

Figure 1-g: The “Configure your new project” Screen (Visual Studio)
After that, you will be given the option to choose a .NET version. I’m selecting .NET 6.0 (Long Term Support). However, it will also work with .NET 7.0 (Standard Term Support).
Then, click Create.
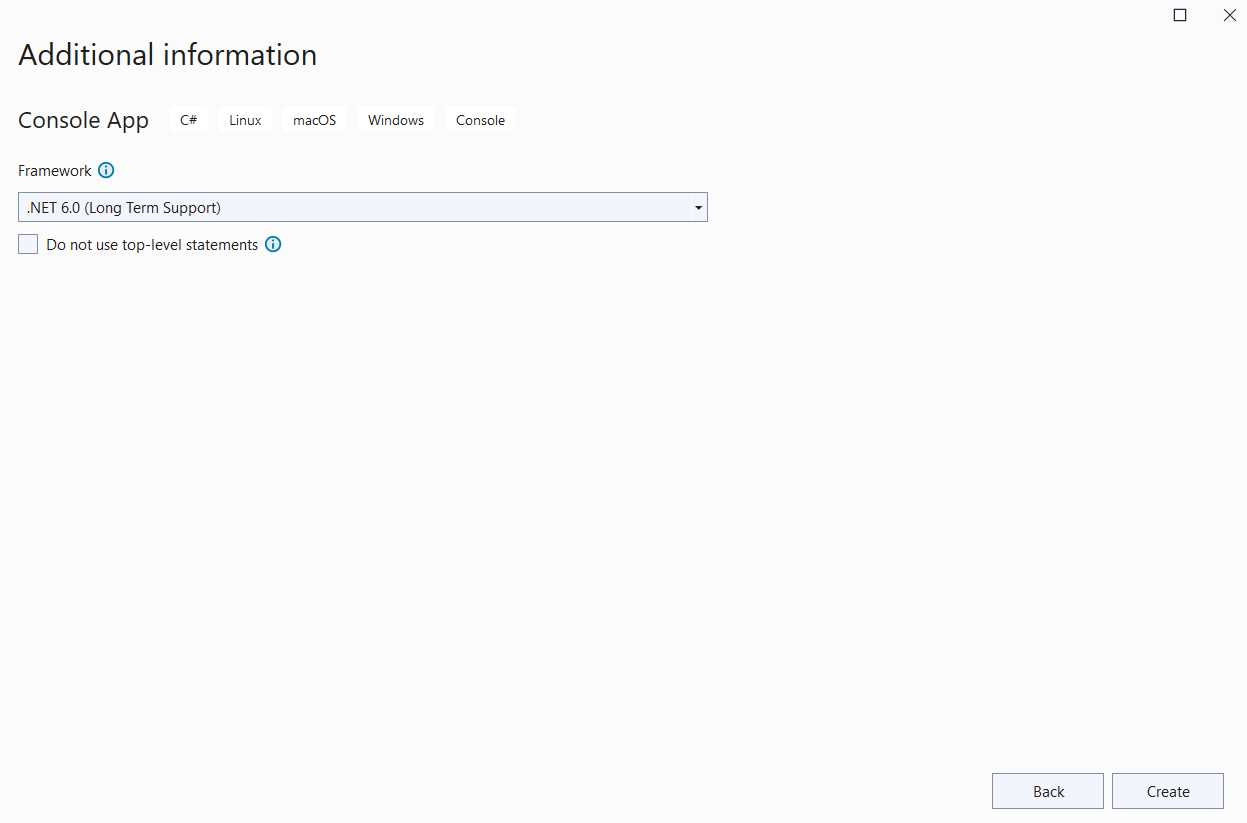
Figure 1-h: The “Additional information” Screen (Visual Studio)
Once the console application has been created, you should see a screen similar to the following one, showing the project in Visual Studio.

Figure 1-i: The Project Created (Visual Studio) Using Top-Level Statements
From .NET 6, C# console project templates use top-level statements. These allow you, as a developer, to avoid placing your program's entry point in a static method within a class, thus enabling you to write less code.
I think this is a great feature. However, throughout this book, I’ll be using the Program.Main style, instead. It is the traditional (old) program style that has been used since the early days of .NET for C# applications. You can easily switch from top-level statements to the Program.Main style by clicking on the paintbrush or light bulb icon within the Visual Studio editor.
Note: From now on, all the code snippets explained throughout this book will be using the Program.Main style and not top-level statements.
Then, within the Solution Explorer, click on Dependencies, right-click, and after the menu opens, click Manage NuGet Package.
From the Browse tab, search for Microsoft.ML, click on the Microsoft.ML package to select it, and then click Install.

Figure 1-j: The NuGet Package Manager (Visual Studio)
When prompted, click OK on the Preview Changes dialog, as seen in the following image, to continue with the package installation. Review any license terms shortly after when prompted.

Figure 1-k: Installing the Microsoft.ML NuGet Package (Preview Changes–Visual Studio)
Once the package installation process has been finalized, you’ll be able to see the Microsoft.ML dependency within Solution Explorer.

Figure 1-l: Project Dependencies within the Solution Explorer (Visual Studio)
Using the latest model builder
Having an environment with the latest version of Model Builder is critical. Typically, this is the case if Visual Studio was installed recently. If your Visual Studio installation is not recent, I suggest you download and install the latest version of Model Builder from this URL.
Summary
Well done! We had a quick overview of machine learning, learned the basics, installed ML.NET, and are ready to use it. The following chapters will dig deeper into ML.NET and explore the ML context object and Model Builder.
- 1800+ high-performance UI components.
- Includes popular controls such as Grid, Chart, Scheduler, and more.
- 24x5 unlimited support by developers.