
Microsoft Unity Succinctly®

CHAPTER 1
Installing Unity
Introduction
Unity does not require the installation of any software on your machine; just add the proper assemblies as references to your project and you’re done. These assemblies can be obtained in one of two ways:
- NuGet package (preferred)
- Installation package
- Cloning the source code repository and building it ourselves
In this book we will be using Unity version 3.5, the latest version available when the book was written. This version requires .NET 4.5, which means we will need Visual Studio 2012 or 2013 (the Express editions will do).
Since Unity was rewritten using the Portable Class Library (PCL), the following platforms are supported:
- Windows Store Apps 8.0 and 8.1
- Windows Phone Silverlight 8.0 and 8.1
- .NET 4.5+
- Xamarin/Mono
NuGet Package
Inside Visual Studio, in a .NET project, just issue the following command in the Package Manager Console:

Figure 1: Installing Unity as a NuGet package
Visual Studio will only add the Unity assembly to the startup project in your solution. If you want, you can add them to any other projects by selecting Manage NuGet Packages for Solution.
Installation Package
Get the installer for Unity, which also includes its source code and quick start code, from Microsoft’s web site.
Source Code
If you prefer to have a look at the source code, you are welcome to clone its repository. You can do so using Git:
git clone https://git01.codeplex.com/unity |
After you have the source code in your local disk, you can open the Visual Studio solution (Unity.sln), compile everything, and then add the generated assemblies as references to your project.
If you wish, you can browse the current version of the source code online; just point your browser to CodePlex, Microsoft's free open-source project hosting site.
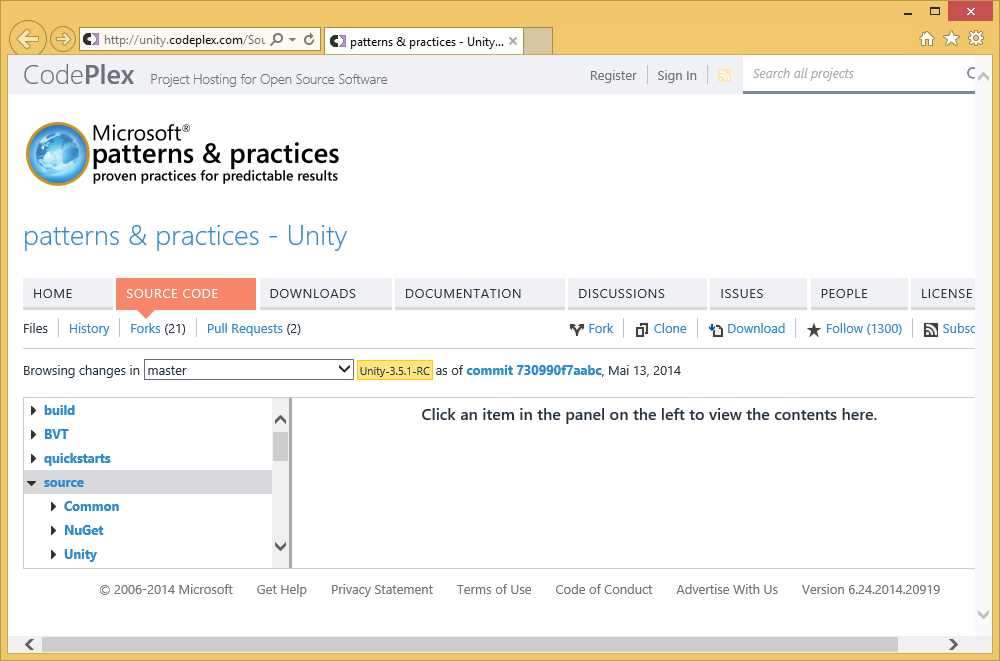
Figure 2: Browsing the Unity repository online
- 1800+ high-performance UI components.
- Includes popular controls such as Grid, Chart, Scheduler, and more.
- 24x5 unlimited support by developers.