
Microsoft Bot Framework Succinctly®

CHAPTER 4
The QPX Express API
Introduction
Following our awesome screenshot bot, I have a great idea. Why don’t we write a bot that provides alerts when flight prices change? What do you think? Now, that’s cool!
I don’t know about you, but I always find nailing down a good price for my flights is tricky. When I book early, I like to think I’m getting the best deal, but that’s not always the case. For example, I’ve had instances when I had to book just a few days before my trip, and the prices were actually better than when I looked a couple weeks earlier.
Airfares fluctuate based on offer and demand, just as with any other market. When there’s a lot of demand for a route during a specific period, prices go up. And when there’s not much demand, the airlines will push fares down to fill the planes. Remember, the airlines only make money when planes are up in the air with their seats full.
The bottom line is that there’s rarely a time when you get on a half-empty flight and can take the whole row for yourself. The airlines manage to pack their planes as much as they can, especially in the cases of low-cost carriers such as Southwest or Ryanair.
The idea behind this next bot is that we do not want to go to a travel website like Expedia or Skyscanner to check for flight prices. Instead, we want our humble bot to do the work for us. Ultimately, the decision to act upon an airfare and book will of course be ours.
We should be able to provide the bot with the origin, destination, and travel dates, and we should get back the current price for the flights we are interested in, but the bot should be able to keep notifying us whenever the price changes for those flights (until we are no longer interested in receiving these updates).
Sounds like a lot of fun, and it will be an incredibly useful tool to have at our disposal.
In order to make this happen, we’ll use Azure Table storage to keep airfare information and related flight details. We’ll also use a specialized flight-tracking API, and we’ll write our code with Visual Studio 2015 and C#.
I can’t wait to get started using the bot that will let me know when flight prices change. Now that’s putting computing power to work for us, so let’s rock and roll.
The QPX Express API
In 2011, our good friends at Google acquired an amazing company that had been set up in the mid-1990s by MIT computer scientists to tackle the problem of accurately finding airfares without relying on expensive mainframe computers. This company is ITA Software, which powers Google Flights and many other travel sites.
One of the results of their work is the state-of-art travel engine called QPX, which was first used by travel site Orbitz.
The QPX Express API is a version of the QPX engine that simplifies flight and airfare searches. It is based on a self-service and pay-as-you-go model and makes it incredibly easy for any developer to get near real-time data about flights and prices.
This is the API our bot will use to gather flight information details and respective prices.
In order to use this API, we’ll sign up with a Google account, which can be any Gmail or G Suite (previously known as Google Apps) account. If you don’t have a Google account, please sign up for Gmail or G Suite.
Super! Let’s get ourselves set up with the QPX Express API using our Google account.
Signing up for QPX Express
To use the QPX Express API, we’ll need to create public key credentials on the Google Developers Console and register our project there.
The Google Developers Console is a site used by developers for managing and viewing traffic data, authentication, and billing information for the Google APIs that their projects use.
Within the Google Developers Console, you can find all the settings, credentials, and metadata about the applications you’re working on that make use of Google APIs.
To get started, let’s point our browser to this URL. When you do that, and if you are signed in with your Google account, you’ll see the welcome page shown in Figure 4.0.
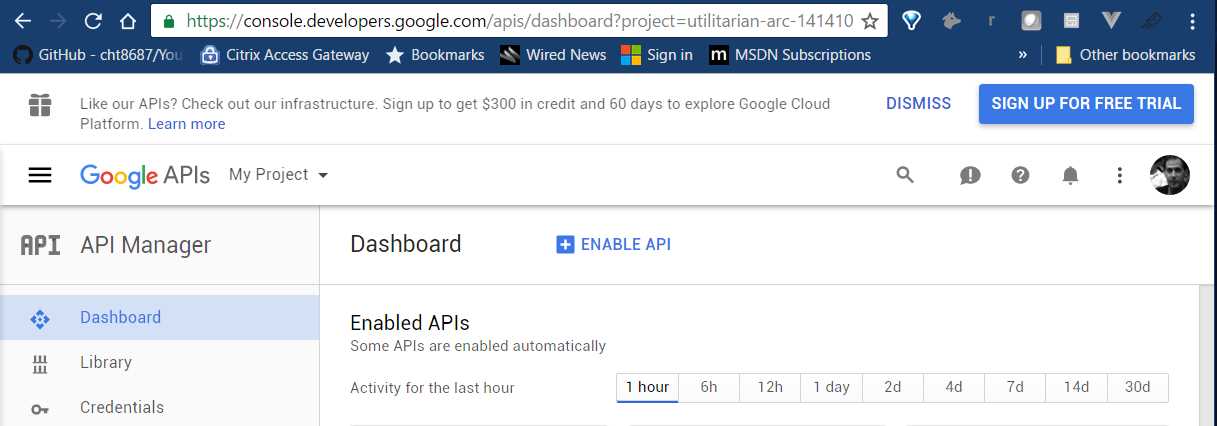
Figure 4.0: The Google Developers Console Welcome Page
You might find a SIGN UP FOR FREE TRIAL button at the top. You can sign up for the service, which will give you access to free credits for a certain period (normally two months), but you’ll be asked to enter your credit card details—Google does this to verify that you are a real person, not a robot.
In this case, I won’t sign up for a free trial—instead I’ll explicitly search for the QPX Express API. I can do this by clicking ENABLE API. When you do this, you will see the screen in Figure 4.1.
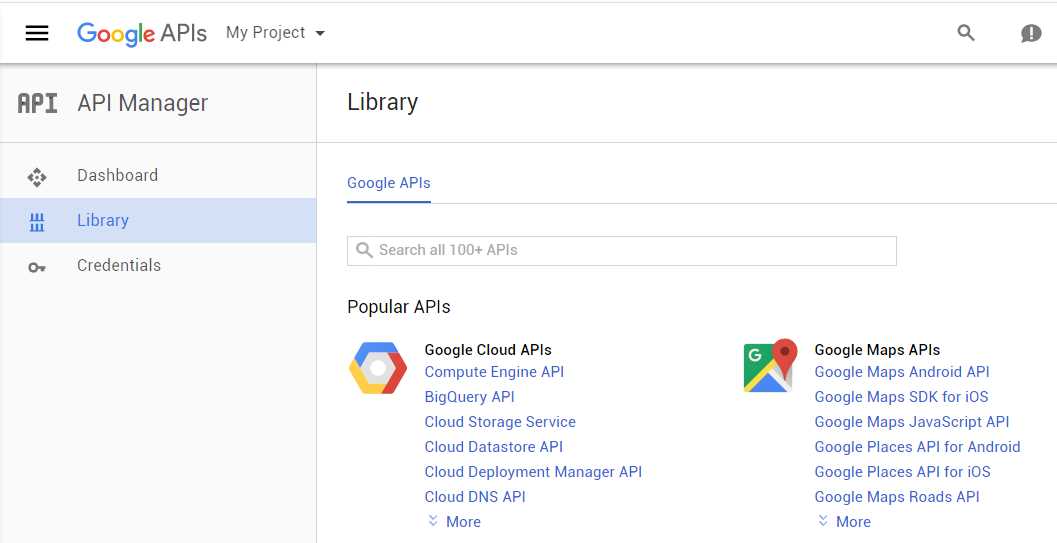
Figure 4.1: The Google Developers Console API Search
In the search bar, type the word QPX, and as you type, the API will appear on the list. Figure 4.2 shows how it will look.
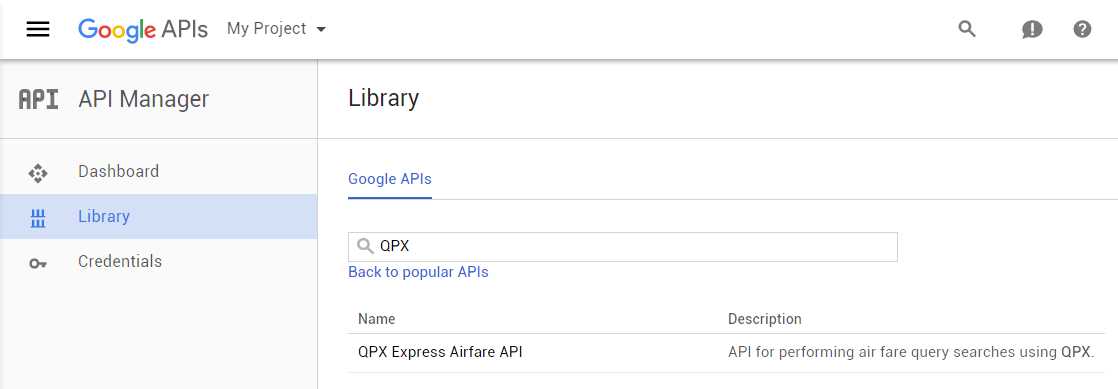
Figure 4.2: The QPX Express API in the Search Results
Let’s click on the QPX Express Airfare API link (the result shown) to enable the API. After doing this, you’ll see the screen in Figure 4.3.
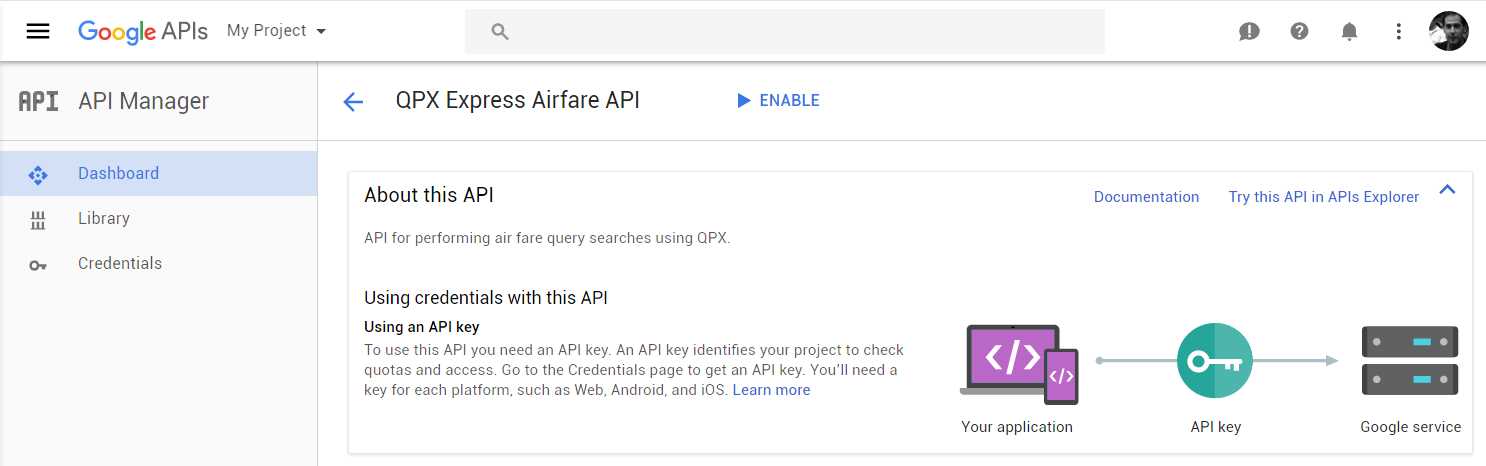
Figure 4.3: The QPX Express API Main Page in the Google Developer Console
Click ENABLE to enable the API. When we do this, we will see the screen in Figure 4.4.
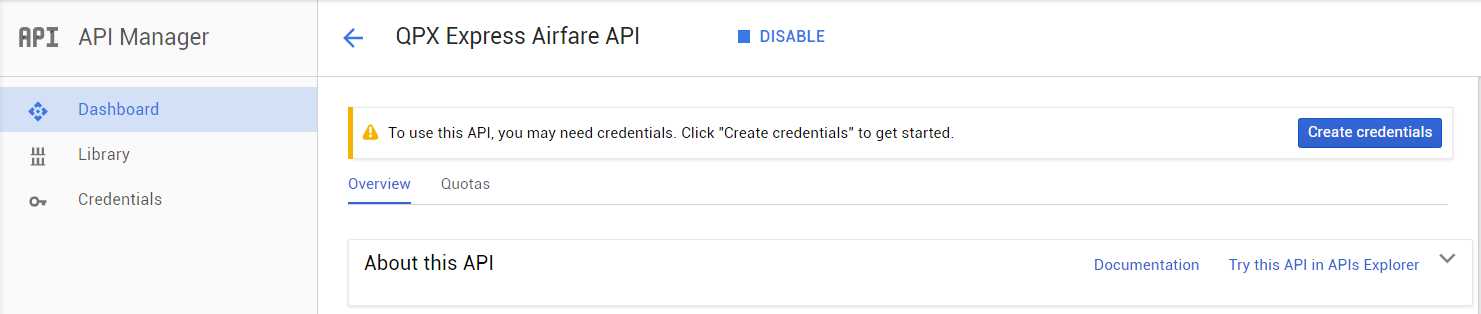
Figure 4.4: The QPX Express API Enabled
Awesome—we now have this API enabled! Next, we need to create our API credentials, so let’s click Create credentials. When we do this, we’ll see the screen in Figure 4.5.
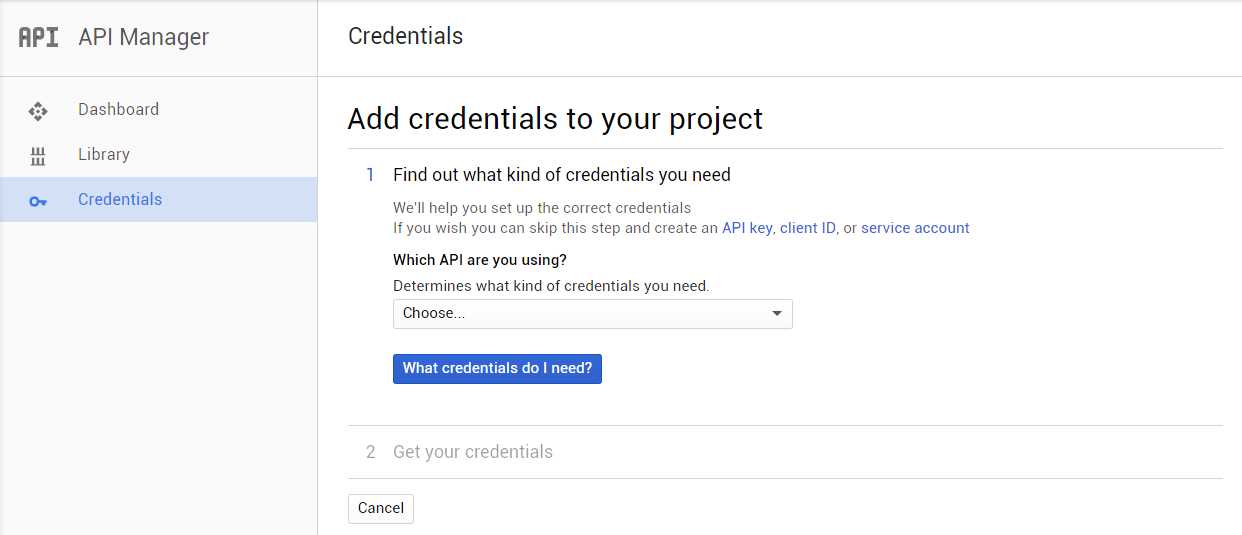
Figure 4.5: Adding QPX Express API Credentials
From the drop-down list, choose QPX Express Airfare API, then click What credentials do I need?
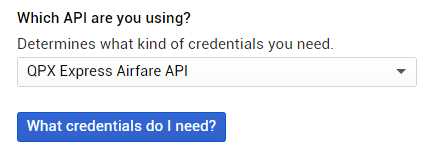
Figure 4.6: Choosing the Credentials Needed
When you’ve clicked that button, you’ll get the API key, which can be seen in Figure 4.7.
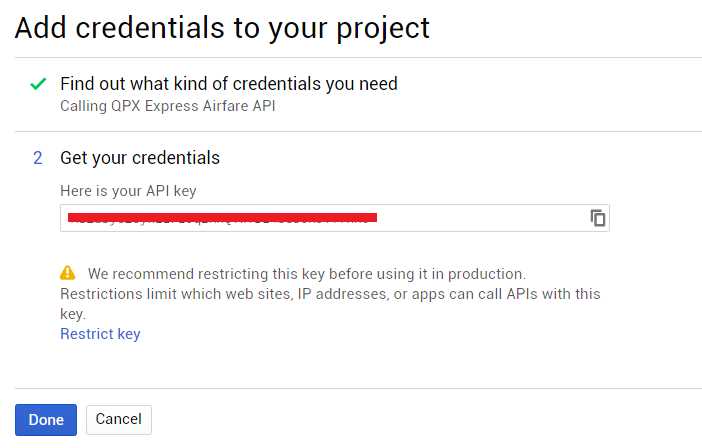
Figure 4.7: The Credentials Automatically Created
Make sure you copy the API key, then click Done. We can then see our generated API key.

Figure 4.8: The API Keys List
Later, you can edit the API key settings to limit how it can be accessed. This is not urgent right now.
Let’s next create our VS project, then come back to the Google Developers Console and make any necessary adjustments.
Setting up our VS project
Now that we have covered the basics with the Google Developers Console, we can create our VS project. Let’s use the same template and call our project AirfareAlertBot.
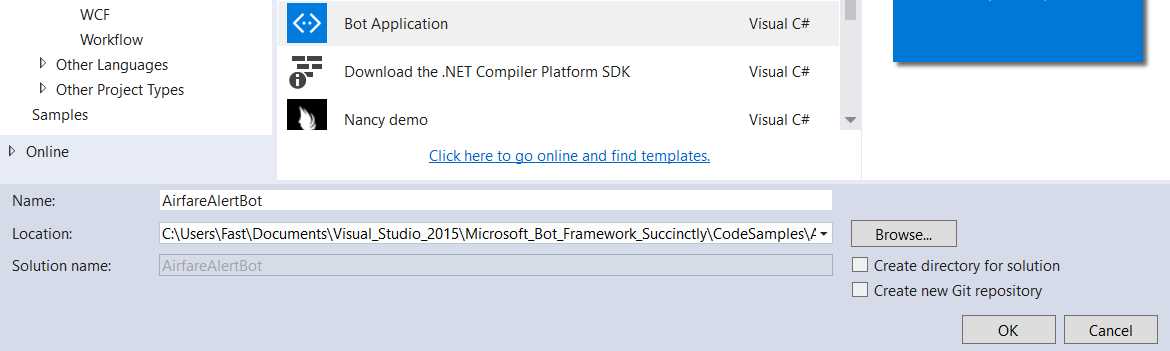
Figure 4.9: Selecting the Bot Template for Our VS Project
Click OK to create the project. When the project has been created, open the Solution Explorer within Visual Studio, select the References section within the project, then right-click and choose Manage NuGet Packages.
When you open the NuGet Package Manager, type the word QPX in the search bar to find the QPX Express API client library. This is what we’ll use in our project. Let’s do that now.
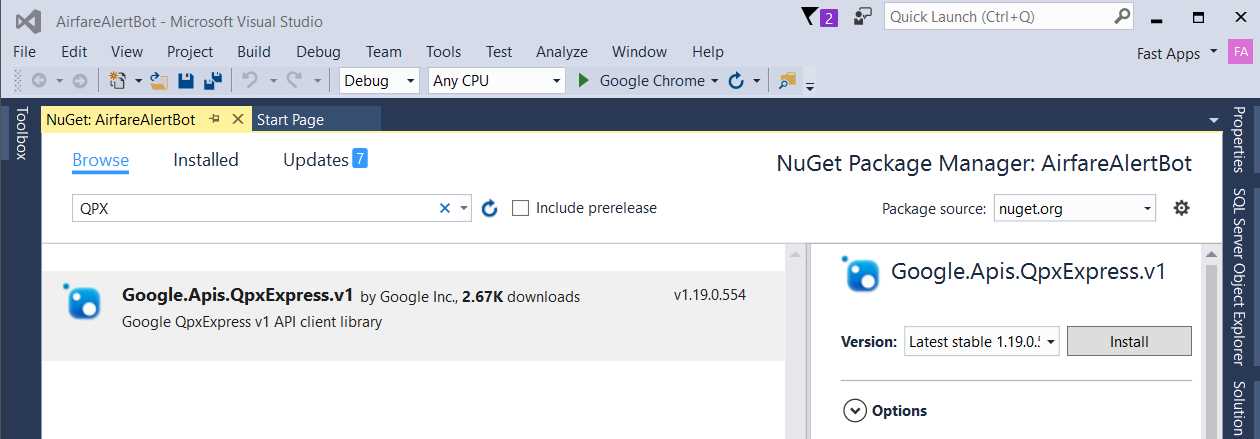
Figure 4.10: The QPX Express API Client Library NuGet Package
Just click Install to install this library. Doing so will bring all the required dependencies and references that this library uses into our project.
We can now get started with some code. As you already know, by default the Bot Application template creates the basic structure that the bot will use.
I’ll add a new class file to our VS project inside the Controllers folder and call it ExampleFlightData.cs. Then I’ll write some basic code that connects to the QPX Express API and is able to obtain the base fare price for a specific flight, which for now is hard-coded.
Code Listing 4.0: ExampleFlightData.cs
using Google.Apis.QPXExpress.v1; using Google.Apis.QPXExpress.v1.Data; using Google.Apis.Services; using System.Linq; using System.Collections.Generic; namespace AirfareAlertBot.Controllers { public class ExampleFlightData { private const string cStrApiKey = "Your QPX Express API Key"; private const string cStrAppName = "AirfareAlertBot"; public static string[] GetFlightPrice() { List<string> p = new List<string>(); using (QPXExpressService service = new QPXExpressService(new BaseClientService.Initializer() { ApiKey = cStrApiKey, ApplicationName = cStrAppName })) { TripsSearchRequest x = new TripsSearchRequest(); x.Request = new TripOptionsRequest(); x.Request.Passengers = new PassengerCounts { AdultCount = 2 }; x.Request.Slice = new List<SliceInput>(); var s = new SliceInput() { Origin = "JFK", Destination = "BOS", Date = "2016-12-09" }; x.Request.Slice.Add(s); x.Request.Solutions = 10; var result = service.Trips.Search(x).Execute(); foreach (var trip in result.Trips.TripOption) p.Add(trip.Pricing. FirstOrDefault().BaseFareTotal.ToString()); } return p.ToArray(); } } } |
Let’s quickly analyze this code. We create a QPXExpressService instance by passing the QPX API key and the name of our bot application, as this allows us to authenticate our application with the QPX Express service.
When we are authenticated, we create a TripsSearchRequest instance to retrieve information about the flight we are interested in.
TripsSearchRequest contains a Request property to which a TripOptionsRequest instance is assigned.
As its name clearly states, TripOptionsRequest is an object that allows us to specify the trip details we are interested in fetching from the QPX Express API.
The Passenger property from the TripOptionsRequest object is assigned to an instance of the PassengerCounts class, which is used to indicate how many passengers will be travelling.
The Slice property of the TripOptionsRequest instance is assigned to a List<SliceInput> object. A slice corresponds to a flight. A SliceInput object is used to specify the origin, destination, and travel date.
With all of the details of the request defined, we can execute a query to the QPX Express API by invoking the service.Trips.Search(x).Execute method, which returns an IList<TripOption> object that we can then loop in order to retrieve the base fare for the trip.
Notice how concise, clean, and short the QPX Express API is. That’s pretty much all we need to know about it, for now.
Make sure you replace the value of the cStrApiKey constant with your own QPX Express API key.
Now that we have a basic GetFlightPrice method created, we can invoke it from MessagesController.cs, as in Code Listing 4.1.
Code Listing 4.1: MessagesController.cs Invoking GetFlightPrice
using System; using System.Net; using System.Net.Http; using System.Threading.Tasks; using System.Web.Http; using Microsoft.Bot.Connector; using AirfareAlertBot.Controllers; namespace AirfareAlertBot { [BotAuthentication] public class MessagesController : ApiController { public async Task<HttpResponseMessage> Post([FromBody]Activity activity) { if (activity.Type == ActivityTypes.Message) { ConnectorClient connector = new ConnectorClient(new Uri(activity.ServiceUrl)); string[] p = ExampleFlightData.GetFlightPrice(); Activity reply = activity. CreateReply($"Flight price {p?[0]}");
await connector.Conversations. ReplyToActivityAsync(reply); } else { HandleSystemMessage(activity); } var response = Request.CreateResponse(HttpStatusCode.OK); return response; } private Activity HandleSystemMessage(Activity message) { if (message.Type == ActivityTypes.DeleteUserData) { } else if (message.Type == ActivityTypes.ConversationUpdate) { } else if (message.Type == ActivityTypes.ContactRelationUpdate) { } else if (message.Type == ActivityTypes.Typing) { } else if (message.Type == ActivityTypes.Ping) { } return null; } } } |
If we now run this code with the Bot Emulator, we’ll get the result shown in Figure 4.11.
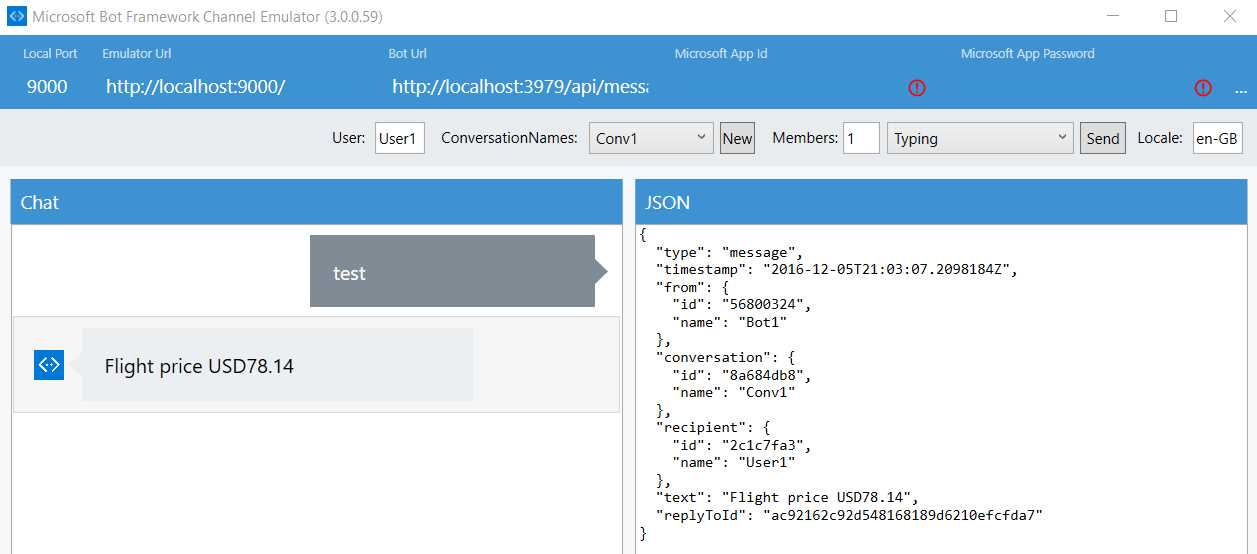
Figure 4.11: The Execution of the Basic QPX Express API Sample Code
Awesome! With just a few lines of code, we were able to retrieve a flight price using the QPX Express API.
Now, let’s make our bot a bit more interesting and complex by allowing it to handle a conversation. It will ask questions related to the trip and steer the conversation with the user in such a way that, based on the answers to those questions, it will build a dynamic query to be passed to the QPX Express API to retrieve the cheapest flights for that trip.
Sounds exciting, so let’s make the bot smarter. There’s still quite a lot of work ahead, and the code base will become increasingly larger and more complex, but it will be nicely structured using FormFlow, which will make it relatively easy for us to navigate across.
AirfareAlertBot core logic
In order to make our bot smarter, let’s take a step back and analyze what the bot should do based on the example we’ve just written.
As with our previous bot, this one should also be able to process multiple requests at the same time without getting stuck in any particular one, so it should process requests asynchronously.
Furthermore, all the information required to process a particular request should be gathered up front (before we attempt to process the request).
The user can also decide to cancel a request by simply typing the word quit. The gathered requirements should follow a defined structure with a series of basic questions presented to the user one after the other.
When a request has been submitted, the results should be presented to the user. If the user has chosen to follow a specific flight (for price change notifications), the bot will automatically message the user with the updated flight information if there’s a change in price (this will be done in intervals, using a timer).
The user should be able to opt out of receiving any further price change notifications for a flight. We do this by typing the word unfollow followed by the request ID of the flight details previously fetched.
In essence, the information required and the execution of the request should be wrapped up into an atomic set of instructions.
With this in mind, the bot will need to request the following information from the user: origin, destination, travel dates (outbound and inbound, if applicable), number of passengers, and whether or not the user wishes to receive price change notifications.
The QPX Express API uses IATA international airport codes, which means that in order to identify the point of origin and destination, we’ll need to use JSON data that maps the common name of any given airport and the city it belongs to with its corresponding IATA code.
If there are multiple airports in a particular origin or destination, the bot should be able to highlight this to users and ask which of those options they prefer.
When the point of origin and destination have been determined, the bot will then gather the remaining details, such as travel dates, number of passengers, and whether the trip is one way or round trip.
Putting this in writing makes it sound like an easy task, but in fact it is not. So, let’s break down the problem into parts and do them one at a time. Doing so will make the entire process much easier to achieve and follow.
Because the bot’s code base will be quite large, let’s wrap up this chapter and dedicate the next one to exploring the most important parts of the AirfareAlertBot code, such as conversational state management, FormFlow code, and expanding MessagesController.cs.
Summary
In this quick chapter, we’ve examined the concept behind the AirfareAlertBot and we’ve also become briefly acquainted with the QPX Express API. We are now even able to write some code to interact with it.
We did this to get a feeling for what we will be building in the next chapter, which is the full-blown bot. We’ll be exploring key aspects of the Bot Framework and will focus overall on conversational state management, conversational flow using FormFlow, conversational validation, and wiring up the bot’s central hub, MessagesController.cs.
Sounds like we have quite a challenge ahead of us, so let’s get rolling.
- 1800+ high-performance UI components.
- Includes popular controls such as Grid, Chart, Scheduler, and more.
- 24x5 unlimited support by developers.