
Microsoft Bot Framework Succinctly®

CHAPTER 1
Bot Framework Overview
Introduction
The Microsoft Bot Framework is a collection of services and APIs that allows developers to build and deploy high-quality bots for their users by using existing and well-known conversational platforms.
The main aim of the Bot Framework is to help developers solve the most common problems they’ll encounter when writing a bot—creating a basic I/O mechanism and infrastructure to go with it, adding language and dialog skills, handling performance, responsiveness, and scalability, and being able to connect to users in any conversational platform and language of their choice.
In essence, the Bot Framework provides developers what they need in order to build, connect, manage, and deploy bots that interact as naturally as possible wherever users might be, such as Skype, Slack, Messenger, Kik, Office 365 mail, and other popular services.
The Bot Framework is made up of several components that work seamlessly together, such as the Bot Builder SDK, Bot Connector, and Bot Developer Portal. Integration with Azure App Services is provided out-of-the-box.
The Bot Framework also works nicely with the Language Understanding Intelligent Service (LUIS) from Microsoft Cognitive Services, which is a great way to provide bots with language understanding capabilities by allowing users to experience natural conversations.
The main objective in this chapter is to briefly go through some of these components to get a better understanding of how the Bot Framework works—how each part ties together, and from there, how to use this as an initial step in getting started with the framework—in particular, how to get started and create the foundations for our bots.
Sounds exciting. Let’s get rolling!
Bot Builder SDK
Bot Builder is an open source SDK hosted on GitHub that provides developers with the basic building blocks for writing bots that are interactive and connect to multiple conversational platforms.
Bot Builder includes native libraries in both C# and Node.js, and it also provides a RESTful API that can be used from any other programming language.
Microsoft has divided the Bot Framework into several components because, as you will see, it’s one thing to write a bot and quite another to write a great one.
Being able to write a great bot requires being able to manage conversational state in a relatively easy way.
One of the goals of the Builder SDK is to act as a conversational logic provider. In other words, when you build a bot, you’ll have logic that is directly related to the actions that your bot will execute and you should have logic that handles the state of the conversation.
Handling the state of a conversation is not a trivial task, and this is the main issue this SDK solves—making it easier for developers to achieve conversational state awareness.
So, the logic of your bot should be divided into two sections—one section that contains the bot’s own logic and another section that manages the state of the conversation and is handled by this SDK.

Figure 1.0: A Bot’s Own Logic and Conversational State
In its most basic form, a bot should be able to get an input text string, process it, and return an output response. However, a bot that does only this is not really managing any conversational state at all.
Not handling state is fine for very simple bots, but really interesting ones—especially ones that handle multistep navigation, collect data, or require permissions—need a certain degree of complexity, to the point that if you want to manage on your own (inside your bot’s own logic section), doing so can become extremely difficult and cumbersome.
Therefore, it is quite important to separate conversational state management from the rest of the bot’s logic, and here is where this SDK comes in handy.
As the SDK also includes features for handling dialogs and form flow, the subset of the SDK focused on handling conversational state is often referred to as the Bot State service.
At a very high level, the SDK provides these features:
- A flexible dialog system.
- Built-in dialogs for simple things such as Yes/No, strings, numbers, and enumerations.
- Built-in dialogs that utilize powerful AI frameworks such as LUIS.
- Built-in statelessness that helps bots scale on demand.
- FormFlow: Being able to generate a form flow-based conversation from a C# class.
To get started with the SDK, first we must have a good understanding of the other major component of the Bot Framework, called the Bot Connector. Let’s look at this.
Bot Connector
As its name implies, the Bot Connector is a service that allows you to connect your bot with multiple communication channels.
When you write a bot using the Bot Framework and publish it on the Internet using Azure App Services, the Bot Connector’s role is to forward messages from your bot to a user and from the user back to your bot by using any of the communication platforms you might have chosen that are available and supported by the service.
In order to use the Bot Connector, you must have a Microsoft Account (Hotmail, Live, Outlook.com) so that you can log into the Bot Developer Portal, which will be used to register your bot.
You must also have an Azure-accessible RESTful endpoint exposing a callback for the Bot Connector service—this can be accomplished by deploying the bot to Azure App Services with Visual Studio (which we will explore later).
Finally, you must also have a developer account with at least one conversational platform (e.g., Skype) that will be used by the bot to communicate with users.
To get a better visual understanding of the Bot Connector, think of it as the central node in a graph that links all other nodes together. Each other node within the graph is a conversational platform supported by the Bot Framework that your bot can communicate with (i.e. send and receive messages).

Figure 1.1: The Bot Connector and Conversational Channels (Figure Courtesy of Petri.com)
These conversational platforms are channels (services) that the Bot Connector is able to connect in order to route messages and keep track of sessions that your bot will be using.
In other words, your bot is nothing more than a web service exposed through a public URL that relies on the Bot Connector to access various communication channels.
Here’s another visual way of understanding what the Bot Connector does.
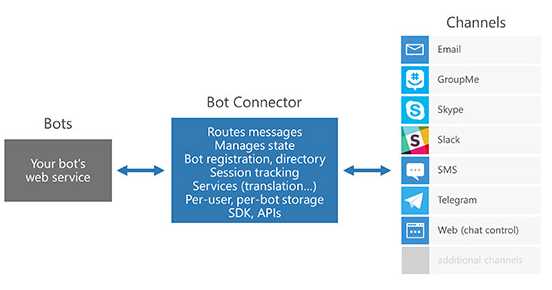
Figure 1.2: How the Bot Connector Binds Bots to Channels (Figure Courtesy of Microsoft)
So, this gives us a clear indication of how the Bot Connector acts as a glue and ties channels to bots. It behaves as a sort of central communication hub between all parties.
All of this sounds exciting. Let’s now explore some basic steps to get started.
Getting started
There are two native libraries for developing bots with the Bot Framework. One uses C# and the other uses Node.js.
Throughout this e-book, we’ll learn by doing things, and the best way to achieve this is by creating different examples of various types of bots, each one focused on a specific use case. We’ll being using C#, and all the development will be done using Visual Studio.
First, download and install Visual Studio 2015 if you don’t already have it on your machine.
At the time of this writing, Visual Studio 2017 is in “release candidate” mode but has not yet been released. I recommend you use VS 2015 even if VS 2017 is available when you read this.
When you have it installed, make sure to update all Visual Studio extensions to their latest versions. This can be done by going to Tools > Extensions and Updates > Updates.
With all the VS updates installed, you’ll need to download and install the Bot Application template.
If directly clicking on the link doesn't start the download, type http://aka.ms/bf-bc-vstemplate directly into the address bar of a web browser.
Save this zip file to your Visual Studio templates folder, which is usually located under %USERPROFILE%\Documents\Visual Studio 2015\Templates\ProjectTemplates\Visual C#, as we can see in the following figure. Please note that you should not unzip the file!
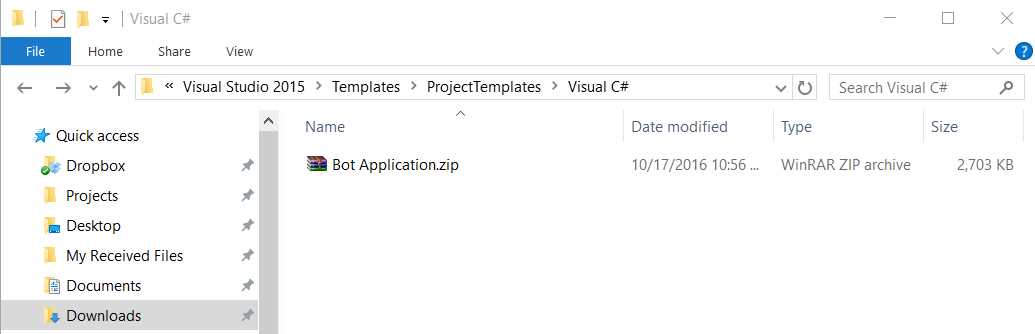
Figure 1.3: The Bot Application Template Saved in the VS Templates Folder
If you now open Visual Studio and type bot in the search bar when creating a new project, you’ll see the Bot Application template ready to be selected. Cool! You can also find the template directly at the Installed > Templates > Visual C# area.
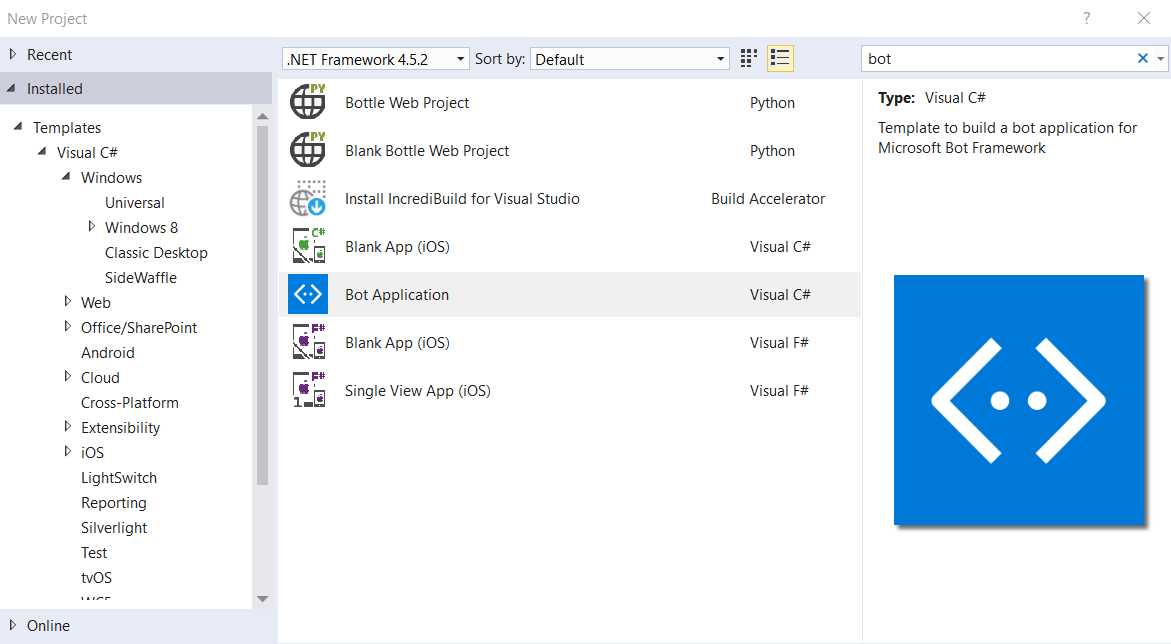
Figure 1.4: The Bot Application Template Ready in VS
We now have our Visual Studio Bot Application template ready, and you can create a test application with it (or you can do this later).
Before writing any code, you should also install the Bot Framework Emulator because it will be very useful when testing the application.
This emulator lets us make test calls to our application as if it were being called by the Bot Framework itself. Pretty awesome.
With this emulator, we can send requests and receive responses from our application to an endpoint and vice versa. This is quite a handy tool during development.
The Bot Emulator for Windows can be installed from https://aka.ms/bf-bc-emulator.
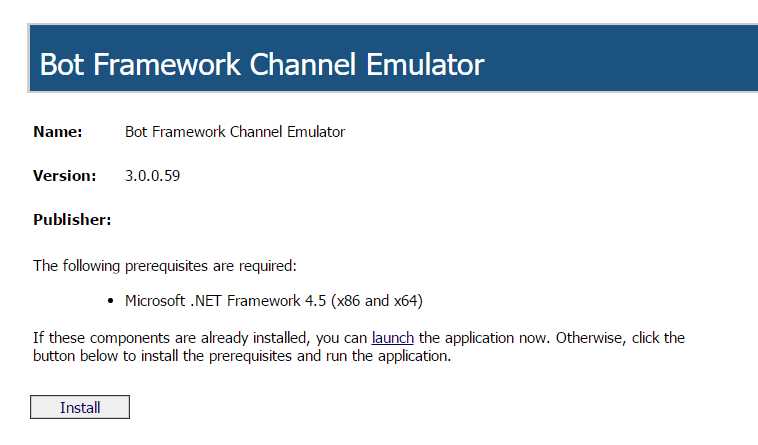
Figure 1.5: Bot Framework Emulator Install Site
When you click Install, a setup.exe file will be downloaded to your machine for you to run. Please note that when you run the installer, you should see something like the screen in Figure 1.6 (although the details might be a bit different by the time you read this).

Figure 1.6: Bot Framework Emulator Application Setup
To start the installation process, click Install. The installation process takes less than a minute, and you should see it progress as in Figure 1.7.

Figure 1.7: Bot Framework Emulator Application Installation
When the installation process has finished, the emulator automatically starts, and you should see something that resembles the following screen.
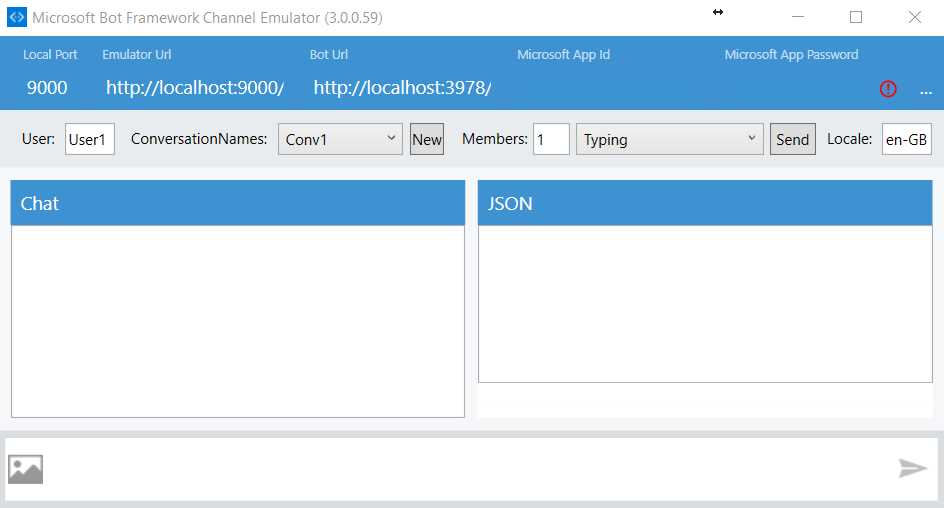
Figure 1.8: Bot Framework Emulator Running
For now, you might close or minimize this window, as we’ll be using it later. If you close it, you’ll always be able to find it under the Windows Start menu with the name Bot Framework Channel Emulator.
With this done, next let’s get an Azure account. You’ll need this when we deploy our bot application.
If you don’t have an Azure account, you should sign in or sign up for Azure with a Microsoft account. You can do that by visiting https://azure.microsoft.com.

Figure 1.9: Microsoft Azure Sign-In Page
Assuming the Azure account is ready, let’s create our first bot application.
Defining a bot application
It is exciting to have reached this point! We are now ready to create our first bot application. So, what will our bot do? Good question.
The hardest part of creating a bot is actually figuring out what the bot will do. In essence, a bot should be useful even though it might not necessarily be conversationally fluid.
By useful, I mean that a bot should be able to perform a task that is either not easily solvable by using a search engine, or it should perform a task that might prove tedious, labor intensive, or simply repetitive.
The underlying concept of a bot is that if you give it a command, it should give back a result that is easier and faster to get than if you look it up yourself on the Internet. There are a lot of bots out there that do all sorts of things, however not all of them adhere to this fundamental principle.
Almost any type of bot can be written—there’s no technological barrier that prevents us from doing that. Even creating conversationally fluid ones is easier than ever with APIs such as LUIS. The key factor is creating something useful that ultimately saves users time. Taking this into account, what can our first bot do?
I have an idea. Let’s create a bot that gives us a thumbnail image of any website we type in.
For a moment, let’s pretend we work in market research and want to keep track of how frequently our competitors’ websites change. A great way to do this is by creating thumbnails of their main pages throughout different points in time.
Obviously, we can do this manually by going to the Internet and signing up for a myriad of sites that offer this service. However, doing this manually will become quite tedious, so it’s definitely a task that should be automated with a bot. Now we’ve got something going. Awesome!
So, we’ve defined what our first bot application will do, which also fits nicely with the usefulness principle we’ve recognized, and we are ready to start building it. We’ll do that in the next chapter.
Summary
This chapter introduced the Bot Framework, explained its parts and how to set it up, and defined the basic principle that an automated agent application using this framework should aim to accomplish.
With that outlined, we are ready to dive into the technical details of how to write bots and use them to carry out interesting and useful activities that could help us save time and prevent us from engaging in repetitive and tedious tasks.
In the next two chapters, we’ll create our first real bot application. It won’t be conversationally fluid, but it will nevertheless solve an interesting problem and be useful.
Following that, we’ll create an even more exciting, interesting, and useful bot application—one that is more conversationally fluid.
- 1800+ high-performance UI components.
- Includes popular controls such as Grid, Chart, Scheduler, and more.
- 24x5 unlimited support by developers.