
LINQPad Succinctly®

CHAPTER 2
Installing LINQPad
Getting started
LINQPad can be installed on any computer running Windows. The following requirements are suitable for the product.
Hardware:
- Intel Dual Core 1 GHZ processor or above
- 2 GB RAM (4 GB recommended)
- 500 GB Hard disk drive
- VGA Monitor (1024x768 resolution minimum)
- Keyboard and mouse
- Internet connection (for downloading the product)
Software:
- Windows 7 SP1 or above
- .NET Framework 3.5/4.0/4.5/4.6
- Visual Studio 2010 or above (for developing purposes)
Getting LINQPad
LINQPad can be downloaded for free from the following locations:
LINQPad installation process
As previously mentioned in the “What is LINQPad?” section of Chapter 1, LINQPad 4 and LINQPad 5 can both be installed in the same computer, and they can work side-by-side. For purposes of this section, the LINQPad 4 installation process will be detailed, but the same process applies to LINQPad 5.
To start LINQPad installation, download LINQPad from one of URLs listed in the previous section. Then, double-click on the LINQPad4Setup.exe file (or LINQPad5Setup.exe for LINQPad5) located in the Downloads folder.
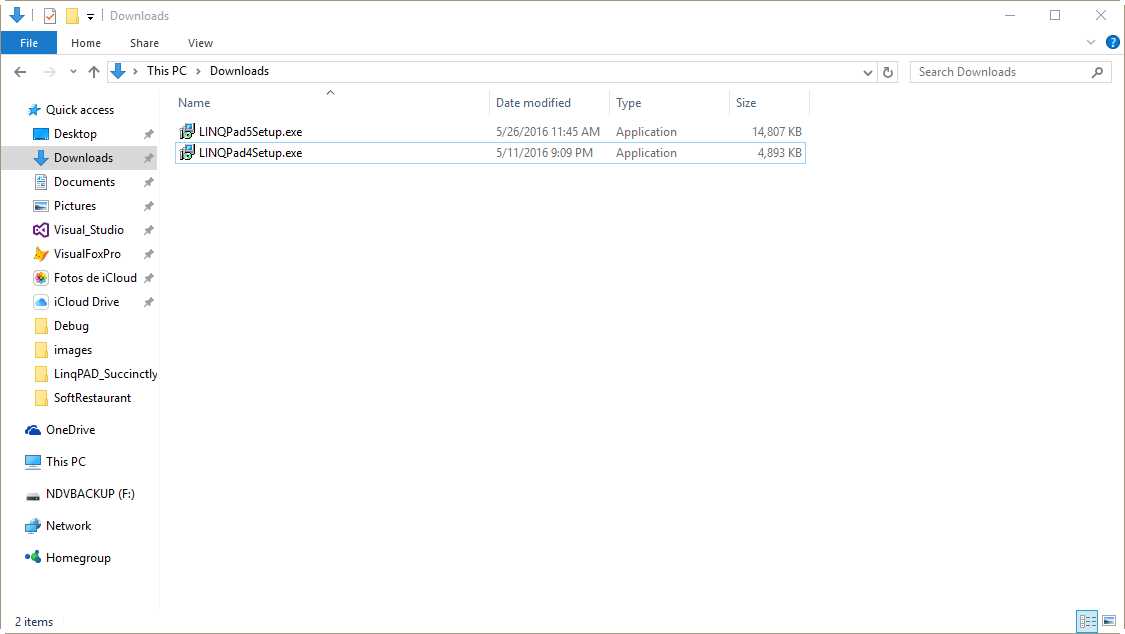
Figure 2: LINQPad setup files in Downloads folder
The first dialog box that appears is shown in the following figure.
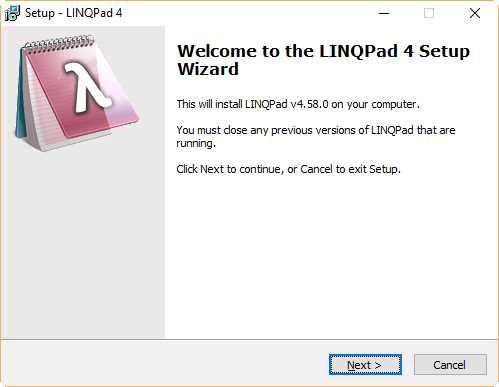
Figure 3: LINQPad installation’s first dialog box
Click Next to continue, and the Select Destination Location dialog box appears.

Figure 4: Select Destination Location dialog box
It’s recommended that you use the default location provided by the installation program. In this case, click Next, and the Select Additional Tasks dialog box appears.
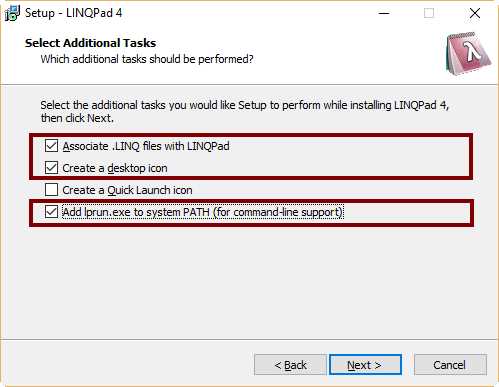
Figure 5: Select Additional Tasks dialog box
In this dialog, you select a set of additional tasks to be performed by the installation program. These tasks include the association of every file with the .linq extension to be opened by LINQPad, creating a desktop icon for the program, creating and icon in the Quick Launch bar, and adding the lprun.exe command to the PATH system variable.
The previous figure shows the tasks that need to be performed for the practical purposes of this book. Click Next to continue, and the Ready to Install dialog appears.

Figure 6: Ready to Install dialog box
At this point, you have three options.
- Click Back to change any of the previous selections made.
- Click Cancel to abort the installation process.
- Click Install to start the installation process.
If you click Install, the Installing dialog box appears and the installation process starts.
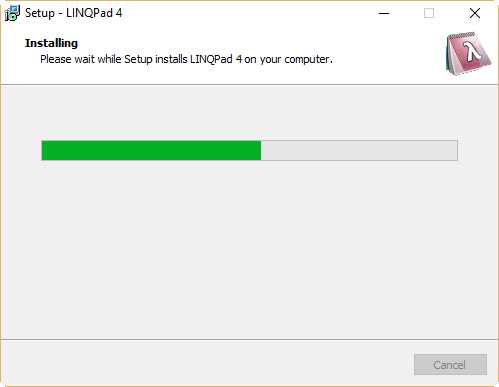
Figure 7: Installing dialog box
When the setup program completes LINQPad installation, the Installation Finished dialog box appears.

Figure 8: Installation Finished dialog box
At the end of the installation process, make sure the Launch LINQPad check box is selected in the dialog box, and click Finish to launch LINQPad.
LINQPad deployment structure
LINQPad installation creates a set of folders and files when it deploys the application. These folders and files hold all the necessary elements that make LINQPad work properly. Such elements are queries, plugins, code snippets, data context drivers, connections, default references, and user preferences. Some of these elements will be explained later in this book. The folders and files created by the installation process are displayed in the following table.
Table 2: LINQPad folder structure
Folder | Purpose | |
|---|---|---|
Documents\LINQPad Queries | Holds all queries created by the user. LINQPad uses this folder to display those queries in a tree view named My Queries. | |
Documents\LINQPad Plugins | Holds any custom assembly referenced by all or some queries. | |
Documents\LINQPad Snippets | Holds custom code snippets (doesn’t apply for free edition). | |
%LocalAppData%\LINQPad\drivers | Holds custom data context drivers that can be used in all queries. | |
%AppData%\LINQPad\ConnectionsV2.xml | Stores all connections that appear in the Connections tree view. | |
%AppData%\LINQPad\DefaultQuery.xml | Stores all assembly references that will be used by default in queries. | |
%AppData%\LINQPad\RoamingUserOptions.xml | Stores the user prefrences that dictate LINQPad behavior. | |
Note: If a same structure is created in the folder where LINQPad.exe is located, this structure will take precedence over the structure displayed in the previous table.
Creating a portable deployment of LINQPad
LINQPad can be deployed with a USB memory stick in order to use it as a portable application. To succeed in this matter, a folder named LINQPad (for practical purposes) should be created in the memory stick. Then, the following folder structure should be created within the LINQPad folder.
Code Listing 1
LINQPad/ LINQPad.exe LINQPad.exe.config Que ries/ -- (for saving queries) plugins/ -- (plugins + 'My Extensions' queries here) snippets/ -- (for saving custom snippets) drivers/ -- (for saving custom drivers) ConnectionsV2.xml -- (used to populate Schema tree view) DefaultQuery.xml -- (default namespaces/references for new queries) RoamingUserOptions.xml -- (user preferences) Lprun.exe -- (for command line support) |
Now you can use LINQPad by inserting the memory stick in a USB port, then executing the LINQPad.exe file located in the LINQPad folder.
Note: The "portable application" concept is applied to a program that can be executed in any computer by simply running its .exe file without a previous installation process.
Chapter summary
This chapter describes the LINQPad installation process, which starts with downloading the LINQPad installation program. Once the installation program is downloaded, the user should double-click on the LINQPad4Setup.exe (or LINQPad5Setup.exe) file to begin the installation.
All installation processes are guided by a series of dialogs allowing you to select different options along the process. These options include the program’s location folder, file associations, icons creation, and environment variables setting for command line support.
When LINQPad is installed, a set of folders and files is created in order to make sure LINQPad works properly. These folders and files hold all necessary elements needed by LINQPad, such as queries, plugins, code snippets, data context drivers, connections, default references, and user preferences.
LINQPad can also be deployed as a portable application. To accomplish this task, a special directory structure should be created in a USB memory stick, including the linqpad.exe file within it.
- 1800+ high-performance UI components.
- Includes popular controls such as Grid, Chart, Scheduler, and more.
- 24x5 unlimited support by developers.