
LightSwitch Succinctly®

CHAPTER 2
Hello World
If you’re anything like me, you have some things you’d like to do, a lot of projects you have to do, and tons of tasks you should have already done. As part of this tutorial, we’ll be writing a simple LightSwitch application to help you organize people, tasks, and projects. After all, time is money.
Create a new project
Once Visual Studio 2012 RC is installed, start it up and from its File menu, select New Project. In the installed templates, choose the option to create a new LightSwitch Application (Visual C#). You could opt to create your application using VB.NET as the coding language as well. Give your project a suitable name and click OK.
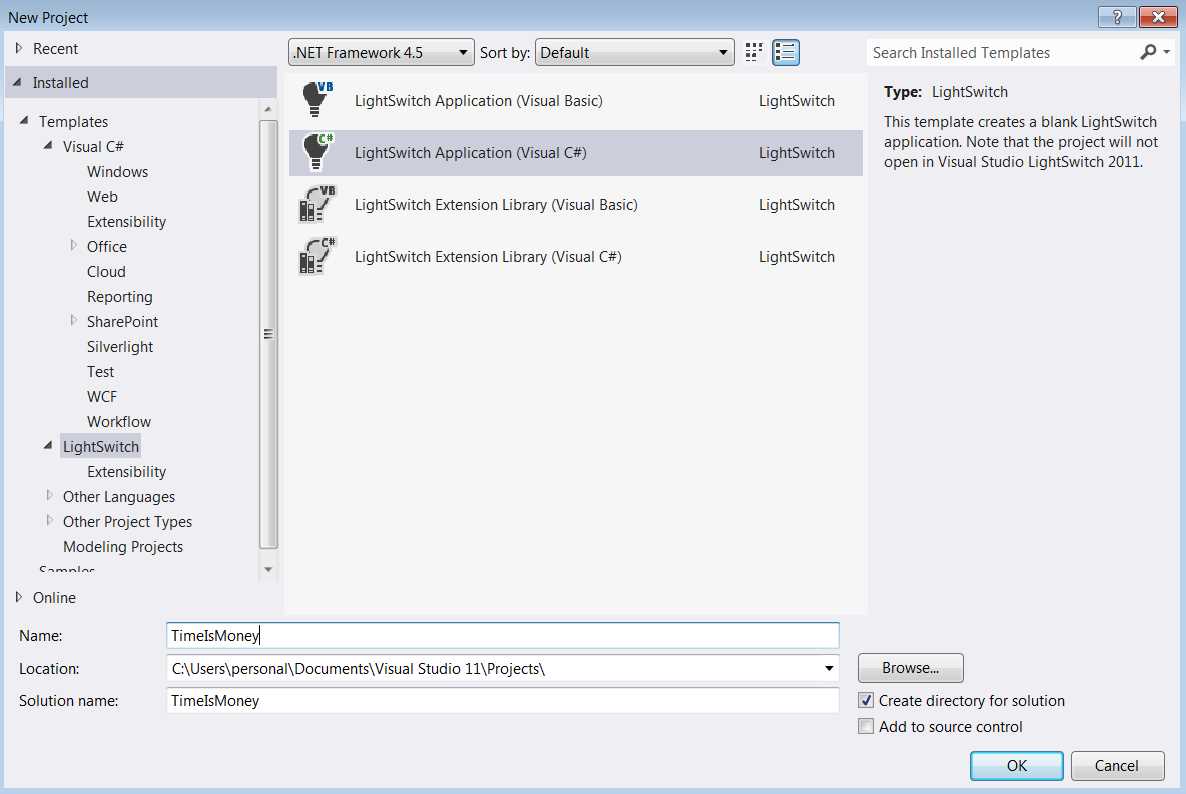
Figure 1: Creating a new LightSwitch project
Always start with data
The LightSwitch home page is shown, which suggests to start with data—an obvious suggestion given the data-centric nature of the applications you’ll find that LightSwitch is a good fit for. Create a new entity by clicking the Create New Table link. This brings up the Entity Designer.
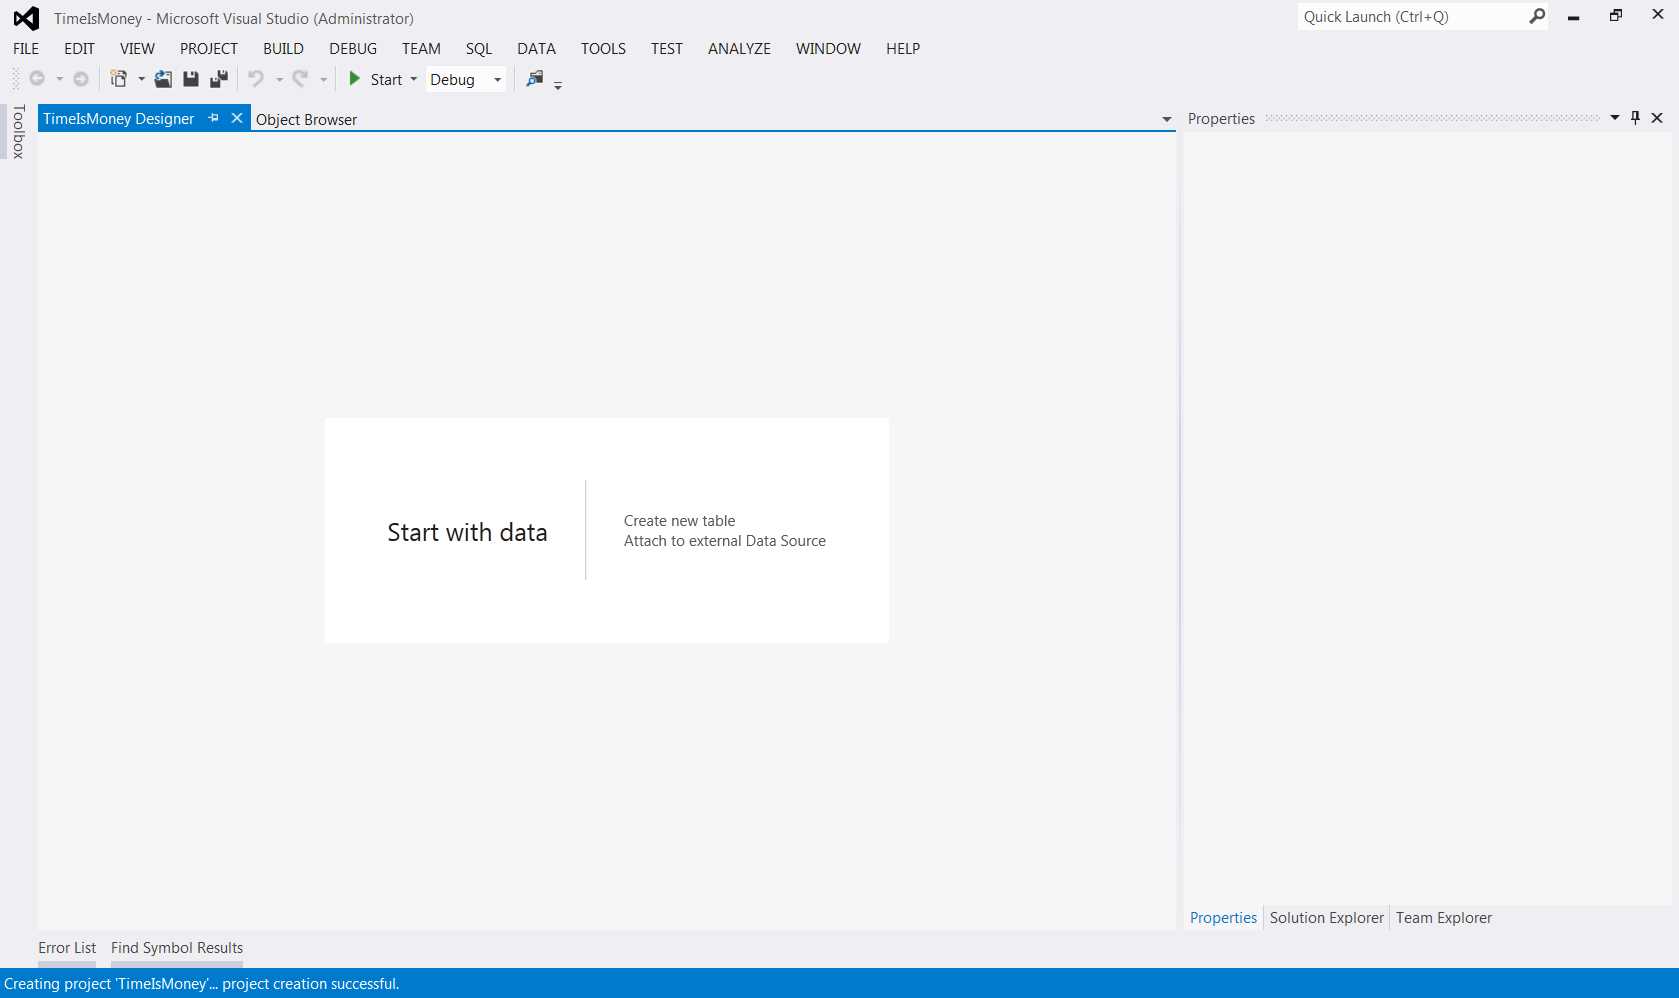
Figure 2: LightSwitch home screen
We’ll explain everything that goes on in the Entity Designer throughout the book. First, let’s make a working “hello world” application by renaming the entity to Project and adding one string property called Name.
To rename the entity, double-click on it in the Entity Designer or fill out the Properties window on the right.
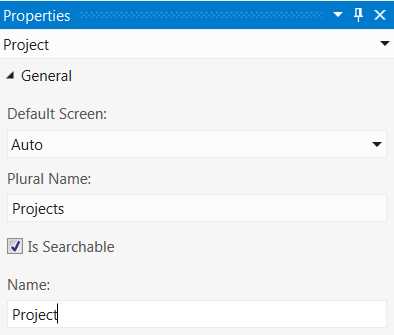
Figure 3: Renaming the entity
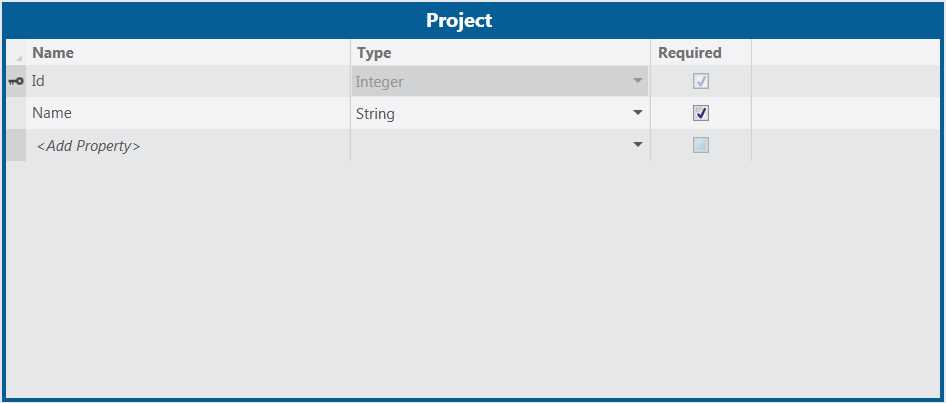
Figure 4: Adding the Name string property
Add some screens
Just above the Entity Designer, you’ll find some possible things to add to, or do with this entity. The Write Code button in the top right (as shown in Figure 5) is one that you’ll encounter in almost every designer you use in LightSwitch, and is probably what makes LightSwitch so powerful. LightSwitch is not a black box; you can take control of every part using plain old .NET code—VB.NET or C#—using these well-defined extension points.
Click the Screen… button to add a new screen as highlighted in the following figure.
![]()
Figure 5: Toolbar in the Entity Designer
A pop-up will appear offering you several screen templates. Personally, I almost always start with the List and Details Screen template.
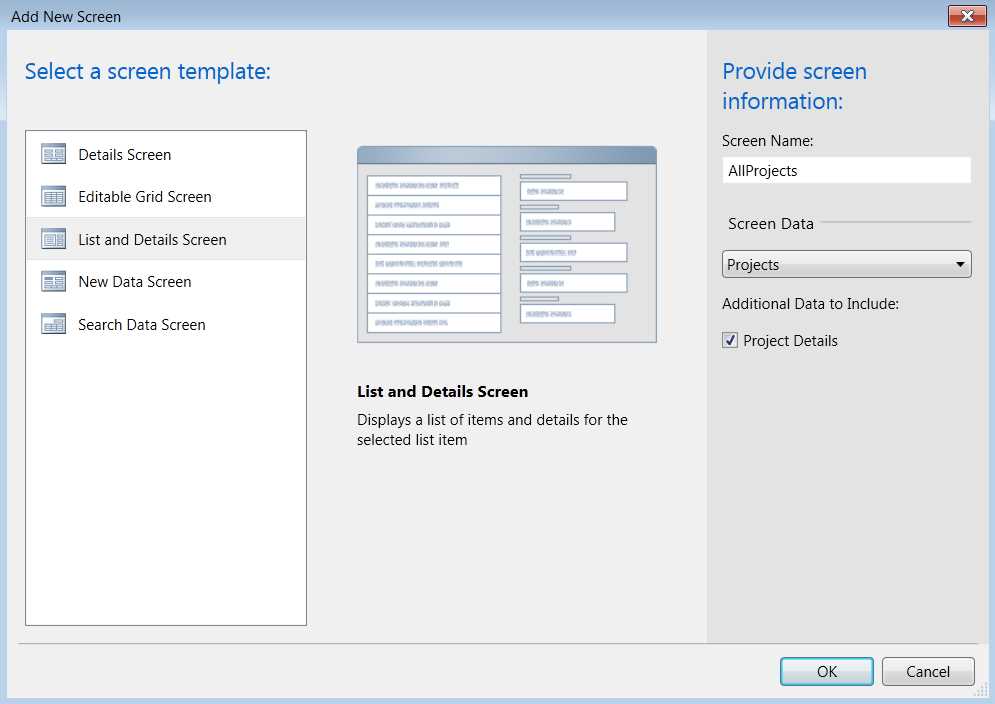
Figure 6: Add New Screen wizard
Provide a suitable screen name—AllProjects, for example—and select our project entities as the screen data to use. Make sure you select the Additional Data to Include: Project Details check box before clicking OK. LightSwitch then automatically uses the first string property as the summary for the entity and shows the value of all the properties in the details view.
Press F5 to blend it all together
Press F5 or select Debug > Start Debugging from the menu to build and launch your application. Building a LightSwitch application can take quite some time, but after this small delay your application will start and be ready for use.
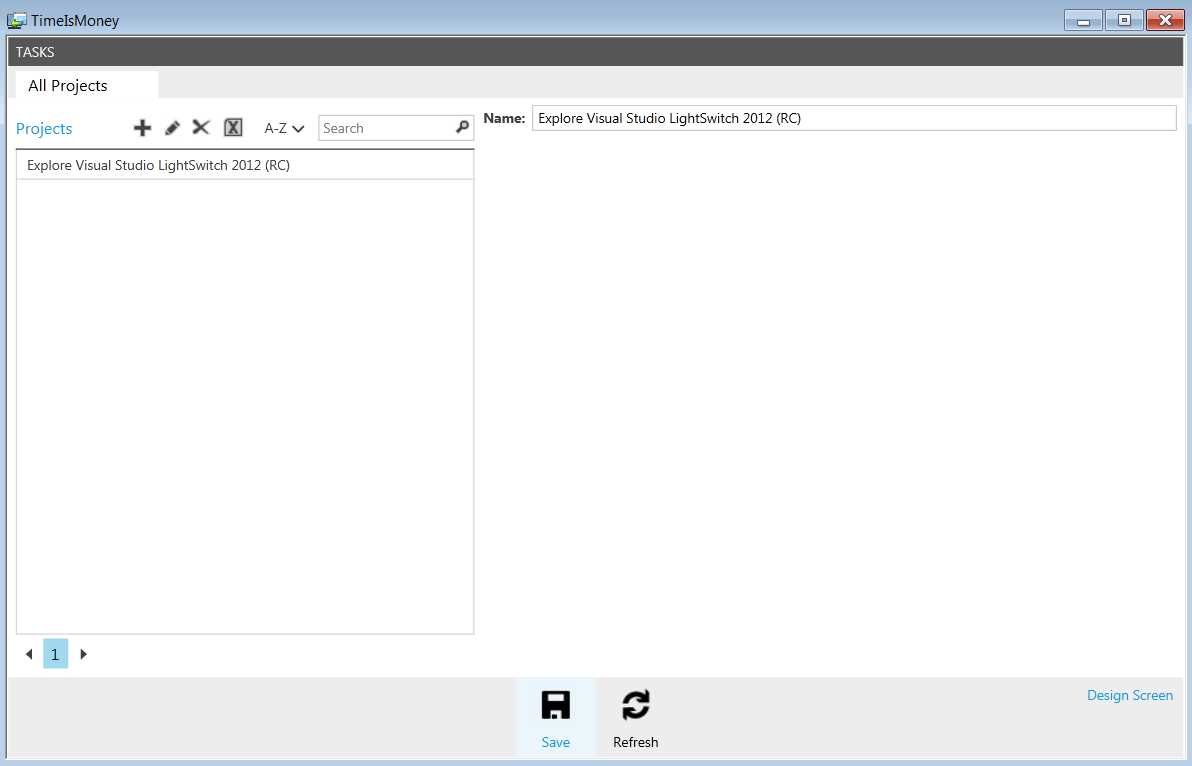
Figure 7: Hello World application
At this point, we have a working application in which we can add, edit, or delete projects. Although we haven’t written any code because there is no domain logic (the only code you’ll have to write) yet, the application has a ton of functional and nonfunctional features: collapsible menus, data paging, sorting, searching, exporting data to Excel, validation, concurrency management, and more.
- 1800+ high-performance UI components.
- Includes popular controls such as Grid, Chart, Scheduler, and more.
- 24x5 unlimited support by developers.