
Ionic 4 Succinctly®

CHAPTER 1
App Fundamentals
Project overview
The application we’ll be building throughout this book is a progressive web app (PWA) that we can use to track flight details. We’ll do this by using a package called @ionic/vue that will allow us to use Ionic 4 components within our Vue app. Essentially, we’ll be building a PWA using Vue based on Ionic 4 components with a mobile “look and feel” that can also work offline.
Throughout this book, we will build the application, deploy it via the Firebase development platform, and implement PWA features by creating a service worker script. The service worker will cache all application assets and requests that the application will retrieve from a flight tracking API (that I built) for offline viewing later.
Installation
Before we can create our Ionic 4 PWA, we’ll need the Vue CLI (command line interface) installed. This requires NPM (Node Package Manager), which requires installation of Node.js.
To install Node.js, simply go to the Node.js website and download the LTS (long-term support) or the latest current version.
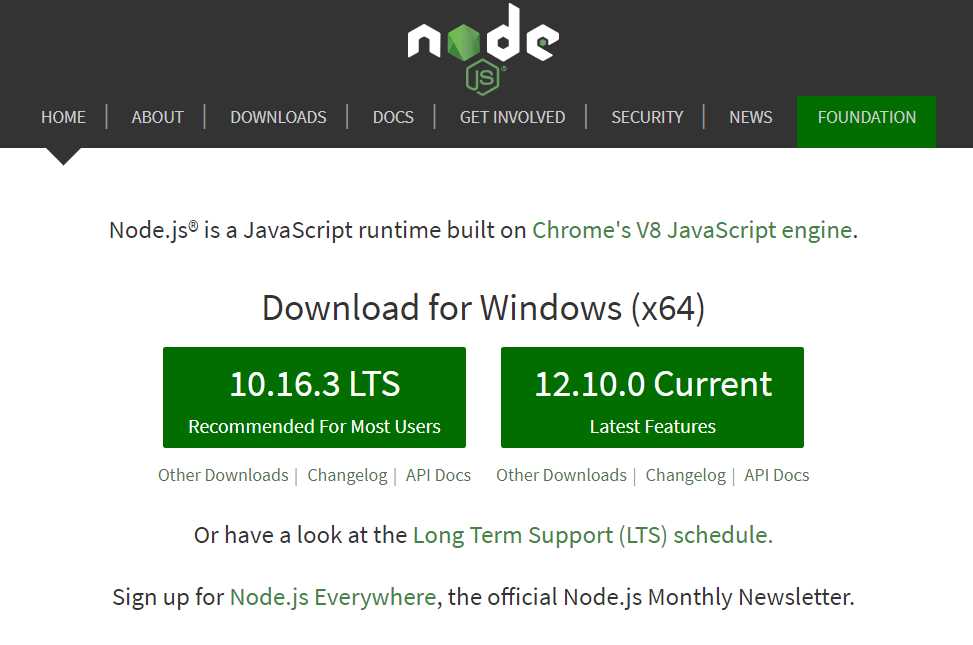
Figure 1-a: Node.js Website
The installation of Node.js is very simple and consists of a few steps that can be easily executed using the intuitive step-by-step wizard. Figure 1-b shows an example of the installation process.
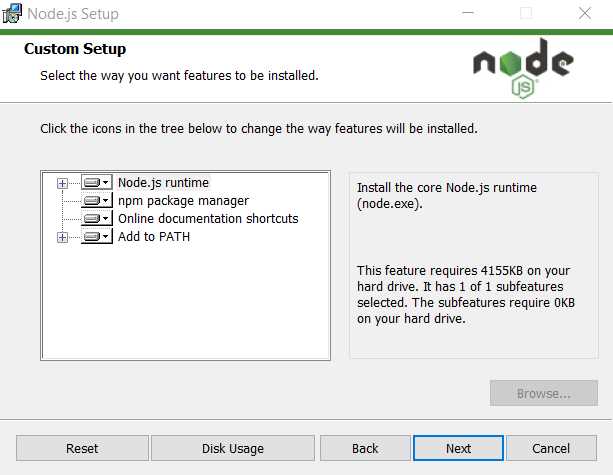
Figure 1-b: Node.js Installation Wizard
Once we’ve installed Node.js, we need to install the Vue CLI globally on our system. We can do this by opening the command line or terminal and typing the following command.
Code Listing 1-a: Install Vue CLI Command
npm install -g @vue/cli |
You can run the following command to check which version of the Vue CLI was installed on your machine.
Code Listing 1-b: Check Vue CLI Version
vue --version |
With the Vue CLI installed, we are ready to create an application. In my case, I already had the Vue CLI installed from a previous project, so your version might differ slightly from mine.
It is not mandatory to have the latest version of the Vue CLI installed to create the application we’ll be building throughout this book, but it’s still good to be up to date.
Creating the app
Creating the application with the Vue CLI is very easy. All we need to do is run the following command.
Code Listing 1-c: Creating the App with the Vue CLI
vue create flight-info-pwa |
The name of our application will be flight-info-pwa. To execute the command, we’ll be required to choose a preset. In my case, I’ve chosen the default preset (by pressing Enter), which includes babel and eslint.
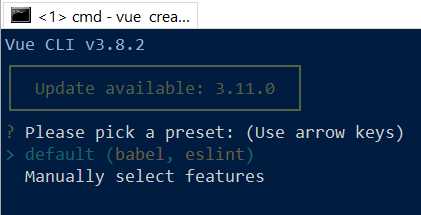
Figure 1-c: Choosing a Preset
Once selected, the Vue CLI installs the required modules. The creation of the application is then finalized.
I’ll be using Visual Studio Code (VS Code) as my editor of choice, but feel free to use any other that you feel comfortable with. VS Code is easy to install, and just as easy to use. Regardless of the editor you choose to use, you’ll be able to follow along with all subsequent steps.
With the application created, go into the project root folder using the following command in the command line.
Code Listing 1-d: Going into the Application Folder
cd flight-info-pwa |
Once there, type code . from the command line to open VS Code on that directory. This is how it looks on my machine.
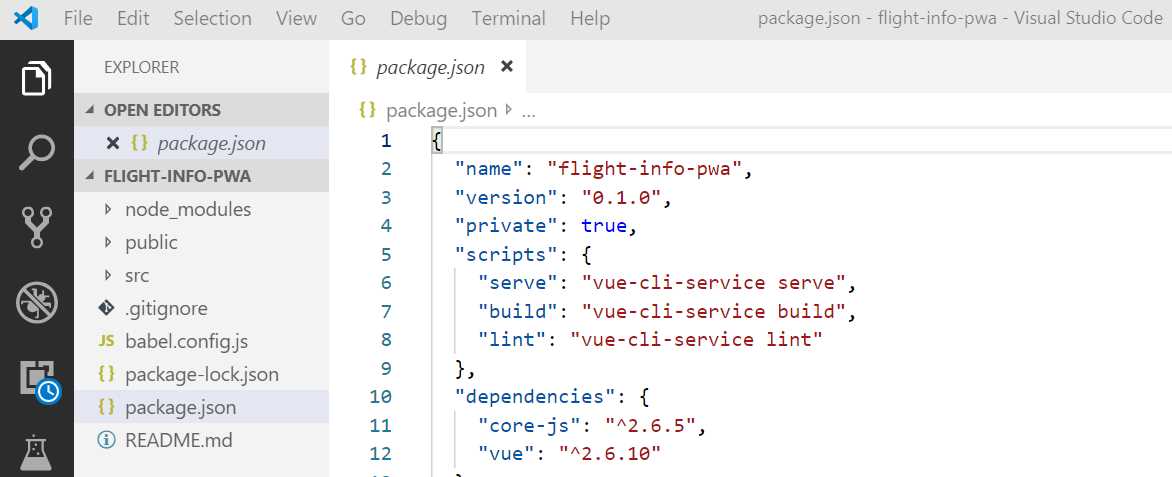
Figure 1-d: The Application Opened with VS Code
We can close the command prompt we’ve opened and switch to the built-in terminal that ships with VS Code by clicking on the Terminal menu item, and then on the New Terminal option. We can see this as follows.

Figure 1-e: The Built-In Terminal in VS Code
From the built-in terminal, we can install any remaining components our application might require.
Additional dependencies
One of those components is Vue Router—let’s get it installed. We can do this by running the following command.
Code Listing 1-e: Installing Vue Router
vue add router |
When running this command, you will be prompted to use the router’s history mode—when prompted, enter Y (Yes).
The default mode for Vue Router is hash mode, which uses the URL hash to simulate a full URL, so that the page won't be reloaded when the URL changes.
To avoid the hash, we can use the router's history mode, which leverages the history.pushState API to achieve URL navigation without a page reload.
Once the command has finished executing, you should see the following output on the Terminal tab in VS Code.
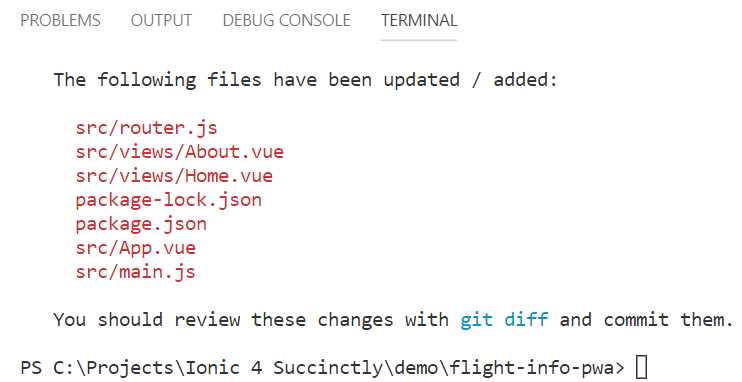
Figure 1-f: Terminal Output—After Installing Vue Router
With Vue Router installed, let’s next install the Ionic Vue (@ionic/vue) package, which is essential if we want to develop an Ionic application using Vue. To do this, we need to execute the following installation command.
Code Listing 1-f: Installing Ionic Vue
npm i @ionic/vue |
Once it’s installed, you should see the following output on the Terminal tab within VS Code.

Figure 1-g: Terminal Output—After Installing Ionic Vue
Now, let’s run the application to see how it looks. We can do this by executing the following command.
Code Listing 1-g: Running the App
npm run serve |
After executing the command, the application will be shown in the browser; we can corroborate this by checking the Terminal output.
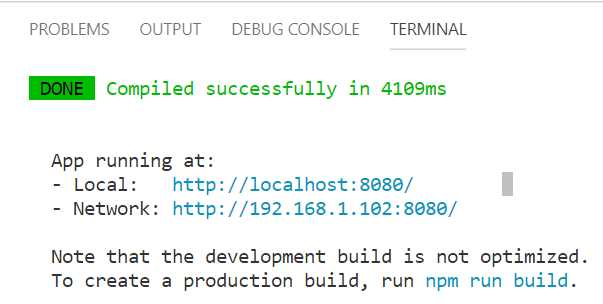
Figure 1-h: Terminal Output—App Running
If we open the browser and go to the URL indicated by the console output, we should be able to see the application running.
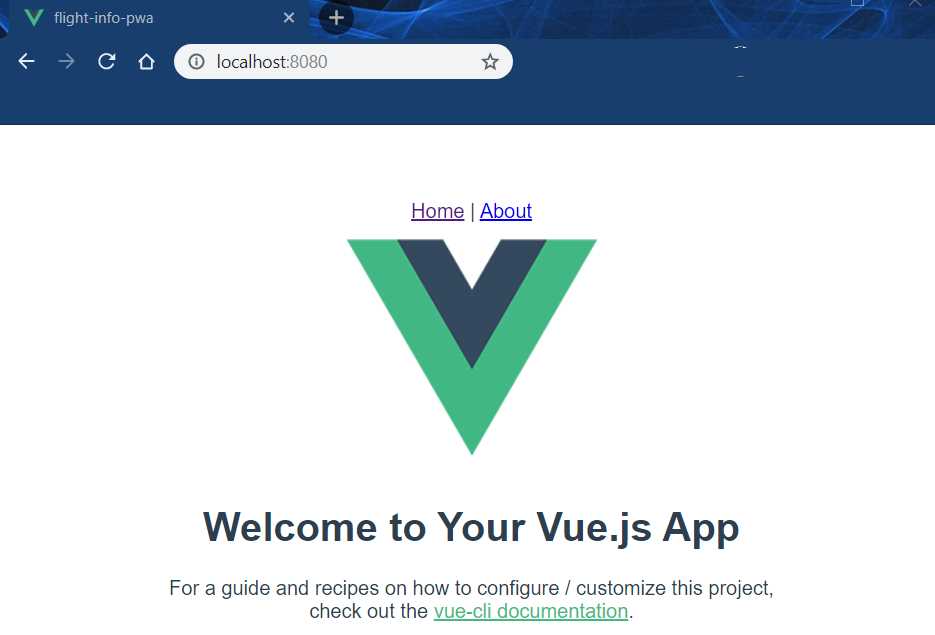
Figure 1-i: App Opened in the Browser
As you can see, it’s just the default Vue app. There’s nothing in the app yet that relates to Ionic, so we will have to set that up, which we will do next.
Adding Ionic: main.js and router.js
We are now ready to add Ionic 4 components to our application. To do this, let’s open the main.js file, which sits under the src folder of our project, using VS Code.
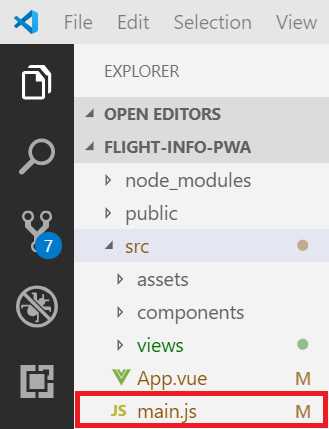
Figure 1-j: The main.js File within the src Folder
The out-of-the-box code contained within main.js is shown in the following.
Code Listing 1-h: Default main.js Code
import Vue from 'vue' import App from './App.vue' import router from './router' Vue.config.productionTip = false new Vue({ router, render: h => h(App) }).$mount('#app') |
To use Ionic, we need to add a reference to Ionic Vue, add the built-in Ionic styling, and reference Ionic. These changes are highlighted in bold in Code Listing 1-i.
Code Listing 1-i: Modified main.js Code (Ionic Included)
import Vue from 'vue' import App from './App.vue' import router from './router' import Ionic from '@ionic/vue' import '@ionic/core/css/ionic.bundle.css' Vue.use(Ionic) Vue.config.productionTip = false new Vue({ router, render: h => h(App) }).$mount('#app') |
These are all the changes required for the main.js file. Because we’ve added the ionic.bundle.css reference to the main.js file, we need to install the Ionic Icons package by running the following command.
Code Listing 1-j: Command to Install the Ionic Icons Package
npm install [email protected] --save-dev |
Installing this package is necessary to avoid running into the Ionic/vue ionicons error #18640 issue, which is described here.
Next, we need to modify router.js, change the default Vue router, and replace it with the Ionic router. Before we make any more changes, let’s have a look at how the out-of-the-box router.js code looks.
Code Listing 1-k: Default router.js Code
import Vue from 'vue' import Router from 'vue-router' import Home from './views/Home.vue' Vue.use(Router) export default new Router({ mode: 'history', base: process.env.BASE_URL, routes: [ { path: '/', name: 'home', component: Home }, { path: '/about', name: 'about', // route level code-splitting // this generates a separate chunk (about.[hash].js) for this route // which is lazy-loaded when the route is visited. component: () => import('./views/About.vue') } ] }) |
All we need to do with this code is replace the Vue Router references with the Ionic Router ones. The code changes are highlighted in bold in Code Listing 1-l.
Code Listing 1-l: Modified router.js Code
import Vue from 'vue' import { IonicVueRouter } from '@ionic/vue' import Home from './views/Home.vue' Vue.use(IonicVueRouter) export default new IonicVueRouter({ mode: 'history', base: process.env.BASE_URL, routes: [ { path: '/', name: 'home', component: Home } ] }) |
Note the following changes:
- import Router from 'vue-router' was replaced with import { IonicVueRouter } from '@ionic/vue'.
- Vue.use(Router) was replaced with Vue.use(IonicVueRouter).
- The ‘about’ route was removed from the code, since we won’t be using it.
By making these changes to main.js and router.js, we have added Ionic to our application. However, if we view the application in the browser, it will appear as if nothing has changed. To view the changes, we need to modify App.vue—which is what we will do next.
Modifying App.vue
The App.vue file is the main Vue component file of our application. It defines the main HTML template and markup that our application will display when running.
Let’s have a look at how the out-of-the-box code of App.vue looks.
Code Listing 1-m: Default App.vue Code
<template> <div id="app"> <div id="nav"> <router-link to="/">Home</router-link> | <router-link to="/about">About</router-link> </div> <router-view/> </div> </template> <style> #app { font-family: 'Avenir', Helvetica, Arial, sans-serif; -webkit-font-smoothing: antialiased; -moz-osx-font-smoothing: grayscale; text-align: center; color: #2c3e50; margin-top: 60px; } </style> |
Now, let’s modify the App.vue code, so we can later see Ionic in action. We’ll remove the styling and the content of <div id="app">. Below is the modified App.vue code.
Code Listing 1-n: Modified App.vue Code
<template> <div id="app"> <ion-app> <ion-vue-router/> </ion-app> </div> </template> |
If we now view the app in the browser, we will see the same content, but displayed differently.

Figure 1-k: The App Running (Different Layout)
Even though we added the ion-app and ion-vue-router components to the markup, we still haven’t added any Ionic UI components. This is what we’ll do next.
Essential Ionic UI components
One of the most exciting parts of developing a new application is seeing how it takes shape—for that, creating the UI is an essential aspect of an app’s development life cycle. To create the UI, we need to modify the Home.vue file located within the views subfolder of our project.
First, let’s have a look at the out-of-the-box code contained within Home.vue.
Code Listing 1-o: Default Home.vue Code
<template> <div class="home"> <img alt="Vue logo" src="../assets/logo.png"> <HelloWorld msg="Welcome to Your Vue.js App"/> </div> </template> <script> // @ is an alias to /src import HelloWorld from '@/components/HelloWorld.vue' export default { name: 'home', components: { HelloWorld } } </script> |
Let’s modify this code and add some fundamental UI components that will make the app look like an Ionic application.
Code Listing 1-p: Modified Home.vue Code
<template> <div class="ion-page"> <ion-header> <ion-toolbar> <ion-title> Flight Info </ion-title> </ion-toolbar> </ion-header> <ion-content class="ion-padding">My App</ion-content> </div> </template> <script> export default { name: 'home', components: { } } </script> |
As we can see, all the content of the main div was replaced with Ionic UI components, and its class changed to ion-page—which is a placeholder for Ionic UI components.
The ion-page component is a placeholder for all Ionic UI components that are part of the same UI view (also known as a page). Therefore, the main ion-header and ion-content components are nested under ion-page.
Note how ion-toolbar is nested under ion-header, and how ion-title is nested under ion-toolbar. The ability to nest Ionic UI components is one of the great features of building UIs with Ionic, as it allows anyone to quickly scaffold a user interface by adding components to others.
With the essential Ionic UI components added to Home.vue, it’s now time to understand how the application will be structured into functional components.
Structuring the application
The application will have three main functional components, each of which will be an independent .vue file. The first component will be called Search.vue and will be used to perform flight information searches. The second component will be called Info.vue and will be used to display flight information details resulting from a search. The third component will be called Clear.vue and will be used to clear the flight information details retrieved and displayed from a previous search.
We need to create these three Vue files within the components subfolder of our project. So, with VS Code, go ahead and add these files.
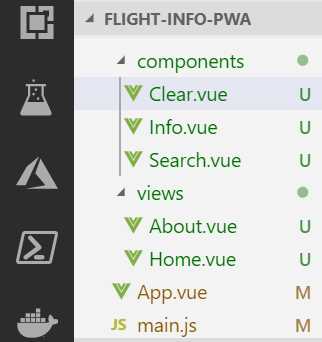
Figure 1-l: Vue Components (VS Code)
As this is going to be a PWA, we’ll later create the service worker so the app can work offline. We’ll later explore in depth all the technical details of PWAs. First, we’ll focus and finish all the basic functional aspects of the app’s UI.
Search.vue UI
Let’s start off by creating the foundations of the first functional component of our application: Search.vue.
Code Listing 1-q: Search.vue Code
<template> <ion-grid> <form> <ion-col> <ion-item> <ion-label>Flight number: </ion-label> <ion-input name="flight"></ion-input> </ion-item> </ion-col> <ion-col> <ion-button type="submit" color="primary" expand="block"> Search </ion-button> </ion-col> </form> </ion-grid> </template> <script> export default { name: 'Search' } </script> |
What we have done is added ion-grid component and nested a form component within it, which will render this functional component’s UI layout.
The form is made up of two columns: the first column contains an ion-item with an ion-label and ion-input, while the second column contains a search button, ion-button. The ion-input component will be used to enter the light number the application will retrieve and display information about. The functional component’s name has also been added within the script section of the code.
With this done, we need to reference this functional component within Home.vue, so let’s have a look.
Code Listing 1-r: Home.vue Referencing Search.vue
<template> <div class="ion-page"> <ion-header> <ion-toolbar> <ion-title> Flight Info </ion-title> </ion-toolbar> </ion-header> <ion-content class="ion-padding"> <Search /> </ion-content> </div> </template> <script> import Search from '../components/Search' export default { name: 'home', components: { Search } } </script> |
I’ve highlighted in bold the code changes to Home.vue, referencing Search.vue. First, the Search component has been embedded within ion-content.
Within the script section, the Search component is referenced using an import statement. Then, it was added to the components object.
If we now save the changes and check the application in the browser, we’ll see that Vue’s hot-reloading mechanism has rebuilt the app with the saved changes, which we can see as follows.
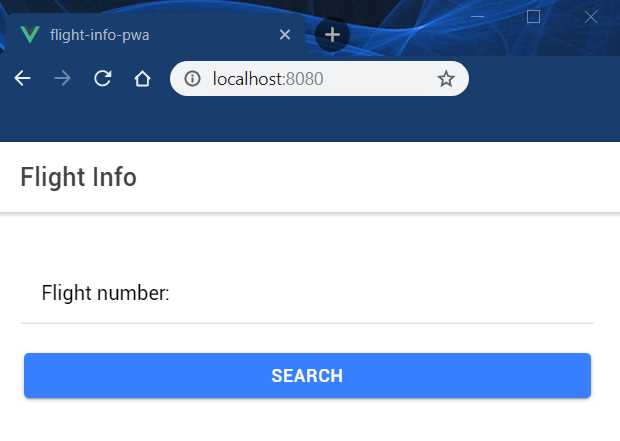
Figure 1-m: The App Running with an Ionic “Look and Feel”
With these changes, the application has a modern, fresh, and Ionic look and feel to it—which is what we want.
Something I particularly like to do when developing PWAs is to visualize them in the browser like they would look on a mobile device. I’m using Google Chrome as my predefined browser, but you may use a different one if you prefer (except Edge or Internet Explorer—you’ll see why, later); the steps should be similar.
With the Chrome Developer tools opened, click the Toggle device toolbar (highlighted in Figure 1-n), which by default will display the app in Responsive mode.
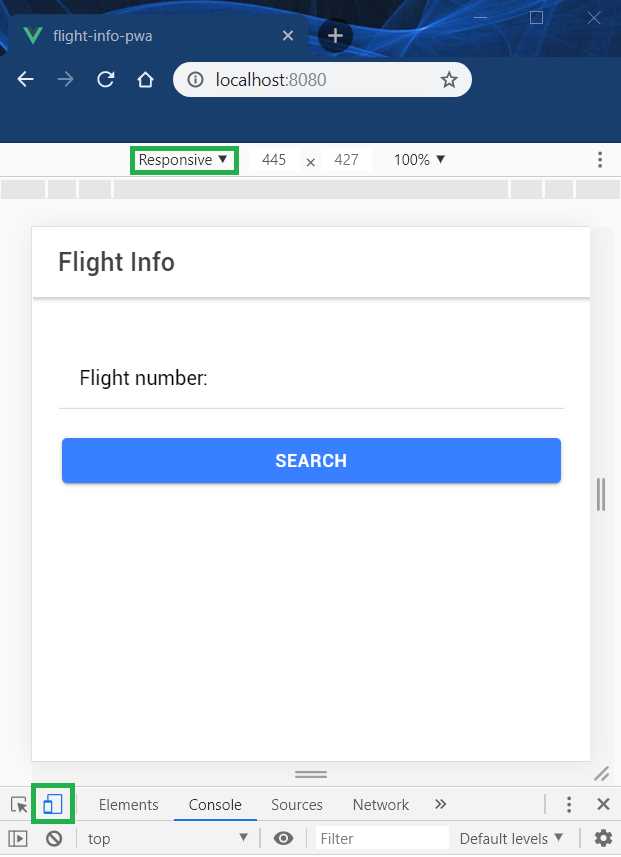
Figure 1-n: The App Running in Mobile Responsive Mode (Google Chrome)
We now have the basic structure of the application ready. Even though we haven’t added any markup or code to the functional components, Info.vue and Clear.vue, we have scaffolded the foundation of our app with the markup we’ve just added to Home.vue and Search.vue.
Summary
Throughout this chapter, we have explored how to create the foundations of an Ionic application from scratch using Vue.
We started by installing the development tools and libraries required, then the packages and dependencies needed. We scaffolded the foundation of the application by modifying the app’s main .vue and .js files. Finally, we created the files that will host the app’s functional components and created the UI of one the app’s main functional components, Search.vue.
In the next chapters, we will add the markup and the underlying logic to the rest of the app’s functional components, Info.vue and Clear.vue.
At that point, we’ll have a working application (without it being a PWA, which we will explore later in Chapters 4, 5, and 6.
- 1800+ high-performance UI components.
- Includes popular controls such as Grid, Chart, Scheduler, and more.
- 24x5 unlimited support by developers.