
Google Maps API Succinctly®

CHAPTER 5
Working with Events
At some point, you’re going to want to respond to something your user is doing, or to some state change within your application. To do that, you’ll need to understand how to work with events.
JavaScript supports event-driven programming. That is, it responds to things happening by raising events. Events are being raised all the time and can be either from the webpage itself (when the page loads, when the user clicks a button on the webpage) or from within the Google Maps API (when the map’s zoom level changes, when the map tiles are loaded, when the user clicks on a marker… you get the idea). Many of these might be of no interest to us for the application we are building, but others will be. The ones we want our application to respond to, we need to handle. We do this by writing an event handler, which is essentially a function that gets called automatically when a specific event is raised.
In this chapter, we will look at how to handle events in the Google Maps API, both those generated by user actions, and those arising from state changes within the API itself.
Event-handling basics
We’ve already handled a couple of events in our code. Quite frankly, it’s hard to create any sort of meaningful application without doing so.
Look at Ch4_InfoWindow.html, where we displayed an info window when the user clicked on a marker that represented Big Ben in London. An extract of that code is shown in Code Listing 27. In that example, we handled the click event of the google.maps.Marker class. This event gets raised when the user clicks on the marker. We registered interest in this event by calling the marker’s addListener method, passing in the name of the event (click) and the function that will handle it. In this instance, we provided an anonymous inline function, but we could just have easily provided the name of another function elsewhere in our code.
Code Listing 27: Handling a marker's click event
var marker = new google.maps.Marker({ position: new google.maps.LatLng(51.510357, -0.116773), map: map, title: "Big Ben", label: "B" }); marker.addListener('click', function () { infowindow.open(map, marker); }); |
If you check out the API reference documentation for the google.maps.Marker class, you will see that it emits a number of events other than click. Other events include:
- dblclick
- drag
- mousedown
- mousover
- rightclick
- position_changed
This is typical of many classes in the Google Maps API. Each class emits its own events, and you handle them by registering interest with the class addListener() method and providing a handler function.
In the rest of this chapter, we’ll look at several different examples of working with Google Maps API events. As you work through them, check out the API reference documentation for each of the classes to see what other events they support.
Displaying mouse-click coordinates
Let’s use Google Maps API events to allow our users to click on the map and see the geographical coordinates at that location in an info window.
Start by copying Ch2_FirstMap.html to create a new file called Ch5_ClickCoords.html.
Change the initial map extent to display the world at a smaller scale:
var mapOptions = { center: new google.maps.LatLng(15.5, 10.5), zoom: 3 };
Then, after the code that creates the map, add a new event listener that handles any click event on the map object. Use the google.maps.event.addListener() method to achieve this:
google.maps.event.addListener(map, 'click', function(event) {
// do something
});
Every time a user clicks on the map, the anonymous function supplied as the third parameter to addListener executes. This function receives an input parameter that we have called event, which provides our handler function with details of the event that occurred. The object that gets passed depends on the type of event that occurred. The map’s click event results in an object of type MouseEvent. This event object has a property called latlng, which contains details of the location at which the mouse click occurs, as can be seen in the reference documentation (see Figure 36).

Figure 36: The MouseEvent object.
To display this information to the user, all we need to do is create an info window that references this property on the MouseEvent object.
Putting it all together, we end up with the solution shown in Code Listing 28.
Code Listing 28: Positioning and populating the info window
function initMap() { var mapOptions = { center: new google.maps.LatLng(15.5, 10.5), zoom: 3 }; var map; var infowindow; map = new google.maps.Map(document.getElementById('map'), mapOptions); google.maps.event.addListener(map, "click", function (event) { if (infowindow != null) { infowindow.close(); } var strContent = "<b>Coordinates : </b>" strContent += "<br><b>Latitude : </b>" + event.latLng.lat(); strContent += "<br><b>Longitude: </b>" + event.latLng.lng(); infowindow = new google.maps.InfoWindow({ content: strContent, position: event.latLng }); infowindow.open(map); }); } |
Note how we’re using the MouseEvent object’s latLng property to populate the info window (via its content property) and anchor it to the map (using its position property). When you open the page in a browser and click the map, you should see the latitude and longitude of that location in the info window, as shown in Figure 37.

Figure 37: Displaying the coordinates.
Syncing two maps
Putting two maps together on a page and keeping them synchronized might seem like a contrived example, but it could have real-world applications. For example, you might want to create an application that has a main map and an inset “overview” map that shows the area of the main map at a smaller scale. In fact, the Google Maps API used to have such a control but, for reasons of their own, they dropped it in September 2015. So, if you want such a feature, use this example as a basis for your own!
Displaying the maps
Start by copying Ch2_FirstMap.html to create a new file called Ch5_Sync2Maps.html.
Then, change the page HTML to create two map <div> elements and add CSS to the <style> tag to tell the page to display them side-by-side. Create a variable and an initialization function for each map in a <script> block, and a main function called initMaps that calls them both when the page has loaded. Also create a global variable to store the MapOptions object that both maps will share. Ensure that you change the name of the callback function in the <script> block that loads the Google Maps API to initMaps. Refer to Code Listing 29 to complete these steps.
Code Listing 29: Making space for two maps
<!DOCTYPE html> <html> <head> <title>Ch5 Sync 2 Maps</title> <meta name="viewport" content="initial-scale=1.0"> <meta charset="utf-8"> <style> .map { width: 600px; height: 600px; background-color: red; margin: 5px; float: left; } html, body { height: 100%; margin: 0; padding: 0; } </style> </head> <body> <div id="mapOne" class="map"></div> <div id="mapTwo" class="map"></div> <script> var map1, map2; var mapOptions; function initMaps() { initMap1(); initMap2(); } function initMap1() { } function initMap2() { } </script> <!-- Reference the API --> <script src="https://maps.googleapis.com/maps/api/js?key=[YOUR API KEY]&callback=initMaps" async defer></script> </body> </html> |
If you have coded the page exactly as shown in Code Listing 29, then it looks like Figure 38 when you display it in a browser.

Figure 38: The HTML page for displaying two maps.
We have set the background color to red just so we can verify that the <div> elements appear on the page correctly.
Now, write the code that initializes the two maps. In Code Listing 30, I have set the extent to the extent of the UK, but you can focus your maps on whatever part of the world you like.
Tip: Use the Extent Finder application to quickly create the MapOptions object for your chosen extent.
Code Listing 30: Initializing both maps
|
var map1, map2; var mapOptions; function initMaps() { mapOptions = { center: new google.maps.LatLng(54.584455, -2.503702), zoom: 6, mapTypeId: google.maps.MapTypeId.TERRAIN }; initMap1(); initMap2(); } function initMap1() { map1 = new google.maps.Map( document.getElementById("mapOne"), mapOptions); } function initMap2() { map2 = new google.maps.Map( document.getElementById("mapTwo"), mapOptions); } </script> |
Check that both maps are loaded and display the same details before proceeding, as shown in Figure 39.
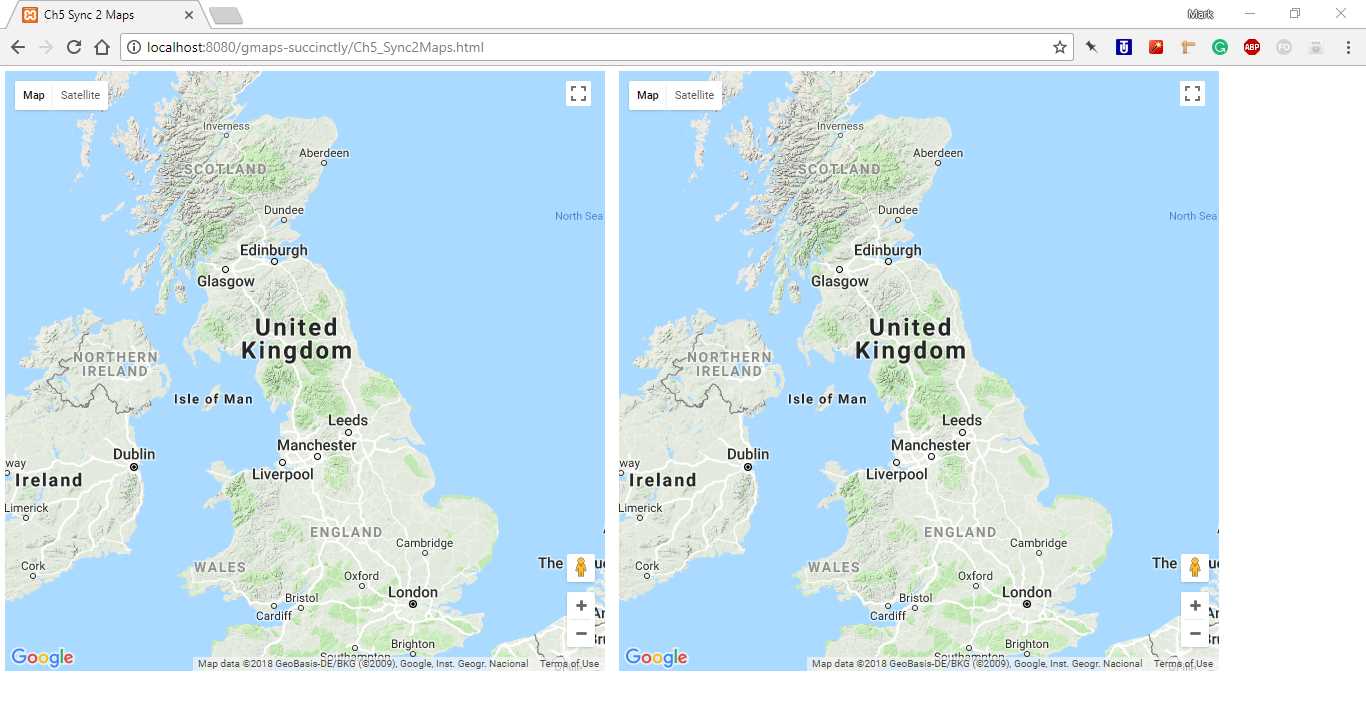
Figure 39: Two identical maps.
Handling the map events
Our first attempt at this application will let the user pan and move the left-hand map (map1), and the right-hand map (map2) will remain in sync. Now we must consider which map events to handle so that we can achieve this goal.
When we specify an initial extent for the map, we need a center point and zoom level, so it makes sense that if either of these change in map1, then the map extent has changed and we need to update map2.
Looking at the API reference documentation for the google.maps.Map class, we can see that it raises events for both center and zoom changes, called center_changed and zoom_changed, respectively. So we need to register handlers for each of these events in map1. When called, the handlers will change the relevant center or zoom properties on the other map to keep both maps in sync.
Create these two event handlers for map1 center_changed and zoom_changed events in the initialization function for map2, as shown in Code Listing 31.
Code Listing 31: The center_changed and zoom_changed event handlers
|
map2 = new google.maps.Map( document.getElementById("mapTwo"), mapOptions); google.maps.event.addListener(map1, 'center_changed', function () { map2.setCenter(map1.getCenter()); }); google.maps.event.addListener(map1, 'zoom_changed', function () { map2.setZoom(map1.getZoom()); }); } |
Open the page in your browser and ensure that when you pan and zoom in the left-hand map, the right-hand map updates accordingly.
Bi-directional sync
What would it take to make the sync work both ways? Well, on the face of it, it might seem like adding center_changed and zoom_changed handlers to map1 would do the trick, but in fact that would cause further problems.
Consider what would happen when map1’s extent changes. It would raise an extent_changed event that would be handled by map2. But in that event handler, map2 would update its extent, which in turn would cause map1’s extent_changed handler to fire, and so on. In fact, the application would end up in an infinite loop that would eventually crash the browser. Not good.
A quick hack to get around this problem would be to introduce a short timeout before each map updates, as follows:
google.maps.event.addListener(map2, 'zoom_changed', function() {
setTimeout(function() {
map1.setZoom(map2.getZoom());
}, 10);
});
But a much better way of keeping two maps in sync is to use the Google Maps API own bindTo function. The bindTo function syncs two properties on different objects as follows:
map1.bindTo('center', map2, 'center');
map1.bindTo('zoom', map2, 'zoom');
Much better! So why didn’t I mention it in the first place? Well, because in this chapter we are talking about events, and learning about some of the things that can go wrong with event-driven programming will help you when you encounter similar problems in the wild!
Events on non-API objects
The Map is not the only Google Maps API class with events by a long shot. Just about all classes in the API raise events in response to either a state change or the user doing something with them. And of course, other page elements (like buttons, links, and so on) that are not part of the Google Maps API also raise events.
You can create events for these other DOM elements by using standard JavaScript techniques. For example, the code in Code Listing 32 handles a button being clicked and displays a message box to the user.
Code Listing 32: Event handling using vanilla JavaScript
<!DOCTYPE html> <html> <body> <button id="btn">Click me</p> <script> document.getElementById("btn").onclick = myFunction; function myFunction() { alert("YOU CLICKED ME!"); } </script> </body> </html> |
However, the Google Maps API provides its own convenience method so that you can listen to these events. It’s called google.maps.event.addDomListener(), and you can see it in action in Code Listing 33.
Code Listing 33: Using google,maps.event.addDomListener
<!DOCTYPE html> <html> <head> <title>DomListener</title> </head> <body> <button id="btn">Click Me</button> <div id="map"></div> <script> function init() { google.maps.event.addDomListener(btn, "click", alert("YOU CLICKED ME!"); } ); } </script> <!-- Reference the API --> <script src="https://maps.googleapis.com/maps/api/js?key=[YOUR API KEY]&callback=init" async defer></script> </body> </html> |
Cancelling edits
In this example, we are going to combine the use of google.maps.event.addListener() and google.maps.event.addListener() to create a very simple editing application.
You may recall in Chapter 4 that we mentioned a property on the google.maps.Marker class called draggable that, if enabled, lets the user move the marker to a different location on the map. In our example, we are going to listen to the marker’s dragstart and dragend properties to report the initial and new location of the marker, and provide a cancel button that will reset the marker’s position if the user changes their mind.
Copy the Ch2_SimpleMarker.html page to create a new file called Ch5_MarkerEdit.html, and change the code to that shown in Code Listing 34.
Code Listing 34: The marker editing code
<!DOCTYPE html> <html> <head> <title>Ch5 Marker Edit</title> <meta name="viewport" content="initial-scale=1.0"> <meta charset="utf-8"> <style> #map { height: 100%; } #pos { display: none; } html, body { height: 100%; margin: 0; padding: 0; } </style> </head> <body> <div id="pos"> <button id="btnCancel">Cancel</button> <p id="coords"></p> </div> <div id="map"></div> <script> function initMap() { var mapOptions = { center: new google.maps.LatLng(51.503, -0.135), zoom: 12 }; var map; map = new google.maps.Map(document.getElementById('map'), var currentMarkerPos; var marker = new google.maps.Marker({ position: new google.maps.LatLng(51.510357, -0.116773), map: map, draggable: true, title: "Big Ben" }); google.maps.event.addListener(marker, "dragstart", function (event) { currentMarkerPos = event.latLng; document.getElementById("pos").style.display = "none"; } ); google.maps.event.addListener(marker, "dragend", function (event) { var str = "<b>Initial Position:</b> lat: " + str += ", lng: " + event.latLng.lng(); str += "<br><b>New Position:</b> lat: " + str += ", lng: " + event.latLng.lng(); document.getElementById("coords").innerHTML = str; document.getElementById("pos").style.display = "block"; } ); google.maps.event.addDomListener(btnCancel, "click", function (event) { marker.setPosition(currentMarkerPos); document.getElementById("pos").style.display = "none"; } ); } </script> <!-- Reference the API --> <script src="https://maps.googleapis.com/maps/api/js?key=[YOUR API KEY]&callback=initMap" async defer></script> </body> </html> |
Let’s consider each of the changes we made.
First, we’ve added a new <div> on the page with an id of pos. Within that <div> are a button (btnCancel) and a paragraph element (coords). By wrapping those two elements within a <div>, we can deal with them collectively. In the <style> tag, we’ve changed the CSS display property of the <div> to none. This hides the <div> and stops it from taking up page space when the page first loads.
Then, in our <script> block, we have added a new variable called currentMarkerPos. When the user has indicated that they want to move the marker to a new location, we will store the current location first, in case they want to cancel the move.
After that, we have three event handlers:
- dragstart: This is fired when the user first starts to drag the marker and supplies
a MouseEvent object to the handler function. - dragend: This is fired when the user has finished dragging the marker and supplies a MouseEvent object to the handler function.
- btnCancel.click: This is a DOM event that fires when the user clicks the Cancel button.
The operations performed by each of the event handlers are as follows:
- In dragstart, we capture the current location of the marker in the currentMarkerPos variable.
- In dragend, we capture the final location of the marker and display the pos <div> to present the user with the initial and new map coordinates, and a button that allows them to cancel.
- In btnCancel.click, we cancel the move operation by setting the marker’s position to the original position stored in currentMarkerPos.
When the page loads, it should look like the screenshot in Figure 40. When the user has finished moving the marker, they should be presented with the initial and new coordinates and the option to cancel, as shown in Figure 41. If they click the Cancel button, the marker is restored to its original location (Figure 42).

Figure 40: Initial position of the marker.

Figure 41: New position of the marker with option to cancel.

Figure 42: Marker restored to its original position after user cancels.
- 1800+ high-performance UI components.
- Includes popular controls such as Grid, Chart, Scheduler, and more.
- 24x5 unlimited support by developers.