
GitHub Succinctly®

CHAPTER 3
Installing Git
In order to add your own projects to GitHub, you will need to create a local repository (just a folder) on your computer. You will then use the Git software to copy this folder’s contents to a GitHub server. Although this book is focused on GitHub, some brief understanding of Git is necessary to work with GitHub repositories.
Tip: If you are interested in learning more about Git, be sure to download Ryan Hodson’s e-book, Git Succinctly.
Downloading GitHub Desktop
The first step to installing Git on your local computer is to visit the GitHub Desktop website and download the desktop application.
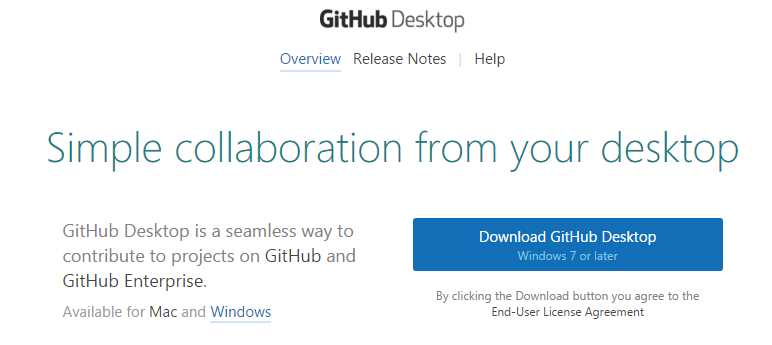
Figure 6: GitHub Desktop site
Configuring GitHub Desktop
Once you’ve completed the installation, you’ll need to link your desktop version to your GitHub account using the Log in tab.
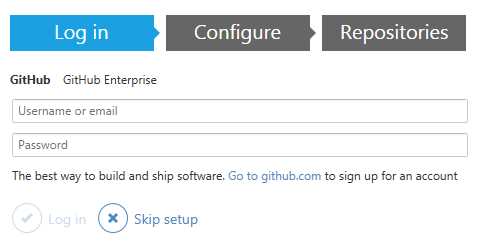
Figure 7: Desktop configuration
Once you’ve logged in, you move to the Configure tab.
Configure tab
The Configure tab is used to associate your account with any commits (writes to your repository) that you make.
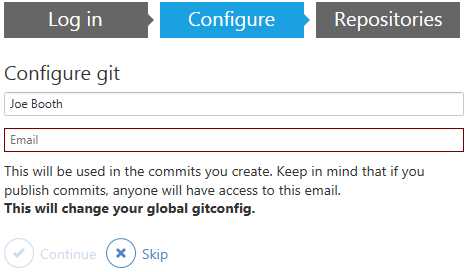
Figure 8: Git configuration
Git links your user ID and email address to your commits, so anyone viewing your repository will see your email address. If you’d prefer to keep your email address private, you can do so by going to GitHub and editing your profile. Under Personal Settings, navigate to the Emails menu item.

Figure 9: Email profile configuration
If you check this box, any Git operations will be sent to a special GitHub account (username@users.noreply.github.com). You will also need to set this email address in the Configure Git screen.
Repositories
If this is your first time using Git, you’ll have no repositories set up, so you’ll need to create one. GitHub Desktop will detect that and jump to the repository page.
Figure 10: Repository page
Click on the + (plus) sign to add a repository. By default, GitHub adds a folder called GitHub to your documents folder, which is where repositories will be stored. You can place your repositories anywhere by changing the local path when you first set up the repository. On the screen below, I am adding my SQL Date Functions repository to a local folder called E:\GitHub.

Figure 11: Creating a repository
Once your repository is set up, you can move the files you want to this local folder. This will be the first step in publishing them to GitHub. When the repository is first set up, two files will be added, which basically provide configuration instructions to Git.
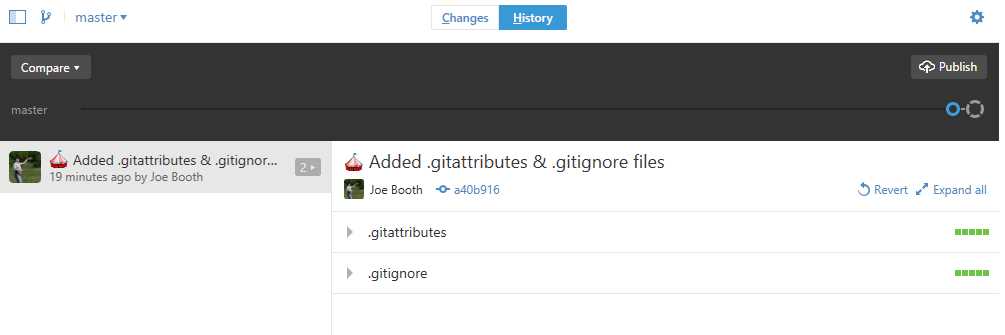
Figure 12: Initial repository
Gitattributes
The default .gitattributes file provides a set of options controlling GitHub operations, particularly when comparing files. The list consists of a file extension (*.doc) and a command to perform when that file is detected. For example, the following line instructs GitHub to convert any file with a .PDF extension to plain text when running a comparison:
*.pdf diff=astextplain
You can add other attributes to file extensions as well. For example:
*.jpg binary
This line tells Git that any file with a .JPG extension is a binary file. While Git is pretty good about understanding file types, you may have some files in your project that should be treated as binary (never compared or merged).
The .gitattributes file is optional; you can delete it if you don’t need any special handling of the files in your repository (for example, only add source code files).
GitIgnore
The .gitignore file tells GitHub that certain files it might find should be ignored for tracking purposes. For a Windows system, you’ll likely want to ignore such files as MSI installer, .DB image caches, etc. For example, the following line instructs Git to not track any MSI installer file in the repository:
*.msi
There are a number of matching rules, negating rules, etc. that you can add to the GitIgnore files for instructions to Git.
Creating a readme.md file
Once you’ve created the repository, you should create a readme.md text file. (The .md extension stands for Markdown Document). This file is displayed when your repository is opened on GitHub and can be searched by people using GitHub. Although it is a simple text file, there are some formatting options you can use. GitHub uses the Markdown syntax for letting you create plain-text files, which will be displayed as HTML. Follow this link if you want to learn more about Markdown, or use the GitHub help system to see what codes are supported in the text.
For our simple readme file about the SQL Date functions, we will use the ##<text>## to create H2-level headers and the ### for H3-level headers.
##SQL Date functions##
A couple date functions written for SQL-Server (although could be easily ported to other platforms).
###Holiday_list()###
A good readme.md file should entice the user to explore your repository. You could also add a link to your own site using the following syntax:
[Joe Booth Consulting] (http://www.joebooth-consulting.com)
After you’ve created the file, save it in your GitHub local repository folder.
Loading files
If you click on Changes, you should see the readme.md file you just added. If there are no files, you’ll be informed that there are no local changes, and you’ll be given the chance to open the folder (repository) in Windows explorer. Copy the files you want to add into the folder. Git will now show you the changes made in the folder (the new files). For example, I’ve created a repository to hold my holiday list SQL code and a readme.md file:
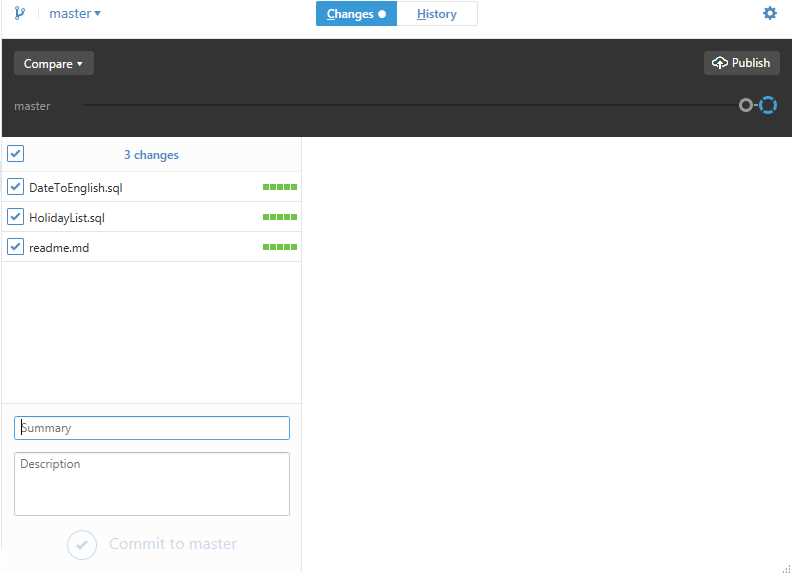
Figure 13: Initial set of changes
In order to commit these files to the local branch, you should enter a summary and a description. The summary is required to commit the changes to the master branch. However, it’s a good idea to provide both a summary and description. Once you’ve done that, click the Commit to Master button.
Note: The summary and description apply to all files you’ve changed, so you may want to commit the files individually to give better descriptions for each file.
You can now go back to the History tab to see the set of changes made (the Git files and the files you’ve added).
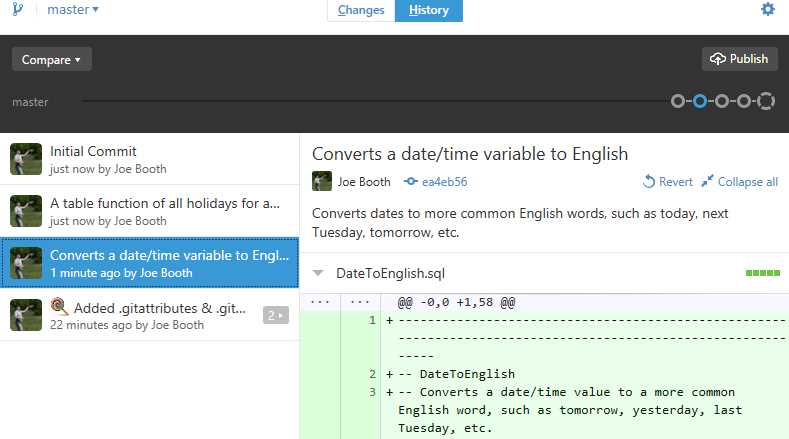
Figure 14: Changes made to the repository
Publishing the repository
For the final step, click on the Publish button to publish the repository to the GitHub servers.
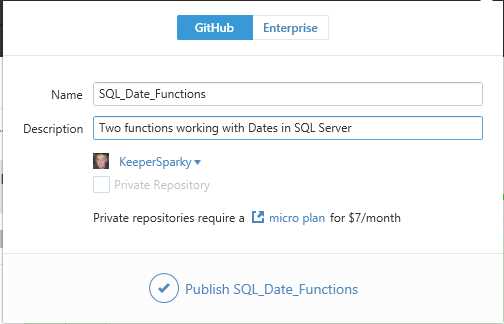
Figure 15: Publishing your repository
Congratulations—you’ve just published your first repository to GitHub.
Search for it
After publishing, a search of GitHub finds my repository.
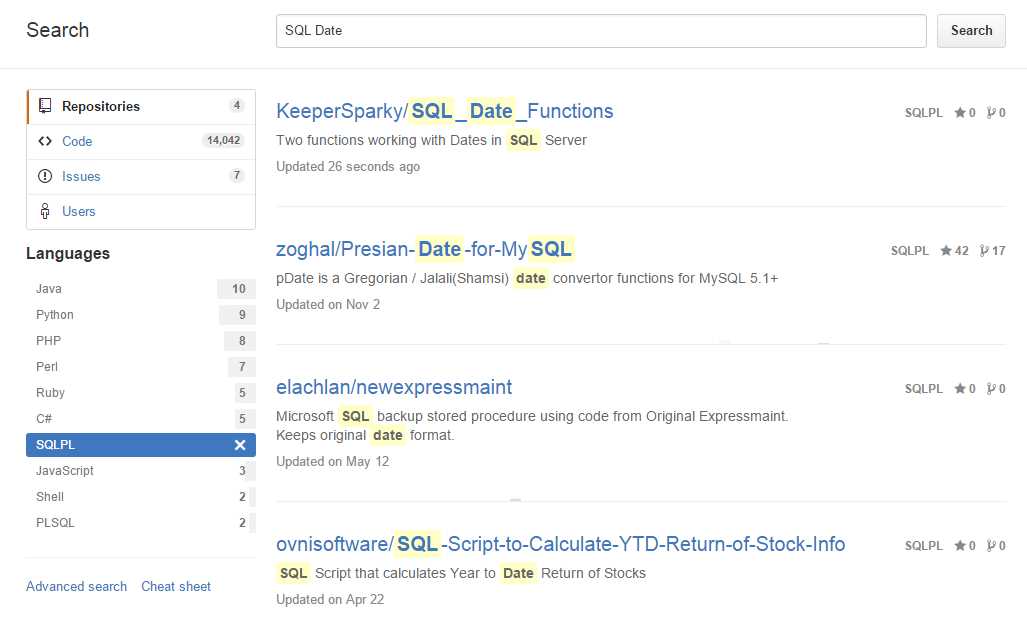
Figure 16: Finding your repository
Summary
This chapter is a brief introduction to installing GitHub Desktop and publishing your first repository to GitHub. Later in the book, we will cover interacting with the repository and collaborating with others on your code.
- 1800+ high-performance UI components.
- Includes popular controls such as Grid, Chart, Scheduler, and more.
- 24x5 unlimited support by developers.