
Git Succinctly®

CHAPTER 2
Getting Started
Installation
Git is available on all major platforms. The instructions below will walk you through installation on Windows, but it’s always best to consult the official Git Web site for the most up-to-date information.
Git for Windows is available through the MsysGit package.
- Download and execute the most recent version of the installer.
- In the setup screen entitled “Adjusting your PATH environment,” select the option “Use Git Bash only.”
- In the setup screen titled “Choosing the SSH executable,” select “Use OpenSSH.”
- Finally, select “Checkout Windows-style, commit Unix-style line endings” and press “Next” to begin the installation.
This will install a new program called “Git Bash,” which is the command prompt you should use whenever you’re working with Git.
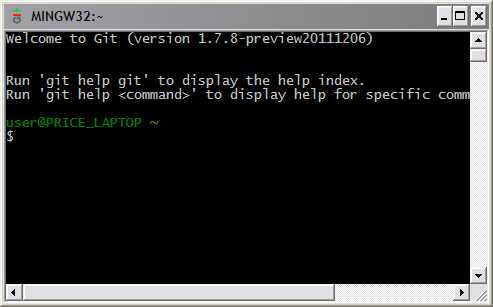
Figure 6: Screenshot of Git Bash
Configuration
Git comes with a long list of configuration options covering everything from your name to your favorite merge tool. You can set options with the git config command, or by manually editing a file called .gitconfig in your home directory. Some of the most common options are presented below.
User Info
The first thing you’ll want to do with any new Git installation is introduce yourself. Git records this information with your commits, and third-party services like GitHub use it to identify you.
git config --global user.name "John Smith"
git config --global user.email [email protected]
The --global flag records options in ~/.gitconfig, making it the default for all new repositories. Omitting it lets you specify options on a per-repository basis.
Editor
Git’s command-line implementation relies on a text editor for most of its input. You can force Git to use your editor-of-choice with the core.editor option:
git config --global core. editor gvim
Aliases
By default, Git doesn’t come with any shortcuts, but you can add your own by aliasing commands. If you’re coming from an SVN background, you’ll appreciate the following bindings:
git config --global alias.st status
git config --global alias.ci commit
git config --global alias.co checkout
git config --global alias.br branch
Learn more by running the git help config in your Git Bash prompt.
Initializing Repositories
Git is designed to be as unobtrusive as possible. The only difference between a Git repository and an ordinary project folder is an extra .git directory in the project root (not in every subfolder like SVN). To turn an ordinary project folder into a full-fledged Git repository, run the git init command:
git init <path>
The <path> argument should be a path to the repository (leaving it blank will use the current working directory). Now, you can use all of Git’s wonderful version control features.
Cloning Repositories
As an alternative to git init, you can clone an existing Git repository using the following command:
git clone ssh://<user>@<host>/path/to/repo.git
This logs into the <host> machine using SSH and downloads the repo.git project. This is a complete copy, not just a link to the server’s repository. You have your own history, working directory, staging area, and branch structure, and no one will see any changes you make until you push them back to a public repository.
- 1800+ high-performance UI components.
- Includes popular controls such as Grid, Chart, Scheduler, and more.
- 24x5 unlimited support by developers.