
External Collaboration with Azure AD B2B Succinctly®

CHAPTER 3
Invitation Redemption
In the previous chapter, we covered how users can be added to Azure Active Directory B2B, and how security groups and applications work in Azure AD. In this chapter, we are going to cover the invitation redemption process from the moment the guest user receives the email and logs in to the Azure AD tenant for the first time.
Flow of the guest user
Adding the guest user from the Azure portal to Azure AD B2B will kick off the following flow:
- The administrator adds a guest user to Azure AD from the Azure portal by filling in the first name, last name, email address of the user, and a personal welcome message.
- The guest user receives an invitation in their inbox.
- The guest user will then click the link in the invitation email.
- The browser is opened, and the guest user is redirected to the login page of Microsoft Azure. The user logs in using their own credentials.
- The guest user needs to accept the privacy statement.
- The guest user is redirected to the application landing page.
In the next sections of this chapter, we are going to cover these steps in more detail. We start with the invitation that is received by the guest user.
Receiving the invitation
Immediately after the guest user is added to the Azure AD tenant, the invitation email is sent to the email address that is specified for the guest account. If the email is not in the user’s inbox, they should check the spam folder.
This invitation consists of the following parts:
- The company branding information: this includes the name of the organization.
- The name of the administrator who invited the user.
- The personal message that was provided when the user was added to the tenant.
- The Get Started button, which is the invitation redemption URL.
The email will look like the following image.
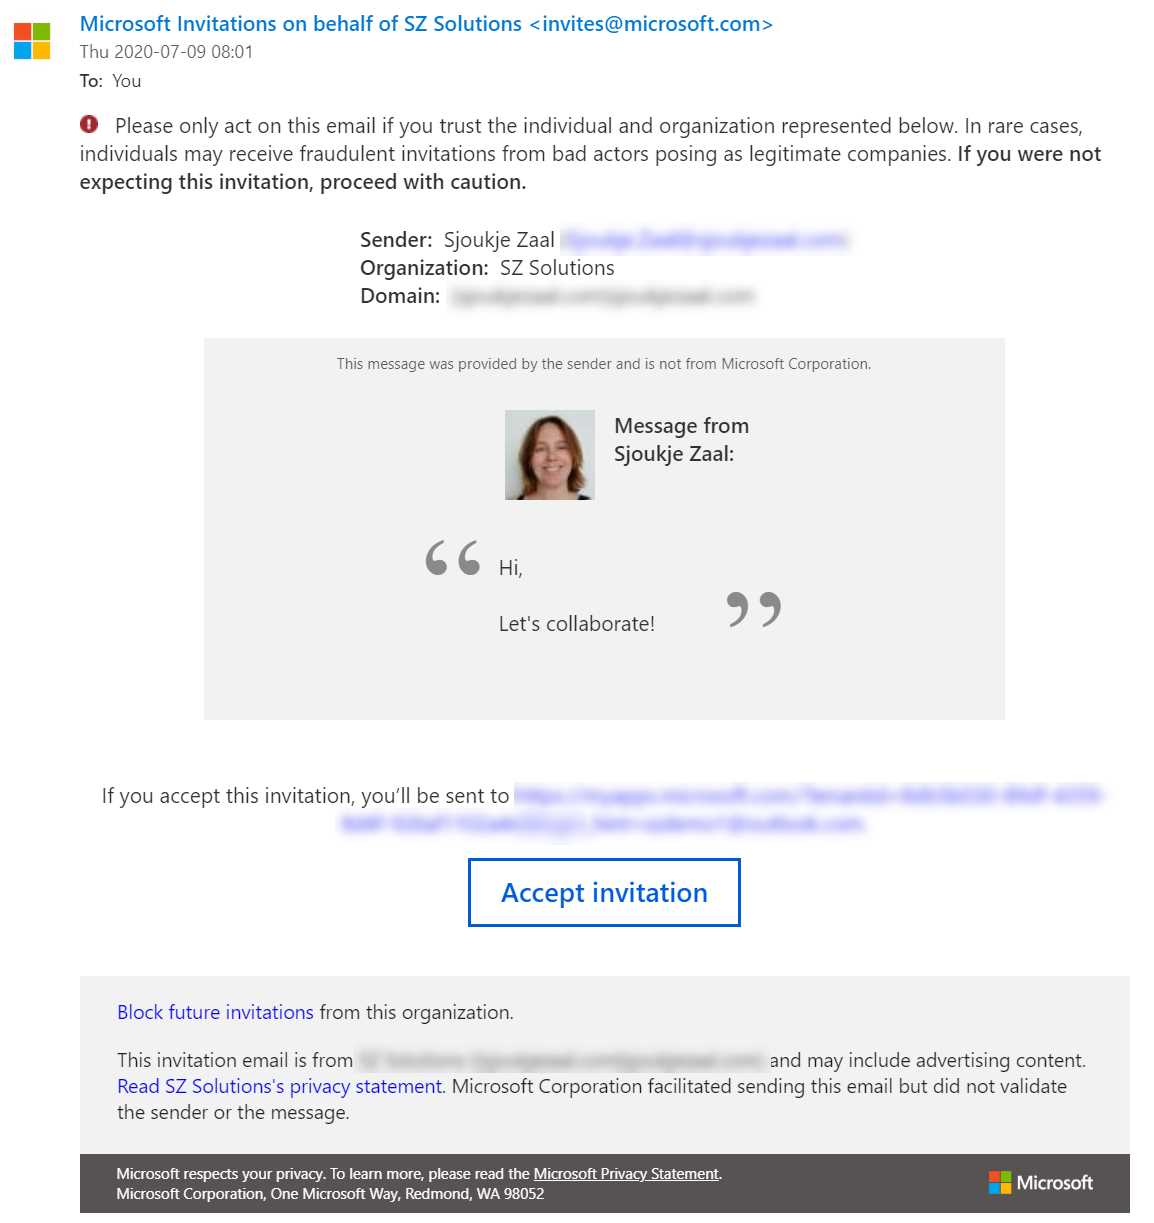
Figure 17: Invitation email
Resend the invitations to guest users
In cases where the guest user has not received the invitation email or has not redeemed the invitation, administrators can resend the email from the Azure portal with the following steps:
- Navigate to the Azure portal by opening https://portal.azure.com/.
- In the left menu, select Azure Active Directory:
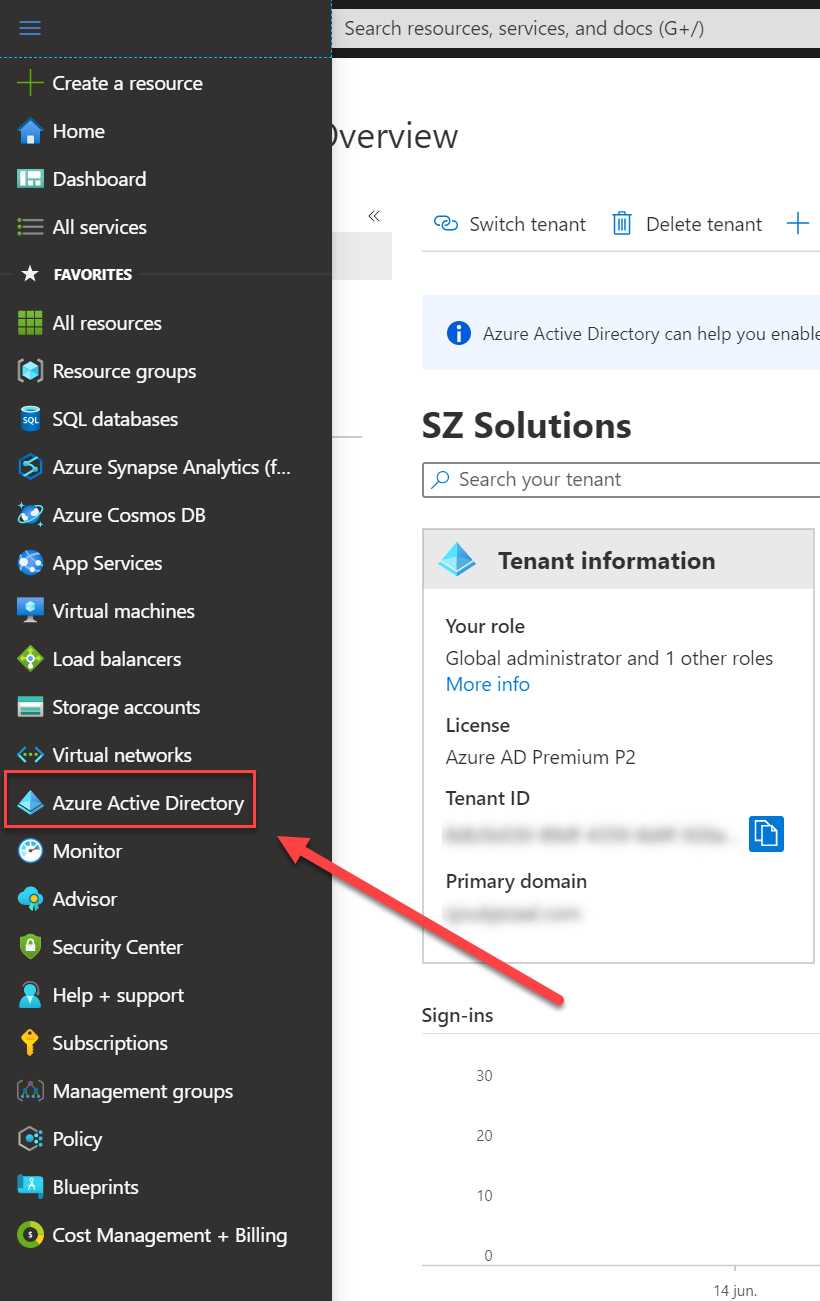
Figure 18: Left menu in Azure portal
- In the Azure AD overview blade, in the left menu, select Users.
- Select the user account that we created in Chapter 2 from the list:
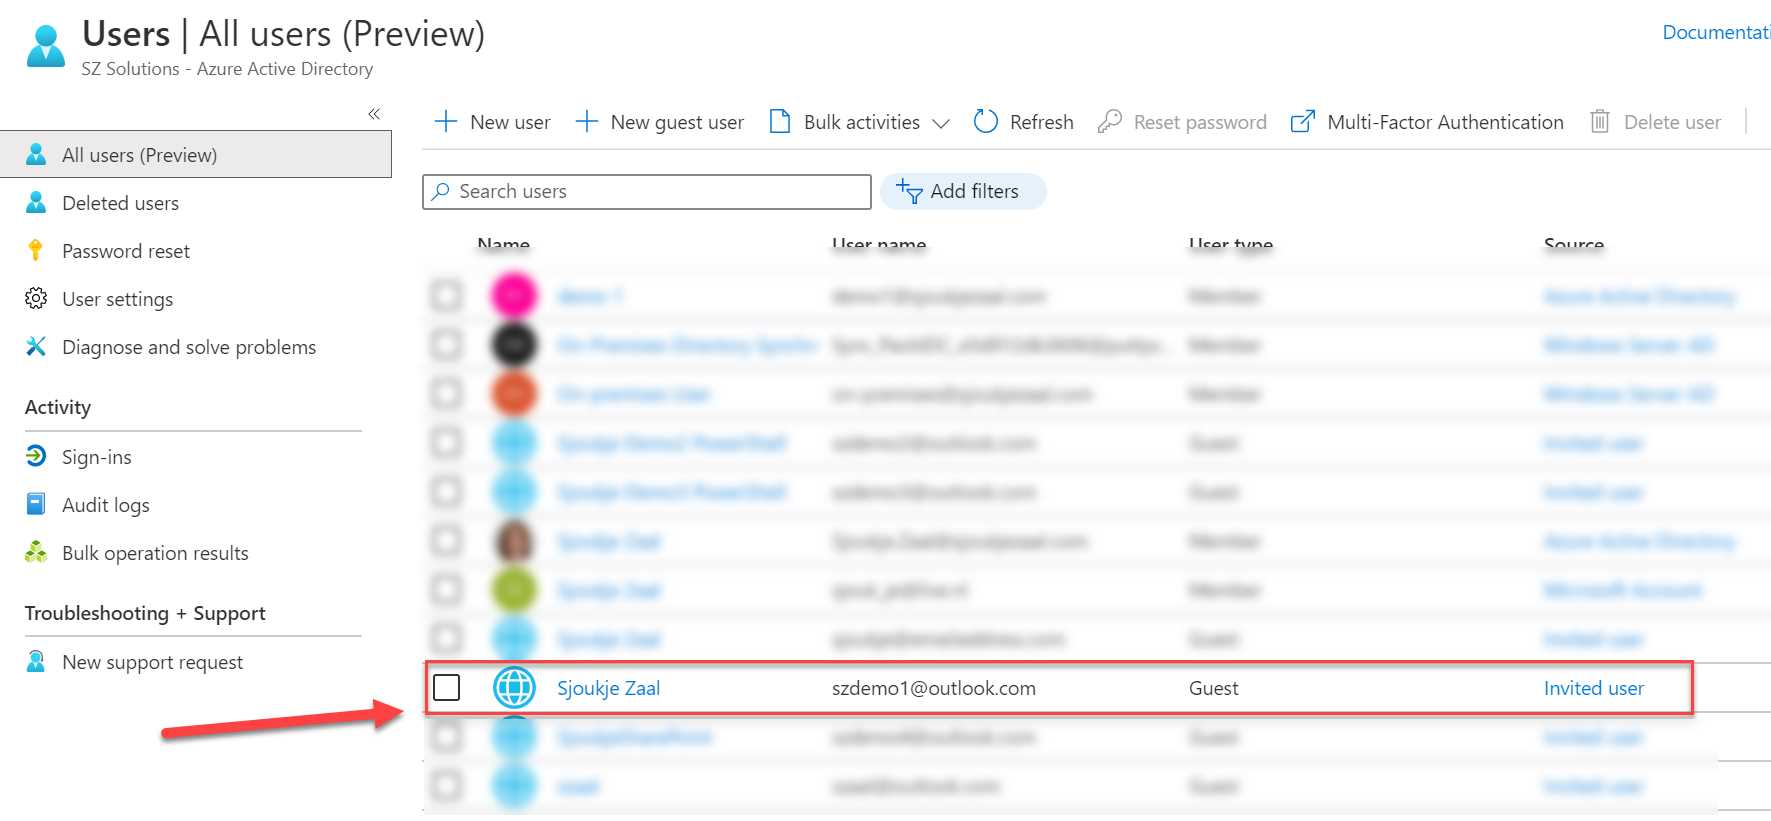
Figure 19: Select the guest user account
- This will take you to the profile page of the user. From there you can make changes to the user attributes. You can also reset the password for the guest user, or resend the invitation by clicking Resend invitation:
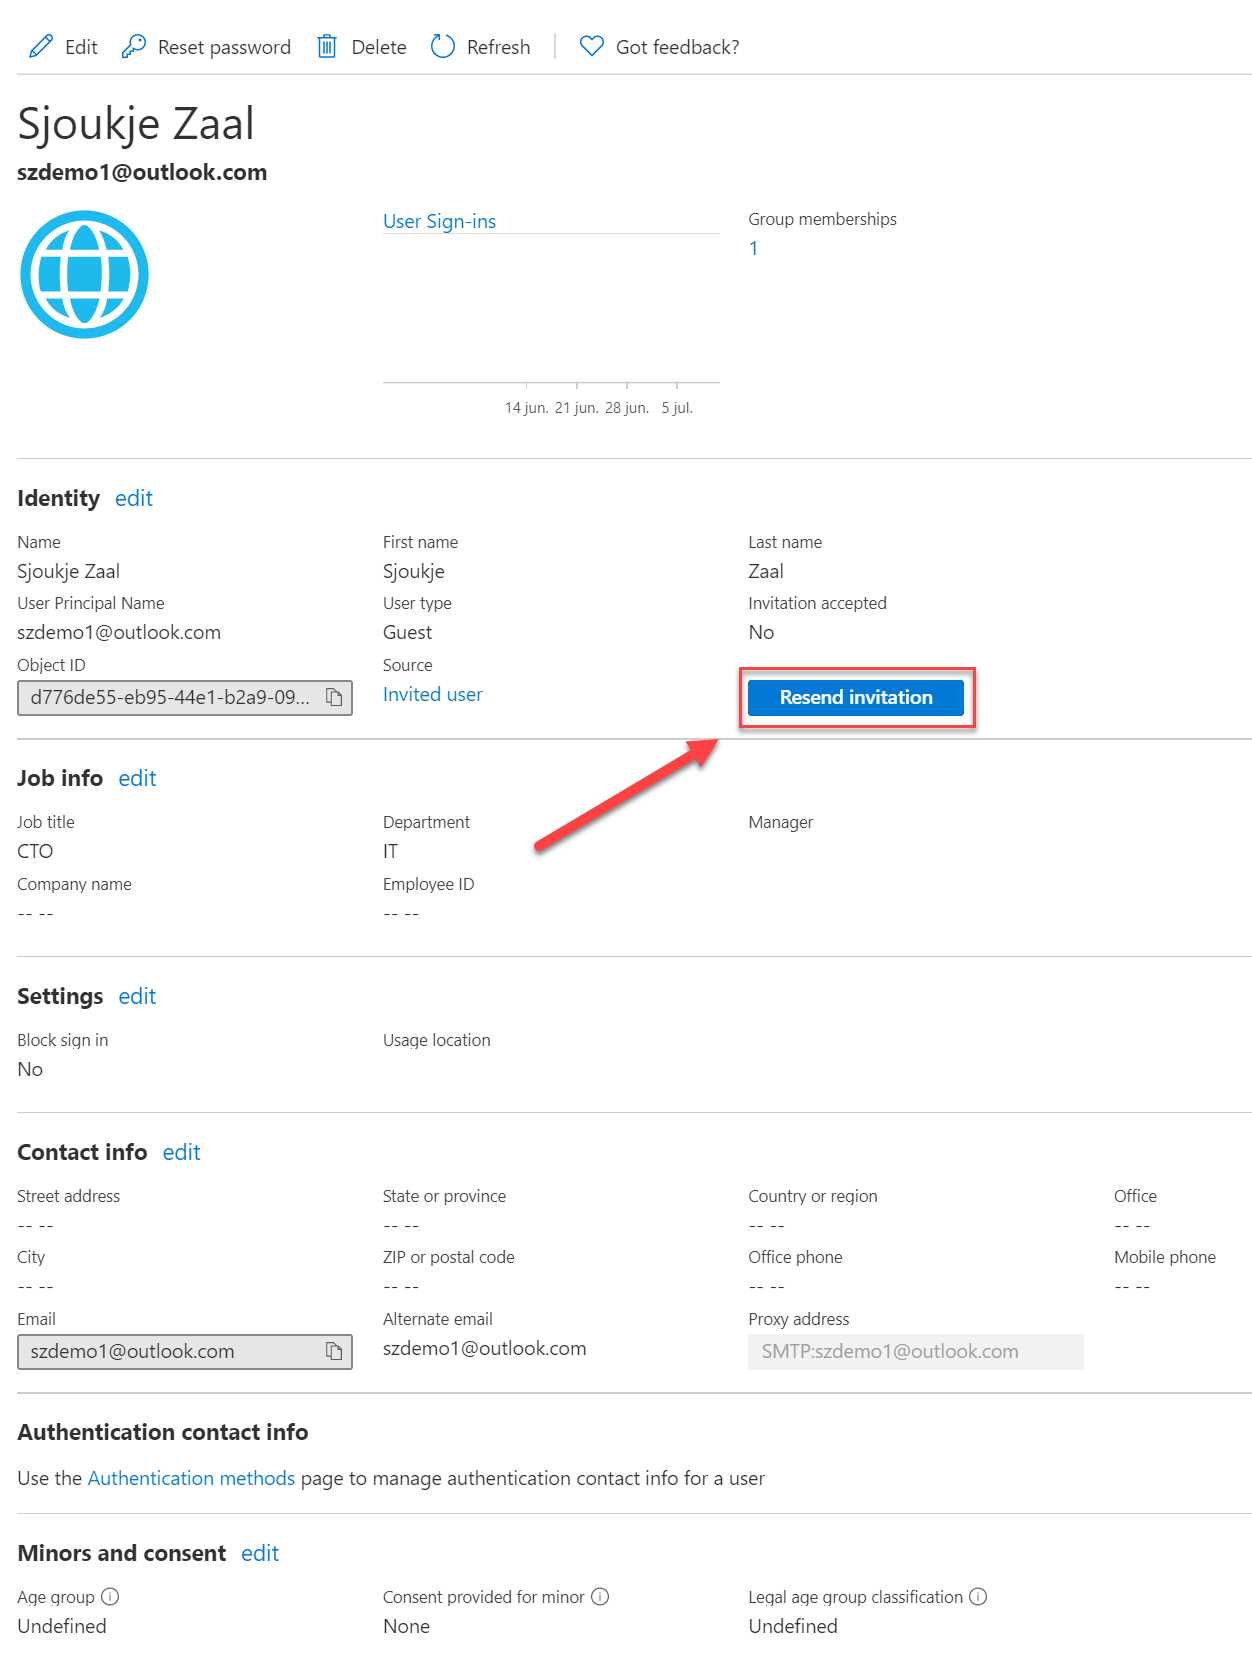
Figure 20: Profile settings for the guest user
In the next section, we are going to cover how the guest user can redeem the invitation.
Accepting the invitation
After receiving the invite, the guest user needs to accept the invitation. This is a mandatory process that needs to be followed before the user gets access to the Azure AD tenant. Therefore, the user needs to take the following steps:
- Open or log in to the mailbox of the guest user’s account. I’ve used an Outlook account for the demos in this book, so I opened the mailbox in the browser. There, search for the email called Microsoft Invitations on behalf of….
- Open the email and click Accept invitation. This will open a new browser window. You will be redirected to the login page of Azure, and the email address will automatically be filled in for you:
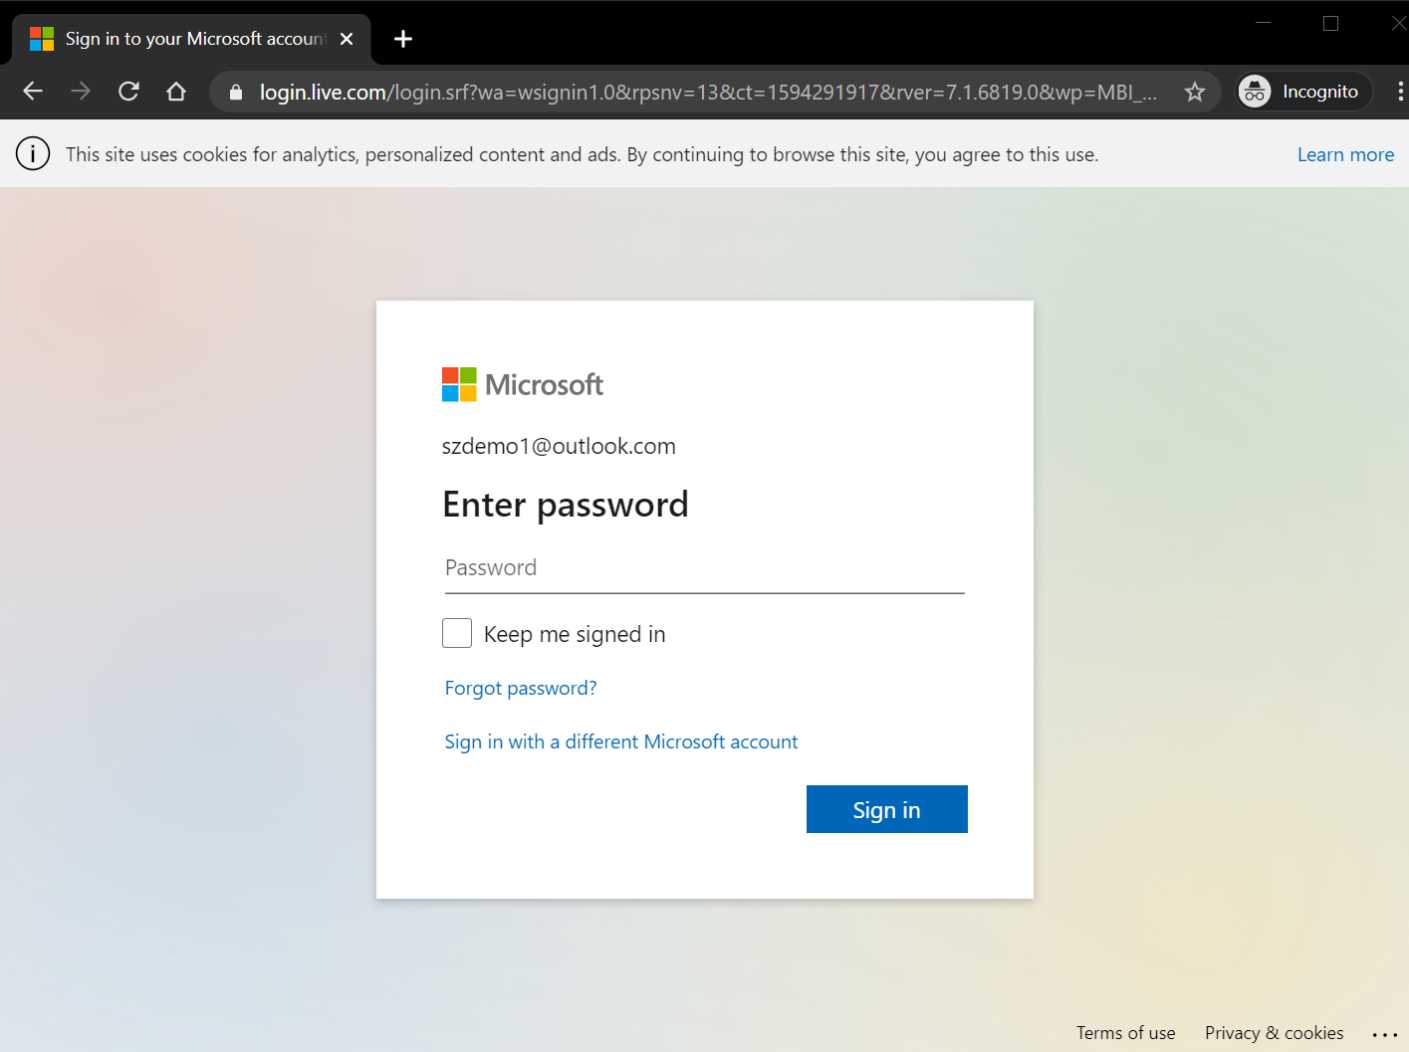
Figure 21: Microsoft login page
- Enter your credentials in the Password field.
- You will now be prompted with a privacy statement. It is mandatory to accept the privacy statement to get access to the Azure AD tenant. Click Accept.
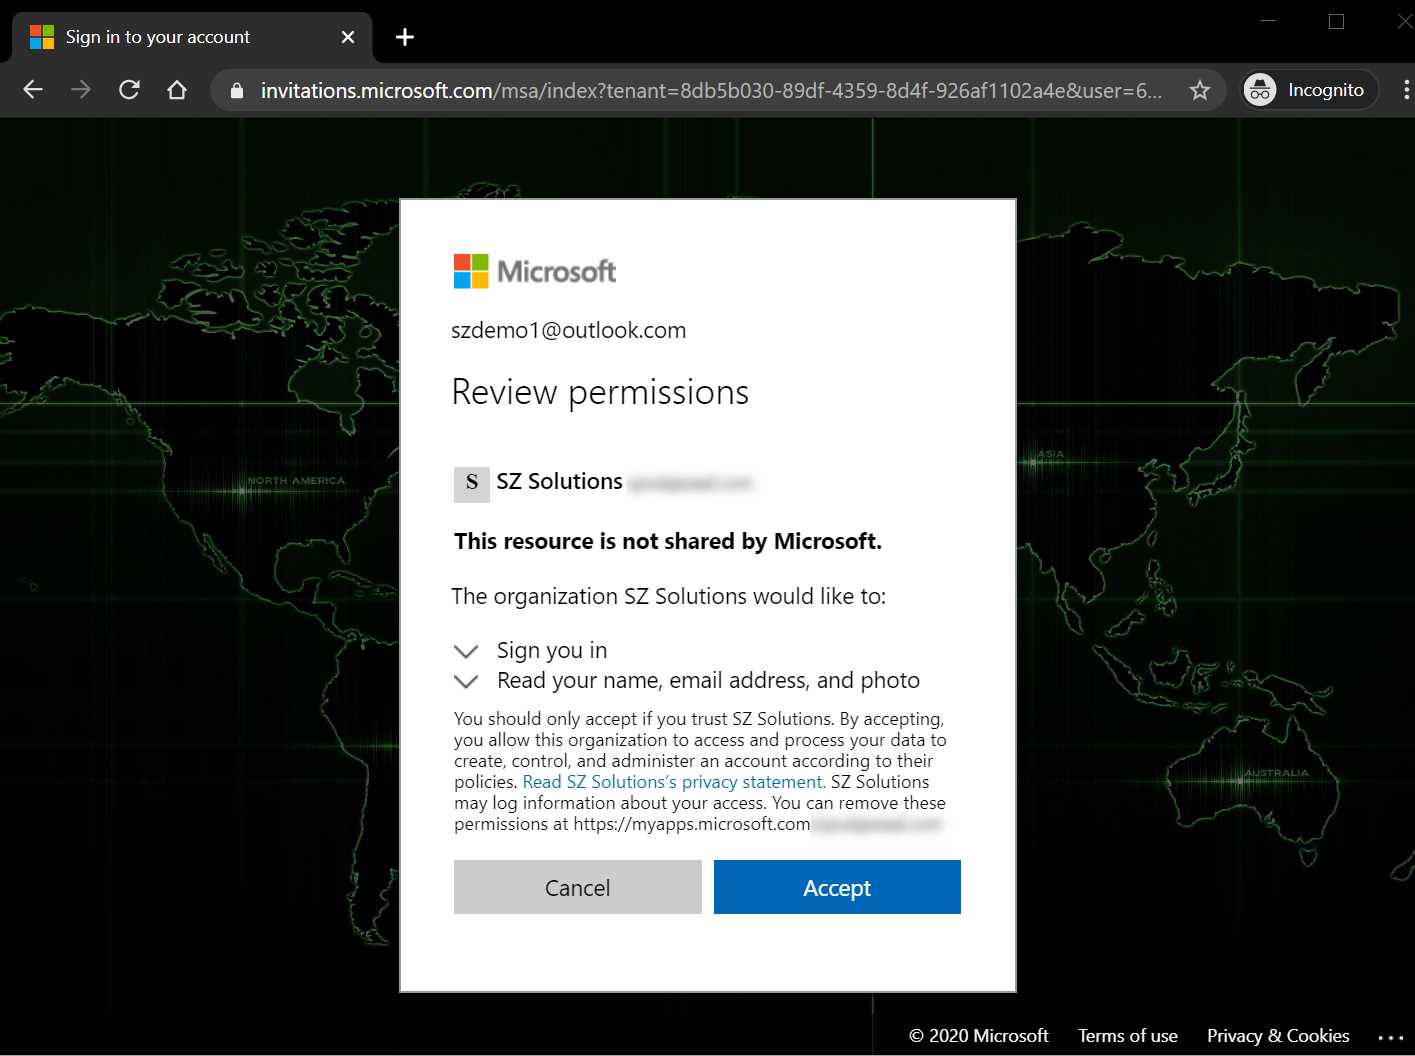
Figure 22: Privacy statement
- You will now be redirected to the application landing page in Azure. There you will see an overview of the applications that you have access to, which in this case is the application we added the security group to in the previous chapter:
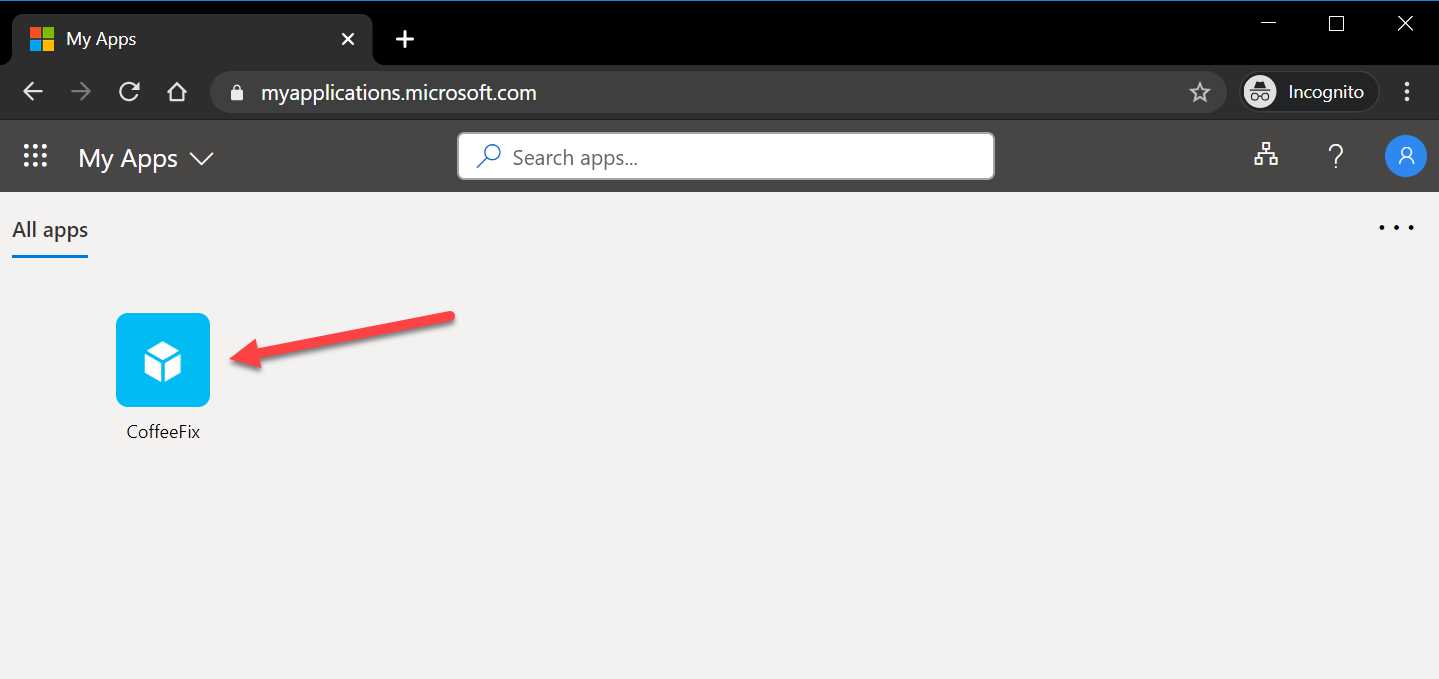
Figure 23: Application landing page
This concludes this demo and this chapter. We have accepted the invitation that was sent to the guest user, and the user now has access to the Azure AD tenant and the application.
In this chapter, we covered the complete process of adding a user to the Azure AD tenant. We accepted the invitation in the guest user’s inbox and logged in to the My Applications page in Azure. In the next chapter, we are going to cover how you can use PowerShell and the Graph API to add users to Azure AD B2B.
- 1800+ high-performance UI components.
- Includes popular controls such as Grid, Chart, Scheduler, and more.
- 24x5 unlimited support by developers.