
External Collaboration with Azure AD B2B Succinctly®

CHAPTER 5
Automating Adding Guest Users with Azure Functions
In the previous chapter, we covered how you can add guest users to Azure AD using the Graph API and PowerShell. In this chapter, we are going to add external users using Azure Functions. For this, we are going to call the Graph API from an Azure function that is written in C#. Adding users via Azure Functions is slightly more complicated than adding users via PowerShell, but using Azure Functions gives you complete, fine-grained, programmatic control over the process.
Before we can call the Graph API, we need to register an application in Azure AD that has the right permissions to access the Graph API. We already did this in the previous chapter. We then set these permissions directly in the Graph Explorer.
In the next section, we are going to register the app in Azure AD.
Create an Azure AD app registration
- Navigate to the Azure portal by opening https://portal.azure.com/.
- In the left menu, select Azure Active Directory.
- The Azure AD overview blade is opened. In the left menu, select App registrations:
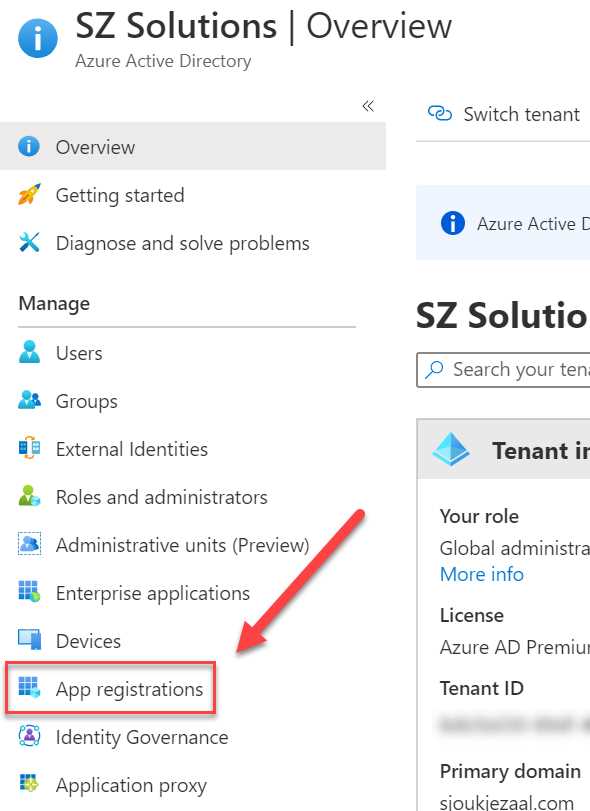
Figure 32: App registrations in Azure AD
- Select + New registration in the top menu:
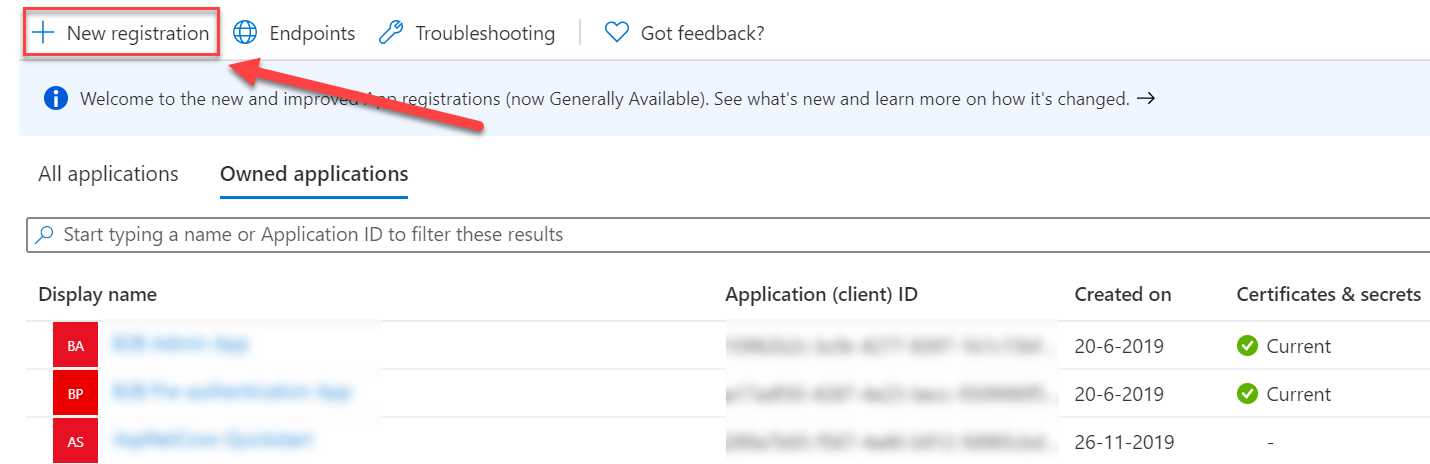
Figure 33: Create a new registration
- Add the following values:
- Name: FunctionB2B
- Supported account types: Account in this organizational directory only (Single tenant):

Figure 34: App settings
- Click Register.
- Once the app is created, you will be redirected to the overview page of the app. We now need to set the required permissions. In the left menu, select API permissions.
- For this app, we need to set the same permissions as in the previous chapter when we added the required permissions to the Graph Explorer. In the top menu, select + Add a permission:

Figure 35: API permissions
- In the next blade, select Microsoft Graph. We are again using Microsoft Graph for creating the guest user.
- Click Application permissions:

Figure 36: Application permissions
- Add the following permissions:
- User.ReadWrite.All
- Directory.ReadWrite.All
- Click Add permissions.
- Click Grant admin consent for the permissions:

Figure 37: Grant admin consent
- The last step is to create an app secret. We need this, together with the Azure AD tenant ID and the application ID, to make a request from our Azure Function that we are going to create in the next step. In the left menu, click Certificates & secrets.
- Under Client secrets, click + New client secret:
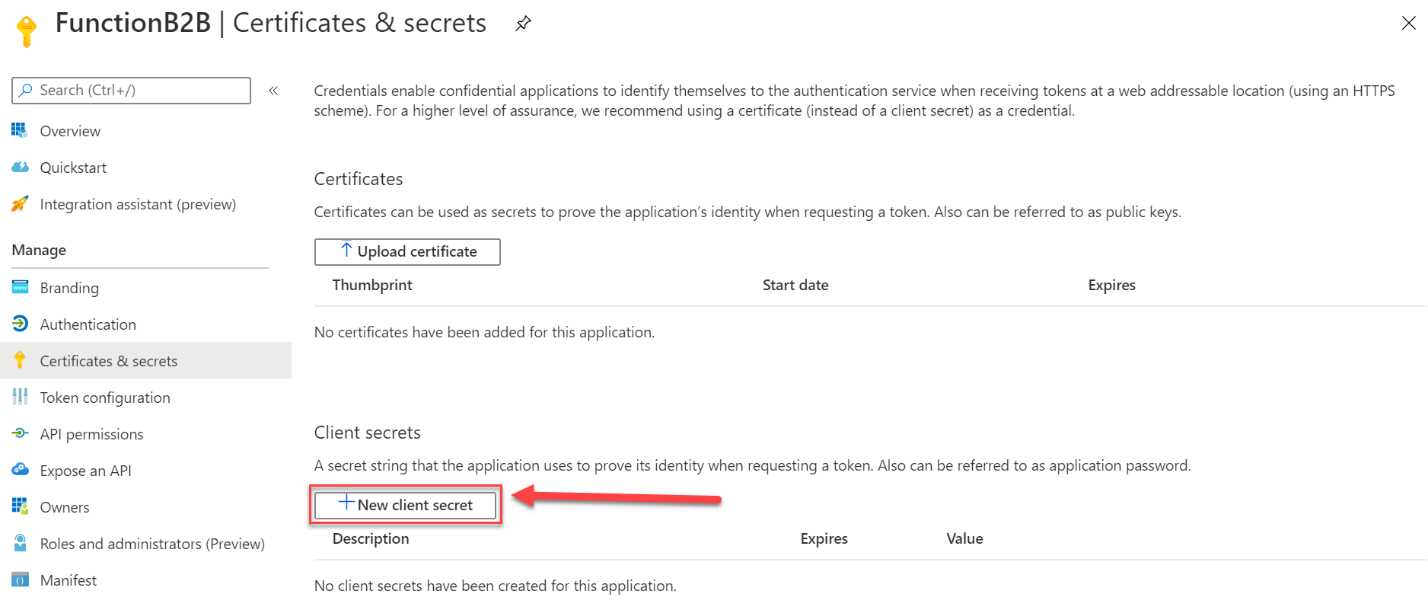
Figure 38: Add new client secret
- Specify a name for the secret and set when you want it to expire:

Figure 39: Set client secret values
- Click Add to create the secret.
- Copy the newly created secret’s Value field to Notepad after creation, because it is only going to be displayed to you once:
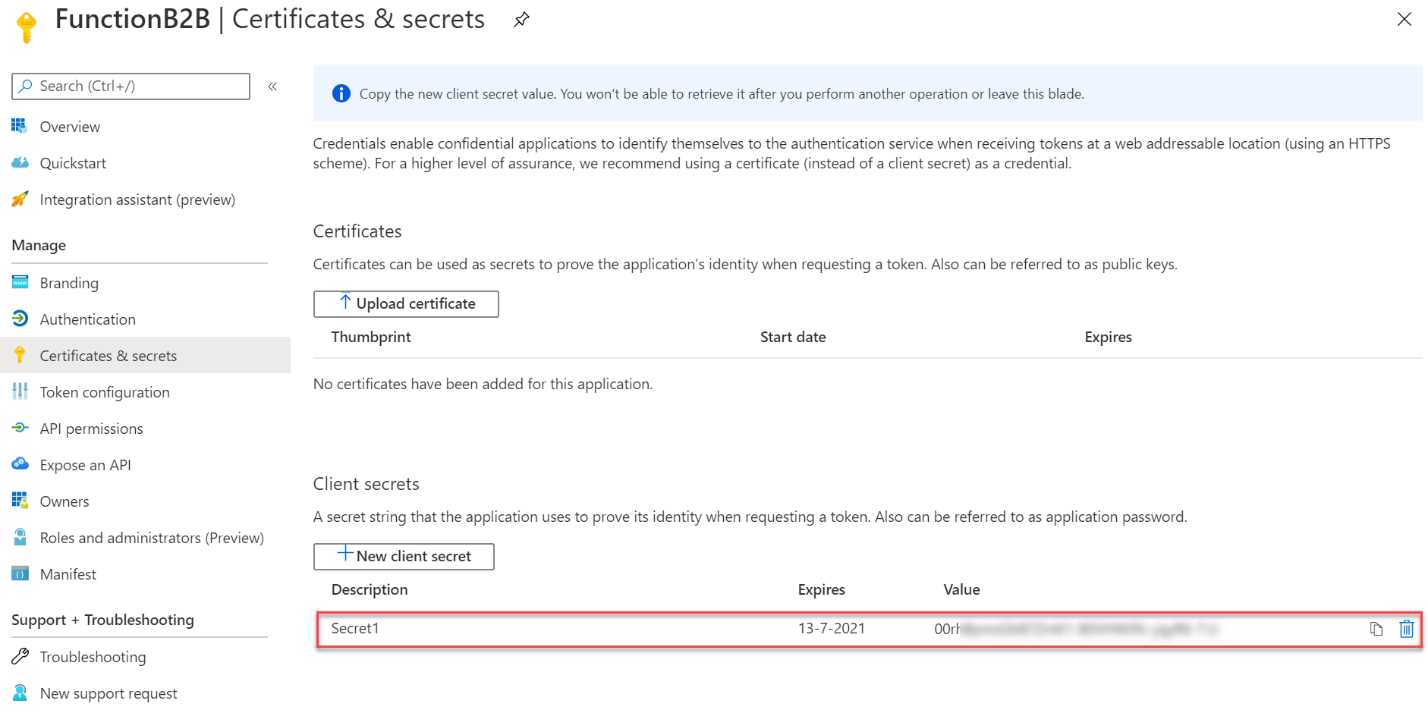
Figure 40: App secret value
- Navigate to the overview page of the app registration and copy the app ID and the tenant ID to Notepad as well:
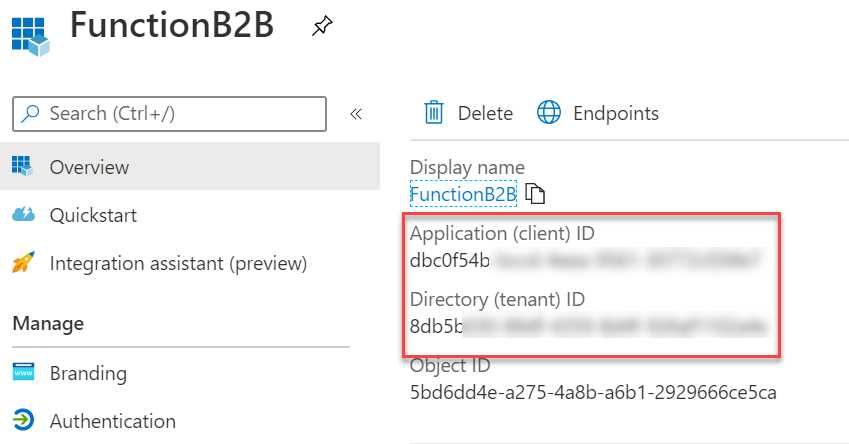
Figure 41: App ID and Azure AD tenant ID
We now have registered an app in Azure AD that has permissions to call Microsoft Graph. This means that we can create the guest user from our Azure function through this registration.
In the next part, we are going to create the function.
Adding guest users using an Azure function
In this demonstration, we are going to create an Azure function to create the guest user in Azure AD. We are using Visual Studio Code in this example to create the function.
- Open Visual Studio Code. First, we need to install the Azure Functions extension. If you already have it installed, you can skip this step. Open the Extensions screen by clicking it in the left menu or by pressing Ctrl+Shift+X.
- Search for Azure Functions in the search box, select it, and then click Install:
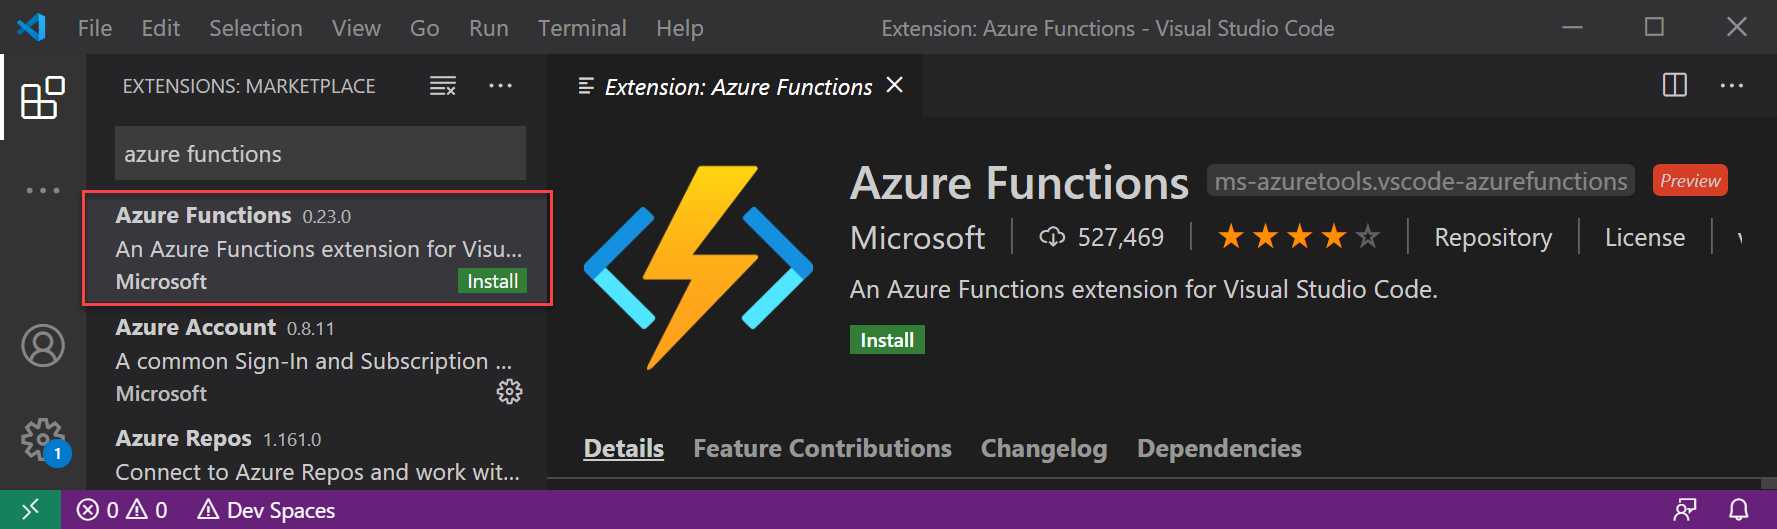
Figure 42: Install the Azure Functions extensions
- After installing the Azure Functions extension, open the Command Palette by pressing Ctrl+Shift+P.
- Search for Azure Functions Create and select Create Function from the list:

Figure 43: Create a new function
- You will be prompted to create a new project. Select Create new project. Choose a folder to create the project in.
- Select the language of the project:

Figure 44: Select the language
- Select a trigger for the function. We are going to use the HTTPTrigger for this demo:

Figure 45: Select the trigger
- Next, you need to specify a name for the trigger. You can also keep the default name and press Enter:

Figure 46: Specify a name for the trigger
- Specify a name for the function, such as CreateGuestUserGraph, and press Enter:

Figure 47: Specify a name for the function
- For the AccessRights, select Anonymous and press Enter:
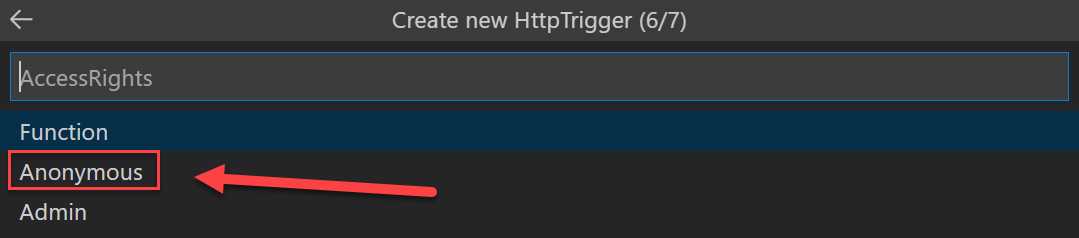
Figure 48: Select the Access Rights
- To choose how you would like to open the newly created project, select Add to workspace:

Figure 49: Open the project
- The project is generated and added to the workspace in VS Code.
- We need to add two NuGet packages to the project to be able to call Microsoft Graph and use the Microsoft Authentication Library (MSAL) .NET SDK.
Tip: MSAL enables developers to acquire tokens from the Microsoft identity platform endpoint to access secured web APIs. For more information, you can refer to this website.
- Open a new terminal by pressing Ctrl+Shift+` and enter the following lines to add the required packages:
dotnet add package Microsoft.Graph
dotnet add package Microsoft.Identity.Client
- Now that the libraries are added to the project, we can add the Azure AD app registration configuration values to the local.settings.json file. Open the file from the project and add the following code below the Functions Worker Runtime line:
Code Listing 4
"AzureADAppId": "YOUR_CLIENT_ID", "AzureADTenantId": "YOUR_TENANT_ID", "AzureADAppSecret": "YOUR_CLIENT_SECRET" |
- Add the values that we have copied to Notepad here.
- Your file should now look like the following image:

Figure 50: Azure AD registration values
- Add a new file to the project and name it AuthHandler.cs. Add the following code to it:
Code Listing 5
using System.Net.Http; using System.Threading.Tasks; using Microsoft.Graph; using System.Threading; namespace CreateGuestUserGraph { public class AuthHandler : DelegatingHandler { private IAuthenticationProvider _authenticationProvider; public AuthHandler(IAuthenticationProvider authenticationProvider, HttpMessageHandler innerHandler) { InnerHandler = innerHandler; _authenticationProvider = authenticationProvider; } protected override async Task<HttpResponseMessage> SendAsync(HttpRequestMessage request, CancellationToken cancellationToken) { await _authenticationProvider.AuthenticateRequestAsync(request); return await base.SendAsync(request,cancellationToken); } } } |
- Add another new file to the project and name it MSALAuthenticationProvider.cs. Add the following code to it:
Code Listing 6
using System.Net.Http; using System.Net.Http.Headers; using System.Threading.Tasks; using Microsoft.Identity.Client; using Microsoft.Graph; namespace CreateGuestUserGraph { // This class encapsulates the details of getting a token from MSAL and exposes it via the // IAuthenticationProvider interface so that GraphServiceClient or AuthHandler can use it. // A significantly enhanced version of this class will be available from the GraphSDK team // in the future. It will support all the types of //Client Application as defined by MSAL. public class MsalAuthenticationProvider : IAuthenticationProvider { private IConfidentialClientApplication _clientApplication; private string[] _scopes; public MsalAuthenticationProvider(IConfidentialClientApplication clientApplication, string[] scopes) { _clientApplication = clientApplication; _scopes = scopes; } /// <summary> /// Update HttpRequestMessage with credentials /// </summary> public async Task AuthenticateRequestAsync(HttpRequestMessage request) { var token = await GetTokenAsync(); request.Headers.Authorization = new AuthenticationHeaderValue("bearer", token); } /// <summary> /// Acquire Token /// </summary> public async Task<string> GetTokenAsync() { AuthenticationResult authResult = null; authResult = await _clientApplication.AcquireTokenForClient(_scopes) .ExecuteAsync(); return authResult.AccessToken; } } } |
- Open the HTTPTriggerCSharp1.cs file and add the following code to it:
Code Listing 7
using System; using System.IO; using System.Threading.Tasks; using Microsoft.AspNetCore.Mvc; using Microsoft.Azure.WebJobs; using Microsoft.Azure.WebJobs.Extensions.Http; using Microsoft.AspNetCore.Http; using Microsoft.Extensions.Logging; using Newtonsoft.Json; using Microsoft.Graph; using System.Collections.Generic; using Microsoft.Identity.Client; namespace CreateGuestUserGraph { public static class HttpTriggerCSharp1 { private static GraphServiceClient _graphServiceClient; [FunctionName("HttpTriggerCSharp1")] public static async Task<IActionResult> Run( [HttpTrigger(AuthorizationLevel.Anonymous, "get", "post", Route = null)] HttpRequest req, ILogger log) { log.LogInformation("C# HTTP trigger function processed a request."); string firstname = req.Query["firstname"]; string lastname = req.Query["lastname"]; string emailaddress = req.Query["emailaddress"]; string requestBody = await new StreamReader(req.Body).ReadToEndAsync(); dynamic data = JsonConvert.DeserializeObject(requestBody);
firstname = firstname ?? data?.firstname; lastname = lastname ?? data?.lastname; emailaddress = emailaddress ?? data?.emailaddress; var invitation = new Invitation { InvitedUserDisplayName = $"{firstname} {lastname}", InvitedUserEmailAddress = emailaddress, InviteRedirectUrl= "https://myapplications.microsoft.com/", InvitedUserMessageInfo = new InvitedUserMessageInfo { CustomizedMessageBody = "Hey there! Check this out. I created an invitation through an Azure Function!" }, SendInvitationMessage = true }; GraphServiceClient graphClient = GetAuthenticatedGraphClient(); var graphResult = await graphClient.Invitations .Request() .AddAsync(invitation); return graphResult != null ? (ActionResult)new OkObjectResult($"Following user created: {firstname}, {lastname}, {emailaddress}") : new BadRequestObjectResult("Please provide guest user information details on the query string or in the request body."); } private static GraphServiceClient GetAuthenticatedGraphClient() { var authenticationProvider = CreateAuthorizationProvider(); _graphServiceClient = new GraphServiceClient(authenticationProvider); return _graphServiceClient; } private static IAuthenticationProvider CreateAuthorizationProvider() { var clientId = System.Environment.GetEnvironmentVariable("AzureADAppId", EnvironmentVariableTarget.Process); var clientSecret = System.Environment.GetEnvironmentVariable("AzureADAppSecret", EnvironmentVariableTarget.Process); // var redirectUri = System.Environment.GetEnvironmentVariable("AzureADAppRedirectUri", EnvironmentVariableTarget.Process); var tenantId = System.Environment.GetEnvironmentVariable("AzureADTenantId", EnvironmentVariableTarget.Process); var authority = $"https://login.microsoftonline.com/{tenantId}/v2.0"; //this specific scope means that application will default to what is defined in the application registration rather than using dynamic scopes List<string> scopes = new List<string>(); scopes.Add("https://graph.microsoft.com/.default"); var cca = ConfidentialClientApplicationBuilder.Create(clientId) .WithAuthority(authority) // .WithRedirectUri(redirectUri) .WithClientSecret(clientSecret) .Build(); return new MsalAuthenticationProvider(cca, scopes.ToArray()); } } } |
- To test the Azure function, open a new terminal and run dotnet build.
- When the function is built successfully, you can press F5 to execute the function locally. This will result in the following output:

Figure 51: Debugging the function locally
- The URL for the function is also displayed here. Copy the URL and add the query string to it to make a POST request to the Azure function. The URL will look like the following example:
http://localhost:7071/api/HttpTriggerCSharp1?firstname=Sjoukje&lastname=Zaal&emailaddress=<your-email-address> - Open a browser window and paste in the URL. This will result in the following outcome:

Figure 52: Output after creating the guest user
- Now that the function has executed without any errors, we can deploy it to Azure. We can do this directly from VS Code as well. Press Ctrl+Shift+P again and search for Azure Functions: Deploy, and select the following item:

Figure 53: Deploying the function from VS Code
- Next, you need to sign in to Azure with an administrator account:

Figure 54: Sign in to Azure
- Select the subscription you want to deploy the function to.
- Create a new function app:

Figure 55: Create a new Function App
- Specify a unique name for the function and press Enter:

Figure 56: Specify a unique name
- Pick the region you want to deploy your app to:
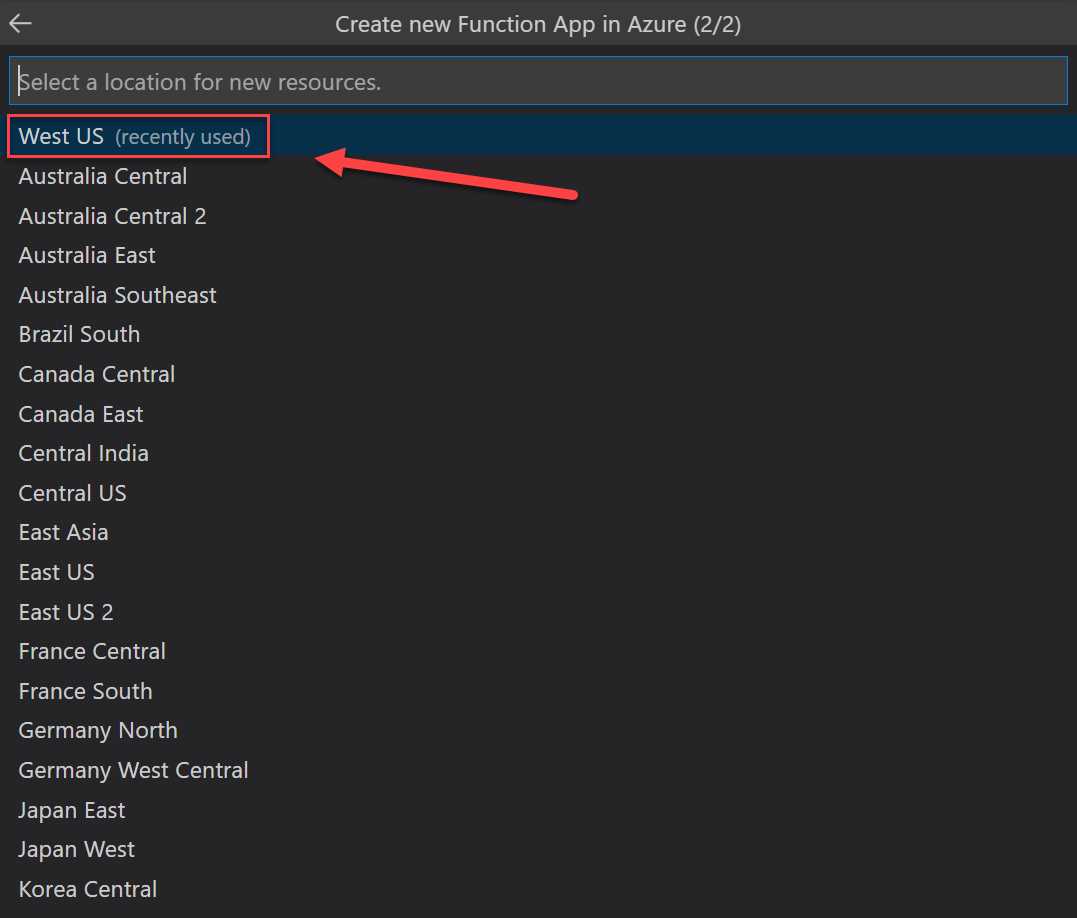
Figure 57: Pick the region in Azure
The Function App will now be deployed to Azure. If you navigate to the Azure portal after deployment, you will see that the function is deployed:

Figure 58: Deployed Azure function
We have now created a guest user in Azure AD using an Azure function written in C#. This function uses the Microsoft.Graph and the Microsoft.Identity.Client NuGet packages, and an Azure AD app registration to get access to the Azure AD tenant.
In this chapter, we have covered how you can add guest users to Azure AD B2B using an Azure AD app registration, an Azure function, and the Graph API. This Azure function was built in VS Code. In the next chapter, we are going to cover how you can manage access using Azure AD B2B entitlement management.
- 1800+ high-performance UI components.
- Includes popular controls such as Grid, Chart, Scheduler, and more.
- 24x5 unlimited support by developers.