
Electron Succinctly®

CHAPTER 2
Getting Started
Project overview
The application we’ll be building throughout this book will keep track of important personal documents that have an expiration date, such as a passport, a driver’s license, or a credit card.
This type of application is handy to have, so we know when we need to renew these important documents before they expire.
Prerequisites
To make the most of this book, it’s important that you have some basic web development knowledge, including HTML, CSS, and JavaScript.
No specific JavaScript framework knowledge is required, as all the code will be written using vanilla JavaScript (without using any specific JavaScript framework).
The Succinctly Series has you covered if you need to refresh your web development basics—most of these technologies are already explained by some of the other books in the series, so feel free to check out the awesome list of books available within the Succinctly library.
Hardware and software requirements
One drawback to using cross-platform tools and frameworks, such as Electron, is that there are many choices of hardware and software combinations to choose from.
Electron runs on any modern operating system, so even though I’ll be doing everything on Windows 10, you should be able to follow along easily using a Mac or even Linux, since the code itself won’t change.
Electron makes heavy use of Node.js, which is a JavaScrip-based, event-loop command runner built on top of Chrome’s V8 engine. Node.js is a fundamental requirement. Besides Node.js, we’ll also need Electron itself, and a CSS library.
For editing, I’ll be using Visual Studio Code, which is easy to use, and it is available for free. Also known as VS Code, it’s been designed from the ground up to work with the technologies we’ll be using, and as it turns out, it’s written in Electron.
You may also use any other editor of your choice, such as Atom or Sublime.
Windows tooling quick start
Although it’s not mandatory, it’s good to have the latest version of Git installed. Depending on your code editor or IDE of choice, it might be possible to avoid typing Git commands, and we probably won’t be using Git directly.
Nevertheless, Git might be used by some of the tools we’ll be using, so it doesn’t hurt to have it installed—besides, it’s always good to commit your code.
If you open your browser and navigate to the Git website using this link, you’ll be able to easily find where to download Git from. In my case, it looks as follows.
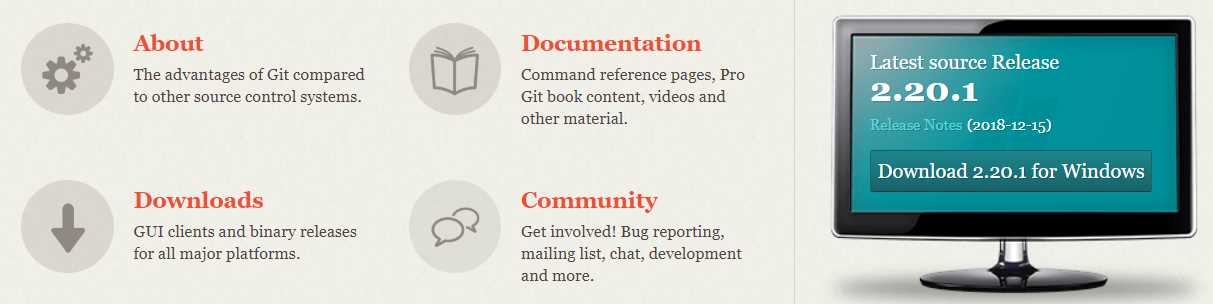
Figure 1-a: Where to Download Git
One of the advantages of installing Git is that it also installs a much better command prompt, called Git Bash, which I recommend using whenever possible.
You should be able to click Downloads for Windows, and then download Git and install with the default options. The process is incredibly simple and intuitive to follow.
To get an automated Git installation on Windows, you can use the Git Chocolatey package.
Once you’ve installed Git, the next tool you’ll need to install is Node.js. I recommend installing the latest LTS (Long Term Support) version, which is clearly indicated on the Node.js website as follows.

Figure 1-b: Where to Download Node.js
Once it’s downloaded, run the installer with the default options and follow the installation wizard—the process is straightforward and incredibly simple. However, if you would like to know more about it, the Node.js installation process is covered in depth within Ionic Succinctly.
Installing Electron
Now that we have Git and Node.js installed, we need to install Electron. To do that, open the command line, and go to the folder where you want to keep the source code of the demo application, which we will be building throughout this book. Then, type in the following command.
Listing 1-a: Installing Electron Command
npm i -D electron@latest |
In my case, it looks like this:

Figure 1-c: Installing Electron through the Command Line
Once the command has been executed and the installation process is finished, you should see some results.

Figure 1-d: Post-Installation Electron Results
With Electron installed, we are ready to start coding.
Summary
In this very brief chapter, we’ve quickly introduced Electron and explained how to set it up. In the next chapter, we’ll explore all the steps required to build the foundation of our Electron desktop app, using plain JavaScript—this way we can be framework agnostic.
- Shared infrastructure for efficient resource management
- Self-service analytics for easy data exploration
- Enhanced security with row-level security and SSO
- Customizable dashboards to meet your specific needs