
Delphi Succinctly®

CHAPTER 3
Exploring the IDE
Before we delve into each kind of project you can build with Delphi, you should get in touch with the fundamental tools available in the IDE and see how they work on a concrete circumstance.

Figure 7: The Delphi IDE
The Tool Palette
The Tool Palette hosts all of the available components and visual controls.

Figure 8: Tool Palette
You can drag components from the Tool Palette to the Form Designer to add functionality to your application, or drag and drop visual controls to build a user interface. Some of them are installed “out of the box” with Delphi, but you can also install new components from third parties or build and install your own components.
All the items inside the Tool Palette are categorized according to their usage context or the library they belong to. Just click the name of the category you want to see the list of components and controls it contains.
Tip: The Tool Palette supports “incremental search.” When the panel is in focus and the cursor is flashing inside the Search box, start typing the name of the desired component. The palette displays only the items that match the text you enter.
The Form Designer
The Form Designer occupies the main area of the IDE window, and it is where most of the action of designing an application takes place. Here is where you drop components and visual controls like you just did in the “Hello World” sample.

Figure 9: Form Designer
Each control has a default size and position when dropped. You can change the latter by clicking the control dragging it around, or resize the control with the handles that appear when you click the blue dots.
Some controls can act as parents for other controls. Try it yourself by dragging a TButton control from the Tool Palette to the panel you previously dropped. If you move the panel around, the button will follow it, retaining its relative position.
Now try adding a non-visual component: select and drag the TActionList component to your Form. Any component will be displayed as an icon on the Form at design time but you will never see it at runtime since it provides only business logic and behavior, hence it does not have a visual representation.
Tip: Sometimes you will end up with a lot of components on your forms, and this can make it difficult to work with visual controls as components keep getting in your way. When this happens, you can select [Edit|Hide Non-Visual Components] from the main menu, or press CTRL+H to hide them from your view. When you are done, select that menu item or press the shortcut again to restore them.The Code Editor
If you click on the Form Designer and select [View|Toggle Form/Unit] from the main menu (or press F12), Delphi switches immediately to the Code Editor window.

Figure 10: Code Editor
Here is where you write the source code of your application. Each form is usually linked to a source code file that contains a type declaration of the form itself. Delphi keeps that declaration in sync with your changes at design time, writing the code for you, while you can add custom code manually as a response to events, modifying the behavior of your application.
The Code Editor is also used for units of Pascal code that are not bound to a form, and, more generally, to edit any kind of text file.
If you press the F12 key or select [View|Toggle Form/Unit], Delphi switches again to the Form Designer.
Tip: The Tool Palette supports “incremental search.” This means that when the panel is in focus and cursor is flashing inside the Search box, the palette displays only those items that match the text you enter.
Structure View
The Structure View displays a tree diagram that changes depending on the active document.
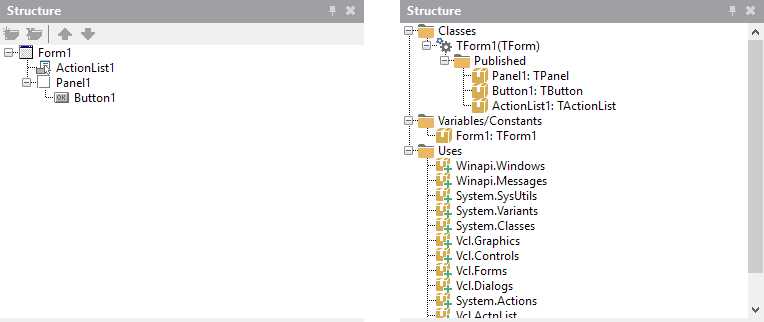
Figure 11: Structure View
When you work with the Form Designer, the Structure View displays all the components and visual controls placed on your form, and you can select them from this view.
If you switch to the Code Editor, you’ll see the hierarchy of classes, types, variables, constants and so on, and you can double-click a node in the tree to quickly move to where that item is defined in the code file.
The Object Inspector
The Object Inspector is a panel where you can edit all the properties of selected forms, components, and visual controls.

Figure 12: Object Inspector
Once you have selected a component or a control, either from the Form Designer or by using the Structure View, the Object Inspector lists all the properties that are available at design time.
For example, you can change the caption of a TButton control by selecting it, clicking the Caption property, and writing the new text you want to display inside the button.
Properties can affect the behavior of components and visual controls, and alter the visual aspect of the latter.
The Object Inspector has an Instance List on the top. You can select the component for which you want to change property values from this list, as you have already done using the Form Designer or Structure View.
You can even filter the list of properties using the Search box and entering the name of a property (or part of it).
In the bottom section, you can find the Quick Action panel. When you select a component that has quick actions associated with it, you can click a hyperlink that triggers a wizard or an automated procedure that performs a complex setup in seconds.
The Object Inspector has the following tabs:
- Properties: Use this to set the property values that affect the visual aspect or behavior of controls and components.
- Events: Use this to assign the reference to a handler method; double-click a row to create a new empty handler.
The Project Manager
The Project Manager shows the files that are part of the project, or a group of projects, displaying them in a hierarchical form, and includes some “special nodes,” which refers to build configurations, target platforms, and other resources.

Figure 13: Project Manager
This panel has a toolbar that lets you add new files to your project, change the arrangement of the items listed in the tree, change the target platform for your application, or quickly activate a different build configuration—just point to the toolbar to see what each button does.
Note: If you look carefully at the project tree, you will notice that the main form has two files linked together. One file contains the definition of the form, i.e., the values you set in the Object Inspector for the form and the components inside of it. The other file contains the Pascal code that guides its behavior (the code you can see and edit using the Code Editor).
Other Panels
There are many other panels available inside the IDE. Some of them are hidden unless there is relevant content to display. Others share the same tab group of the panels we have already discussed.
Data Explorer
The Data Explorer shows ready-to-use database connections and lets you access data live at design time.
You can add new connections or edit and delete existing ones.
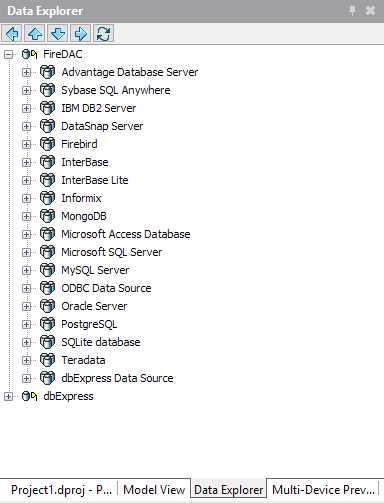
Figure 14: Data Explorer
We will dive in to the data access libraries supported by Delphi in the following chapters.
Model View
The Model View panel allows you to add support for modeling to the project. This creates a logical representation of its contents, where the project is a package with a root namespace and each type is an element node.

Figure 15: Model View
You can use this view to add UML diagrams to your project auto-generating the code, or vice versa, keeping them coordinated.
Class Explorer
The Class Explorer panel shows a hierarchical view of the classes in your project similar to the Structure View, but with features that are more powerful. For example, you can apply several refactoring options, add new members to classes (i.e. methods, fields, properties), and search for usages for a symbol.
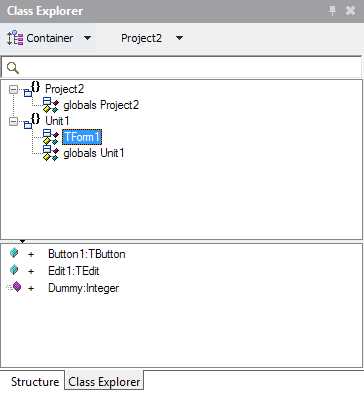
Figure 16: Class Explorer
To-Do List
This panel lets you take care of the tasks needed to complete your work.
Here you can see a list of tasks defined using // TODO comments in code and manually add new global tasks to your project, saved in a separate “.todo” file.
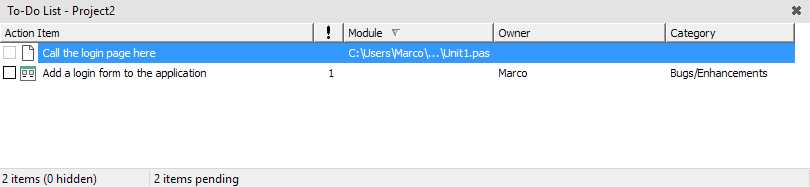
Figure 17: To-Do List
When you are finished with your task, just add a check to mark it complete.
Multi-Device Preview
The Multi-Device Preview is one of the most recent exclusive additions to the product, and is available only for Multi-Device Applications.
You can think of it as a virtual desk where all the most popular devices (both desktop and mobile) are laid out to see how your app will look on them. This includes the different form factors for each device, so you can fine tune your UI and ensure it is working effectively on your selected target device.
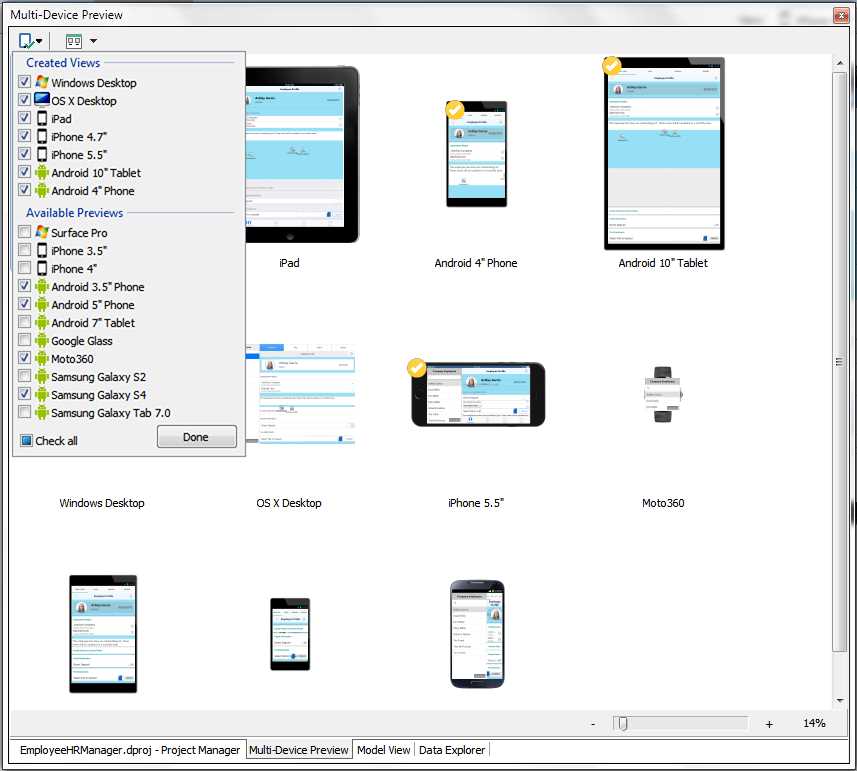
Figure 18: Multi-Device Preview
Messages
The Messages panel is hidden by default, but becomes visible when there are errors after you build a project, showing warnings or hints that need your attention.
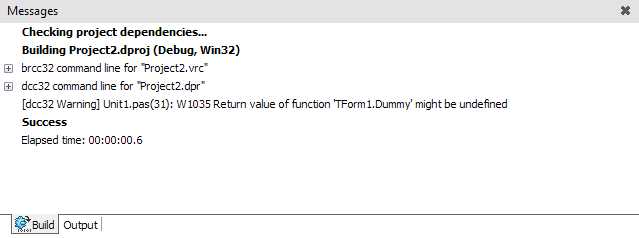
Figure 19: Messages
Refactorings
This panel is usually hidden by default, and Delphi expands it when you apply refactorings to your code, displaying a preview of all the expected changes. You can then choose to proceed with applying them or cancel the operation.

Figure 20: Refactoring Preview
Summary
In this chapter, we have given a purpose to the panels available in the IDE.
You can use the Tool Palette to select components and controls and drag them to your visual form in the Form Designer. You can change the design time properties through the Object Inspector, switching to the Code Editor to write the business logic.
You can find your project files inside the Project Manager window, then open them and navigate their contents using the hierarchical tree offered by the Structure View.
Most of the panels have a toolbar, and you can right-click them to display a menu. Make the toolbars visible using the [View] menu item and feel free to experiment with any command and option available, because you will use them all the time!
- 1800+ high-performance UI components.
- Includes popular controls such as Grid, Chart, Scheduler, and more.
- 24x5 unlimited support by developers.