
CSS3 Succinctly®

CHAPTER 7
Web Fonts
For pretty much the entire life of the HTML/CSS specification, web developers and designers have been restricted to the same core set of fonts for their typography.
I've lost count of the amount of heated debates and discussions I've seen on the subject, and I know firsthand the frustration of having a client wanting text in a specific font only to have to tell them it can't be done.
If you wanted to use a given font, you often had to prepare the text in an art package or word processor that had access to the font you wanted, and then either save the image as a browser-compatible image file or make a screen grab from your word processor to use in your HTML document.
Needless to say, this wasn't easy. Spelling mistakes and simple text changes took an extremely long time to correct (and before anyone asks, I have had at least one client over the years that wanted EVERY bit of body text done this way), and it really was impractical for anything other than simple banners or headlines.
While there was a large amount of frustration surrounding the use of fonts, there were good, sound reasons for restricting things, and these usually boiled down to platform differences.
Early browsers were nowhere near as graphically capable as the browsers of today, and many operating systems only had a limited amount of fonts installed, so the HTML committees formulated a list of known fonts that were pretty much guaranteed to be present on any platform running any graphical browser. For the record, we’re not just talking Windows and Mac—back then you had more variations of Unix and Linux, and each of these had their own specific desktop environments. It wasn't until the early 1990s that many of them started to standardize, using things like X11 and windows managers such as GNOME and KDE. Even Windows was available in at least four different versions.
The restricted base font list that was almost always guaranteed to work was:
- sans-serif
- serif
- fantasy
- cursive
- monospace
If you specified your font using one of these, you'd get that platform’s version of the font, and while it might not always be exactly identical, the look, style, and feel would be close enough that your design’s layout wouldn't be too badly affected.
Depending on your platform, you could also supply overrides to be used. Commonly on sites developed on Windows machines, you would see fonts described as:
Times, "Times New Roman", serif
Doing things this way meant, quite simply: try and see if you have the times font; if not, look for times new roman, and if that fails, then fall back to the 'serif' identifier, and let the platform select the best match.
You still couldn't just use any font you felt like, though.
For example, if you specified "Impact Bold", sans-serif, then any platform that had "Impact Bold" installed would display as intended. If the font wasn't available, then sans-serif would be used. It might look nothing like the original font, and so many designs would simply fall apart and fail to render correctly.
CSS3 fixes all of this by providing the ability to now package fonts in different formats with your web application and have the web server download and use them if it detects the target platform does not have them available.
This still doesn't mean that you should not use the web safe fonts list; all it takes is loss of connectivity, and you’re back at square one. It does mean, however, that you could specify "Impact Bold" and have a very good chance of rendering in "Impact Bold" with display failures apparent now in extreme circumstances.
Using Web Fonts
Now that you know the “why,” let's look at the “how.”
Creating a suitable font
Perhaps the easiest way of getting a font to use with your design is to use the fantastic Font Squirrel website, which can be used to convert a font from your system into an instantly useable kit of CSS3 rules and style sheets.
Head to Font Squirrel and you should see something like this (valid as of January 6, 2015):

- The Font Squirrel Webfont Generator
Using it is simple; you click, add fonts, and select the font files you wish to add. Once you've added the fonts you wish to convert, you MUST click the agreement box to proceed. Font Squirrel will then convert your fonts for you. Once it's finished, it will present you with a download link to a zip file containing your font in several different web-capable formats, along with a number of CSS files and HTML markup examples showing you how to use it.
Note: Be VERY careful about what you convert and use. Many typography providers are exceptionally strict about how you are and are not allowed to use their fonts. Most of them class this process of font conversion for use on a webpage as piracy and are less-than-friendly when pointing this out to website owners. I know of firms that have not even bothered with warning letters and have just slammed unsuspecting website owners with bills for licensing fees with immediate demand for payment. Unless you’re using a font that you know you’re allowed to use, ALWAYS be sure to check the font's licensing requirements. Many of them make it even more difficult by allowing you to create an image using a font and use that in your webpage, but will not allow the use of the font directly.
Another alternative to using fonts in your webpages is the open source Google Fonts directory.
Google makes a point with this tool of allowing all the fonts listed on the site to be useable in webpage designs.
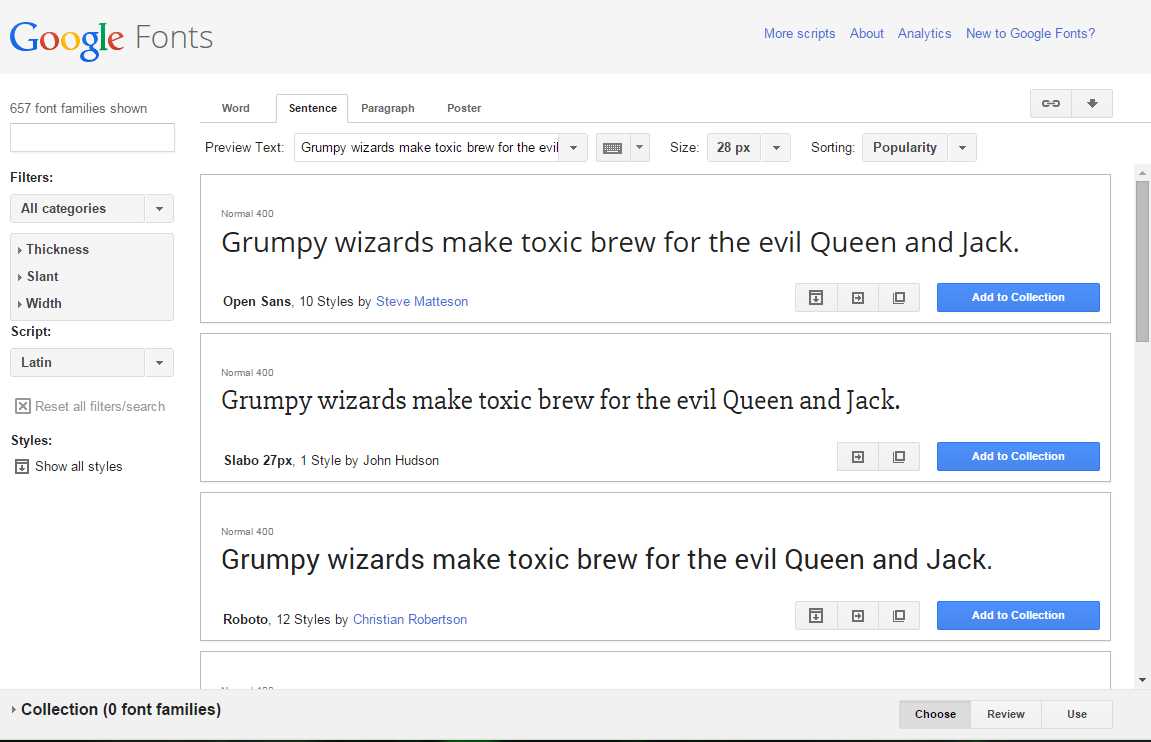
- Google Fonts (January 2015)
With Google Fonts, you can search, filter, and compare any of the fonts in the list, then once you've decided on a font you wish to use, you can add it to a collection or view quick examples of its use.
The quick use page is particularly useful because it lists everything you need to know to immediately add that font to your webpage. By following the instructions on the quick use page and copying and pasting the sample code given, you get to use the font directly off Google's global content delivery networks, so it loads fast, and you don't have to go to the hassle of downloading it and adding it to your own web server.
If you choose to add it to a collection, then you can keep adding other fonts, and all will appear in your Collection panel at the bottom of the page.

- Google Fonts Collection panel
From this panel, you just need to click the Use button and you'll be taken to a page that looks the same as the Quick Use page to finish off the integration.
Manually adding fonts
To finish this chapter, I'll take you through an example of adding your own fonts to your webpages. I'll use two fonts that I previously converted using Font Squirrel called Amble and Nobile. If you go to the main page of Font Squirrel and look through the free fonts list, you can find both of these and more. You’ll have to download them, unzip them, and then convert them using the web font generator tool.
Once you have the fonts converted, open the zip files that were provided to you, and you should find a number of files going by the name of the font you chose.
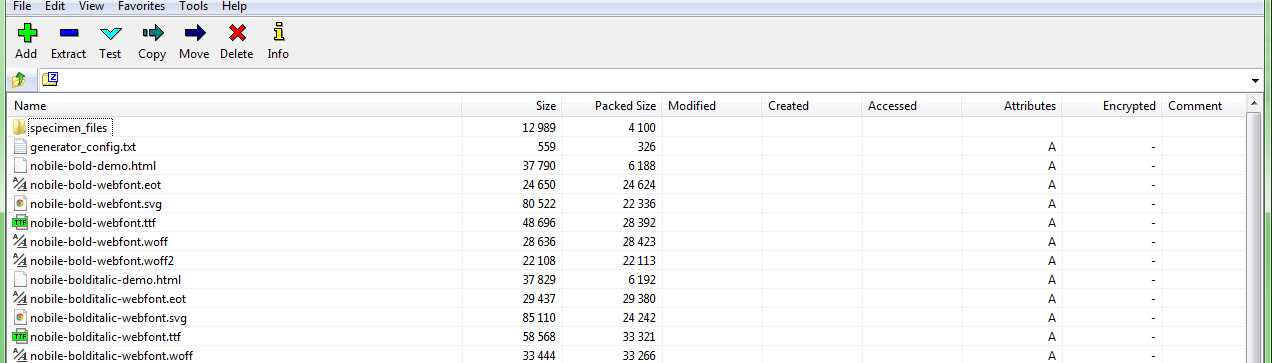
Looking at the zip file for the Nobile font you'll see something like the following (I'm using the excellent, free zip program here called 7-Zip):
- 7-Zip showing a partial listing of our font kit
As well as the expected .html and .css files, you'll see that you have .ttf, .eot, .svg, .woff, and .woff2 files; these five extensions are your actual font files, and it's these files that you need to copy to your web server for your pages to use. I generally put them in a folder called fonts in the root so I can keep them all together. How you do it is entirely up to you, but remember that the CSS styles will need to be able to find them, so you may need to put a ..\ in path names when using them, depending on how you structure your websites.
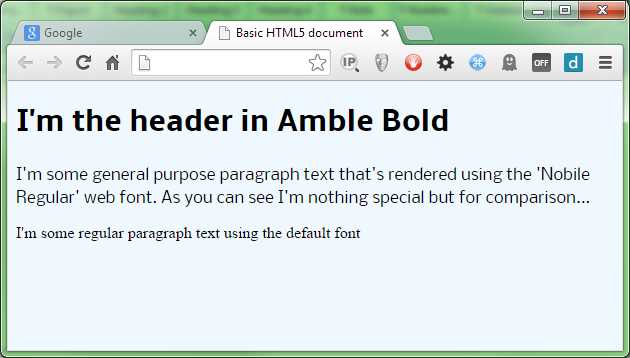
Extract the font files from both zips into a location for your test webpage to use, then create the following HTML markup in a demo file to test them with:
<h1 class="ambleBold">I'm the header in Amble Bold</h1> <p class="nobileRegular"> I'm some general purpose paragraph text that's rendered using the 'Nobile Regular' web font. As you can see I'm nothing special but for comparison... </p> <p>I'm some regular paragraph text using the default font</p> |
Code Listing 68a: HTML markup to demo the usage of custom web fonts
Once you've created the test HTML, create a style sheet with the following rules:
body { background-color: aliceblue; } @font-face { font-family: 'amblebold'; src: url('fonts/amble-bold-webfont.eot'); src: url('fonts/amble-bold-webfont.eot?#iefix') format('embedded-opentype'), url('fonts/amble-bold-webfont.woff2') format('woff2'), url('fonts/amble-bold-webfont.woff') format('woff'), url('fonts/amble-bold-webfont.ttf') format('truetype'), url('fonts/amble-bold-webfont.svg#amblebold') format('svg'); font-weight: normal; font-style: normal; } @font-face { font-family: 'nobileregular'; src: url('fonts/nobile-regular-webfont.eot'); src: url('fonts/nobile-regular-webfont.eot?#iefix') format('embedded-opentype'), url('fonts/nobile-regular-webfont.woff2') format('woff2'), url('fonts/nobile-regular-webfont.woff') format('woff'), url('fonts/nobile-regular-webfont.ttf') format('truetype'), url('fonts/nobile-regular-webfont.svg#nobileregular') format('svg'); font-weight: normal; font-style: normal; } .ambleBold { font-family: 'amblebold' } .nobileRegular { font-family: 'nobileregular' } |
Code Listing 68b: CSS font rules to style and use the HTML in Code Listing 68a
With the appropriate font files copied to a folder called fonts in the same place as your test HTML document and style sheet, if you load the document into your browser, you should see the following:
- Our HTML rendered using a custom font
You can specify as many @font-face rules as you wish. Once you've defined them, you can simply use the name you defined them with in any CSS rule that you would use one of the original web-safe fonts in.
As you can see in our demo, however, I prefer to actually define a class-based rule with the font name in it. This allows me to just add the class name to the list of classes for an element; then if I ever need to change the font, I only need to change it in one place rather than in several different rules. Again, it's up to you how you structure this in your own projects; the only thing you have to make sure of is that the various url keywords in each of the font definitions can be downloaded.
One of the most common problems I see with developers working on the Windows platform under the IIS web server is that sometimes fonts don't render correctly, even though the font files are there and the CSS files are correct. The reason this happens is that by, default, IIS doesn't have a mime type listing for the woff and woff2 font extensions (on some older ones, ttf and svg are not defined, either). You can verify this by requesting the font directly in your browser’s address bar. If the font does not have a correct mime type, you'll get a 404 error from the server telling you the font could not be found.
Fixing it is quite easy, and rather than repeat the instructions here, I'll just point you to this article and this article. These two links will give you everything you need to know to solve the problem.
If this occurs on other servers, then you'll need to refer to the appropriate documentation for that server to find out how to add the appropriate mime types.
Summary
In this chapter we saw how to use the font functionality that's part of CSS3, how to convert and add new fonts to our webpages, and also took on board some cautionary notes about using them.
Next up we'll take a look at generated content, counters, and calculations.
- 1800+ high-performance UI components.
- Includes popular controls such as Grid, Chart, Scheduler, and more.
- 24x5 unlimited support by developers.