
CSS3 Succinctly®

CHAPTER 2
Basic CSS Refresher
Before we get started on the main core of the book, let’s go through a basic CSS refresher.
If you've worked with CSS before, or are up to speed with the language and how it works, then you can safely skip this part of the book. If your CSS skills are a little rusty, or you’re quite new to the concept of CSS in general, then you should read this chapter, as it will provide the basic groundwork for what's to come in the following chapters.
Defining CSS
So what exactly is CSS?
CSS stands for Cascading Style Sheets, and the idea behind them is a very simple one. CSS documents are created solely for the purpose of styling (that is, managing color, size, layout, position, and much more) the contents of an HTML document.
While HTML code's purpose is to define the structure of the document, CSS is there to define how that content is presented to the end user.
CSS was originally created to reduce the amount of markup that was being used in an HTML document to dictate what a particular chunk of HTML looked like.
Many modern-day web developers may never have seen this older syntax, so to give you an example of how things used to be done, look at Code Listing 2:
<body> <font family="serif" size="20pt" color="#FF0000"> <i> <b> <h1>This is my header in bold italic, 20 point red serif font</h1> </b> </i> </font> </body> |
Code Listing 2: A typical example of pre-CSS styling
Today's browsers will still obey this and style it appropriately, as shown in the following image:
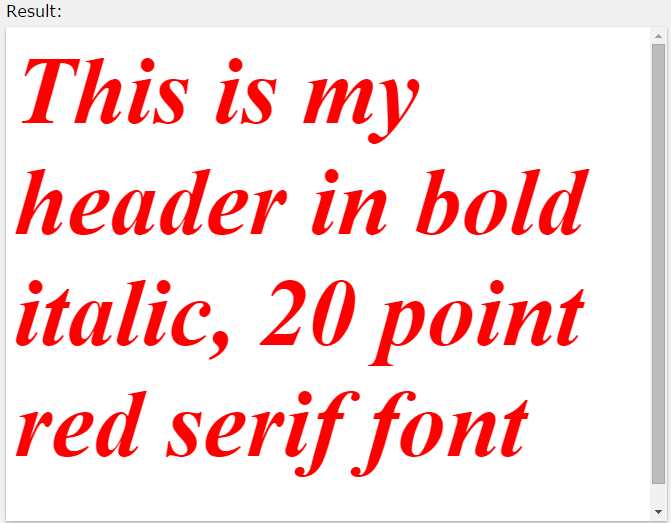
- The output produced by the pre-CSS code sample in Code Listing 2
As you can see from the HTML code presented in Code Listing 2, vastly more markup was required to produce a simple one-line, bold, red header than most are used to today.
That was just one line—imagine having to do this every time you wanted to produce a similarly styled header for your page.
CSS rules solve two of these problems immediately. First, they typically define the rules that define how the text should look in a separate file. This immediately means that a designer or graphics-only person can easily change these rules without ever having to worry about the code in the HTML file.
Secondly, they promote re-use of a rule on multiple elements through the use of the class attribute, which means you only have to specify the settings once, then tell the markup when to use those settings.
Let's now revisit Code Listing 2, and examine the difference I've just described.
<h1 class="boldred">This is my header in bold italic, 20 point red serif font</h1> |
Code Listing 3a: Our new HTML markup for the bold red style
.boldred { font-family: serif; font-size: 20pt; color: red; } |
Code Listing 3b: The bold red style rule now defined in styles.css
You can immediately see the difference here, and to re-use the rule on another line, we simply have to add class="boldred" as an attribute to our tag. If we then proceed to change the style rule from, say, red to green, every element using that rule will suddenly change to a green color without ever having to touch any HTML markup.
So now we know why CSS was defined; next we'll start to look at how.
Cascading the rules
The astute reader may already be asking themselves what the “cascading” part of CSS stands for. To cascade is to flow or follow downwards, and that’s exactly what CSS style sheets do.
Not considering the subject of specificity for now, which is covered later in this book, rules that are obeyed or discovered further down the chain override anything further up the chain. If you’re not used to this, it can present some interesting bugs and challenges for you, especially when you first start out exploring what is and isn’t available.
Once you see it in action, however, the concept is quite simple.
Take the following style rule:
.mystyle { font-size: 10pt; color: green; } |
Code Listing 4: Simple green text CSS rule
If you were to attach that to an element, you would rightly expect the text to be 10 points in size and green in color.
Now imagine this rule was defined in a style sheet that was already implemented in a CSS document, included elsewhere in your project (as part of a content management system, for example).
Furthermore, imagine you've been asked to make all text using that rule red, but without being able to change the style file previously created.
The reasons why you might not be able to change the original file are many and varied; the style sheet may be also being used by a second site where the text must remain green, or the styles may be being produced dynamically, for example. Whatever the reason, this scenario happens much more than you might anticipate.
However, if you simply create a second style file (let's call it styles2.css), then duplicate the link tag (as seen in the basic HTML code in the previous chapter) and change the file name appropriately, we can then proceed to add the following CSS rule to this new file.
.mystyle { color: red; } |
Code Listing 5: Our duplicate rule created in 'styles2.css'
If you've done things correctly, then you should be greeted by red text in your browser, rather than green text.
In order to continue to use the green version, you simply leave out the second link that loads styles2.css, and include it to “adjust” your rule to be red.
If you change the font size in the original file, you'll see that, that one single change will affect both the red and green versions of the text.
This cascading of styles can be used in many different ways; before I explain that however, there's one more important refresher topic you need to understand first.
CSS Selectors
So far you've only seen the use of a “class” attribute-based CSS rule, but there are many other ways that rules can be defined.
Take the following example HTML.
<p id="importantInfo">This is a standard text paragraph, with no explicit style rule defined, all it has is an 'id' attribute that essentially gives the HTML parser a name for it</p> |
Code Listing 6a: HTML markup with an ID attribute
#importantInfo { color: red; font-size: 14pt; } |
Code Listing 6b: CSS Style rule that targets a given ID
In Code Listing 6a, I define a standard HTML paragraph tag. It has no associated style information or class selectors applied to it; all it has is a simple id attribute, which essentially allows us to give the element a name.
If you look at the CSS rule defined in Code Listing 6b, however, you'll see that instead of a period [.] being placed in front of the rule name, we now have a number sign [#] in front of it.
CSS can use a number of different symbols when defining rules. These symbols are known as CSS selectors, and how you define a selector dictates how you intend the rule to be used.
In the case of Code Listing 6, we've used the ID selector. The purpose of the ID selector is to target one specific, named element in a document.
In Code Listings 4 and 5, the class selector was intended to be used on many different elements, simply by adding a class attribute. Because a given ID can only be applied to one element at a time, when we specify a CSS rule that targets an ID, we are for all purposes saying that this rule applies to that element and ONLY that element—never any other.
However (as you'll see in just a moment), ID selectors are often used deliberately to control hierarchy in a CSS document, and make full use of the cascading nature of the technology.
Cascading can be used to great effect when we chain selectors together, because it allows us to drill down deep into the HTML markup, without ever having to make sure that we dictate what the markup should look like.
Let's imagine for a moment that we’re creating an HTML document containing news posts.
Every news post in the document has to obey the same set of style rules, and as such, takes on the same look and feel for every post.
Each post should be shown on a different color background to the rest of the page, and should always have blue, bold headers with smaller, red paragraph text.
Based on what we've seen so far, we might be tempted to write the following code.
<div id="newspost"> <h1 class="newsheader">News article 1</h1> <p class="newstext">The article text for news article one, this should be standard paragraph text<p> <h1 class="newsheader">News article 2</h1> <p class="newstext">The article text for news article 2 goes right here, and looks the same as article one</p> </div> |
Code Listing 7a: Possible news article HTML code
#newspost { background-color: silver; } .newsheader { color: blue; font-size: 15pt; } .newstext { color: red; font-size: 10pt; } |
Code Listing 7b: Possible news article CSS code
While this will work very well and produce the desired output, we can actually take advantage of CSS's cascading nature here, and actually make things a little more obvious—even to the point where our HTML and CSS are almost describing their own intent.
If we change the HTML in Code Listing 7a so that we remove all the class tags from each of the h1 and p elements, we should end up with the following code:
<div id="newspost"> <h1>News article 1</h1> <p>The article text for news article one, this should be standard paragraph text<p> <h1>News article 2</h1> <p>The article text for news article 2 goes right here, and looks the same as article one</p> </div> |
Code Listing 8: The code from Listing 7a with the class attributes removed
As you can see, all we have left now is the ID defining the name of newspost for the div element that wraps all of our articles.
Now change the CSS code as follows:
#newspost { background-color: silver; } #newspost h1 { color: blue; font-size: 15pt; } #newspost p { color: red; font-size: 10pt; } |
Code Listing 9: The CSS code from Listing 7b with changed selectors
You should find that when you render it in your browser, you still get the following output:
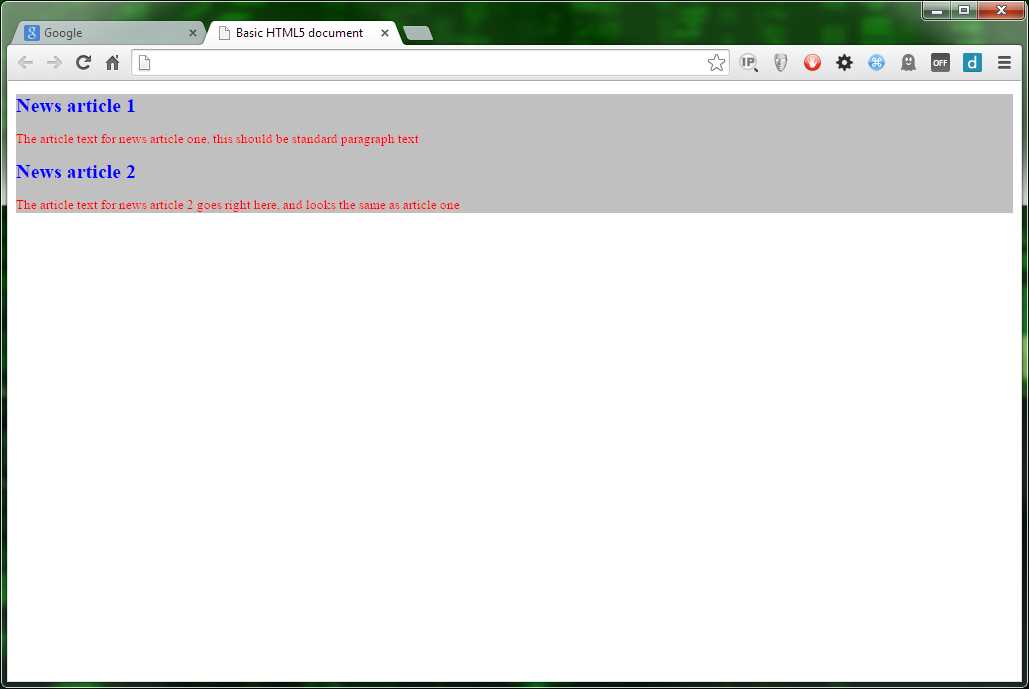
- Output produced by Code Listings 8 and 9
One of the really great things about letting the cascading nature take care of things like this, is that you could easily add another article to your newspost div just by inserting the h1 and p elements as appropriate. You don't in any way need to worry about assigning the correct class name to each h1 and p element as you add it, nor do you have to keep checking that both elements are using the correct styles.
As long as the elements are within a section that has the named ID, they will be colored accordingly. Note also that the cascading behavior we've just seen doesn’t apply only to ID-based selectors; you can, for example, have a class-based selector for the newspost div, that you might intend to reuse, and you can still cascade the styles for the other elements off of that, as the following code shows:
.newspost { background-color: silver; } .newspost h1 { color: blue; font-size: 15pt; } .newspost p { color: red; font-size: 10pt; } |
Code Listing 10: The CSS code from Listing 9 using class selectors
Using a cascaded, class-based selector like this allows you to reuse your newspost class in many different places in your HTML, and any h1 or p elements placed inside of said element will automatically take on the look and feel of the blue headers with red text.
Pseudo Selectors
The next type of basic selector we have to consider when doing a basic refresher is the humble pseudo selector. Just like “pseudo code,” the pseudo selector is not a full selector in its own right, but an extension to an existing selector.
The most well-known example of this is the hover selector used on HTML anchor tags.
A pseudo selector works by modifying an existing rule to only be active given a specific scenario, which in the case of hover, is when the user’s mouse hovers over the element in question, as Code Listing 11a shows:
<a href="#" class="hoverClass">Hover over me I'll change color</a> |
Code Listing 11a: HTML to demonstrate the pseudo hover selector
.hoverClass { font-size: 20pt; color: red; } .hoverClass:hover { color: blue; } |
Code Listing 11b: CSS code to demonstrate the pseudo hover selector
If you render a page containing this code in your browser, you should see something like the following:
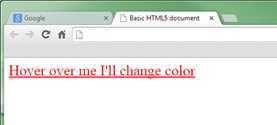
- Pseudo hover selector in its default state
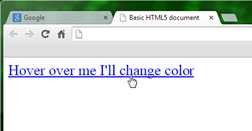
- Pseudo hover selector in its hovered state
Prior to CSS3, there were only a few pseudo selectors that could be relied on to work across all browsers; typically these applied only to HTML anchor tags, and were hover (as you've just seen), visited, active, and link, which were used to style anchor tags for visual feedback, depending on whether or not a user had previously visited the link in question. Unfortunately, from CSS3 onwards, even though these styles still exist and work as anticipated, the number of options that can be changed by them has been severely limited. This was in response to a privacy hack that was found in the wild, where unscrupulous website owners were using them to track if users had visited a given site or not.
Direct Selectors
The last selector on the refreshers list is the direct selector. This is the most simple of all the selectors available, and as its name implies, it's used to directly select a known element name. You may also come across the terms type selectors, element selectors, and tag selectors; there is no agreed terminology for this type of selector, and which one is used depends heavily on the browser manufacturer. For our purposes, we use direct selector simply because we are directly targeting a named entity.
For example, if you wanted to target all p elements in a given document, you would simply do the following:
p { color: green; } |
Code Listing 12: Using a direct selector
Once this is added to a style sheet, anything in the HTML markup of the document that consists of a <p> </p> tag would appear in green, regardless of its class, ID, or anything else.
Don't forget, you can easily combine basic selectors, so you could easily select only h1 elements that are descendants of divs; for example, h1 type elements have the boxout class applied to them and are nested inside a div element. This can be achieved using a selector such as div .boxout h1.
Summary
CSS3 introduced many new selector types, allowing even more precise control over how you target various parts of your HTML document. We’ll be covering these in the next chapter as we start to explore the new things that CSS3 brings to the table for modern day web developers.
In this chapter, we took a quick look at CSS as a technology/language, and had a quick refresher on how it does what it does. Moving forward from here, we'll start to delve into topics specific to this new version of CSS. If you’re still having problems making sense of CSS in general, then I suggest working through some of the various sites that are available to you on the internet today.
One particular site I can heartily recommend is HTML Dog. Not only is this site crammed full of all the essential information you might need to know, but it also carries a number of tutorials, reference guides, and resource links to other useful places on the internet that should help you further your knowledge.
- 1800+ high-performance UI components.
- Includes popular controls such as Grid, Chart, Scheduler, and more.
- 24x5 unlimited support by developers.