
Introduction to CNTK Succinctly®

CHAPTER 1
Getting Started
Microsoft CNTK (Cognitive Toolkit, formerly Computational Network Toolkit) is an open source code framework that enables you to create deep learning systems, such as feed-forward neural network time series prediction systems and convolutional neural network image classifiers. Version 1.0 of CNTK was released in 2016. Version 2.0 was released in June 2017, and is a significant rewrite of the 1.0 version.
This e-book is based on CNTK version 2.3, released in late 2017. Because CNTK is still under active development, by the time you read this e-book, the latest version will likely be different. However, any changes will likely be relatively minor and consist mainly of additional functionality. In other words, the code presented here should work with any CNTK 2.x version.
The CNTK framework functions are written in C++ for optimal performance. Although you can call CNTK functions using a C++ program, the most common approach is to call CNTK functions using a Python program. CNTK version 1 used a proprietary scripting language, BrainScript, which is still supported by version 2.
CNTK v2 runs on both Windows (8.1, 10, Server 2012 R2 and later) and Linux systems, but not directly on Mac systems. The screenshot in Figure 1-1 shows a simplified CNTK session. Notice that the program is just an ordinary Python script, iris_fnn.py, that references CNTK as a Python package, and CNTK-Python programs run in an ordinary shell.

Figure 1-1: Example CNTK Session
There are several other deep learning frameworks. Microsoft CNTK is most similar to Google TensorFlow. In my opinion, CNTK is easier to program with than TensorFlow; however, all deep-learning frameworks have a fairly steep learning curve. Both CNTK and TensorFlow can be accessed by the Keras wrapper framework, a topic that is outside the scope of this e-book.
This e-book assumes you have intermediate (or better) programming skills with a C-family language, but doesn’t assume you know anything about CNTK. Enough chitchat already—let’s get started.
Installing CNTK
Every programmer I know, including me, learns how to program in a new language or framework by getting an example program up and running, and then experimenting by making changes. So if you want to learn CNTK, the first step is to install it.
Installing CNTK is a bit different from many installs. You don’t install CNTK directly. Instead, you install CNTK as an add-on package for Python. You first install a Python distribution, which contains the base Python language interpreter plus several additional packages that are required by CNTK, in particular the NumPy and SciPy packages. Then, you install CNTK as an extra package.
It is possible to install Python, NumPy, and SciPy separately. But instead, I strongly recommend that you install the Anaconda distribution of Python, which has everything you need to successfully install and run CNTK. Before beginning the installation process, you must carefully determine compatible versions of CNTK and Anaconda. Almost all of the installation failures I’ve seen are due to incompatible Anaconda and CNTK versions.
The first step is to determine which version of CNTK you want to use. In general, you’ll want to install the most recent version of CNTK. However, this e-book is based on CNTK version 2.3, so you may want to install v2.3 instead of the latest version. There are several different kinds of CNTK installations to choose from. You’ll find links to several installation types here, as shown in Figure 1-2.

Figure 1-2: Select the Python-Only Link
I recommend that you select the Python-only installation option. After you click that link, you will be redirected to a page that lists the currently supported versions of Python, as shown in Figure 1-3.
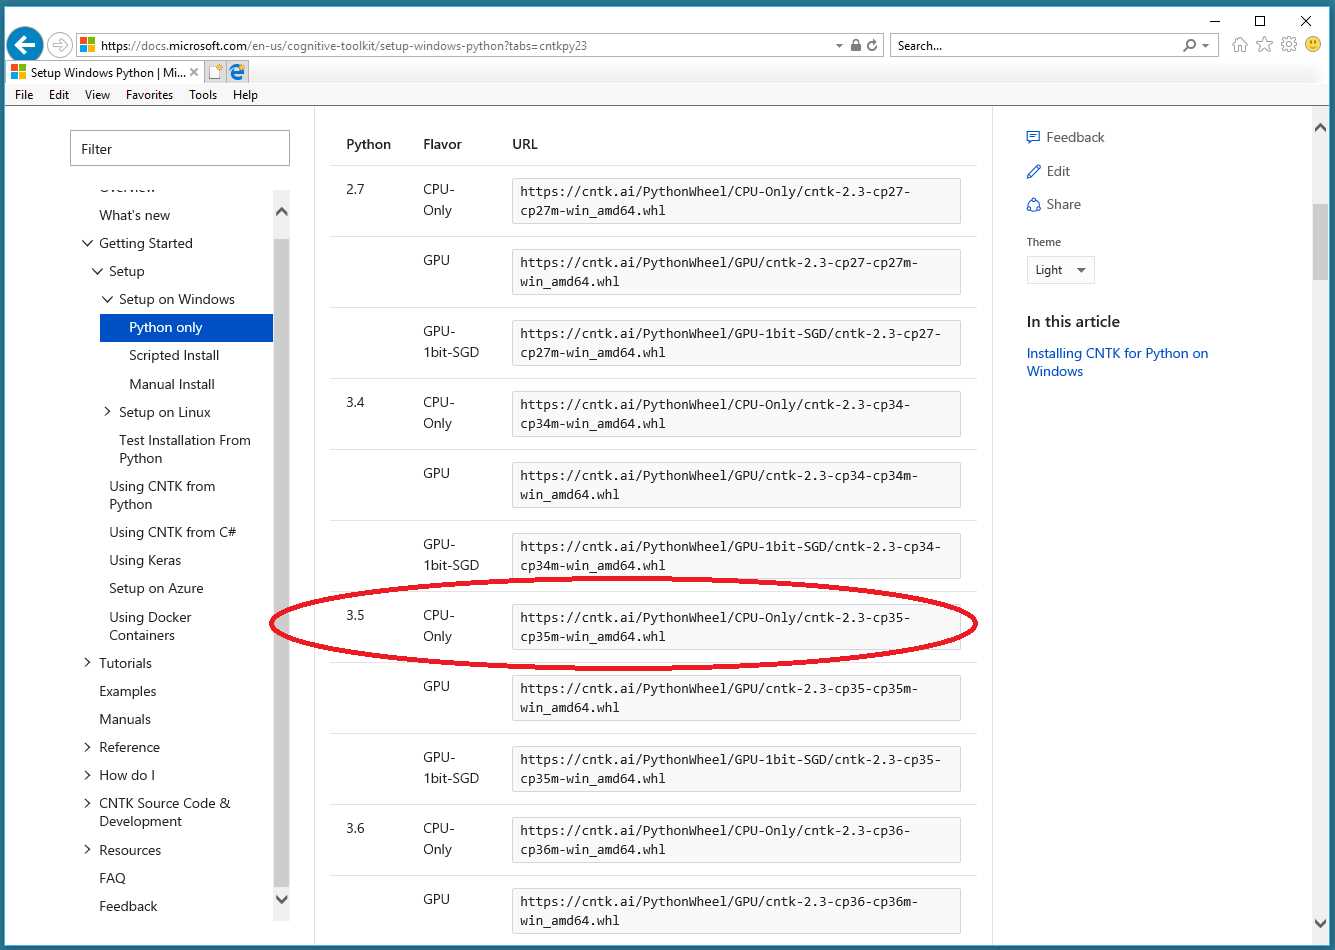
Figure 1-3: Supported Versions of Python
Notice that each version of Python has three different flavors of CNTK: CPU-Only, GPU, and GPU-1bit-SGD. Each flavor has an associated .whl file (pronounced “wheel”). If you are new to Python, you can think of a Python .whl file as somewhat similar to a Windows .msi installer file. You might want to copy the .whl URI string, because you’ll need it after installing Python.
CNTK supports both CPU processing and GPU processing. If your machine does not have a GPU installed, then you should use the CPU-only version. At this point, your main decision is choosing the version of Python you’ll be using. In Figure 1-3 the choices are 2.7, 3.4, 3.5, and 3.6.
Before proceeding, you should check your machine to determine if you already have an existing Python installation. The simplest scenario is if your machine doesn’t have an existing Python installed, then you can proceed. If, however, you already have one or more versions of Python installed, you should either uninstall them all (if feasible) or note their installation locations (if uninstalling them is not feasible). With multiple Python instances installed, you may run into Python versioning issues at some point.
At the time of writing this e-book, Python version 3.5 was very stable, so I decided to use it rather than the newer version, 3.6. Once you decide on your Python version, you need to find the archived Anaconda distribution that has that version of Python.
Do not install the most recent version of Anaconda. If you scroll down the Setup information page, you’ll find which Anaconda version to use. For Python 3.5, you need Anacoinda3 4.1.1. Either do an internet search for “archive Anaconda install,” or go directly here.
On that page you’ll see many different Anaconda distributions. Be careful here; even though I’ve installed and uninstalled Anaconda for CNTK dozens of times, I’ve botched selecting the correct version of Anaconda several times.
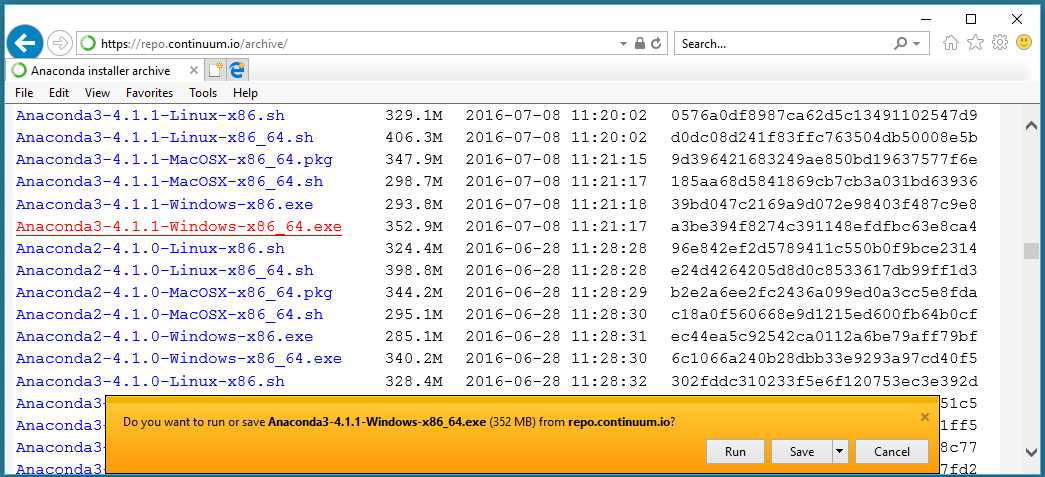
Figure 1-4: Find Correct Anaconda Archived Install Link
Because I’m using a 64-bit Windows machine, and I want Python 3 with Anaconda version 4.1.1, I click the Anaconda3-4.1.1-Windows-x86_64.exe link. This will launch a self-extracting installation program. You can click Run.
To recap, at this point you’ve determined which version of CNTK you want to use (2.3 CPU-only in this example), and then determined which version of Anaconda to use (Anaconda3 4.1.1 in this example), and are now beginning the Anaconda installation process.
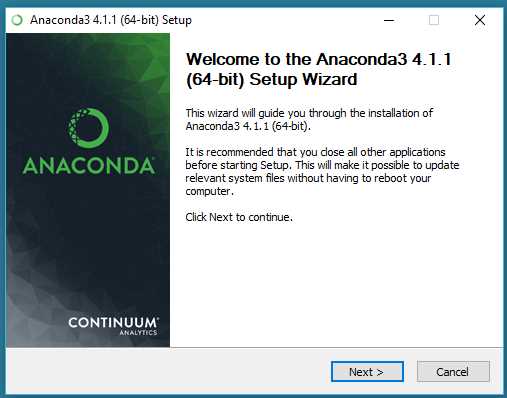
Figure 1-5: Anaconda Installation Welcome
A few seconds after you click Run, the Anaconda installation Welcome window will appear, as shown in Figure 1-5. Click Next.
You will see the Anaconda License Agreement window, as shown in Figure 1-6. Click I Agree.

Figure 1-6: Anaconda License Agreement
You will see the Select Installation Type window, as shown in Figure 1-7. I strongly suggest you keep the default Just Me (recommended) option. This will reduce the likelihood of Python versioning collisions if there are multiple user accounts on your machine. Click Next.
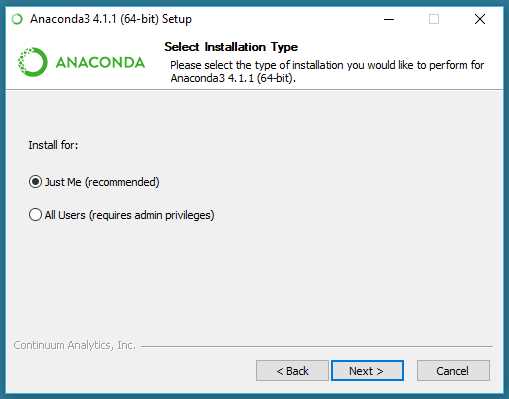
Figure 1-7: Anaconda Installation Type
Next, you’ll see the Choose Install Location information. You should accept the default location (C:\users\<user>\AppData\Local\Continuum\Anaconda3 on Windows) if possible, because some non-CNTK packages may assume this location. Click Next.
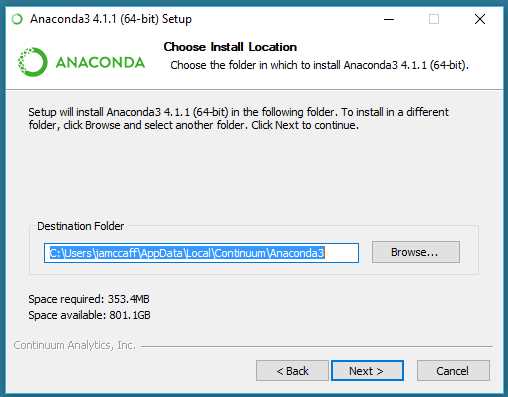
Figure 1-8: Default Anaconda Python Installation Location
You will see the Advanced Installation Options window. You should accept both default options. The first adds Anaconda to your System PATH variable. The second option makes Anaconda your default Python version. If you have an existing Python installation, this will usually override the existing instance and you may want to install a Python version selector program. Click Install.
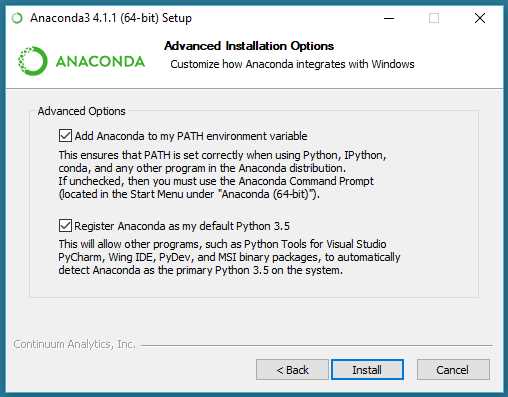
Figure 1-9: Installation PATH and Default Python Information
Installing Anaconda takes about 10 to 15 minutes. There will be no options for you to consider, so you don’t need to attend the installation. However, you may want to observe the progress bar and see which packages are installed, such as NumPy, shown in Figure 1-10.
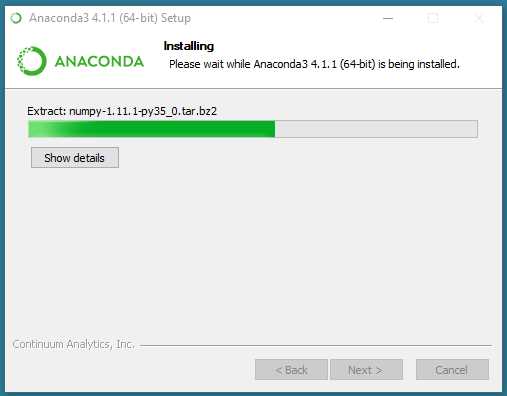
Figure 1-10: Anaconda Installation Progress
When installation completes successfully, you’ll see an Installation Complete window. Click Next, as shown in Figure 1-11.
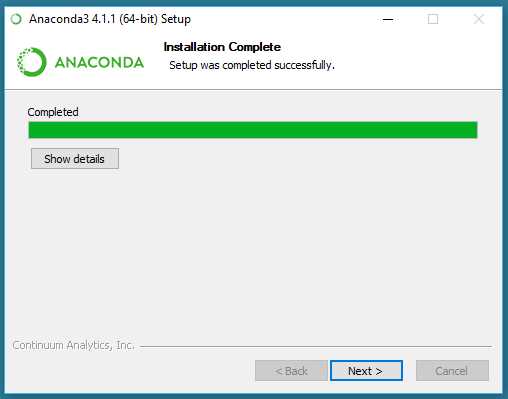
Figure 1-11: Successful Anaconda Installation Window
You will see a final window, with an option to view marketing information from Continuum, the company that maintains the Anaconda distribution. In Figure 1-12, I unchecked that option, and clicked Finish. To summarize, the Anaconda install is a self-extracting executable with a wizard-like process. You can accept all the default options.
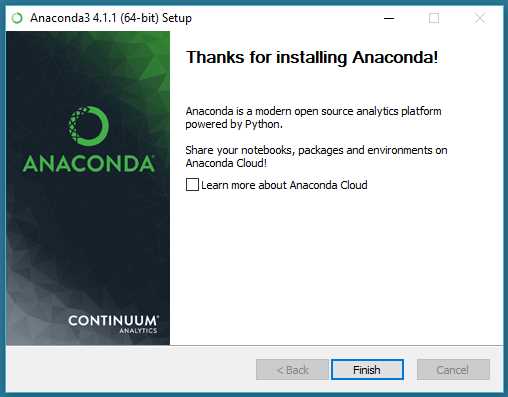
Figure 1-12: Final Anaconda Installation Window
After the Anaconda installation is complete, you may want to look at the installation file and directory structure, as shown in Figure 1-13. Notice there are directories named Lib, Library, and libs. Just below the files shown in Figure 1-13 is the python.exe main execution engine.
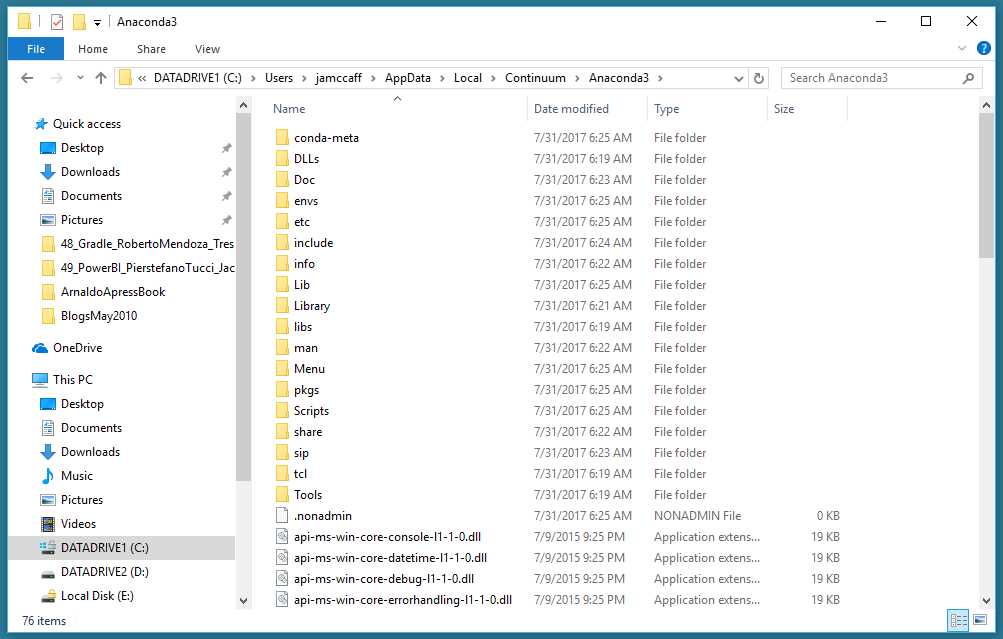
Figure 1-13: The Anaconda Installation Location
Before installing the CNTK add-on package, you should verify that your Anaconda Python distribution is working. Open a command shell and enter python --version (with two hyphens). Python should respond as shown in Figure 1-14. You might want to test the Python interpreter by issuing the command python followed by a print(‘hello’) statement.
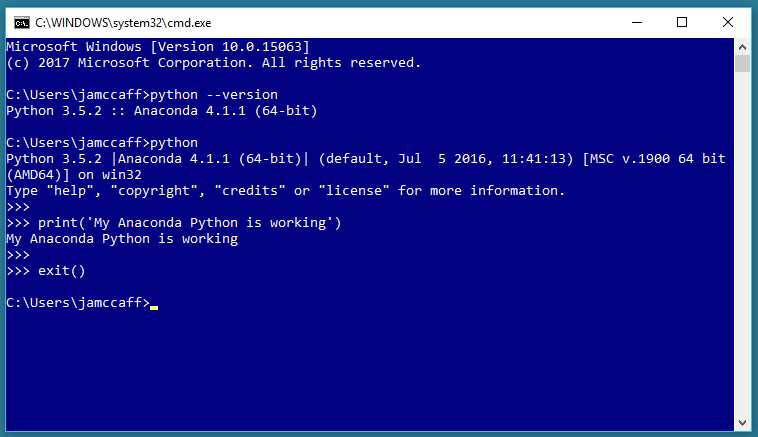
Figure 1-14: Verifying the Anaconda Python Installation
After installing Anaconda, installing the CNTK package for Python is remarkably easy. From a command shell, enter pip install uri-to-whl-file, where the URI is the .whl file associated with your Python install, as shown in Figure 1-3. For my installation, that URI is https://cntk.ai/PythonWheel/CPU-Only/cntk-2.3-cp35-cp35m-win_amd64.whl. Notice the reference to CNTK 2.3 in the URI. The “35” in the URI indicates Python 3.5.
Note that if your machine does not have a GPU, you can install the GPU version of CNTK anyway, because the GPU version has CPU code, too. However, I recommend CPU-only.
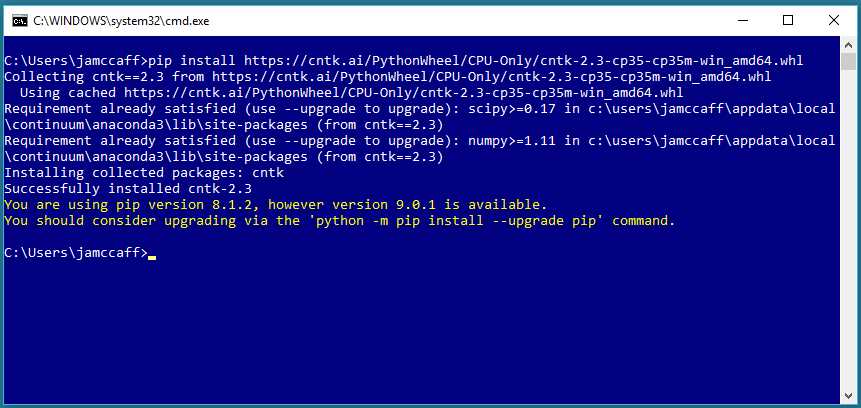
Figure 1-15: Using pip to Install the CNTK Package
CNTK will be installed very quickly, and you should see a success message, as shown in Figure 1-15.
After CNTK is installed as a Python package, you might want to examine its file and directory structure, at C:\Users\<user>\AppData\Local\Continuum\Anaconda3\Lib\site-packages\cntk, as shown in Figure 1-16.
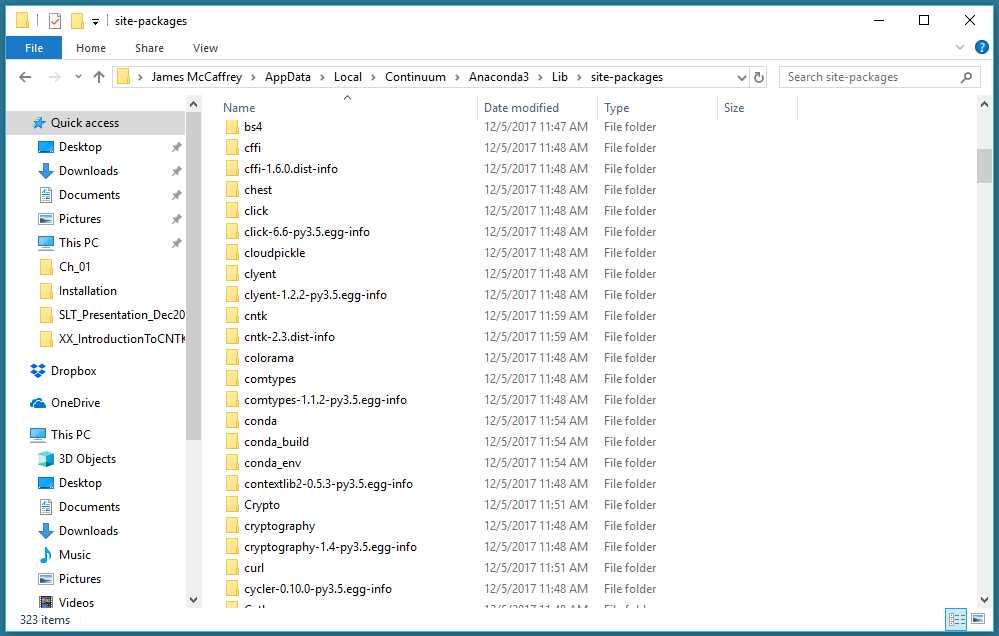
Figure 1-16: The CNTK Package Location
You should verify that CNTK has been installed correctly. From a command shell, start the Python interpreter by entering python. Then enter import cntk as C followed by print(C.__version__), as shown in Figure 1-17. (Note the two underscores before and after version in the command).

Figure 1-17: Verifying the CNTK Installation
If the interpreter responds with your CNTK version, you can be certain that CNTK is installed properly on your machine, and you’re ready to start writing programs with the CNTK framework.
Editing and running CNTK programs
Because a CNTK program is a specialized Python program, you can use any Python editing environment. If you are relatively new to Python, selecting a Python editor or IDE (integrated development environment) can be a confusing task because there are dozens of editors and Python IDEs to choose from.
I often use plain old Notepad, or sometimes, the slightly more powerful Notepad++. Neither of these give you built-in debugging functionality, so debugging means you must insert print() statements to inspect the values of variables and objects. And there’s no integrated run command, so you run programs from a shell.
Code Listing 1-1: Checking the CNTK Version
# test_cntk.py import sys import numpy as np import cntk as C py_ver = sys.version cntk_ver = C.__version__ print("Using Python version " + str(py_ver)) print("Using CNTK version " + str(cntk_ver)) |
For example, launch the Notepad text editor (or any other editor), and copy and paste the code from Code Listing 1-1. Save the file as test_cntk.py (being careful not to add an additional .txt extension) in a convenient directory. Open a command shell, navigate to the directory that holds your Python file, and execute by entering python test_cntk.py, as shown in Figure 1-18.
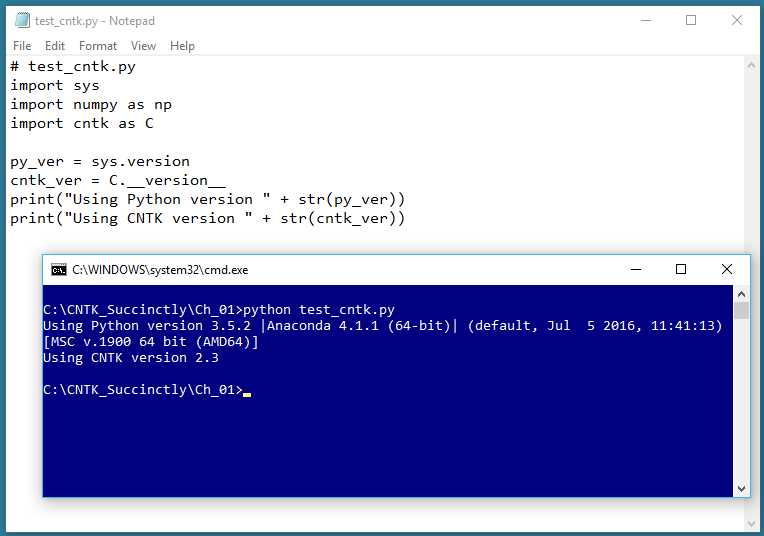
Figure 1-18: Using Notepad and a Command Shell
Many of my colleagues use Visual Studio Code (VS Code), a free, open source, cross-platform, multi-language IDE. Installing VS Code is quick and easy, and then adding Python support is just a matter of a couple of clicks. You can download VS Code here.
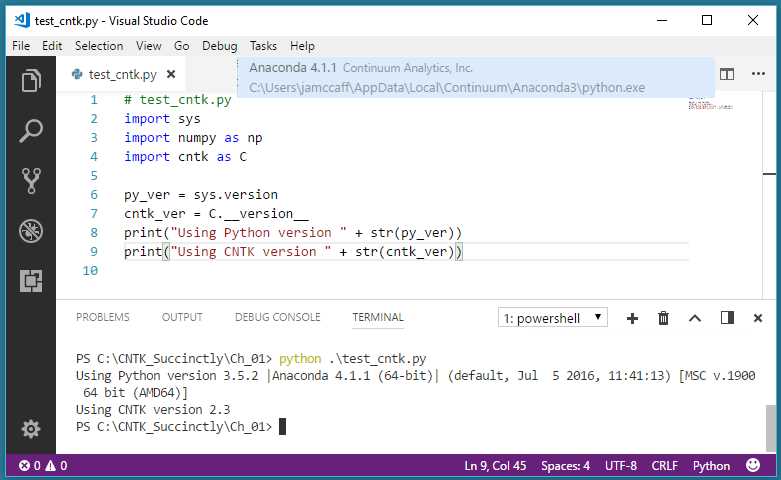
Figure 1-19: Using Visual Studio Code
Figure 1-19 shows an example using VS Code. There are many advantages of using VS Code, including IntelliSense auto-complete, pretty formatting, and integrated debugging. However, unlike Notepad, VS Code does have a non-trivial learning curve you’ll have to deal with. See the tutorial here to learn more.
Yet another option for editing and running CNTK programs is the heavyweight Visual Studio (VS) IDE. The default configuration of VS does not support editing Python programs, but you can install the Python Tools for Visual Studio add-in. With the add-in installed, you get full Python language support, as shown in Figures 1-20 and 1-21.
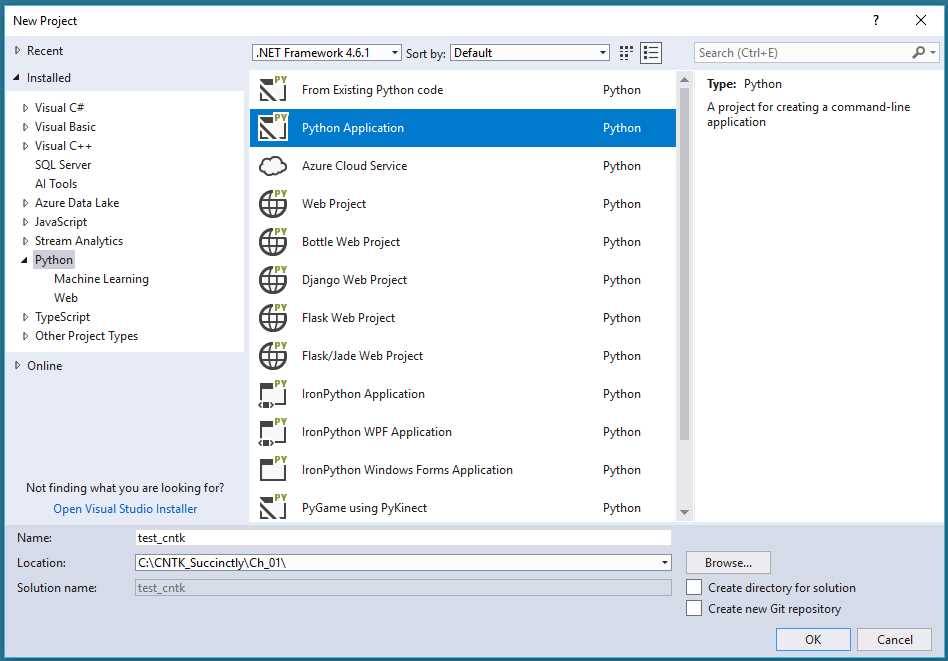
Figure 1-20: Creating a Python Project Using the Visual Studio IDE
One advantage of using Visual Studio is that you get support for all kinds of additional functionality, such as data connectors to SQL Server databases and Azure data sources. The main disadvantage of Visual Studio is its very steep learning curve.

Figure 1-21: Running a Python Program from the Visual Studio IDE
If you are familiar with any Python editor or development environment, my recommendation is to continue using that system. If you are relatively new to programming, my recommendation is to start with simple Notepad, because it has essentially no learning curve. If you are an experienced developer but new to Python, my recommendation is to try VS Code.
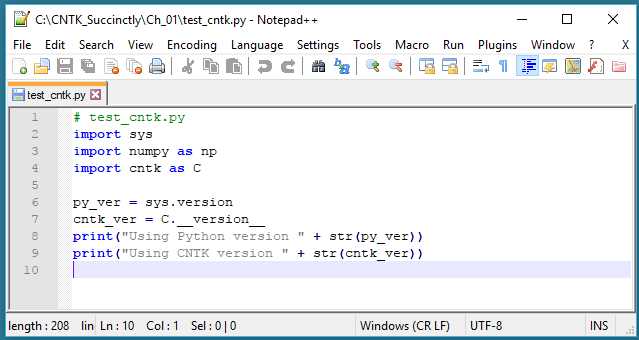
Figure 1-22: Using the Notepad++ Editor
Uninstalling CNTK
CNTK and Anaconda Python have quick, easy, and reliable uninstall procedures. To uninstall CNTK, all you have to do is launch a command shell and issue the command pip uninstall cntk. It’s that easy. The CNTK package will be removed from your Python system, as shown in Figure 1-23 (slightly edited for size). To uninstall Python, on Windows you can use the Programs and Features section of the Control Panel, as shown in Figure 1-24.
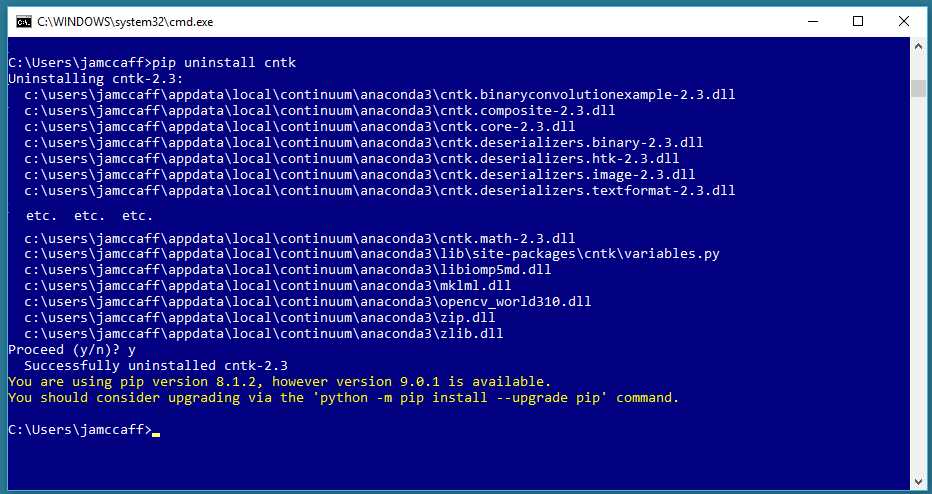
Figure 1-23: Uninstalling CNTK
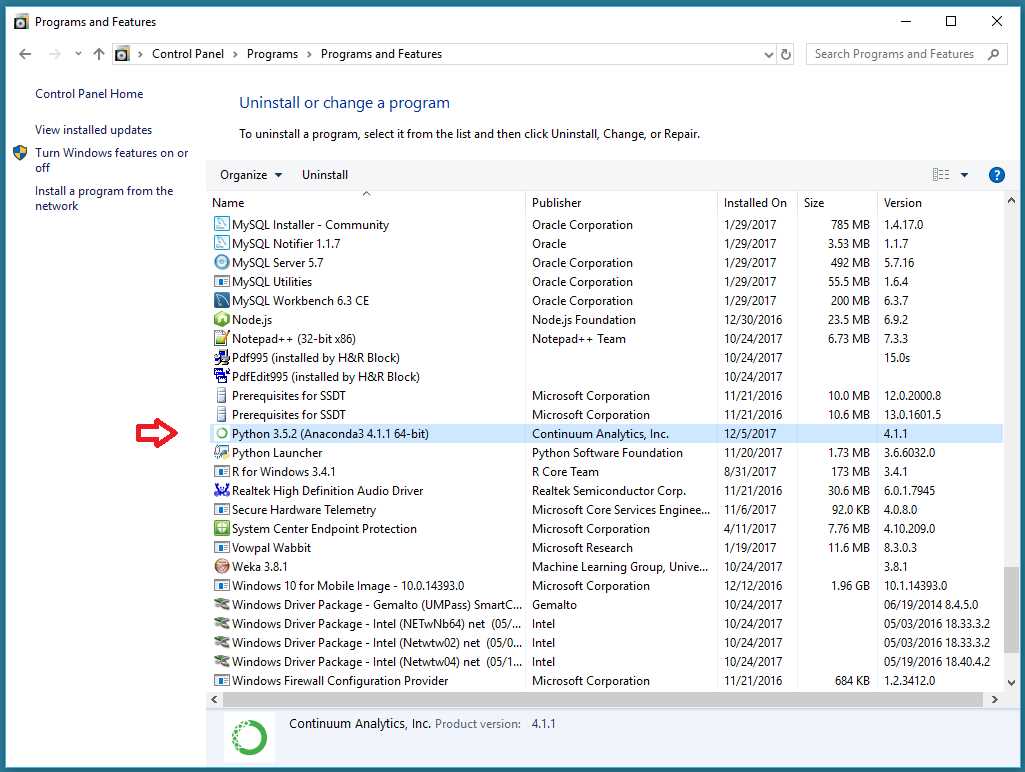
Figure 1-24: Uninstalling Anaconda Python
If you become a regular user of CNTK, you’ll eventually want to upgrade your version. Although the pip utility supports an upgrade command, I recommend just deleting your current version, then installing the new version.
- 1800+ high-performance UI components.
- Includes popular controls such as Grid, Chart, Scheduler, and more.
- 24x5 unlimited support by developers.