
Camtasia Succinctly®

CHAPTER 2
Installing Camtasia
Getting started
This chapter describes how to deploy Camtasia in a Windows environment, starting with a brief explanation about the requirements you need to fulfill prior the installation process. At the time I'm writing this book, the current version of Camtasia is 8, but by the time you read this e-book, the current version could well be different. However, Camtasia is a mature product, and you won't have any trouble following my explanations and figures.
In order to install Camtasia in a Windows environment, the computer used to deploy the software should comply with the following requirements:
- Microsoft Windows 7, Windows 8, or Windows 10 (64 bit versions are recommended).
- Microsoft .NET Framework 4.0 or above.
- Microsoft DirectX 9 or later version.
- Dual-core processor minimum. A Quad-core processor or better is highly recommended.
- 2 GB RAM minimum, even though 4 GB or more are recommended.
- A 2 GB hard disk free space for program installation.
- A 1024x768 display monitor, minimum.
- Dedicated Windows-compatible sound card, microphone, and speakers.
- Camtasia Add-in for PowerPoint requires PowerPoint 2007, 2010, or 2013.
- Importing .mov files or producing .mov files requires Apple QuickTime 7.2 or later.
- Camera video recording requires a USB web camera. Recording live from a DV camera is not supported.
- GPU acceleration requires DirectX 9 compatible video adapter with 128 MB of video memory or greater.
Getting Camtasia
Although Camtasia is commercial software, TechSmith allows you to download a fully functional 30-day trial here. When the trial period expires, the software will no longer work until a valid license key is provided. So the user doesn’t need to install the program again after purchasing it.
Camtasia installation process
To install Camtasia in the computer system, the user should click the camtasia.exe file located in the Downloads folder. Then the installation program will decompress and prepare the files needed by the process, and the following dialog box will be displayed.
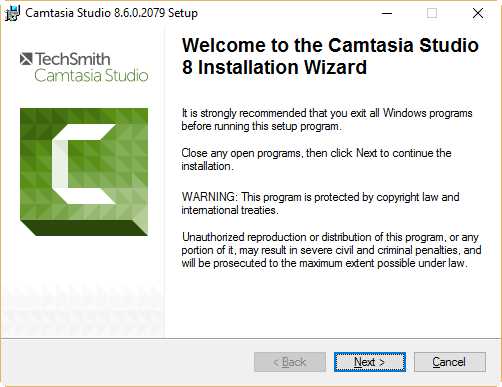
- Installation welcome dialog box
The welcome screen, which is shown in Figure 1, recommends that you close all open Windows applications before starting the Camtasia installation process. After closing all programs, click Next.
The next step in the process is to accept the license agreement and click Next, as shown in the following figure.
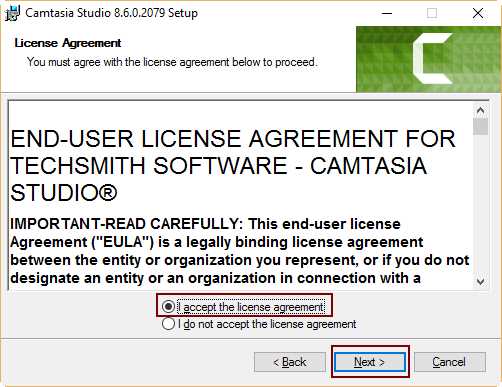
- Camtasia License Agreement dialog box
The next stage is very important. Since it’s assumed that the trial version of the software is being installed, the user should select Free trial and click Next.
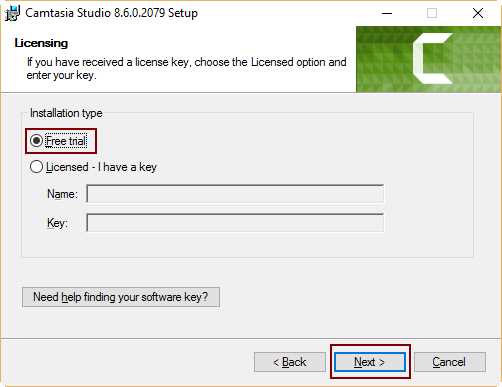
- Choosing installation of Free trial version
After that, the user can choose the installation folder for the program. It is recommended that you keep the folder suggested by the setup program.
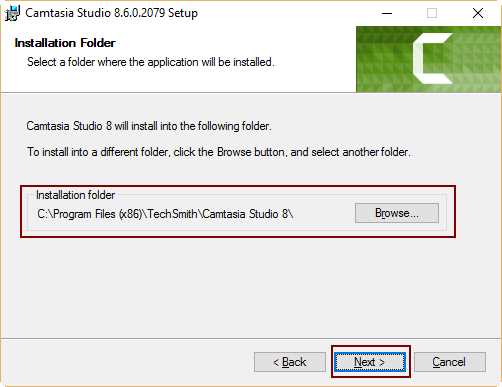
- Choosing installation folder
Now the installation process gives you the option to enable the Camtasia add-in for Microsoft PowerPoint. The default behavior of the setup program enables it.
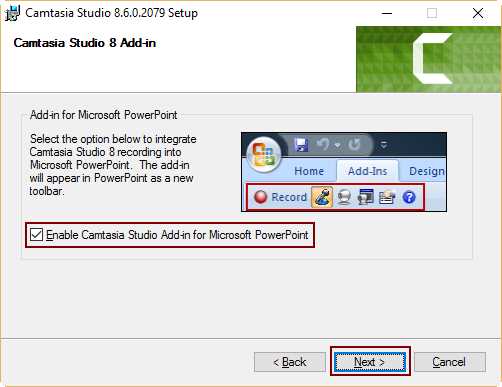
- Enabling Camtasia add-in for Microsoft PowerPoint
Prior to program installation, the user can set up some custom actions to be executed during the course of the process, such as installing the Camtasia default library assets, creating a desktop shortcut, and, optionally, executing Camtasia just after the installation finishes.
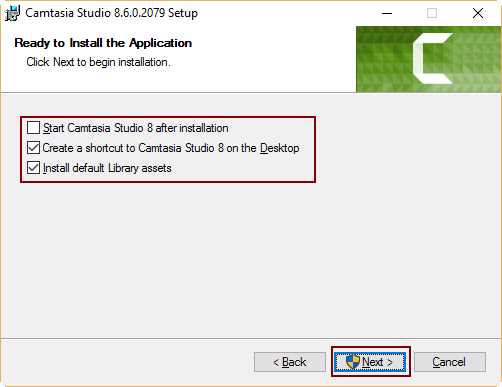
- Setting up custom actions prior to installation
When the user clicks on the Next button of the dialog box displayed in the previous figure, the installation process starts and the Updating System dialog box is shown on the screen.
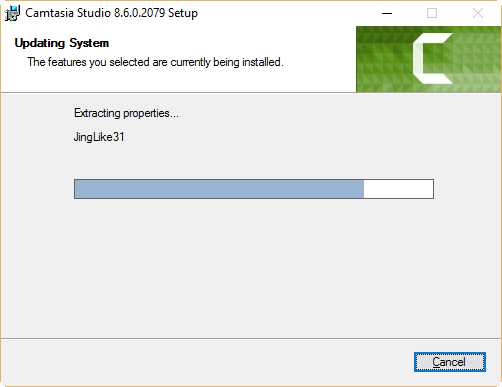
- The Updating System dialog box
The Installation Finished dialog box appears when the process ends.
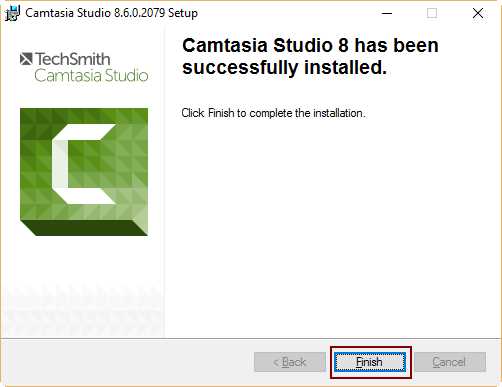
- Installation Finished dialog box
Chapter summary
This chapter described how to deploy Camtasia in a Windows environment, starting with a brief explanation about the requirements you need to fulfill prior the process. Even though Camtasia is commercial software, TechSmith (the company who developed the software) allows you to download a fully functional 30-day trial from its website. When the trial period ends, the program will no longer work until the user supplies a valid license key.
To install Camtasia, the user should execute the camtasia.exe file previously downloaded and follow the instructions displayed in the dialog boxes shown on the screen. It is assumed that the 30-day trial version of the program is being installed.
- 1800+ high-performance UI components.
- Includes popular controls such as Grid, Chart, Scheduler, and more.
- 24x5 unlimited support by developers.