
Blazor Succinctly®

CHAPTER 2
The Help Desk Application
To demonstrate the features of Blazor, and how controls such as the suite available from Syncfusion can make development faster and easier, we will create a simple help desk application.
Help desk users
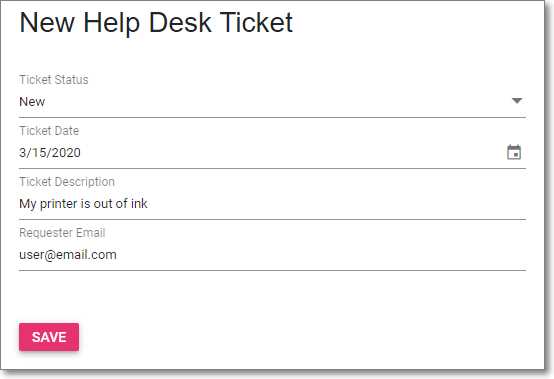
Figure 10: New Help Desk Ticket
Users of the application will see a form that allows them to create a new help desk ticket.
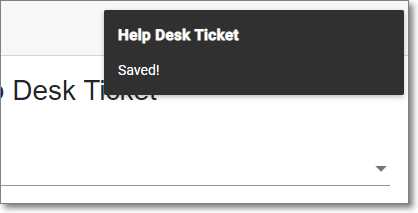
Figure 11: Syncfusion Toast
A pop-up, using the Syncfusion Toast control, is displayed to let the user know that their action was successful.
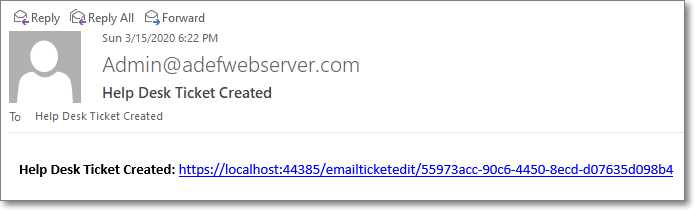
Figure 12: Email Notification
An email is sent to the administrator with a link that will navigate directly to the help desk ticket.
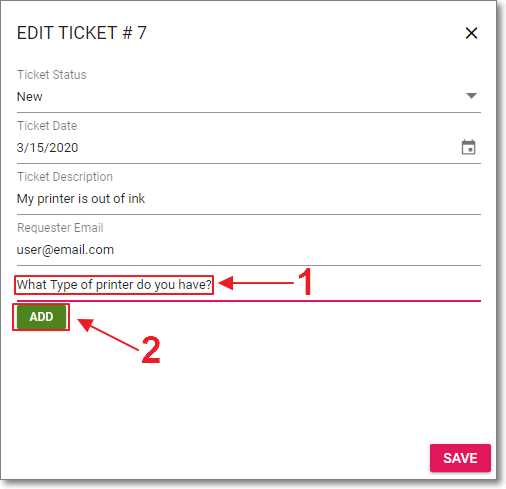
Figure 13: Administrator Adding Details
When the administrator is logged in, and they click on the link in the email, they will have the ability to edit all fields and enter help desk ticket detail records at the bottom of the form by entering the desired text and clicking ADD.
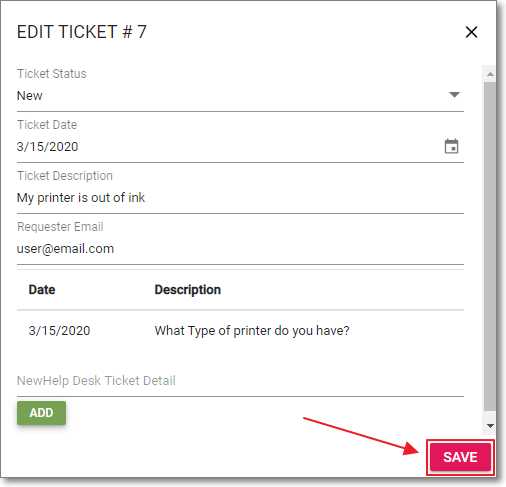
Figure 14: Administrator Saving Details
After the desired help desk ticket details have been added, the administrator clicks SAVE to save the record and send a notification email to the user who created the help desk ticket.
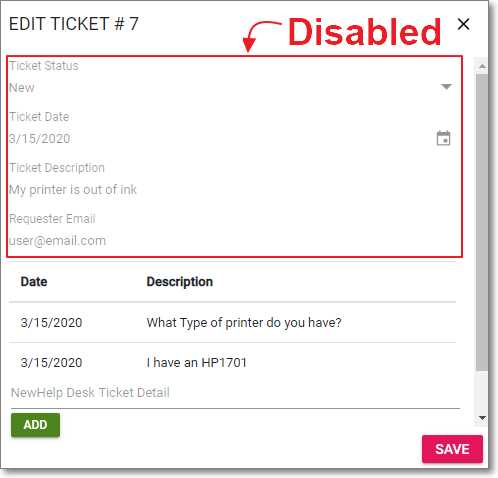
Figure 15: User Adding Details
The user who created the help desk ticket receives an email with a link that navigates them to the help desk ticket and also allows them to enter details.
However, the fields at the top of the help desk ticket are grayed-out and disabled for them. They can only add new details.
Help desk administrators
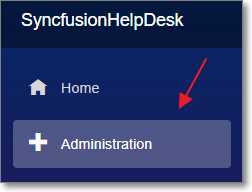
Figure 16: Administration Menu Link
A user logged in as the administrator will see an Administration link that will take them to the section of the application that will allow them to administer all help desk tickets.
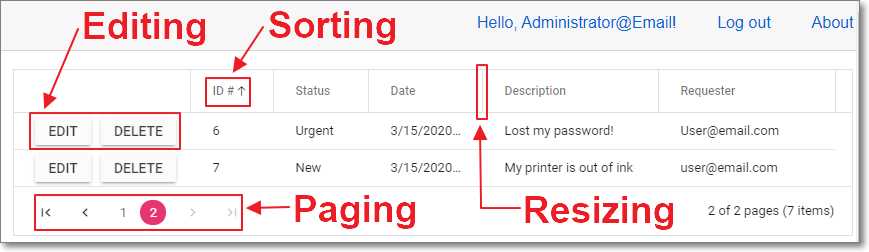
Figure 17: Syncfusion Data Grid
This will display the Syncfusion Data Grid that will allow the administrator to edit records, sort, page, and resize the Data Grid.
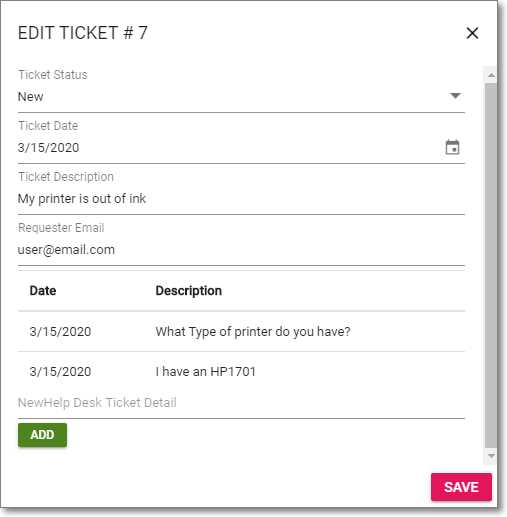
Figure 18: Syncfusion Dialog
Clicking the EDIT button next to a record in the Data Grid will open it up in the Syncfusion Dialog control.
This dialog will allow the administrator to edit all fields of the help desk ticket as well as add help desk ticket detail records at the bottom of the form.
When the administrator saves the record, the user who created the help desk ticket receives an email with a link that navigates them to the help desk ticket.
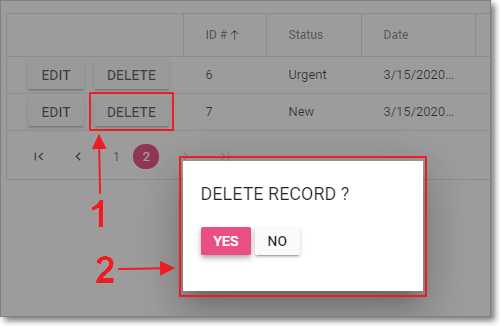
Figure 19: Delete Confirmation
Clicking the DELETE button next to a record in the Data Grid will open up the delete confirmation pop-up in the Syncfusion Dialog.
Clicking YES will delete the record and clicking NO will cancel the action.
- 80+ high performance Blazor components.
- Lightweight and user friendly.
- Stunning Built-in themes with customization.