
Blazor Succinctly®

CHAPTER 4
Create the Help Desk Application
In this chapter, we will cover the steps to create the help desk application.
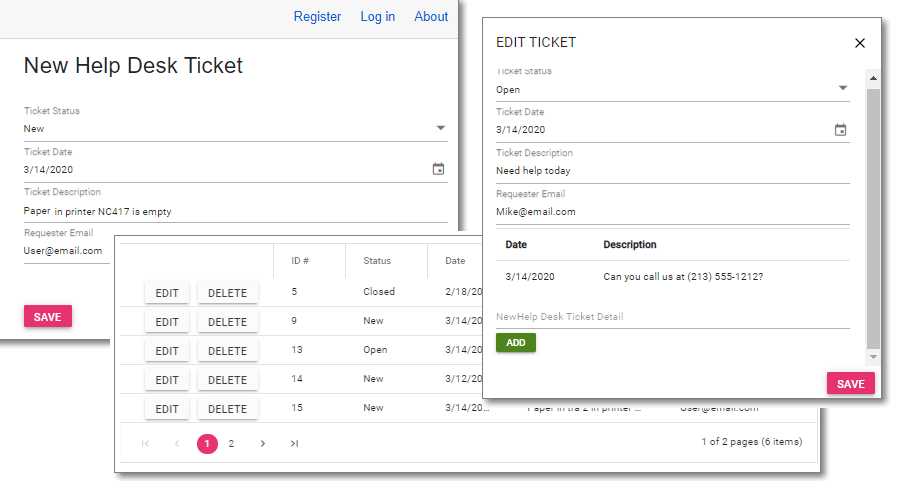
Figure 24: The help desk application in action
The source code for the completed application is available on GitHub.
Install SQL Server
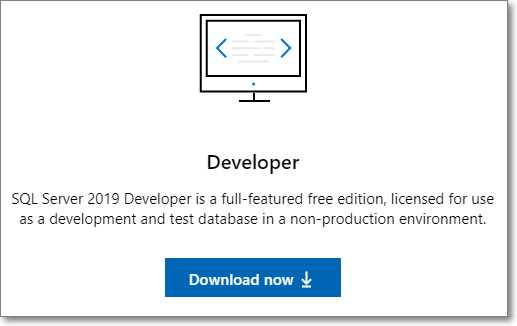
Figure 25: SQL Server
The application requires a database to store the data. You can download and install the free SQL Server 2022 Developer edition from the following link: https://www.microsoft.com/en-us/sql-server/sql-server-downloads. Of course, you can also use alternatives such as MySQL or SQLite.
Install .NET Core and Visual Studio
To create the application, these steps are required if you do not already have the following software installed:
- Install the .NET 9.0 SDK (or later) from https://dotnet.microsoft.com/download/dotnet-core.
- Install Visual Studio 2022 version 17.12.2 (or later), with the ASP.NET and web development workload from https://visualstudio.microsoft.com/vs/.
Note: The requirements for creating Blazor applications are constantly evolving. For the latest requirements, see the following documentation: https://docs.microsoft.com/en-us/aspnet/core/blazor/get-started.
Note: If you install Visual Studio 2022 and select the .NET Core workload during installation, the .NET SDK and runtime will be installed for you. See https://docs.microsoft.com/en-us/dotnet/core/install/sdk?pivots=os-windows for more information.
Create the project
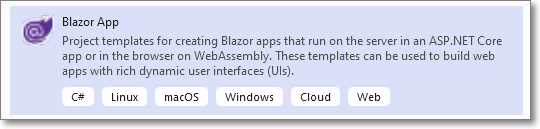
Figure 26: Blazor app
To create the project:
- Open Visual Studio and select Create a New Project.
- Select Blazor Web App, then select Next.

Figure 27: Set project name
- Enter a Project name and select Next.
- In the Create a new Blazor app dialog, select Change under Authentication.
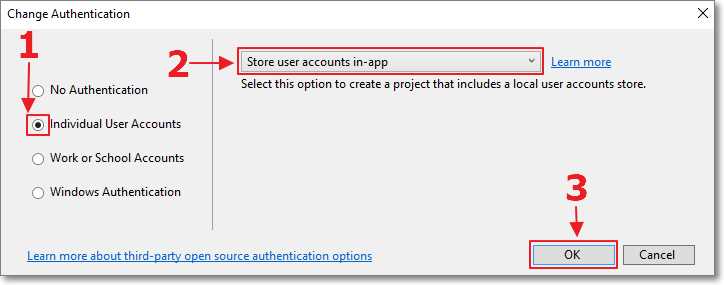
Figure 28: Set Authentication
- In the Additional Information dialog, select:
- .NET 9.0 for Framework.
- Individual User Accounts for Authentication type.
- Server for Interactive render mode.
- Global for Interactivity location.
- Include sample pages and Do not use top-level statements.
- Select Create.
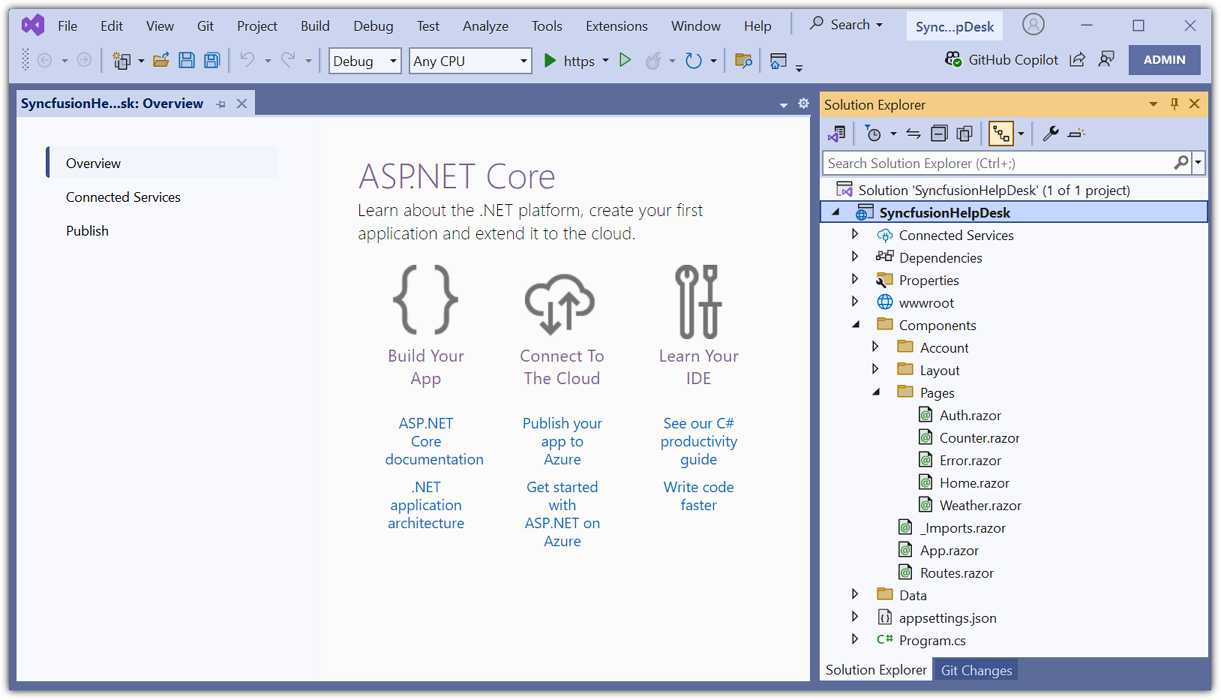
Figure 29: The new project in Visual Studio
The project will be created and opened in Visual Studio.
Create the database
- From the toolbar, select View > SQL Server Object Explorer.
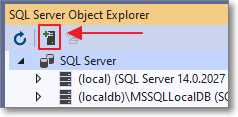
Figure 30: Add SQL Server
- Select Add SQL Server to add a connection to your database server if it isn’t already in the SQL Server list.
Note: For this example, we do not want to use the (localdb) connection for SQL Express, which you may see in the list.
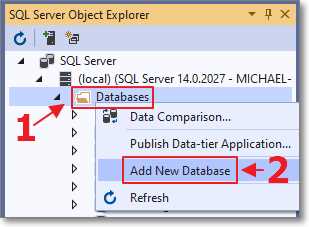
Figure 31: Add new database
- Expand the tree node for your SQL server, then right-click Databases and select Add New Database.
- Name the database SyncfusionHelpDesk.
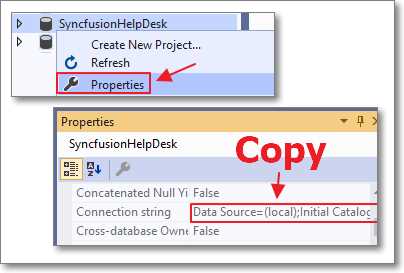
Figure 32: Copy connection string
- After the database has been created, right-click on it and select Properties. In the Properties window, copy the Connection string.
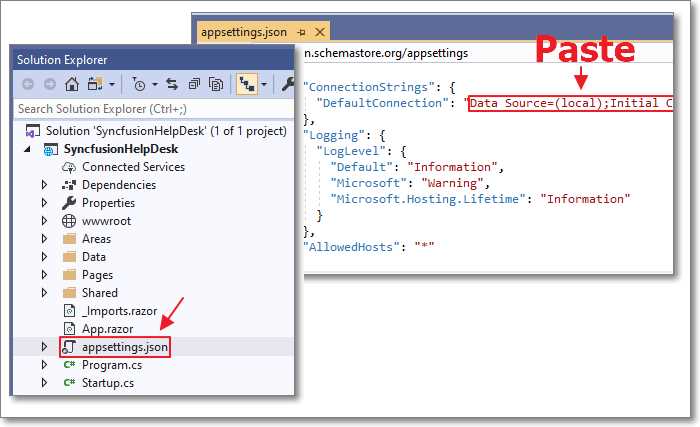
Figure 33: Paste connection string
- Open the appsettings.json file and paste the connection string in the DefaultConnection property.
- Save and close the file.
Enable role management
The default code the Visual Studio wizard creates will allow us to create new users. However, we want some users to be administrators. To do this, we must enable role management by following these steps:
- Open the Program.cs file and replace the code from Code Listing 9 with the code in Code Listing 10 to enable role management.
Code Listing 9: Original identity code
builder.Services.AddAuthentication(options => { options.DefaultScheme = IdentityConstants.ApplicationScheme; options.DefaultSignInScheme = IdentityConstants.ExternalScheme; }).AddIdentityCookies(); |
Code Listing 10: Updated identity code
builder.Services.AddIdentity<ApplicationUser, IdentityRole>(options => { options.SignIn.RequireConfirmedAccount = true; }) .AddRoles<IdentityRole>() .AddEntityFrameworkStores<ApplicationDbContext>() .AddSignInManager() .AddDefaultTokenProviders(); |
- In Visual Studio, build the project and press Ctrl+F5 to run the application in Start without Debugging mode. The application will open in your web browser.
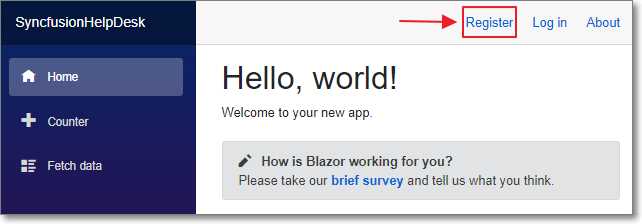
Figure 34: Register user
- Go to Register and create a user. You will then see the following:
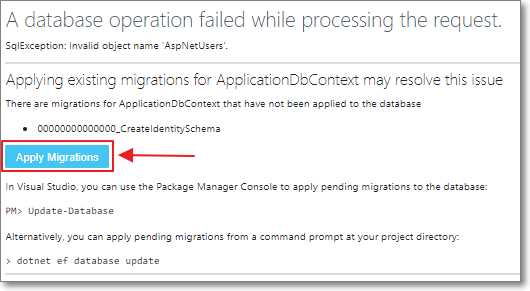
Figure 35: Apply migrations
- Select Apply Migrations, and then you will see a message to refresh the page. This will add the tables required to support users and roles to the database.
- Refresh the page in your web browser.
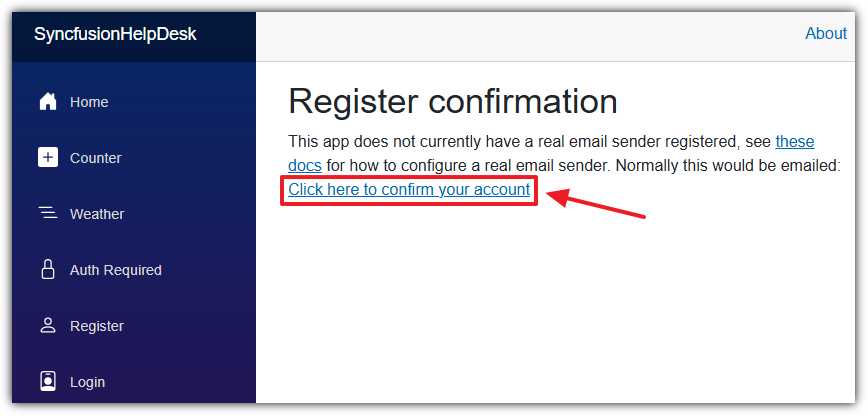
Figure 36: Confirm your account
- On the Register confirmation page, select Click here to confirm your account.
- Go to Login, and log in using the account you just created.
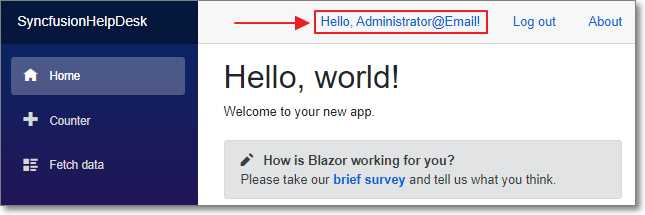
Figure 37: Logged in
The application will display the home page and indicate that you are logged in. From here, you can close the web browser to stop the application and return to Visual Studio.
- 80+ high performance Blazor components.
- Lightweight and user friendly.
- Stunning Built-in themes with customization.