
Azure Pipelines Succinctly®

CHAPTER 2
Your First Pipeline
This chapter introduces the main topic of this book: Azure Pipelines. As you can imagine, this product is a key component of Azure DevOps and helps you build, test, and deploy your software. The basic concept is that a change in a code repository triggers a pipeline, which compiles and tests the software. This phase can generate one or more artifacts, which are the primary input for a release process comprised of multiple stages.
Azure Pipelines supports many programming languages and build platforms (such as Windows, Linux, and macOS). Also, release targets can vary depending on the scenario and include cloud providers or on-premises servers. Pipelines are defined using two approaches, user interface (classic) and YAML syntax, and this chapter introduces both.
Create a sample project
This section helps you create a .NET Core sample project, push it to a git repository hosted on Azure Repos, and use it as the input of a build pipeline.
In this scenario, I'm going to create a .NET Core web application because it is a technology that I'm familiar with, but the same concepts can be applied to any framework or programming language. Indeed, building a project on Azure Pipelines requires an agent that supports the platform you are using. The build process is just a collection of sequential steps, and depending on the platform, you may have specific arguments or more actions to include.
Creating an ASP.NET Core application is straightforward, and you can take a look at this page for help achieving the task. It doesn't matter if you use Visual Studio, Visual Studio Code, or even the .NET Core CLI; the aim here is to have a working sample project.
Note: In this sample, the version of .NET Core is 3.1.7.
Push the code to Azure Repos
In the previous chapter, you created a new Azure DevOps project. You can reuse that Git repository in this project to develop a build pipeline. Since the repository on Azure Repos is not initialized yet, you need to follow the instruction in the Push an existing repository from command line area, as shown in the following Figure (2.1).
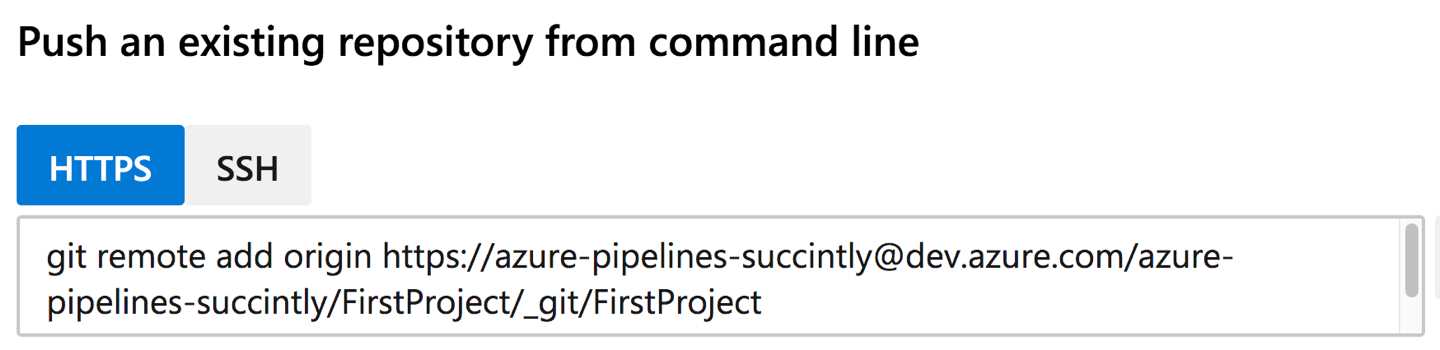
Figure 2.1: Push instruction for an existing repository
First, initialize a local git repository in the project folder, and then link it to the one available in Azure Repos using the following steps:
- Open a command prompt and point to the local project folder.
- Initialize a git repository with git init
- Add all files to the git stage area using git add .
- Commit the code typing git commit -m "project created"
- Copy and paste the commands in Figure 2.1 into the terminal, then press Enter. This step could require authentication.
Now, the code is pushed into the remote repository (Figure 2.2).
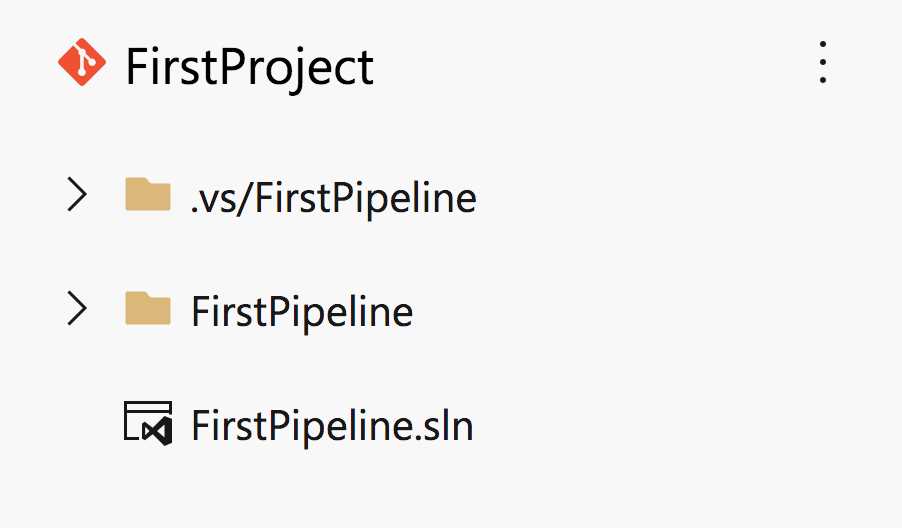
Figure 2.2: Code pushed to the remote repository
Tip: Please read this page if Git is missing in the terminal.
Note: Another possible approach is to first initialize the Git repository on Azure Repos, and clone it into a specific folder on the machine where you then create the .NET Core project.
It's time to create the first pipeline!
First pipeline using classic mode
As I’ve mentioned, there are two ways to create a pipeline in Azure Pipelines. This section explains how to create a pipeline using the user interface (also known as the classic mode).
The main difference between the classic and YAML modes is that with the former, you configure your pipeline entirely from the user interface whereas with the latter, you create a pipeline using YAML markup and save the definition into your repository.
Also, when using the classic mode, once the build and testing phase is completed (continuous integration), you should publish the artifacts to use them in a release pipeline. With YAML, you can leverage the multistage pipeline feature, which automatically retrieves the published artifacts in the release pipeline.
Let's start creating a pipeline definition using the following steps: in the side menu of Azure DevOps, select Pipeline > Create Pipeline > Use the classic editor to create a pipeline without YAML. In the page that appears, choose the source code repository storage location type by clicking Azure Repos Git and then Continue (Figure 2.3).
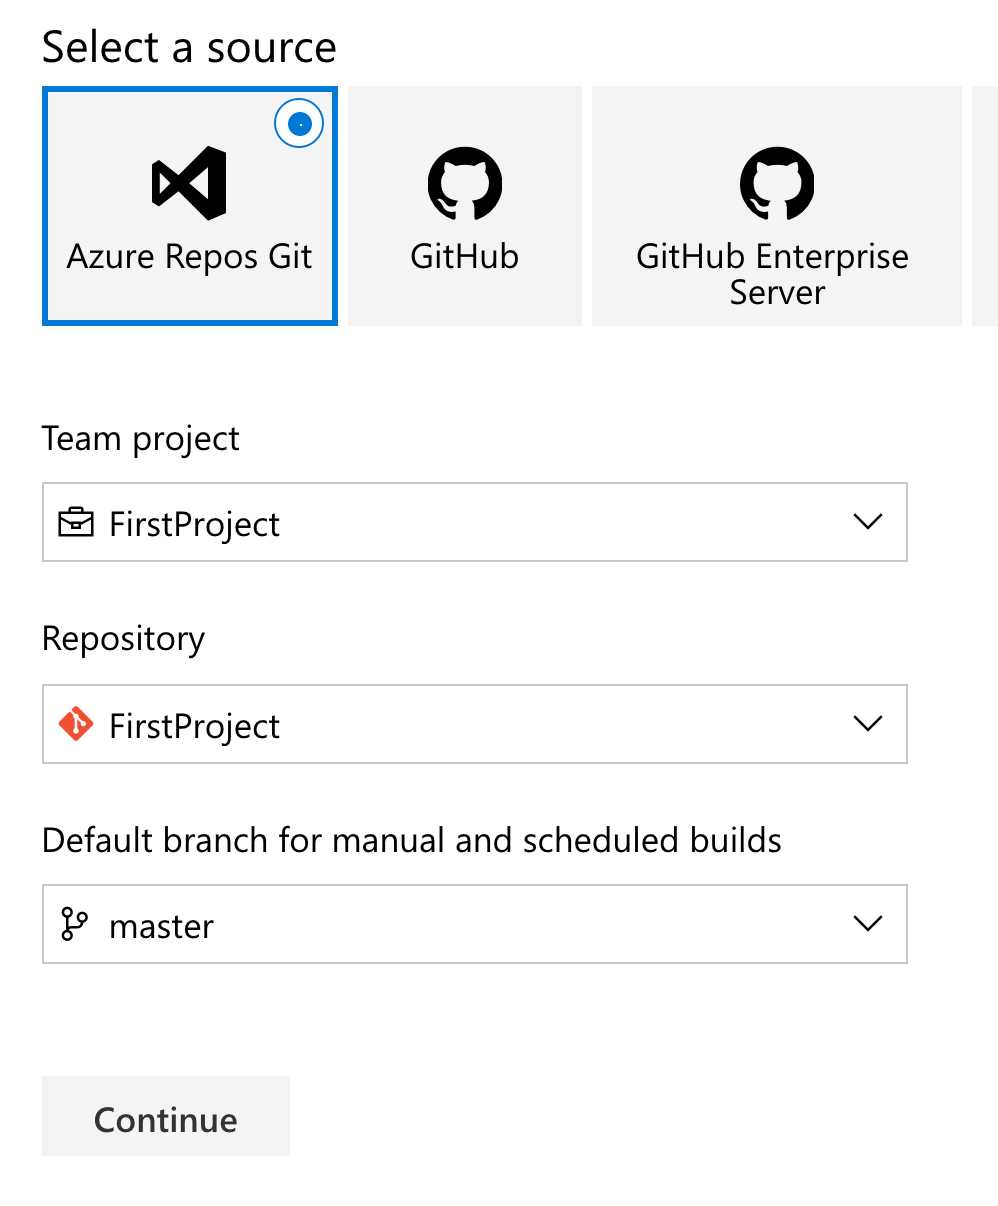
Figure 2.3: Build pipeline source types
In the search box of the window that appears, type ASP.NET Core and select the first option (Figure 2.4).
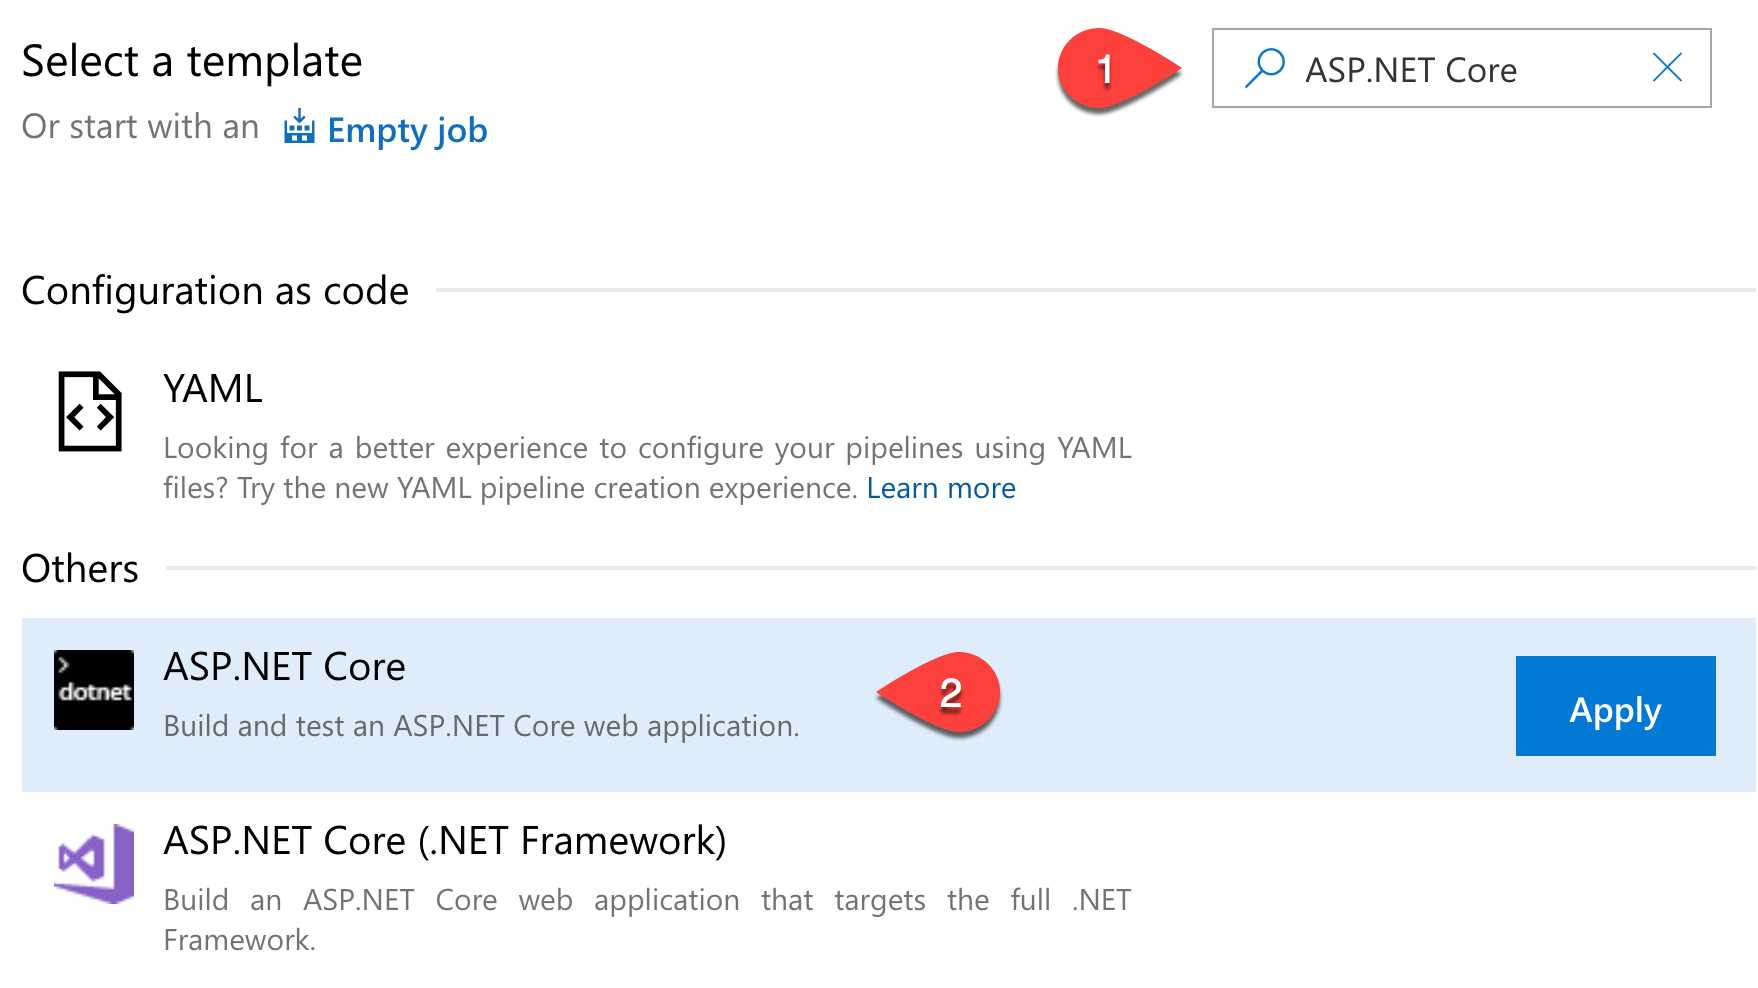
Figure 2.4: ASP.NET Core build template
Azure Pipelines prepares a build definition with all the steps to build and test your application. To follow good practices, let's give the build a comprehensible name, replacing the default name with FirstProject CI. Click the Save & Queue button to start the execution. The entire process can be observed using the progress page, which gives detailed information about the status and commands that are executed (Figure 2.5). Logs are stored for each build execution and are downloadable for further investigation.
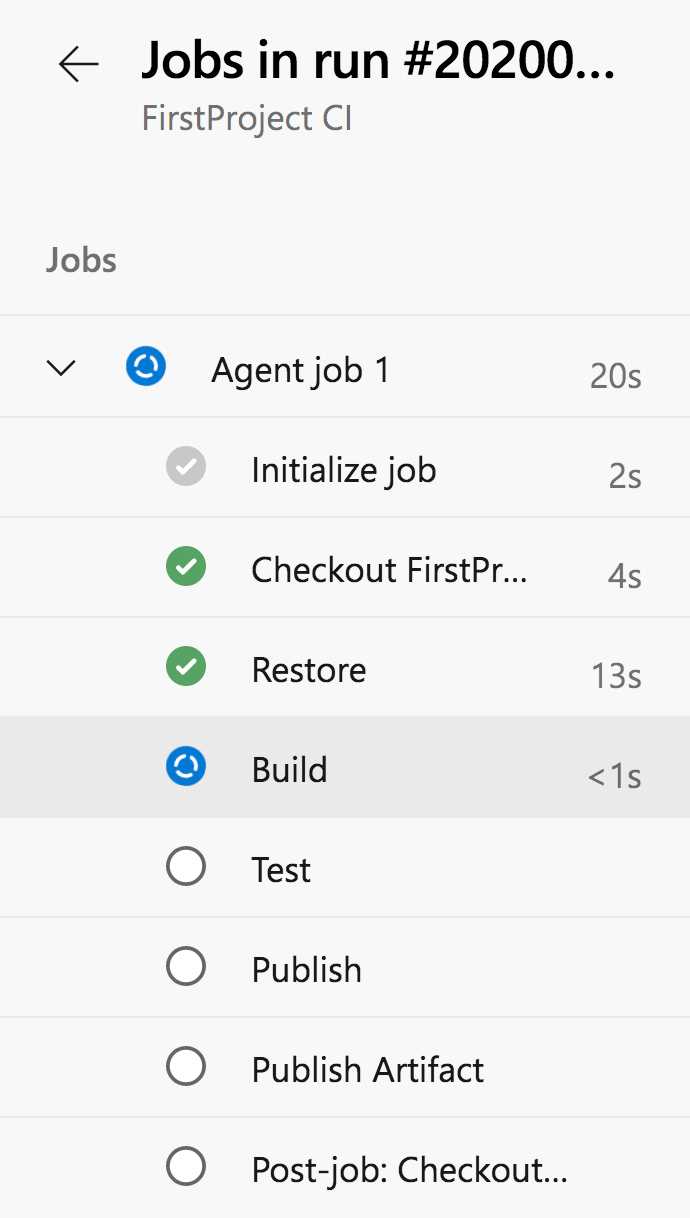
Figure 2.5: The build progress page
After build completion, a summary is available with all the information related to the execution (Figure 2.6).
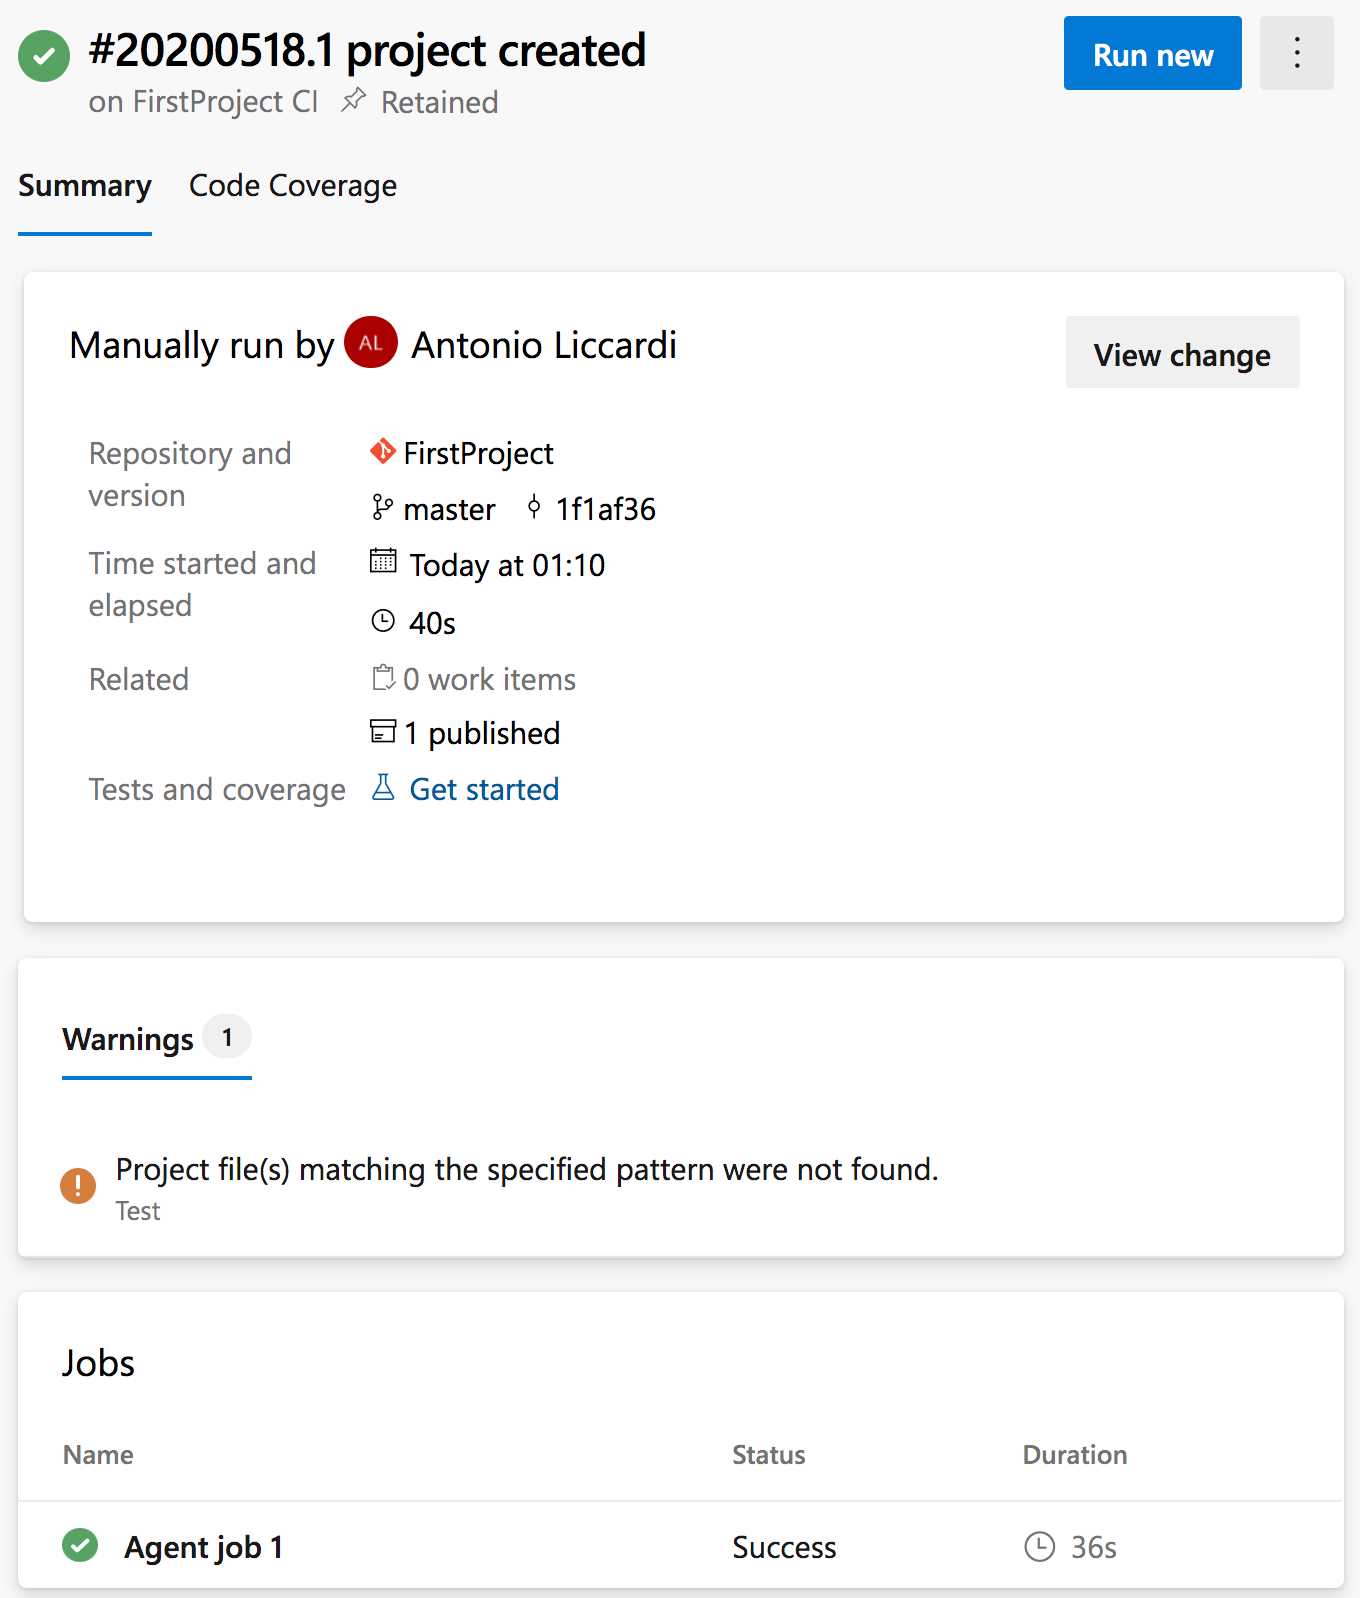
Figure 2.6: The build summary page
In case of success, the summary shows the artifacts published by the build process (in this case, the website publication package). You can browse the artifacts by clicking on them (Figure 2.7).
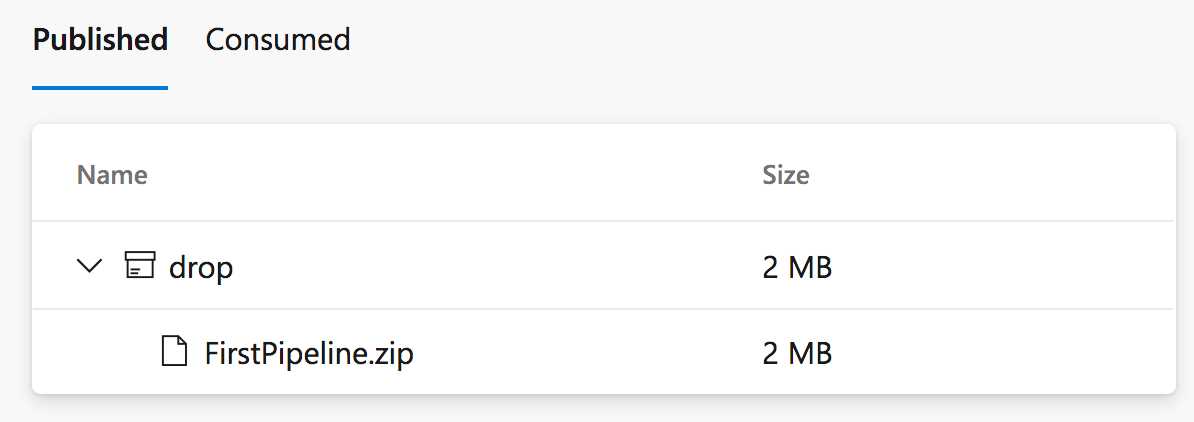
Figure 2.7: The artifacts explorer
A first pipeline using YAML
Using YAML for your build definition has lots of advantages. First, the pipeline definition is written using code, stored in the repository, and has a full version history. The pipeline is stored side by side with your infrastructure definition, which gives you a complete snapshot of your system, and you can restore it, pointing at any time in the past. Also, in complex infrastructure, having a pipeline as code can ease the review and merging phase, especially if multiple engineers create the pipeline. Engineers can submit their PRs, letting other people on the team review and comment in case of problems. Finally, it is possible to copy and reuse part of the definition to complete other pipelines.
If you are not convinced, let's see how it is easy to create a new YAML pipeline. As in the previous section, go to the side menu of Azure DevOps and select Pipeline > New Pipeline. Next, select Azure Repos Git (YAML).
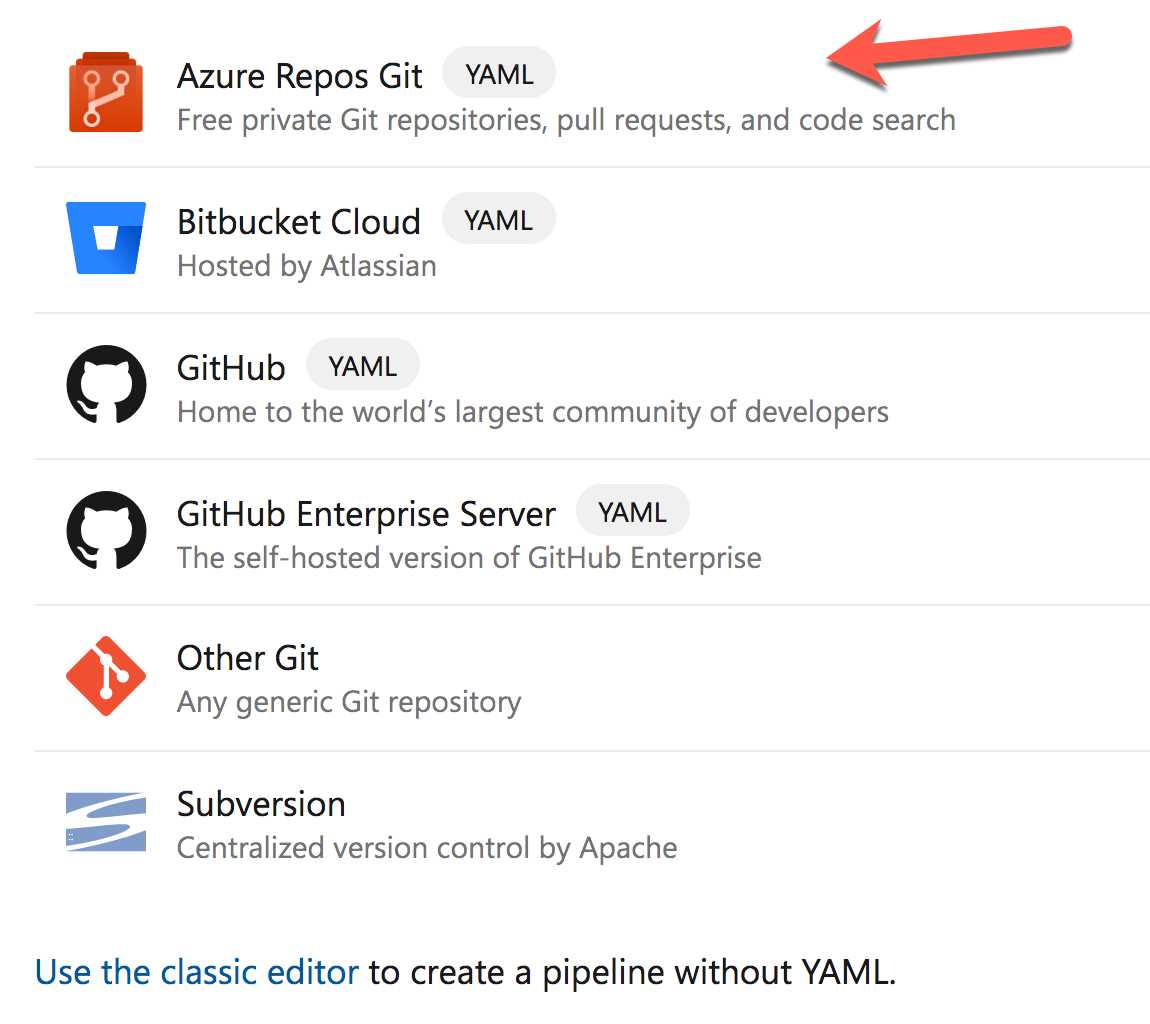
Figure 2.8: YAML pipeline creation
Select the repository and the ASP.NET template. Azure Pipelines creates a ready-to-run YAML build definition, which correctly compiles the application. Unlike the classic mode, just one step is missing in this definition, which is the publication of the build artifact. Indeed, to expose the artifacts, you need to modify the pipeline definition, adding a few lines of code.
First, place the cursor at the bottom of the code in the YAML editor. To get help, you can use the assistant on the right side to search for Publish build artifacts, and select the first item in the list (Figure 2.9).
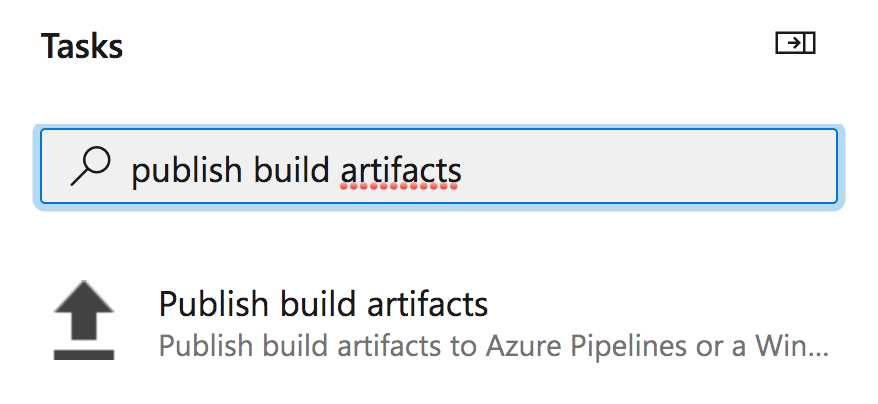
Figure 2.9: Searching tasks with the assistant
These are a few settings related to the task (Figure 2.10); for now, you can leave them with their default values and click Add.
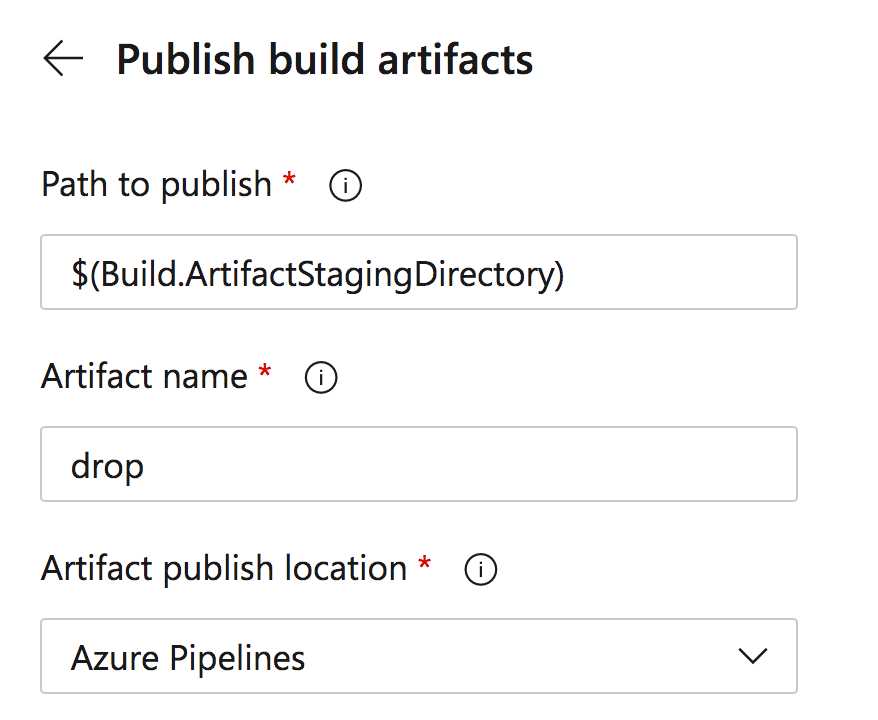
Figure 2.10: Publish build artifacts settings
This template introduces a snippet of code in the pipeline, which publishes the application deployment package. The following listing shows the entire YAML pipeline.
Code Listing 1
# ASP.NET # Build and test ASP.NET projects. # Add steps that publish symbols, save build artifacts, deploy, and more: #https://docs.microsoft.com/azure/devops/pipelines/apps/aspnet/build-aspnet-4 trigger: - master pool: vmImage: 'windows-latest' variables: solution: '**/*.sln' buildPlatform: 'Any CPU' buildConfiguration: 'Release' steps: - task: NuGetToolInstaller@1 - task: NuGetCommand@2 inputs: restoreSolution: '$(solution)' - task: VSBuild@1 inputs: solution: '$(solution)' msbuildArgs: '/p:DeployOnBuild=true /p:WebPublishMethod=Package /p:PackageAsSingleFile=true /p:SkipInvalidConfigurations=true /p:PackageLocation="$(build.artifactStagingDirectory)"' platform: '$(buildPlatform)' configuration: '$(buildConfiguration)' - task: VSTest@2 inputs: platform: '$(buildPlatform)' configuration: '$(buildConfiguration)' - task: PublishBuildArtifacts@1 inputs: PathtoPublish: '$(Build.ArtifactStagingDirectory)' ArtifactName: 'drop' publishLocation: 'Container' |
Click Save and Run, and a popup window will appear. Here you can specify a commit message, a description, a branch to save the definition to, and even whether you want to open a pull request. By default, the pipeline file is named azure-pipelines.yml. I usually prefer to keep the definition in a separate branch until the pipeline is consolidated. The pipeline starts and, as in the classic mode, you have detailed logs.
In the code listing, you can see four main parts in the YAML definition:
- Trigger: Set the branch that is observed to trigger the pipeline.
- Pool: Define the type of agent that executes the build.
- Variables: Define the settings related to the build execution.
- Steps: Show the list of tasks that the build definition executes.
Depending on the template chosen in the creation, these configurations could change. Also, the code editor is fantastic: IntelliSense makes the typing smooth, and other utilities such as the command palette simplify the user interaction.
Tip: Even if, in this case, the trigger in the YAML is set to master, the actual branch considered during the run is the same as the one where the pipeline definition resides.
What's next
In this chapter, you had a taste of how easy it is to create a pipeline definition using Azure Pipelines. Of course, there are lots of new and unexplored concepts, which are illustrated in detail in the upcoming chapters.
- 1800+ high-performance UI components.
- Includes popular controls such as Grid, Chart, Scheduler, and more.
- 24x5 unlimited support by developers.