
Azure Maps Using Blazor Succinctly®

CHAPTER 1
Getting Started with Azure Maps
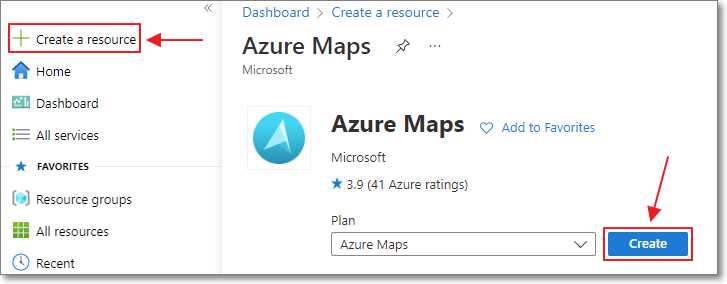
Figure 2: Creating Azure Maps Account
Getting started with Azure Maps is easy. In your web browser, navigate to https://portal.azure.com/ and log in using an existing account or create a new one.
Next, select Create a resource > Azure Maps > Create.
This will display forms that, at minimum, require you to select the subscription, resource group, region, and pricing tier (see the following section for more information on pricing tiers).
Finally click Create.
Controlling pricing and tracking usage
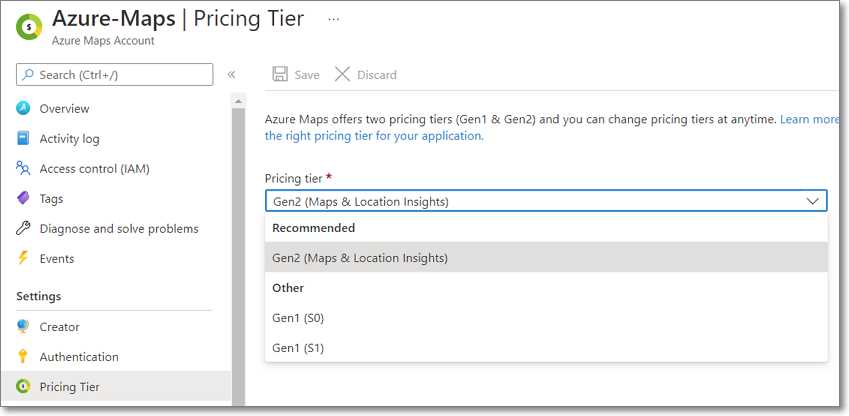
Figure 3: Configuring Pricing Tier
You configure your Azure Maps pricing on the Pricing Tier tab.
Azure Maps bills by the number of API transactions, such as performing a geocoding transaction or retrieving a map tile. At the time of writing, Azure Maps provides two pricing options, Gen1 and Gen2:
- Gen1 pricing consists of two tiers, Standard S0 and Standard S1. Standard S0 is less expensive per transaction, but it does not support the full set of Azure Map services and limits the maximum number of queries per second (QPS) allowed. Standard S1 supports the full range of Azure Maps services and higher QPS.
- Gen2 pricing is the newest offering, and it is the pricing option Microsoft recommends. It has several pricing tiers, including a free tier. All tiers support the full range of Azure Maps services. With the Gen2 option, you do not preselect the tier, as you do with the Gen1 offering; the cost, per 1,000 transactions, is reduced based on the number of transactions.
Note: You can find detailed information on the queries per second (QPS) limitations for each pricing plan here and detailed pricing information here.
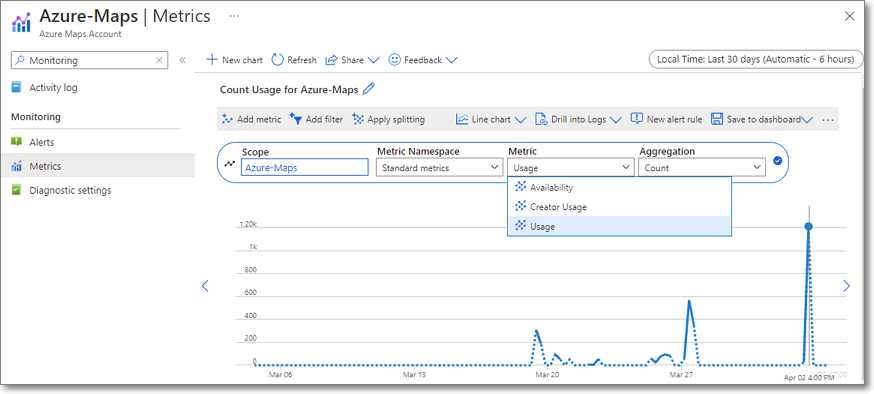
Figure 4: Track Azure Maps Usage
You can track the API usage on the metrics tab of the Azure Maps account. Simply select Azure-Maps as the scope and Usage as the metric.
Authentication and security
When making calls to the Azure Maps API, authentication is required. Azure Maps supports three methods to authenticate these requests: Shared Key, Azure Active Directory (AAD), and Shared Access Signature (SAS) Token.
Shared Key and AAD authentication will be covered in this book. At the time of this writing, SAS Token authentication is only a preview feature and is not approved for production applications.
Shared Key authentication
To use a shared key for a request to Azure Maps services, you simply add the key as a parameter to the URL. For example:
https://atlas.microsoft.com/map/static/png?subscription-key={SubscriptionKey}
However, the Shared Key authentication is not recommended by Microsoft for use in web applications. Microsoft only recommends using them for daemon apps where the key is not exposed and potentially compromised.
Azure Active Directory (AAD) authentication
AAD authentication requires your code to obtain an authorization token and to pass that token in the request header. For example:
client.DefaultRequestHeaders.Authorization = new System.Net.Http.Headers.AuthenticationHeaderValue("Bearer", AccessToken)
This is the recommended method for authentication because the tokens are short-lived and can be issued with fine control.
Note: See this article for more information on security options and recommendations.
Additional information and help
Check the following resources for additional information and assistance:
- 80+ high performance Blazor components.
- Lightweight and user friendly.
- Stunning Built-in themes with customization.