
Azure Cognitive Services Succinctly®

CHAPTER 1
Getting Started
Signing up
Getting started with Azure is quite easy—all you need to do is sign in with your Microsoft account (Outlook.com, Office 365, Live.com, MSN, or Hotmail), or, if you don’t have one, sign up for an account.
If you don’t have an account, click the Free account link on the Azure page to sign up. Please note that Azure is an evolving service, and as such, the website might change. In any case, you should be able to follow along.

Figure 1-a: Azure Website (Main Page)
Microsoft sometimes gives away free Azure credits to encourage new users to sign up. Even if you are a die-hard Amazon Web Services fan, I suggest you give Azure a try. At the time of writing this book, the following Azure benefits are being offered for new sign-ups.
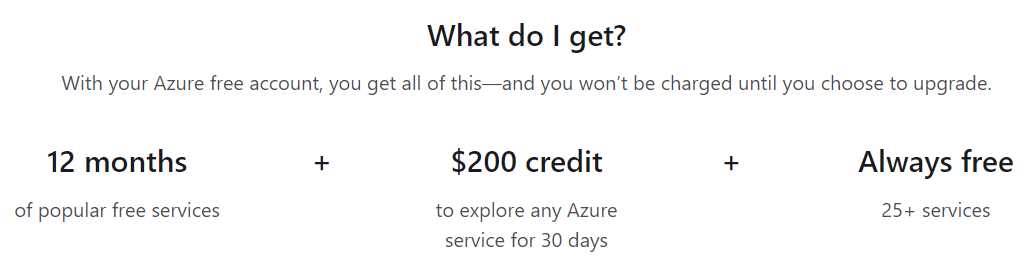
Figure 1-b: Azure Offers
In my experience, being able to benefit from the services of more than one cloud provider not only broadens your knowledge and exposure to different technologies, but also allows you to check which service works best for your particular use case or application.
Navigating the Azure portal
Once you have signed up for an Azure account, you’ll be directed to the main Azure portal page.
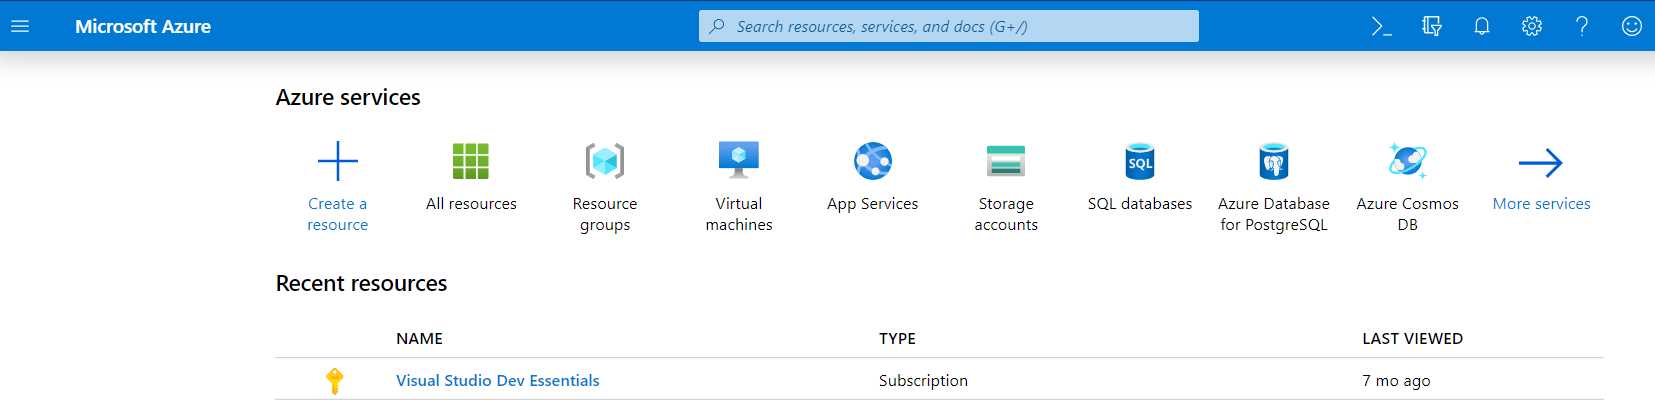
Figure 1-c: Azure Portal (Main Page)
The most popular and widely used Azure services are listed on the top of the screen. The site is intuitive and easy to follow, and you can access and search for any Azure service by clicking Create a resource, by opening the menu sidebar, or by simply using the search toolbar.
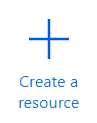
Figure 1-d: Create a Resource Button—Azure Portal (Main Page)
When you click Create a resource, you should see a screen that looks similar to the following one.
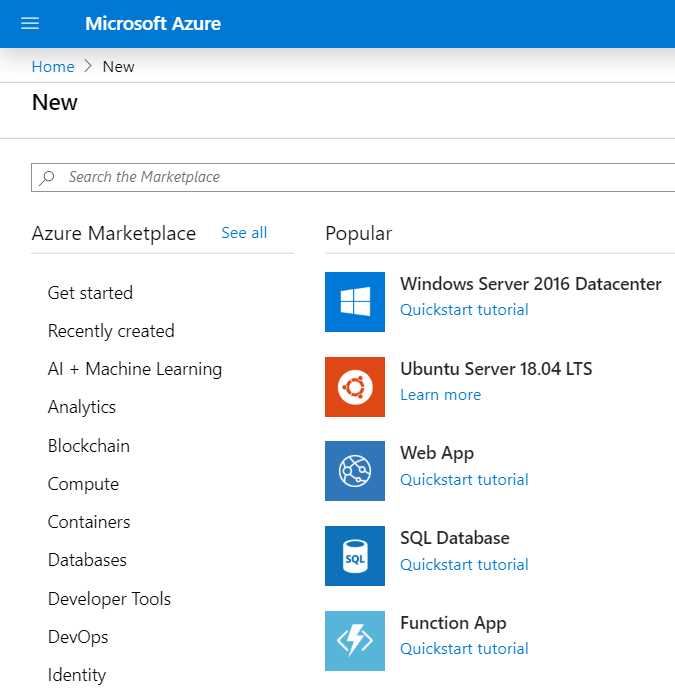
Figure 1-e: Azure Resources Options (via the Create a Resource Button)
When you click the sidebar button, you should see a screen that looks similar to the following one.
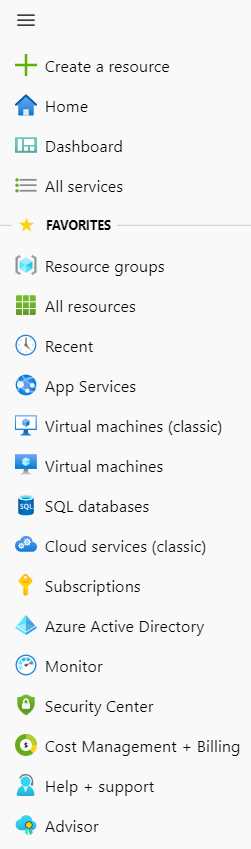
Figure 1-f: Azure Resources Options (via the Sidebar Menu)
My preferred way to access and create a Cognitive Services resource is to enter a specific keyword into the search bar, and then select the correct option, which we can see as follows.
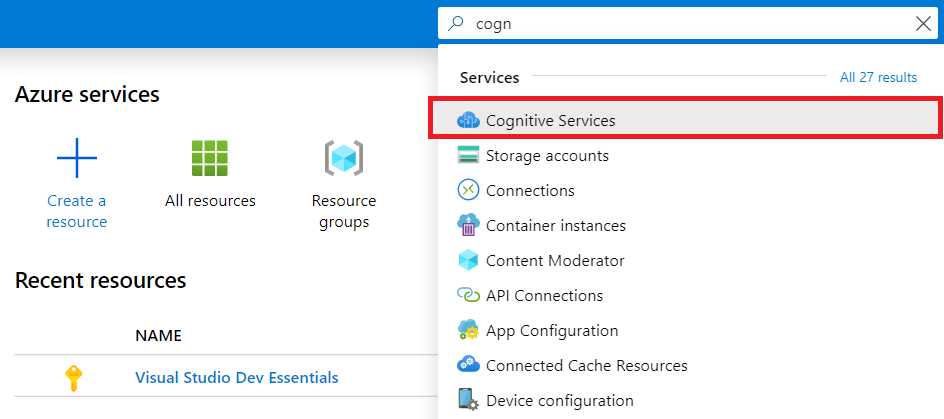
Figure 1-g: Azure Resources Options (via the Search Bar)
Next, click the Cognitive Services option—this will display the following screen (or one very similar).
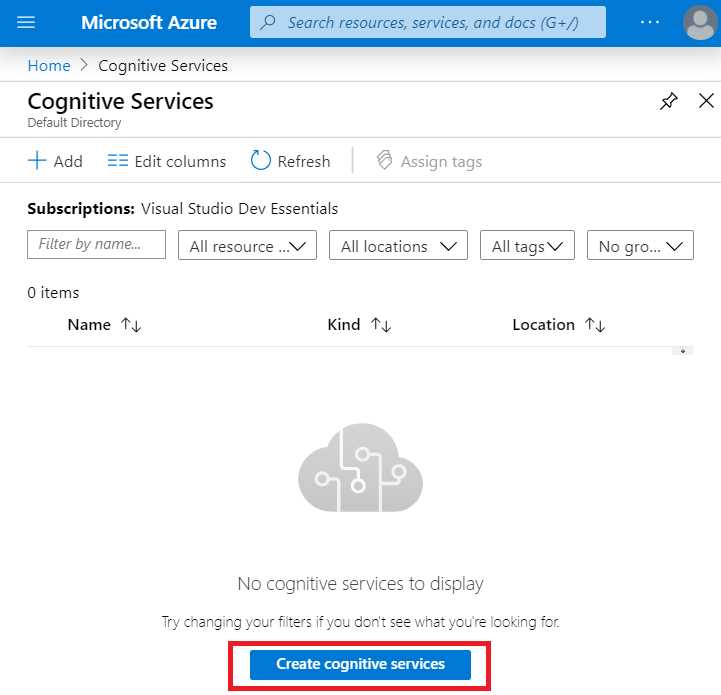
Figure 1-h: Cognitive Services (Main Screen)
Next, click Create cognitive services. Once you do that, you’ll see the following screen (or one quite similar).
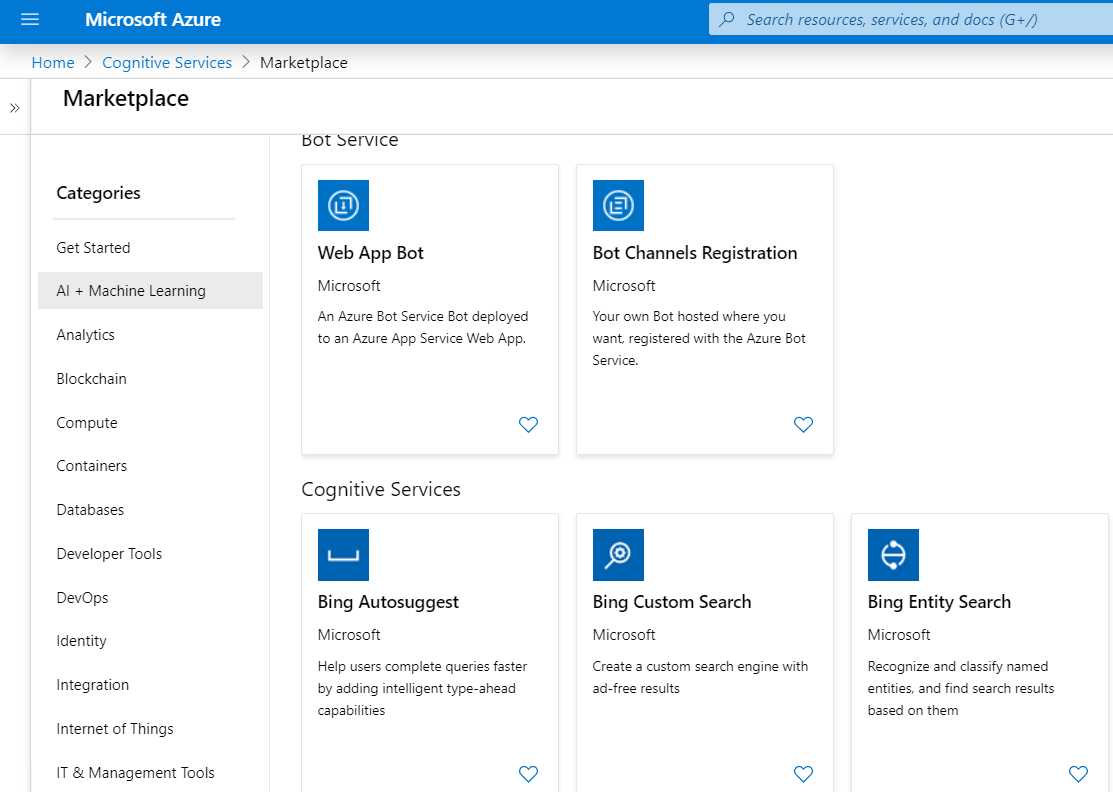
Figure 1-i: Cognitive Services (Various Options)
If you scroll to the right-hand side of this screen, you should find a See More link, which looks as follows.
![]()
Figure 1-j: See More Link
If you click See More, all the available Cognitive Services will be displayed on the screen. At the time of writing this book, the central part of that screen looks as follows.
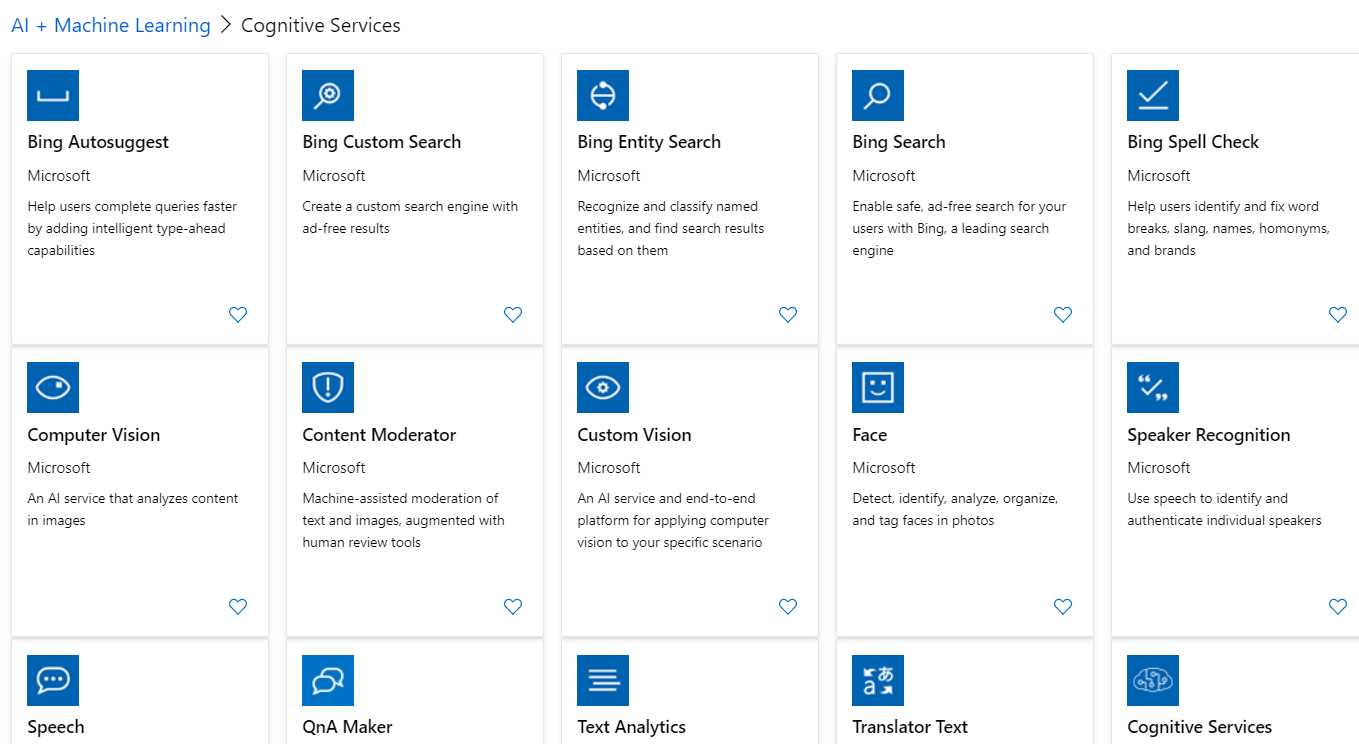
Figure 1-k: List of Cognitive Services
From this list, we can select the service we are interested in using. Now you know how to search and find Cognitive Services within the Azure portal.
Summary
At this stage, you should have signed up for an Azure portal account and explored a bit of the resources that it has to offer.
You probably also looked at the different types of Cognitive Services available, which we will explore in detail in the next chapters.
For the different services, which we will create and use in the next chapters, instead of following an extensive Azure portal navigation process, we will search directly for the service we are interested in using the top search bar.
In the next chapter, we’ll kick off by exploring the decision APIs, which will help us integrate smarter and faster decision-making capabilities into our applications.
- 1800+ high-performance UI components.
- Includes popular controls such as Grid, Chart, Scheduler, and more.
- 24x5 unlimited support by developers.