
Azure Bot Service Succinctly®

CHAPTER 7
Publishing the Bot
Overview
By going through all the steps explained throughout the book's previous chapters, we have managed to create a small functional bot and looked at how some of its most critical parts work. Our focus now will be on how to deploy and publish it to Azure Bot Service.
Prerequisites
To deploy and publish a bot, the following prerequisites are required:
- Microsoft Azure subscription.
- Node.js 12.13.0 or later.
- The latest version of the Azure CLI.
- PowerShell 6.0 or later.
Azure Portal
Before we can deploy the bot to Azure, we need to have an account. If you don't have an Azure account, getting one is very easy—you can create a free account here if you don't have one.

Figure 7-a: Microsoft Azure Website
Once you have set up an Azure account, you can log in by going to the Portal. Before deploying and publishing the bot, you must ensure that your Azure subscription is registered to use Microsoft.BotService—this is known as resource provider registration.
Resource provider registration
The official Azure documentation provides comprehensive information on how to resolve errors for resource provider registration.
The Microsoft.BotService namespace is an essential requirement that must be registered to your Azure subscription for Composer to deploy and publish your bot successfully.
Therefore, you must follow the steps described in the documentation (specifically on Solution 3 - Azure Portal). You can do this by checking your Azure subscription properties, then in Resource providers, look for Microsoft.BotService and ensure that this provider is registered (if it isn’t, click Register).
The following figure shows how the provider appears on my Azure subscription (called Visual Studio Dev Essentials—your subscription might have a different name). You might find that this provider is not registered; if so, you'll have to register it.
Whether the Microsoft.BotService provider appears as registered by default might be dependent on the type of Azure subscription you have purchased.

Figure 7-b: Azure Portal – Subscription – Resource providers – Microsoft.BotService
Deploying from Composer
With Composer and your bot open, click the Publish icon on the navigation pane as shown in the following figure.
![]()
Figure 7-c: Composer – Publish Icon – Navigation Pane
Then, select ZipcodeBot.

Figure 7-d: Composer – Publish your bots – ZipcodeBot
After that, we need to define a Publish target, so click the dropdown option, Manage profiles, or the Publishing profile tab directly.

Figure 7-e: Composer – Publish your bots / Publish target / Manage profiles
Next, click Add new.

Figure 7-f: Composer – Publishing profile – Add new
The Create a publishing profile pop-up window appears. Here we need to enter the profile name—in this case, ZipcodeBot, and as the Publishing target, choose Publish bot to Azure.

Figure 7-g: Composer – Create a publishing profile (1)
Click Next, and you'll see the following options. Let's select Create new resources > Next.

Figure 7-h: Composer – Create a publishing profile (2)
A pop-up window appears, prompting you to sign in to Azure.

Figure 7-i: Composer – Azure Sign In
There, enter the email address that you used when you signed up for Azure, and click Next. After that, enter the password, and click Sign in.
We'll have to enter the Azure and resource details. Select your Azure Subscription. As for the Resource group, select Create new, and give it the name bots.
For the Operating System, leave the default option selected: Windows (Recommended).
For the Resource details, set the Name field to thezipcodebot (feel free to give it another name).
As for the Region set to West US and the LUIS region set to West US, feel free to choose any others if you wish; these are not mandatory.

Figure 7-j: Composer – Configure resources
After entering those details, click Next to continue. You will see the list of Azure resources required for the bot to run.

Figure 7-k: Composer – Add resources
As for the resources selected by default as Optional, such as Azure Cosmos DB or Application Insights, I would recommend unselecting them all (except the two LUIS services) to avoid incurring unnecessary Azure costs.
Check the complete list of Optional resources (from top to bottom) and remove all the ones selected by default (except the two LUIS services).
If you want to experiment with LUIS, the Azure Language Understanding service, you must leave the Microsoft Language Understanding Authoring Account and Prediction Account resources selected.

Figure 7-l: Composer – Add resources – LUIS
We will not cover LUIS in this book; however, I encourage you to explore the official LUIS documentation and how you can use and integrate this functionality into your bot.
For my bot deployment, I'm going to leave the Microsoft Language Understanding Authoring Account and Prediction Account resources selected.
After unselecting the resources that you won't use, click Next to continue.

Figure 7-m: Composer – Review resources to be created
Next, you'll see a screen with the list of resources that the bot will require at this stage. Click Create to continue (the Create button is not visible in Figure 7-m, but it exists in the application).
Composer will provision the required Azure resources to deploy and publish the bot.
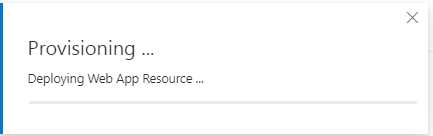
Figure 7-n: Composer – Provisioning Azure Bot Resources
Once the operation finalizes, you will see the following message.
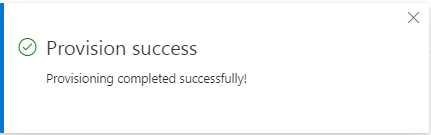
Figure 7-o: Composer – Provision success
Checking Azure resources
Let's open a web browser, go to the Azure Portal, and click All resources to view the resources created by Composer.

Figure 7-p: Azure Portal – Main Page
After clicking All resources, you will see the App Service Plan and the App Service, among others.
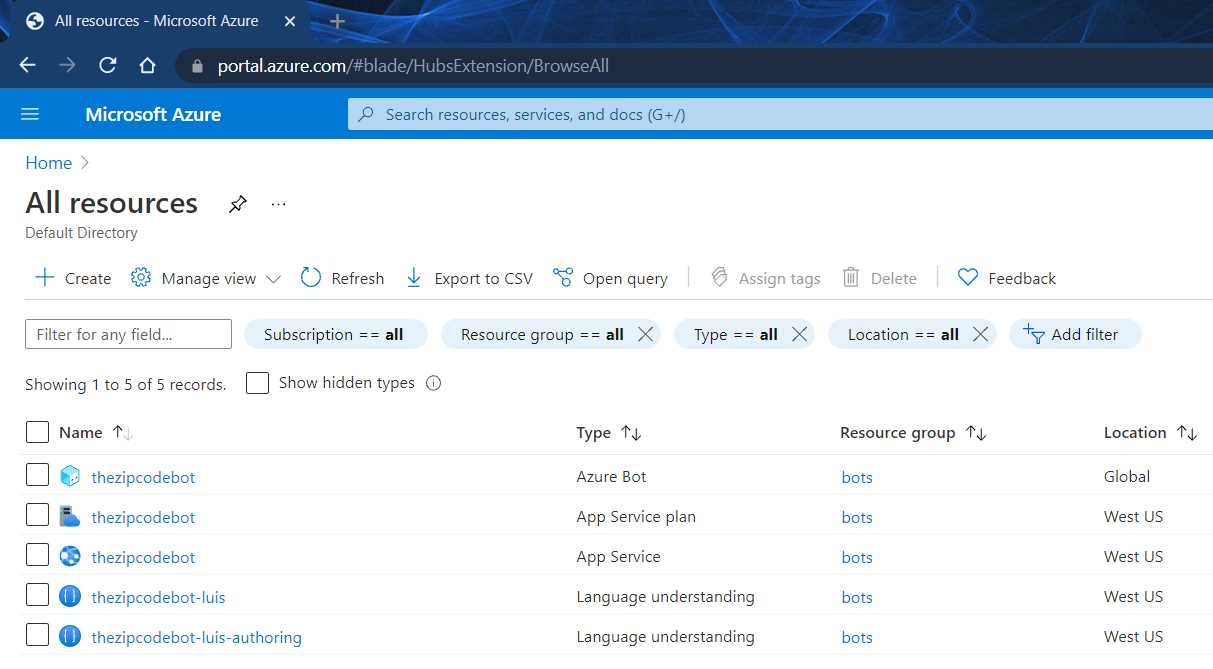
Figure 7-q: Azure Portal – All resources
Publishing
Back in Composer, go to the Publish tab and set the bot's Publish target as ZipcodeBot. Then, click Publish selected bots.

Figure 7-r: Composer – Publish selected bots
After clicking Published selected bots, you will see the following pop-up window.

Figure 7-s: Composer – Publish
To publish the bot, click Okay—you will see the following message.

Figure 7-t: Composer – Publishing one bot
The deployment and publishing process might take a few minutes depending on your internet connection speed.
You will also see message updates depending on what stage of the process the deployment and publishing are, such as Creating build artifact….

Figure 7-u: Composer – Publishing one bot – Creating build artifact
Once you’re done, you will see the following Success message.

Figure 7-v: Composer – Publishing one bot – Success
Testing the Azure bot
With the bot successfully deployed and published, the next thing to do is test it. Let's go back to Azure Portal, then click All resources.
In my case, the Azure Bot Service is the first item on my list of resources. Make sure you click the element that has the column Type value set to Azure Bot.

Figure 7-w: Azure Portal – All resources – Azure Bot Highlighted
After you click the Azure Bot item, you'll see the Azure Bot blade. Ensure your browser has cookies enabled (indicated by the small eye icon highlighted in red in the upper-right side of Figure 7-x)—which most browsers do by default; however, some cookies might not be allowed.
Click Test in Web Chat and start a conversation with the bot. As you can see in the following figure, the bot works just great, the same as it did in Composer.

Figure 7-x: Azure Portal – Azure Bot Service – Test in Web Chat
Excellent—we have achieved our goal!
Closing thoughts
Although we have created a basic bot that returns information about zip codes using a third-party API through the course of this book, we got a working and fully functional bot deployed to the Azure cloud without a single line of code. If that's not impressive, I don't know what is!
The other exciting aspect of this tale is that we could have added more sophisticated features to the bot without writing any code, such as by using LUIS.
In my opinion, combining Composer and Azure Bot Service is powerful, yet easy to understand and do.
From the initial days of the Microsoft Bot Framework—reserved mostly for highly qualified C# developers—creating bots with Microsoft technologies has come a long way.
These technologies now empower non-professional developers (also known as citizen developers) to create compelling bots without any coding knowledge, which interests businesses.
I invite you to keep exploring what you can do with Composer and Azure Bot Service—we’ve barely scratched the surface of what's possible.
Consider adding LUIS-enabled capabilities to your bot so that it can understand natural language intents or use more articulated dialogs. The possibilities are endless.
A great way to continue your journey is to explore the official Microsoft documentation, look at some of the samples available, and add your ideas to the mix. If you come up with something cool, I'd love to hear about it.
I hope this book has given you some valuable pointers that you can take on that journey. Thanks for reading—until next time, take care, keep learning, and have fun!
- 1800+ high-performance UI components.
- Includes popular controls such as Grid, Chart, Scheduler, and more.
- 24x5 unlimited support by developers.