
Azure Bot Service Succinctly®

CHAPTER 1
Getting Started
Overview
As is the case with other frameworks, services, and technologies, before we can use them, we need to go through a process where we sign up for the services and install the required tools. That's what we are going to cover throughout this chapter.
Bot Framework Composer intro
The Bot Framework Composer is an open-source integrated development environment (IDE) built on top of the Bot Framework SDK, which provides an extensible SDK and tools to build, test, deploy, and manage intelligent bots.
In contrast, the Bot Framework Composer provides a robust visual authoring canvas enabling dialogs, language-understanding models, QnAMaker knowledge bases, and language generation responses used to create conversational bots.
Composer (the term I'll be using going forward) is a desktop application for Windows, macOS, and Linux.
Installing Node.js
Before installing Composer, you need to have Node.js and npm installed—this is a mandatory requirement for the use of Composer.
I'm using a Windows machine, so the following steps are specific to Windows. Let's get Node.js installed.

Figure 1-a: Node.js Website
Click the button on the left to install the the Long Term Support (LTS) version of Node.js, which is recommended for most users.
If you already have a version of Node.js installed on your system that’s older than the suggested LTS version downloadable from the website, download the current and most up-to-date version.
Once the Node.js installer has downloaded, execute it, and you should see a screen similar to the following one.
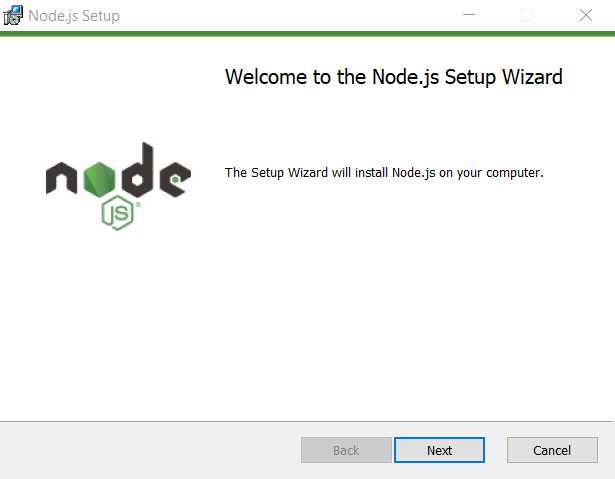
Figure 2-b: Node.js Installer – Welcome Screen
To continue with the process, click Next. You should see a screen similar to the following one.

Figure 3-c: Node.js Installer – End-User License Agreement Screen
To continue, select the I accept the terms in the License Agreement option and then click Next. After that, you should see the following.

Figure 4-d: Node.js Installer – Destination Folder Screen
I will leave the default installation folder, but you are free to change it to another location. Click Next to continue.

Figure 5-e: Node.js Installer – Custom Setup Screen
After that, you should see the following.

Figure 6-f: Node.js Installer – Tools for Native Modules
Here we are asked to automatically install the necessary tools that some npm modules might require for compilation. There’s no harm in having these tools installed, so I recommend clicking the option to install them. Then, click Next to continue.

Figure 7-g: Node.js Installer – Ready to install Node.js Screen
Finally, we are ready to install Node.js—click the Install button to begin the installation process. You'll see the installation taking place, and once it’s complete, you'll see a screen similar to the following one.

Figure 8-h: Node.js Installer – Completed the Node.js Setup Wizard Screen
Awesome—click Finish to close the installer, and Node.js should be ready and good to go.
Installing .NET Core SDK
For C# template support, Composer requires having .NET Core SDK installed. In that case, you'll need to install .NET Core SDK 3.1 or later if you plan to build bots with C#.
Installing Composer
I'm using Windows, so I'm going to use the Composer installer for Windows. Here are the installers for macOS and Linux. Composer is an open-source tool hosted on GitHub.
Once you’ve downloaded Composer, execute the installer—this will display a screen similar to the following one.
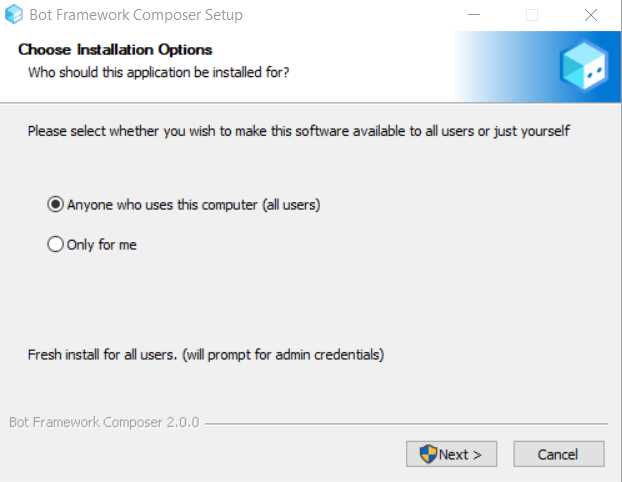
Figure 9-i: Composer Installer – Choose Installation Options Screen
You may choose to install the software by selecting Anyone who uses this computer (all users) or selecting Only for me. I usually pick and recommend the first option; however, feel free to choose the second option. Then, click Next to continue.
Next, we need to choose the Destination folder. I usually suggest leaving the default installation path.
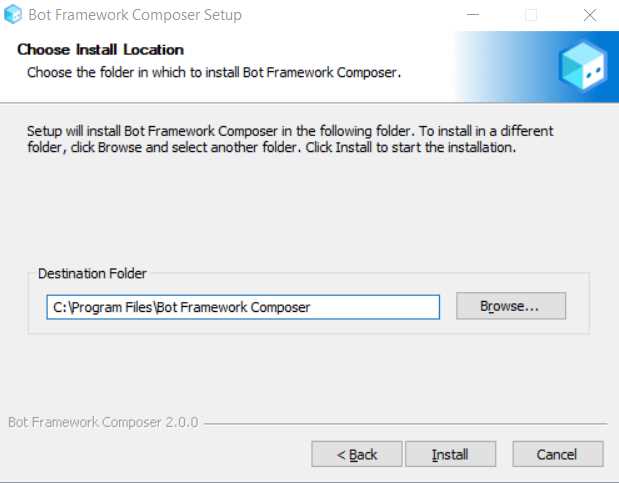
Figure 10-j: Composer Installer – Choose Install Location Screen
You may specify a different installation path if you wish. Once you’re done, click Install—the installation process will start, and in most cases, will take less than a minute to complete. Before finalizing the setup process, you can choose to run Composer.
In some cases, there are available updates that you can choose to install immediately or later.
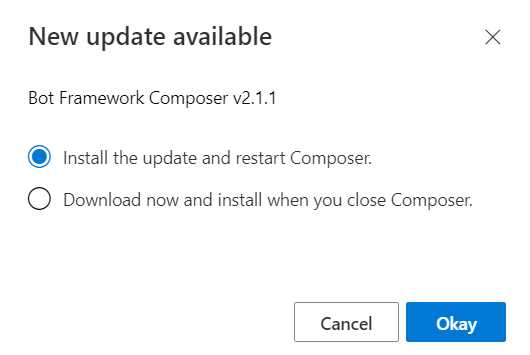
Figure 11-k: Composer – New update available
I recommend installing the latest updates, which I will do by selecting the first option and then clicking Okay. You can choose the second option or click Cancel.
Composer will restart after installing any updates, and the installer with the latest updates will execute again.
After installing the updates, you can choose to run Composer before closing the installer. The main Composer screen looks as follows.
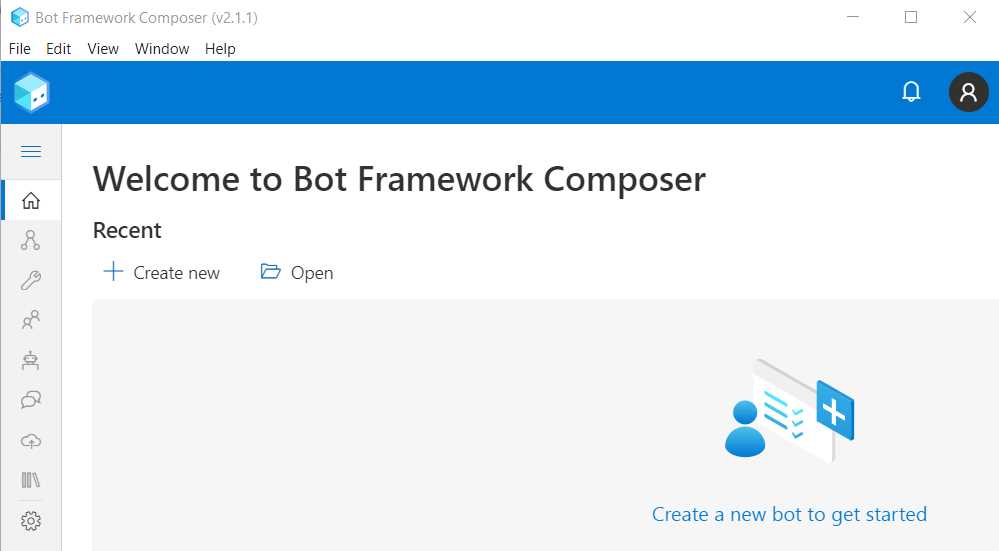
Figure 12-l: Composer – Main Screen
Excellent—we are now ready to start developing bots with Composer, which we will do in the next chapter.
- 1800+ high-performance UI components.
- Includes popular controls such as Grid, Chart, Scheduler, and more.
- 24x5 unlimited support by developers.